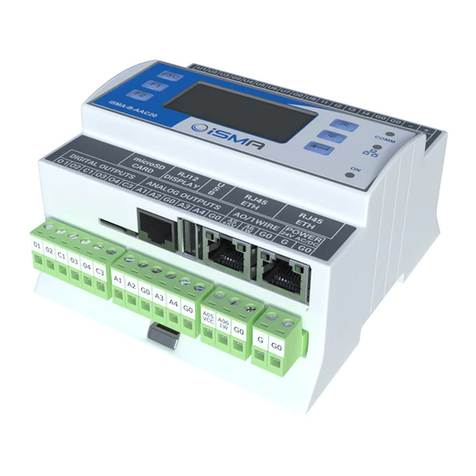
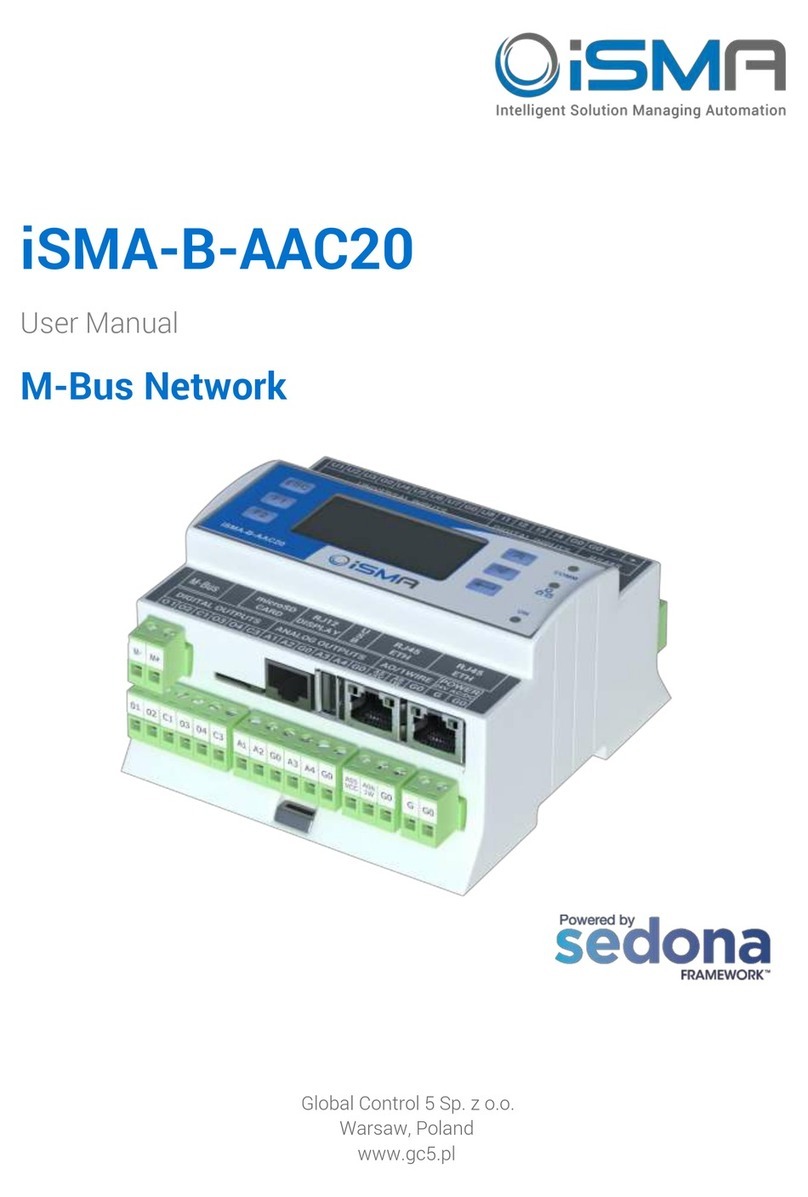
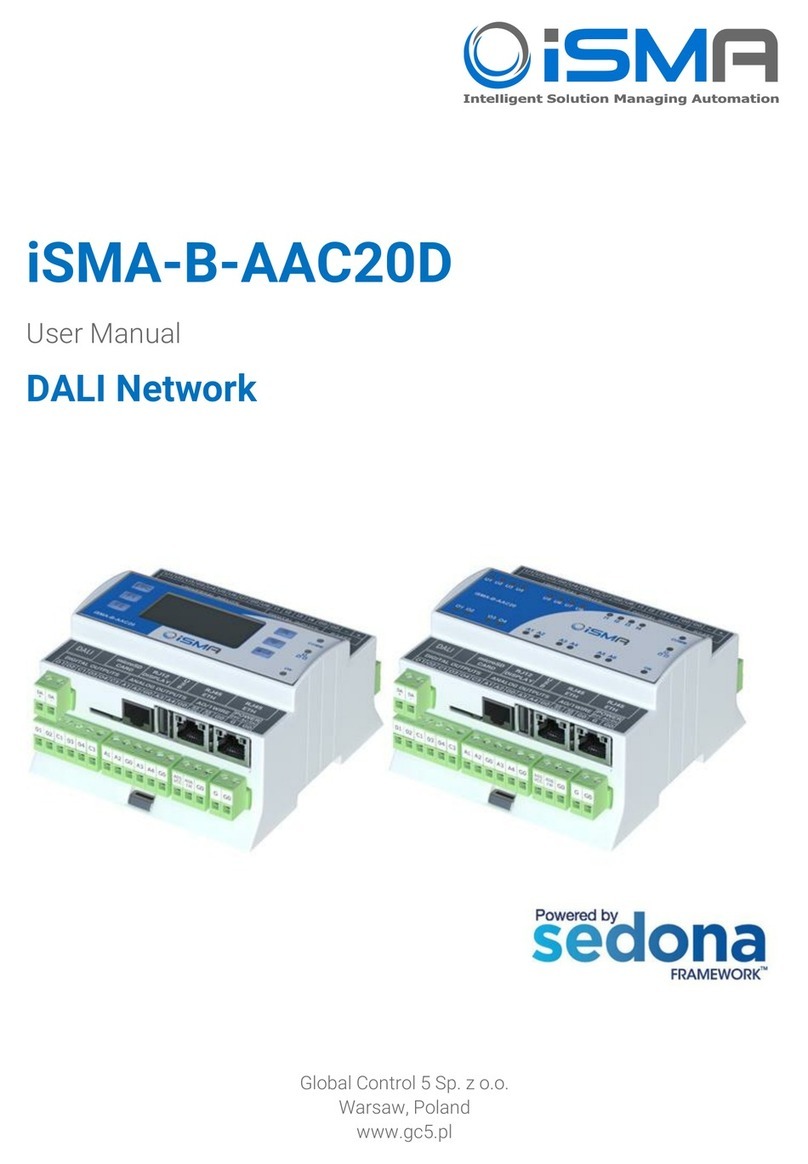
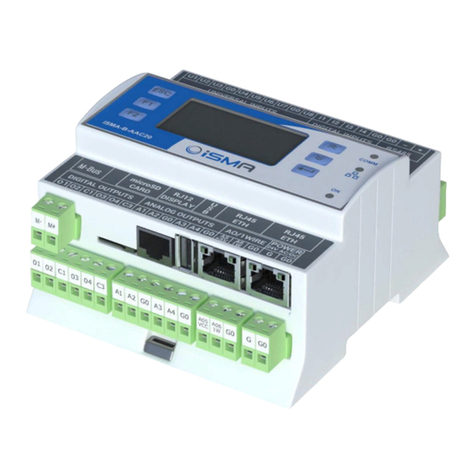
iSMA iSMA-B-AAC20 User manual

iSMA-B-AAC20
User Manual
Platform AAC20
Global Control 5 Sp. z o.o.
Warsaw, Poland
www.gc5.pl

iSMA-B-AAC20/Platform AAC20
Version 1.3 www.gc5.pl Page 2/ 49
Table of contents
1Revision history........................................................................................................................ 4
2Sedona Updater ....................................................................................................................... 4
2.1 IP connection ............................................................................................................... 5
2.2 RS485 connection....................................................................................................... 5
2.3 Sending file to the device........................................................................................... 6
2.4 Restoring the device’s default settings................................................................... 6
2.5 System Console........................................................................................................... 6
2.6 Firmware upgrade....................................................................................................... 8
2.7 Checking firmware version........................................................................................ 9
3Sedona in WorkPlace ............................................................................................................ 11
3.1 Environment installation step by step...................................................................11
3.2 Importing kits to Workplace .................................................................................... 12
3.3 Installing ismaUI module .........................................................................................14
3.4 Connecting to Sedona device .................................................................................14
4Sedona Tools.......................................................................................................................... 16
4.1 Sedona kits .................................................................................................................16
4.2 Kit Manager ................................................................................................................16
4.3 Backup/Restore Tool................................................................................................18
4.4 Application Manager.................................................................................................19
5Licence..................................................................................................................................... 20
5.1 Sedona licence –Online mode...............................................................................20
5.2 Sedona licence –Offline mode...............................................................................21
6Sedona App component....................................................................................................... 21
6.1 Plat service .................................................................................................................23
6.2 Change IP address ....................................................................................................25
6.3 Users service..............................................................................................................26
6.4 Date service................................................................................................................28
7NV components ..................................................................................................................... 29
7.1 NVBooleanWritable...................................................................................................29
7.2 NVIntegerWritable.....................................................................................................31
7.3 NVNumericWritable ..................................................................................................32
8Historical ................................................................................................................................. 35
8.1 History service ...........................................................................................................35
8.2 History extensions –Interval..................................................................................36
8.3 History extensions –COV........................................................................................37
8.4 History extensions –COV_Interval ........................................................................38
9Alarms...................................................................................................................................... 39
9.1 Alarm service..............................................................................................................39
9.2 Alarm Boolean points ...............................................................................................40
9.3 Alarm Numeric points...............................................................................................41
10Scheduler................................................................................................................................. 42
iSMA-B-AAC20/Platform AAC20
Version 1.3 www.gc5.pl Page 3/ 49
11SOX protocol........................................................................................................................... 43
12Local IO .................................................................................................................................... 44
12.1 Adding Local IO components..................................................................................45
12.2 Local IO Config........................................................................................................... 46
13One Wire .................................................................................................................................. 48
13.1 Adding OneWire network .........................................................................................48
13.2 Discovering OneWire sensors.................................................................................49
13.3 Adding sensors manually ........................................................................................49

iSMA-B-AAC20/Platform AAC20
Version 1.3 www.gc5.pl Page 4/ 49
Introduction
This manual contains information about commissioning iSMA-B-AAC20 controller
1Revision history
Rev
Date
Description
1.1
28.08.2015
•First edition
1.2
20.04.2017
•Added DHCP option
1,3
05.02.2018
•Added DNS option
2Sedona Updater
Sedona Updater is a piece of software designed to administer an operating system of iSMA-
B-AAC20 controller. The software is free and can be obtained from your distribution partner or
download from GC5 support website: www.support.gc5.pl. The software allows the following
actions (using the buttons in the lower part of the window):
-Send File –Sends a file into the device, displays the transfer progress bar at the bottom of
the window, correct transfer is confirmed with a message "Transfer complete",
-Reload Firmware –Uploads a firmware file. This operation must be preceded by a transfer
of an adequate firmware files to the device. Upon update, the device shall be rebooted,
-Device Reboot - Reboots the device,
-Default Settings - Sets default value of IP address, RS485 parameters, platform password,
-Console - Displays the operating system console,
Sedona Updater communicates with the device in two ways:
-Modbus TCP - using the Ethernet port,
-Modbus RTU - using the RS485 port. In this type of communication, the device must be in
the Bootloader mode.
The software allows to connect using IP connection, RS485 port or USB A-to-A cable
connection (USB only for power supply or/and diagnostic to read console).

iSMA-B-AAC20/Platform AAC20
Version 1.3 www.gc5.pl Page 5/ 49
2.1 IP connection
To connect to the device using IP connection, open the SedonaUpdater.exe tool and click
“Modbus TCP” button. Activity under the IP connection does not require the device to be in the
“Bootloader” mode – it is enough to input: the device’s IP address (default 192.168.1.123),
Modbus TCP/IP port number (default 502), and the device Modbus Address (default 1).
2.2 RS485 connection
To connect to the device using the RS485 connection, run SedonaUpdater.exe and click the
“Modbus RTU” button. In the COM Port text field, enter the RS485 port number of your PC, set
the Baud Rate (the default is 115200), and the device Modbus Address (default 1).
In order to operate using the RS485 port connection, you must run “Bootloader” mode on the
device.
Bootloader in version with built-in display (iSMA-B-AAC20-LCD):
Step 1 - Disconnect the power and wait for the device to fully shut down,
Step 2 - Hold the Esc button down, and turn the power on again. The screen should now display
“Bootloader”.
Step 3 - Restarting exits the Bootloader mode and returns to normal operation.
Bootloader in version without a display (iSMA-B-AAC20):
Step 1 - Disconnect the power and wait for the device to shut down fully,
Figure 1 Sedona Updater

iSMA-B-AAC20/Platform AAC20
Version 1.3 www.gc5.pl Page 6/ 49
Step 2 - With the device off, take the cover off and move the DIP Switch no 8 to ON position,
turn the power on again. Activation of the Bootloader mode is confirmed by alternating power
and communication LEDs.
Step 3 - To exit the Bootloader mode, switch 8 to OFF and restart the device.
2.3 Sending file to the device
The files can be sent using Modbus TCP protocol over an IP connection. This is the
recommended method, as it does not require switching the device into the "Bootloader" mode,
and provides the fastest way to transfer data.
If you send files using the RS485 port, the device must first be switched into the “Bootloader”
mode, as described above. Then, using the "Select File" button, select a file to upload. The
upload is done through selecting the right protocol (Modbus TCP/Modbus RTU) and
approving the process by pressing the "Send File" button. Progress of the transfer is indicated
by a progress bar at the bottom of the screen. After a successful upload, a message pops up
saying "Transfer Complete".
2.4 Restoring the device’s default settings
Pressing the "Default Setting", restore the factory settings, such as:
-IP address 192.168.1.123,
-Mask 255.255.255.0,
-Default Gateway 192.168.1.1,
-Modbus TCP/IP protocol port 502,
-The password for “platform” user to default 1000.
2.5 System Console
You can view system logs of the controller operating system. There are two options to view
system console:
-By web page,
-By USB connection.
Web page system console
To view system console by web page enter controller IP address in web browser and login to
system (default user: platform, default password 1000). After login go to “Device

iSMA-B-AAC20/Platform AAC20
Version 1.3 www.gc5.pl Page 7/ 49
Management” section and press “Refresh Log” button. All system logs will be displayed on the
window bellow.
Figure 2 AAC20 Web page Device Manager
USB connection system console
To view the logs,use SedonaUpdater.exe software and connect device using the A-A USB
cable. After connection the system automatically recognize controller without installing
additional driver (HMI driver is a default one) and Console button will be active. Open System
Console window by pressing Console button .w??? There are available below display options:
-Log –print only last written data,
-Full log –print all log memory,
-Date –print controller current date,
-Stats –list of all running task and amount of processing time that has been used by each
task,
-CPU usage –current CPU usage.

iSMA-B-AAC20/Platform AAC20
Version 1.3 www.gc5.pl Page 8/ 49
Figure 3 Sedona updater console view
This connection method is recommended when user cannot connect using IP or RS485 ports
or don’t know connection parameters for example IP address.
2.6 Firmware upgrade
Firmware can be updated by uploading the device with an appropriate firmware file, and
reloaded with new firmware. The following files are necessary to upgrade the firmware (all
files are available on GC5 support website: www.support.gc5.pl ):
-SedonaUpdater.exe –Software can send files to controller and do system actions,
-Firmware file –Binary file with firmware code,
-The latest kits –All kits must be updated to the current version, they can be downloaded
and imported as one bundle zip file,
-Default app.sab file –(optional) Default Sedona application file, adapted to the current
firmware version,
-Default kits.scode –(optional) Default Sedona kits image, adapted to the current firmware
version.
Step 1 –Download files from GC5 support website: www.support.gc5.pl to local PC drive,
Step 2 –Upgrade kits files in WorkPlace. (see Importing kits to Workplace chapter),

iSMA-B-AAC20/Platform AAC20
Version 1.3 www.gc5.pl Page 9/ 49
Step 3a - Send files by IP connection –Using IP connection controller will automatically run
Bootloader mode.
Open SedonaUpdater.exe and set up communication parameters :
-Tab Modbus TCP,
-IP Address –Controller IP address (default for new devices 192.168.1.123),
-Modbus TCP/IP port –Controller Modbus TCP/IP port (default 502),
-Modbus Address –Controller Modbus address (default 1).
Step 3b - Send files by RS485 connection.
WARNING! Using RS485 port controller must be manually switched to Bootloader mode (see
RS485 connection chapter).
Open SedonaUpdater.exe and set up communication parameters :
-Tab Modbus RTU,
-COM port –PC RS485 COM port number,
-Baud Rate –Controller RS485 port baud rate (default 115200),
-Modbus Address –Controller Modbus address (default 1).
Step 4 - Select the firmware file (.bin file) using the "Select File" button and send to the
controller using the "Send File" button, after success transfer you will get message “Transfer
OK”.
Step 5 –Send default app.sab and kits.scode files (optional).
WARNING! This operation will erase controller application, not recommended if you want to
keep your application or backup application on your PC drive.
Select app.sab file and send to the controller after “Transfer OK” message select second file
kits.scode and send to the controller.
Step 6 –Reboot controller using Reload Firmware button. The controller will load new
firmware and restart.
Step 7 –Check controller firmware version (see Checking firmware version) if it does not
change repeat steps of this chapter.
2.7 Checking firmware version
There are three options to check controller current firmware version.

iSMA-B-AAC20/Platform AAC20
Version 1.3 www.gc5.pl Page 10 / 49
By Workplace
To verify the current firmware version, log in to the device and go to the Plat component. The
Plat component is located in the Service folder, directly below the App component (Sedona ->
App -> Service -> plat). Plat contains the "Firmware Version" slot identifying the working
firmware version.
By Web page
To verify the current firmware version, open browser, enter controller IP address and enter
user platform and 4 digits password (default 1000, it can by changed in Sedona -> App ->
Service -> plat component in slot “Device Password”). Firmware version is displayed on Device
tab in Basic Information.
By LCD system menu
To verify the current firmware version, login to system menu by holding F1 button, enter LCD
platform user 4 digits password (default 1000 or from plat component), and open Info page.

iSMA-B-AAC20/Platform AAC20
Version 1.3 www.gc5.pl Page 11 / 49
3Sedona in WorkPlace
Sedona device configuration and programming is based on the WorkPlace software. Out of
the box, WorkPlace has no plugin to handle Sedona devices and it should be installed. The
installation files can be downloaded from the "Niagara Central" website or obtained from your
distribution partner. WorkPlace 3.7 version and older require bundle
Sedona_Framework_TXS-1.2.28. WorkPlace 3.8 version and later use bundle
Sedona_Framework_TXS-1.2.100. To get Sedona Framework installation file, go to Niagara
Central or contact your distributor.
3.1 Environment installation step by step
Step 1 –Go to Tools from the menu bar and choose application Sedona Installer. The first
installation window will pops up. In this window choose the Sedona bundle.
Figure 4 Sedona Framework installer first window
Step 2 –Click “Next” and move on to licence terms and conditions. To continue, accept and
confirm your installation by clicking Install.

iSMA-B-AAC20/Platform AAC20
Version 1.3 www.gc5.pl Page 12 / 49
Figure 5 Sedona Framework installer second window
Step 3 –Upon successful installation of Sedona environment, restart WorkPlace by clicking
the “Restart Workbench” option followed by the Finish button.
Figure 6 Sedona Framework installer last window
3.2 Importing kits to Workplace
To import files to WorkPlace it is recommended to use “Sedona Installer” from Tools menu
and choose “Import Sedona environment files”. The latest kits and kits bundle can be
downloaded from support.gc5.pl web site. There are two options to import kits to Workplace:

iSMA-B-AAC20/Platform AAC20
Version 1.3 www.gc5.pl Page 13 / 49
-Singly –by choosing single kit file with .kit extension
Figure 7 Sedona environment files installer single file
Open Sedona installer from Tools menu in Workplace, mark “Install Sedona environment files”
option and select kit file. Press next button to finish importing process. This process copies
this file to Sedona kits folder.

iSMA-B-AAC20/Platform AAC20
Version 1.3 www.gc5.pl Page 14 / 49
-Groups –by choosing prepared bundle file with zip extension
Figure 8 Sedona environment files installer software bundle
Open Sedona installer from Tools menu in Workplace, mark “Install Sedona environment files”
option and select zip file. Press next button to finish importing process. This process copies
all kit files from zip archives to Sedona kits folder.
3.3 Installing ismaUI module
ismaUI module is a special module which include WorkPlace views for Sedona components.
To install ismaUI module download jar file from support.gc5.pl website and copy ismUi.jar file
to Niagara/module folder on local PC. To make changes, restart WorkPlace.
3.4 Connecting to Sedona device
In order to connect to the device, select “Open” Device” in the menu bar (File -> Open -> Open
Device)
Note: No option “Open Device”should be available, no Sedona plugin has been installed in
WorkPlace. In this case, proceed to install the Sedona environment as described in the
previous section.
After selecting the above option, a device login window pops up.

iSMA-B-AAC20/Platform AAC20
Version 1.3 www.gc5.pl Page 15 / 49
Figure 9 Sedona Device connection window
By default, a new device should have the following values:
-IP address –192.168.1.123,
-Port –1876,
-User –admin,
-Password –empty box (no characters).
The connection parameters can be changed after connect to controller:
-IP address –in plat component (see Change IP Address chapter),
-Sox Port - in sSox service (see Sox chapter),
-Admin password/new user –in user service (see user chapter).

iSMA-B-AAC20/Platform AAC20
Version 1.3 www.gc5.pl Page 16 / 49
4Sedona Tools
Sedona Tools is a part of the WorkPlace tools dedicated to manage device applications and
kits. In this view we can also see device installed kits with kits checksum (to recognize kits
version). More information about Sedona Tools can be found in docSedonaSoxTools.pdf
under Niagara docs files, installed in your machine in the Niagara installation process.
Figure 10 Sedona Tool view
Br
4.1 Sedona kits
Sedona environment kits are the sets of components for programming applications. The
device is provided with a set of basic kits and in order to develop applications, the set should
be uploaded to your device. To add the new or update the kit, it must first be imported into
WorkPlace (see chapter Importing kits to Workplace). In device, the set of kits is stored in file
kits.scode. To manage controller kits and compile kits.scode the Workplace use tool Kit
Manager (see Kit Manager chapter).
4.2 Kit Manager
The Kit Manager Tool is used to manage kits on Sedona devices. The kits.scode file is a file
which contains a set of kits in a Sedona Framework code image file with an .scode extension.
The scode image is executed by the SVM (Sedona Virtual Machine) in the device. Using the

iSMA-B-AAC20/Platform AAC20
Version 1.3 www.gc5.pl Page 17 / 49
Kit Manager, you can add and remove kits, as well as change versions of kits deployed in the
scode running on the device. Also, you have the option to force the kits.scode to be rebuilt.
The kits.scode must be rebuilt whenever a change affects the schema. This ensures such
changes are included in the recompiled binary .scode image. When you make any kit selection
changes in the Kit Manager, it automatically selects and check this option. The only time you
would select this option is when you want to force the scode to be rebuilt (even if no change
was made to kit selections). This option is most useful in a development environment where
the actual code in a kit might change while the kit version and checksum do not. In this case,
no change is required in the Kit Manager but the scode must be regenerated in order to deploy
the new code on a device.
Figure 11 Kit Manager
The “Action”drop-down list options can be one or more of the following:
-Keep at [the current version],
-Upgrade to [a newer version],
-Downgrade to [an older version].
The newer/older kit version levels shown in the Action drop-down menu are available in
Workbench. They are stored in the NIAGARA\sedona\kits directory.

iSMA-B-AAC20/Platform AAC20
Version 1.3 www.gc5.pl Page 18 / 49
In order to remove a kit, remove all its components from the application first. If the application
does not contain any kit components, its icon in Kit Manager shall be replaced with a check
box. To delete it, you must deselect it in the “name” column (the “action” column will now show
“remove”). The following steps are the same as in the case of installation.
4.3 Backup/Restore Tool
The Application Backup/Restore Tool is used to backup or restore the device application from
the file. The Backup option downloads the necessary files from the device, and saves them in
the directory “/Niagara_Home / Sedona / store / backup”in the form of a zip archive. This tool
backs up all the necessary files needed to restore the application on a "clean" device. There
are three backup options available:
-Sedona VM Backup - backup of the Sedona Virtual Machine (not supported by iSMA-B-
AAC20)
-app.sab and kits.scode Backup - backup of application files app.sab and kits.scode (kits
image). (Selected by default)
-Sedona dependencies Backup (kits, manifests, pars) - This option backs up all files needed
for the app to run on another or new device.
Figure 12 Backup / Restore Tool

iSMA-B-AAC20/Platform AAC20
Version 1.3 www.gc5.pl Page 19 / 49
4.4 Application Manager
The App Manager tool is used to manage app.sax file. The app.sax is Sedona Application XML
file which is a simple XML representation of a Sedona Framework app that is easily generated
and consumed by Sedona Framework software tools. This file can be opened and changed in
offline mode. The Manager has two options Get and Put. Choosing the Get option allows you
to save app.sax file on a local PC drive. Choosing the Put option allows you to send file to the
device.
Figure 13 Application Manager

iSMA-B-AAC20/Platform AAC20
Version 1.3 www.gc5.pl Page 20 / 49
5Licence
Sedona controllers have built-in licence mechanism. All out of box controllers have installed
standard licence version and it is ready to work. But in case of licence changing or after
memory clear the licence must be re-uploaded. There are two modes of doing it::
-Online mode,
-Offline mode.
The licences is generated by serial number or MAC address. The proper file name format is
“MAC address without dots”.dat.
WARNING! To manage licence under WorkPlace in Online mode, you must download
ismaUI.jar module file with contain special view for Sedona components. The ismaUI file must
be placed in Niagara/modules folder.
5.1 Sedona licence –Online mode
Using Sedona Online mode Workplace can connect to licence server, download and save it on
local PC in Niagara/Sedona/licence folder. To download licence from server pleas use “Get
Licence from Remote Database”. During download process will pop-up windows with status
progress. After completed download operation use “Get Licence from Local Database” to send
licence file to the controller. After device reboot Sedona will boot with new licence.
Figure 14 License Manager view
Other manuals for iSMA-B-AAC20
3
Table of contents
Other iSMA Controllers manuals

iSMA
iSMA B-AAC20 User manual

iSMA
iSMA iSMA-B-MAC36NL Installation manual

iSMA
iSMA iSMA-B-MAC36NL User manual

iSMA
iSMA B-AAC20D User manual

iSMA
iSMA iSMA-B-MAC36NL User manual

iSMA
iSMA iSMA-B-AAC20 User manual

iSMA
iSMA MVE2 Series User manual

iSMA
iSMA SMA-B-LP User manual

iSMA
iSMA iSMA-B-MAC36NL User manual

iSMA
iSMA iSMA-B-MAC36NL User manual