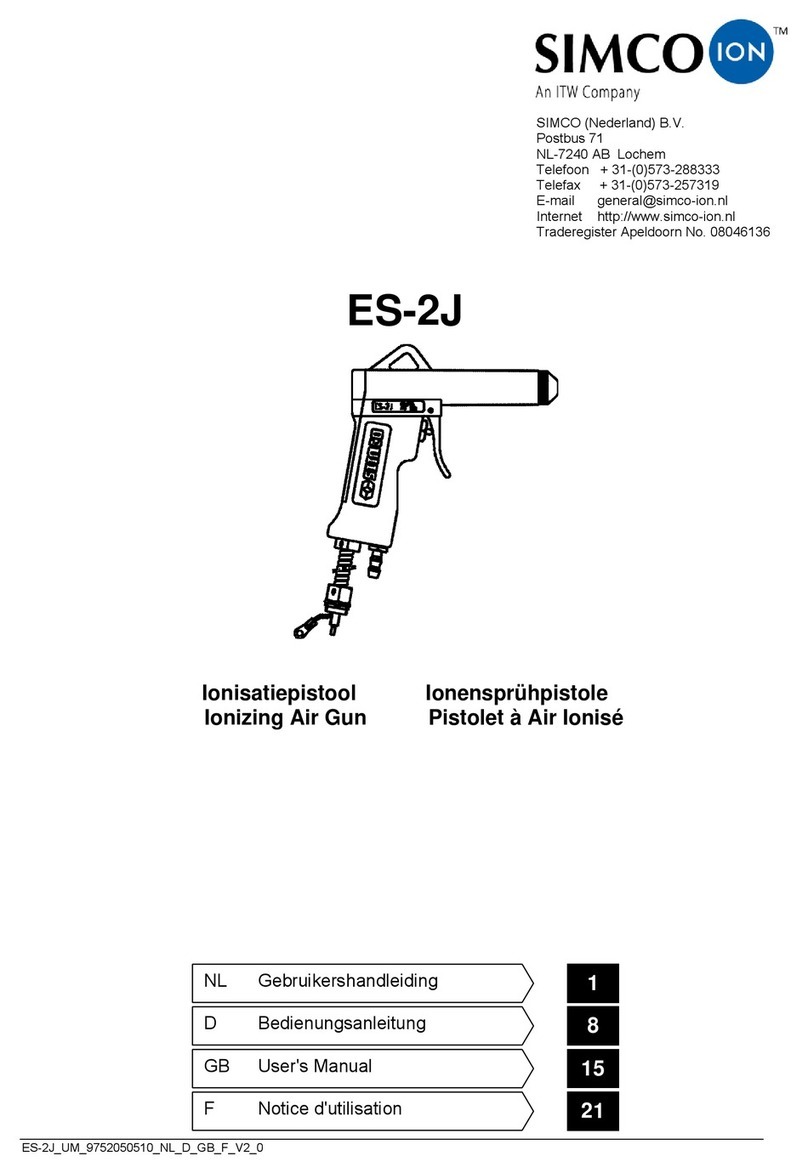
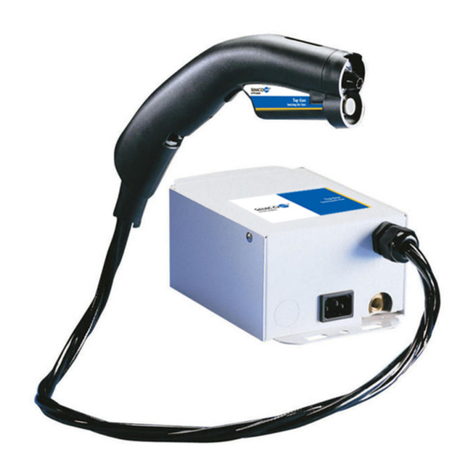
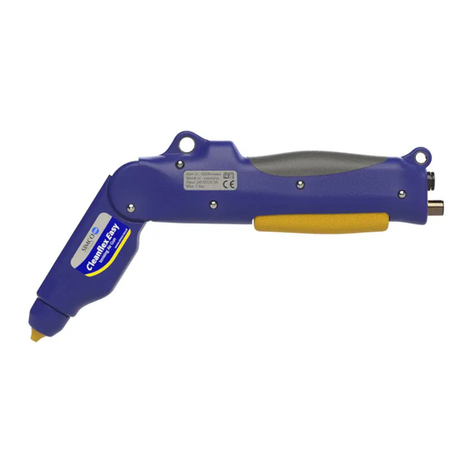
ITW SIMCO ION Cleanflex Easy User manual

ICleanflex Easy 5201323 Rev B
Cleanex Easy
Air Ionizing Gun
INSTALLATION AND OPERATING INSTRUCTIONS

i
Cleanflex Easy 5201323 Rev B
TABLE OF CONTENTS
1. SAFETY WARNINGS ........................................................................... 1
2. DESCRIPTION .................................................................................. 2
3. SPECIFICATIONS................................................................................ 3
4. INSTALLATION.................................................................................. 5
4.1 Control .........................................................................................................................5
4.2 General.........................................................................................................................5
4.3 Power and Compressed Air Supply ..............................................................................6
4.4 Connection To An External LPS Certified Power Supply............................................6
5. OPERATION ..................................................................................... 7
Product Safety.....................................................................................................................7
Commissioning ..................................................................................................................8
Operational Check ..............................................................................................................9
6. MAINTENANCE ................................................................................10
General..............................................................................................................................10
Repairs ..............................................................................................................................10
Disposal ............................................................................................................................10
7. TROUBLESHOOTING..........................................................................11
8. PARTS AND ACCESSORIES..................................................................12
9. WARRANTY AND SERVICE ..................................................................13

1
Cleanflex Easy 5201323 Rev B
1. SAFETY WARNINGS
PLEASE READ INSTRUCTIONS COMPLETELY BEFORE STARTING
INSTALLATION
ALL INSTALLATION AND TROUBLESHOOTING OPERATIONS MUST
BE PERFORMED BY QUALIFIED TECHNICAL PERSONNEL
The following safety guidelines must be observed in order to prevent physical injury
and damage to objects or to the static neutralizing bar itself:
This instruction manual uses symbols to identify dangerous situations as follows:
NOTE – Statements identified with NOTE indicate precautions necessary
to avoid potential equipment failure.
CAUTION – Statements identified with CAUTION indicate potential
safety hazards.
WARNING – Statements identified with WARNING indicate potential
serious injury hazards.
WARNING – Indicates special information to prevent injury or significant
damage to the product or the environment.
WARNING – Indicates information for preventing electric shocks.
WARNING – Important information for making the most efficient use of
the product and/or for preventing damage to the product or the environment.
NOTE – Advice on how to use the product.

2
Cleanflex Easy 5201323 Rev B
2. DESCRIPTION
The Cleanflex Easy ionization gun is a compressed air gun designed to clean
electrostatically charged surfaces or parts. The gun produces a flow of air rich in
positive and negative ions. When directing this air flow to an electrostatically charged
surface, an exchange of electrons takes place, so that the surface is neutralized during
blowing clean. This prevents the particles being blown off again
The gun operates on 24V. The high voltage required for ionization is generated
internally. The high voltage is present only when the gun trigger is pressed and
compressed air is present in the gun. This prevents wear on the high voltage emitters,
which drastically extends the gun life.
Due to the ergonomic shape of the handle, the Cleanflex Easy fits comfortably in the
hand and the gun is easy to operate with the integrated trigger.
The unique design of the gun’s discharge nozzle ensures that the amount of blown
air is approximately 3 times greater than the amount of compressed air used. It also
ensures a very low noise emission during the operation of the gun.
The Cleanflex Easy meets the criteria of the OSHA 29CFR 1910.242 (b) safety
standard for reducing compressed air pressure below 30 psi for compressed air based
cleaning equipment.
Thanks to the revolving head the Cleanflex Easy can be used as a “pull down” gun
for use with a balancer above a workstation or as a traditional handgun.
Figure 1: Cleanex Easy

3
Cleanflex Easy 5201323 Rev B
3. SPECIFICATIONS
Input Voltage 24 VDC ±3V
Input Current 0.5A max
Input Connection M12, female, 5 pole
Inputs Pressure 1-7 bar (15-100 psi) clean and free from moisture and oil
Connections Quick disconnect type for hose Ø8 mm [5/16”]
Output Voltage Internally generated
Air Consumption See Table 1, Chapter 4.4
Noise Level
75 dBA @ 2 bar @ 60 cm from the air outlet
83 dBA @ 4 bar @ 60 cm from the air outlet
92 dBA @ 7 bar @ 60 cm from the air outlet
Intended Use Light industry
Temperature 0-55°C
Humidity Relative humidity ≤90% none condensing
Indicators
Start Up = Flashing green quickly (5 Hz)
Stand-By = Flashing green slowly (1 Hz)
Still Alive = Flashing intermediately (every 5s)
On-Signal = Continuous green Compressed air OK and high voltage is ON
Error Signal =The red LED lights up in case of an internal error.
Dimensions See image dimensions
Weight 0.3 kg (excluding power cable & compressed air hose)
Enclosure Plastic
Accessories Snap hook 40 x 4 mm
Compressed air nipple for hose Ø8 mm [5/16”]
Optional See list for spare parts and accessories, Chapter 8
Approvals CE

4
Cleanflex Easy 5201323 Rev B
Figure 2: Cleanex Easy Dimensions
Figure 3: Air Consumption

5
Cleanflex Easy 5201323 Rev B
4. INSTALLATION
WARNING –
• Disconnect the power supply before carrying out any work on the unit
• The electrical installation must be carried out by an electrical engineer with the
relevant training and qualifications
• The Cleanflex Easy may only be used indoors and only for light industrial
applications
• Refer to the manual for the correct power supply to be used for correct and safe
gun connection
• The power supply for the Cleanflex Easy must be properly grounded. Grounding
is necessary for proper operation of the equipment and prevents electric shock
when touched
• The Cleanflex Easy must be powered only by a Limited Power Source (LPS) or
NEC Class 2 power supply. An LPS certified power supply has a limited output
power so that it always continues to generate a safe output voltage
WARNING – The 0V of the power supply output must be properly
grounded (see paragraph 5.4).
The Cleanflex Easy can be powered by an existing available 24 VDC power supply
at the workplace (which meets the above requirements). Gun will come kitted with
an AC adapter and 120V line cord
4.1 Control
• Check that the equipment has been received undamaged and is the correct
version
• Check that any necessary accessories have also been included
• Check that the packing slip data matches the data of the received product
NOTE – In case of problems and / or questions, please contact Simco-Ion
ora Simco-Ion representative in your region.
4.2 General
Determine the optimal location where the gun with the power supply and the
compressed air hose will be used.
The compressed air hose and the power cable can be tied together with suitable
materials.
Use a standard Simco-Ion Device cable for the power cable (see accessories) or make
your own connection cable with an M12 connector (see section 5.4)

6
Cleanflex Easy 5201323 Rev B
NOTE – The blow-off force is reduced to 80% when using the spiral hose.
4.3 Power and Compressed Air Supply
• Make sure that the Cleanflex Easy is supplied with clean, moisture and oil-
free compressed air.
• Make sure that the compressed air connection and the 24V power supply
are within reach of the connecting hose and connecting cable. Both the hose
and the cable must not come under tension during use.
• Manually screw the power cable with the M12 connector tightly to the gun.
• Connect the other side of the power cable to the 24V power supply. See
connection data of the cable for mounting on your own 24V system.
• Insert the compressed air hose Ø8 mm [5/16”] into the compressed air
connection of the gun or use the supplied connection nipple to connect a
compressed air hose of Ø8 mm [5/16”].
• Connect the other end of the compressed air hose to the compressed air
connection with suitable materials. Use a pressure regulating valve with filter
to regulate the compressed air to the desired pressure.
• Refer to the manual of the 24V power supply for connecting the power
supply.
4.4 Connection To An External LPS Certified Power Supply
Figure 4:Wiring Supply Cable Cleanex Easy
Pin PIN Definition
124 VDC
224 VDC
3 0V/GND
4HV OK
5 GND
Table 1: Overview Pin Assignment
Connect the wiring according to Figure 3 and Table 1.
For personal safety and proper operation, the grey and the blue wire must both to be
connected to ground. These connections have already been done in the Simco-Ion
Desktop Power Supply.

7
Cleanflex Easy 5201323 Rev B
5. OPERATION
Product Safety
The following safety guidelines must be observed in order to avoid injuries and
damage to objects or the Cleanflex Easy.
WARNING –
• Electrical installation must be carried out by a qualified electrician in accordance
with national and local regulations
• The Cleanflex Easy must not be used in a fire or explosion-hazardous
environment
• The Cleanflex Easy is intended solely for blowing and at the same time
neutralizing electrostatically charged surfaces. Any other use is not recommended
• To guarantee the service life of the Cleanflex Easy, the gun must be supplied
with clean, compressed air which is free from moisture and oil. Contamination
of the high voltage emitters will reduce the gun performance and can cause the
Cleanflex to malfunction
• A small amount of ozone is emitted during the internal ionization process. The
ozone concentration is so low that no damage to health can occur
• When using compressed air pressure of more than 3 bar, the noise level emitted
is greater than 80 dB and hearing protection is therefore mandatory
• Do not seal the air outlet opening during use. This can create a danger of
ejecting objects
• To be protected from blown up dust or ejected objects, it is recommended to
wear safety glasses during use
WARNING –
• Make sure that the equipment is properly earthed. Earthing is necessary to
ensure proper and safe operation and to prevent electric shocks upon contact
• Never immerse or make the Cleanflex Easy wet. A short circuit will damage the
gun and can cause an electric shock
• Never use a damaged gun. Touching the live parts will cause an electric shock
• Do not insert conductive parts into the blow-out opening
• High voltage equipment can be dangerous for people with pacemakers

8
Cleanflex Easy 5201323 Rev B
WARNING – The device loses its warranty if:
• Without prior written approval, changes, adjustments, etc. have been made or
non-original parts have been used for repair
• Dirty compressed air has been used
• The Cleanflex internal parts have become wet and the electronics have become
defective
• The Cleanflex has been improperly used
Commissioning
• Supply 24V power supply and compressed air to the gun. Before first use, it is
advisable to set the compressed air to, for example, 2 Bar
• The LED indicator on the gun blinks green rapidly during start-up. The gun is
ready for use after approx. 5 seconds; the LED indicator slowly flashes green 1x
per 3 seconds (still alive)
• Take the gun in your hand and point it at the object to be cleaned while the
trigger is pressed. The LED indicator now lights up green continuously
The ionized air stream cleans and discharges the object within 1 second
• The ionization is only active when the trigger of the Cleanflex is pressed
• Release the trigger once the entire object or surface has been cleaned and
discharged
• Adjust the rotatable gun head to one of the four desired positions by moving it
with moderate force by hand
At the bottom of the gun is an M12 connector for the 24V power supply and
the compressed air connection. Above the handle of the gun is an LED indicator
displaying the status of the gun. The head of the Cleanflex Easy can be easily
adjusted into four positions to adapt the shape of the gun to the application used.
The built-in stop ensures that the head remains in one of the four desired positions.
As soon as the trigger is pressed in, the internal high voltage will turn on, blowing
out ionized air. The shape of the discharge nozzle creates a venturi effect so that
ambient air is also blown effectively in the direction of the air flow.
Other manuals for SIMCO ION Cleanflex Easy
1
Table of contents
Other ITW Power Tools manuals
