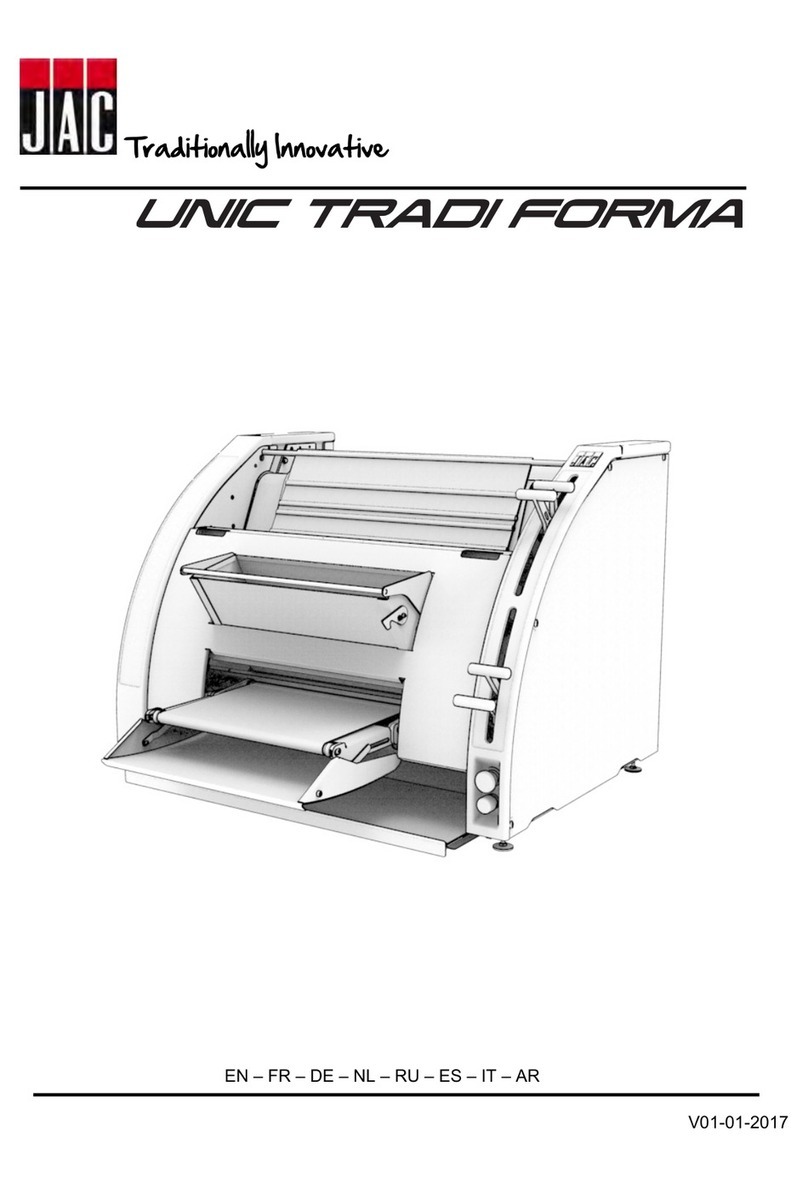
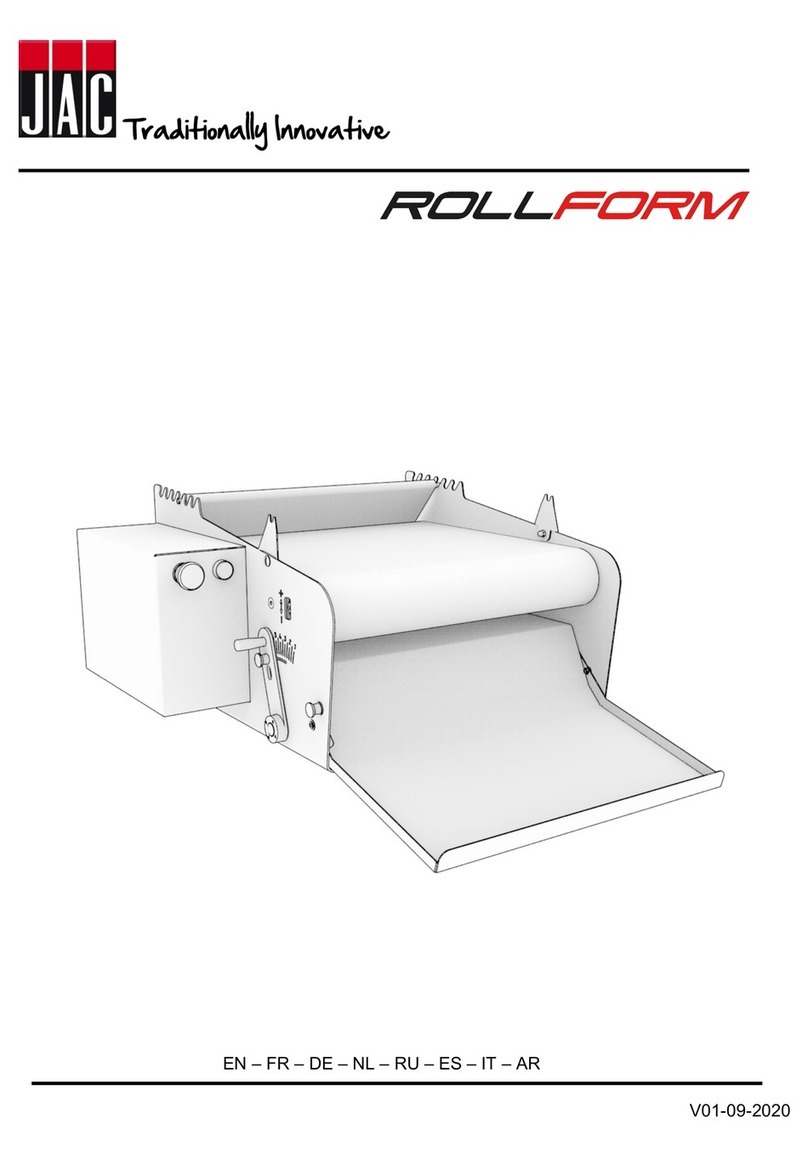
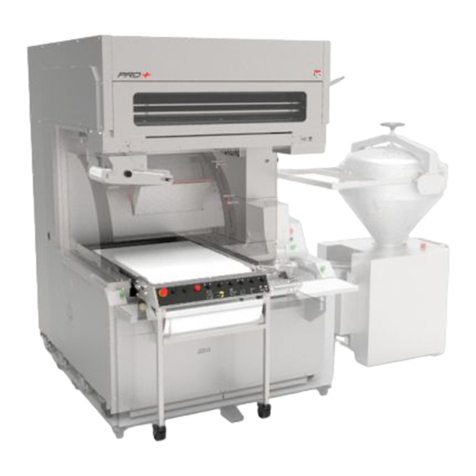
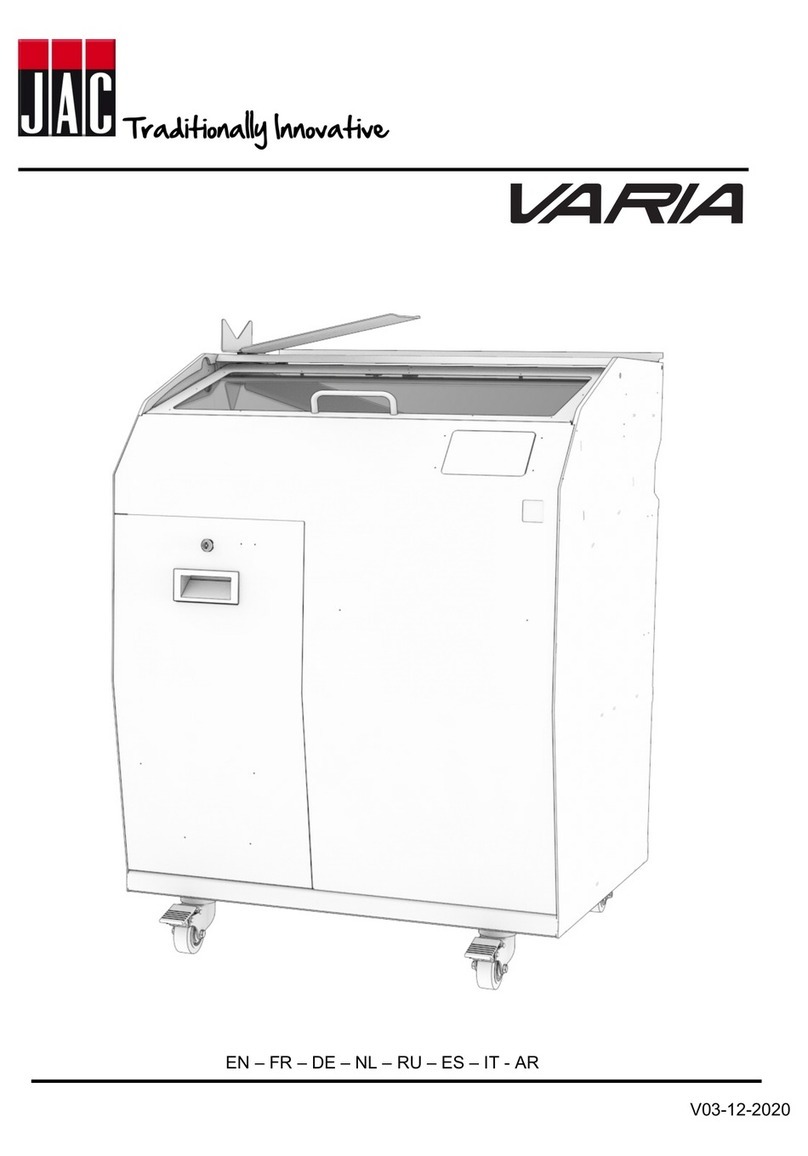
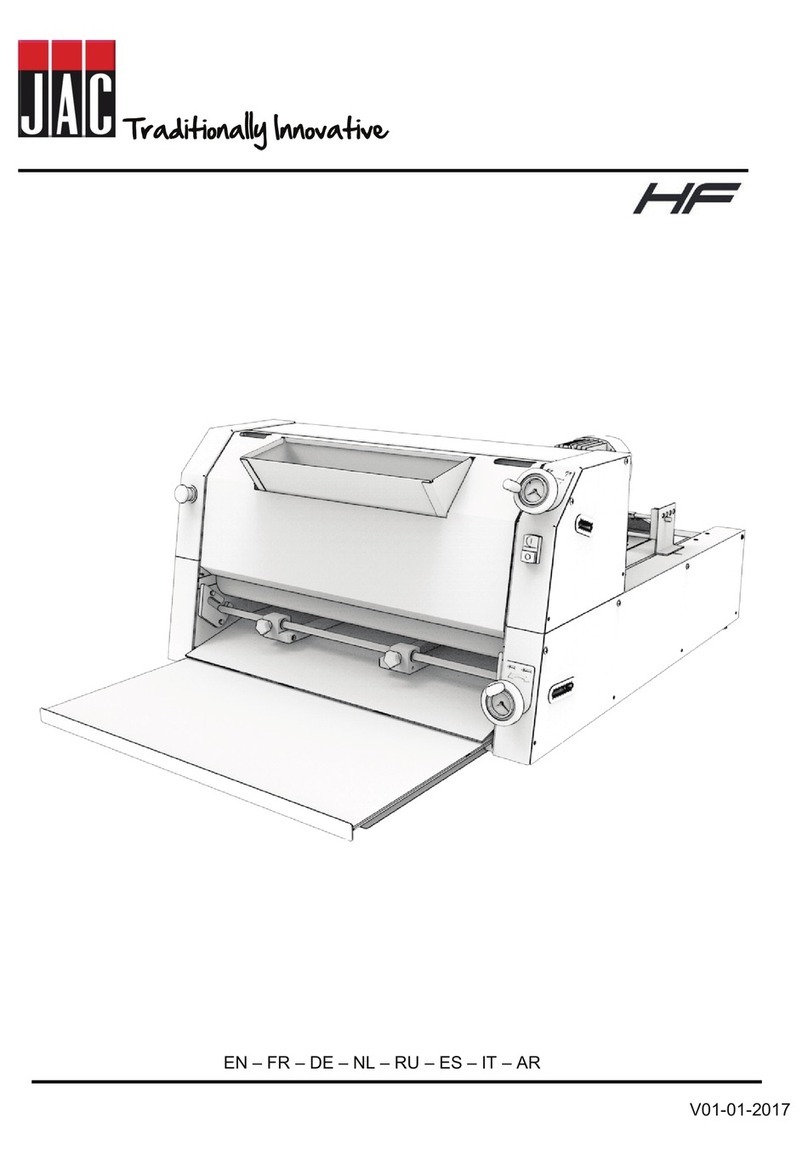
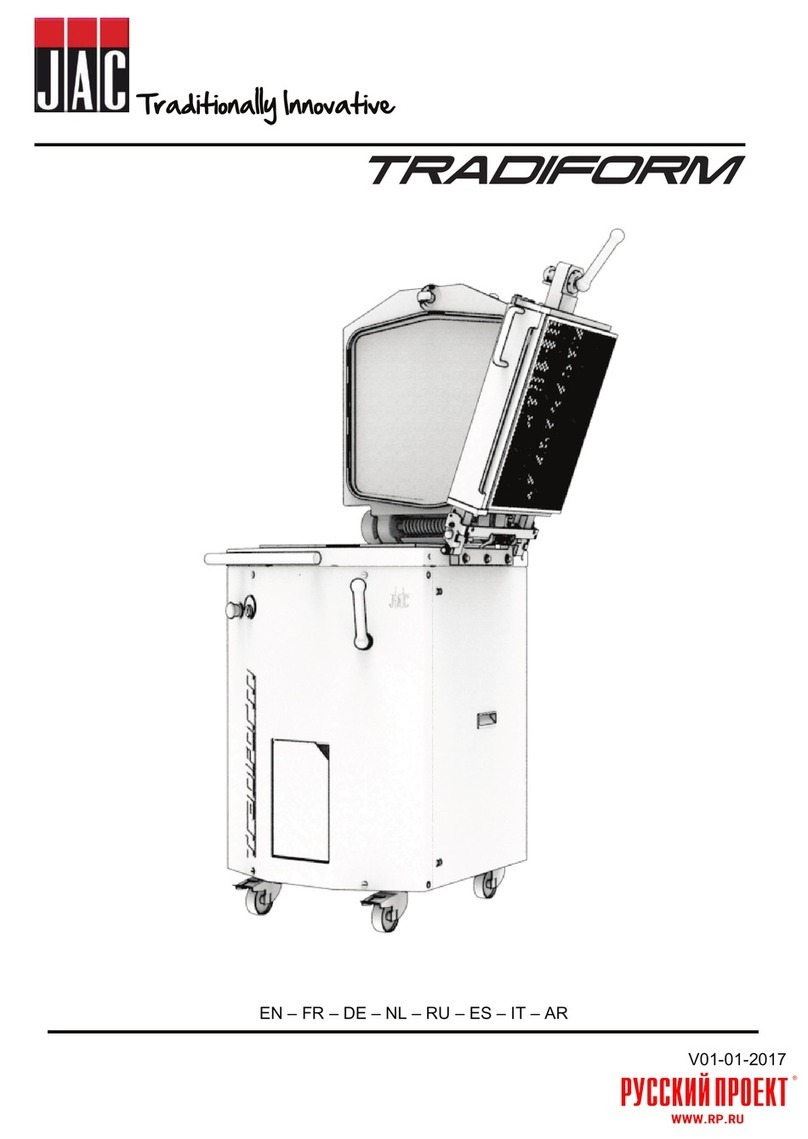
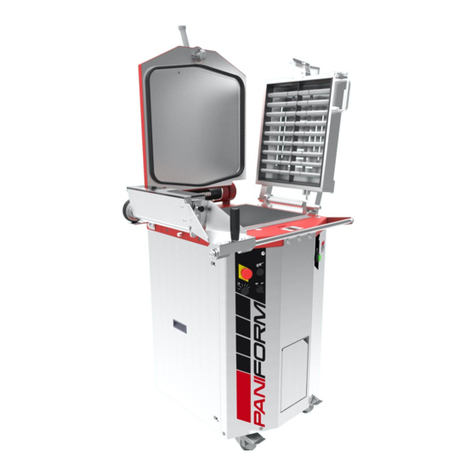
JAC UNIC C2 User manual


UNIC C2 / TRADI / FORMA
3
FAÇONNEUSES
(Notice d’instructions origina e)
11
MOLDEADORAS
(Traducción de manua origina )
35
FORMATRICI
(Traduzione de e istruzioni origina i)
29
ТЕСТОРАСКАТОЧНЫЕ МАШИНЫ
(Перевод оригинальной инструкции)
41
17
LANGWIRKMASCHINEN
(Übersetzung der Origina betriebsan eitung)
23
DEEGWALSEN
(Verta ing van de oorspronke ijke gebruiksaanwijzing)
MOULDERS
(Trans ation of the origina instructions)
5
EN
FR
DE
NL
IT
ES
RU

Trans ation of the origina instructions
4

5
BEFORE START-UP
You have just received a JAC machine and we would like to thank your very much for your
confidence.
In order for you to be com letely satisfied over the next few years, lease note the following
advices :
- Obtain assistance from your authorised agent for installation, start-u and follow-u ;
- In order to be able to benefit from the 3 year warranty (see conditions for returning be-
low), you should have the service book filled out by your distributor when the machine is
installed. The service book is located at the back of this manual.
WARRANTY
JAC offers a 3 year warranty on all its roducts.
This warranty includes re lacement of original arts found to be defective and installation
free of charge by the JAC agent.
The warranty becomes effective from the installation date of the equi ment.
Under the fo owing restrictive conditions :
1. The equi ment is urchased under “normal“ conditions ;
2. Installation is made by an authorised agent ;
3. Utilisation of equi ment conforming to the indications of the instructions for use and for
the ur ose for which it is made ;
4. The equi ment is maintained daily as a good father should and with all due care ;
5. Maintenance followed-u by the authorised agent conforming to the maintenance s eci-
fications with at least one maintenance a year (maintenance at the user’s cost).
The manual has a age for this where the agent can detail the different maintenance.
If there is no maintenance follow-up by an authorised agent and/or if the service
book is not completed correctly, the warranty is limited to one year.
6. Exclusive use of JAC original arts.
This warranty doesn’t cover
1. Re lacement of normally wearing arts ;
2. Parts found not to be defective by our dealers ;
3. Problems resulting from abnormal use of the equi ment ;
4. Problems resulting from an installation not installed by an authorised agent ;
5. Parts where roblems result from trans ort damage or incorrect handling.
Re air and/or re lacement of defective arts during the warranty eriod does not extend the
initial warranty.

6
CAUTION
- This machine is intended for rofessional bakers ;
- It may only be used by one erson at a time. (unless otherwise stated) ;
- Don’t allow children or unauthorised ersons to use or mani ulate the machine ;
- It has to be ke t and used inside in a location, away from humidity and heat ;
- The machine has to be adequately lit for carrying out the work satisfactorily ;
- This machine has a noise level below 70 dB(A) as er standard EN ISO 3744.
CONNECTION
- Before connecting your machine to the electricity network, check that the machine o er-
ation voltage (see rating late on the machine) and voltage of the electricity network
are a ro riate ;
- Connection of the machine has to be made using an earthed lug ;
- Your electrical installation su lying the machine has to be rotected as below :
- North America : Main rotection 15A ;
- Rest of the world : Main rotection 16 A.
Note : All other roblems resulting from another ty e of connection will not be taken into
account.
START-UP
- Make sure that there are no foreign objects on the moving arts of the machine before
you start it u ;
- Check the tension of the belts (casing).
- Check that the hase connection is correct. To that effect, ress the green button brief-
ly and check that the motor is running. If the motor does not start, un lug the machine
from the mains and invert 2 hases;
- Make the machine run em ty, dust the belts and cylinders with flour.
DANGER
- In case of danger, ress the red STOP button to ower the machine off.
- Remove the electric lug before every maintenance and service o eration ;
- All maintenance or art changing o erations are to be carried out by a qualified erson.

7
INSTRUCTIONS FOR USE
Use the schematics on age 46 and 47 for using the machine.
At the start of the day ower u the machine with the aid of the main switch inside the
machine (near the crumb collector) and ress the green button to switch the machine
on.
Instructions for use
Dough mou ding (De ivery be t c osed)
1. Set the moulding (to lever (1)) ;
2. Set the rolling rocess (lower lever (2)) ;
3. Press the On button ;
Adjust de s eed (TRADI);
4. Insert the dough ieces into the loading chute ;
5. Your roducts will be delivered to you on the delivery tray.
F at bread (FORMA)
1. Tilt the delivery belt to the low osition ;
2. Set the rolling rocess (lower lever (2)) ;
3. Press the On button ;
4. Insert the dough ieces into the loading chute ;
5. Your roducts will be delivered to you on the delivery belt or the delivery tray.
Once the o eration is com leted, ress the red STOP button to ower the machine off.
Tip : For a good outcome on the final roduct, the dough ieces must be even and suit-
ably ositioned for the rolling rocess.
You therefore need to adjust moulding and rolling settings based on the result obtained.
Capacity : Number of cycles er hour: 0 to 1800 cycles.
Weight range : 50 to 1200 gr.
Safety :
- Pressing the emergency sto button will sto the machine ;
- The machine will not start if the front cover is o en ;
- The machine will not start if the flat bread delivery belt is tilted ;
- Pushing the chute forward cuts off the machine.

8
MAINTENANCE
Every week, by a trained user :
1. Inside c eaning
1. O en the rolling and moulding area as much as ossible ;
2. Un lug the machine from the mains ;
3. Clean the chute with a slightly dam s onge ;
4. Brush the feed belt (FORMA) ;
5. Remove the scra ers ;
7. Using a slightly dam cloth, clean the cylinders and scra ers ;
8. Remove the heavy belt ;
9. Using a brush, clean the moulding and heavy belts.
2. Outside c eaning
1. Wash the entire body with water and a soft and colourless detergent (washing-u liquid
for instance) ;
2. Thoroughly rinse and dry.
Never sp ash or immerse the machine in water
Every year, by an authorised agent :
1. Check the condition of the moulding belts ;
2. O en the side anels ;
3. Check the tension of the motor driving belt ;
4. Check the tension and wear of the chains ;
5. Check the condition of the scra ers ;
6. Check the tension and the centring of the belts ;
7. Check all the safety features.
Every 6 months, by a trained user :
1. Add grease to the chains.
Check that your authorised agent records the intervention in your service book in
order to keep your 3 year warranty

9
SPARE PARTS
When ordering s are arts, check with your authorised agent the arts concerned using
the s are arts catalogue ublished by the manufacturer.
Always rovide the machine number as indicated on the rating late.
Your agent will order the arts from JAC.
TROUBLESHOOTING
The motor is not working
Check the ower su ly ;
Check the thermal relay ;
Check the safeties ;
Check the hase direction.
The dough is tearing
Check the scra ers ;
Check the tension of the casings belts.
The products de ivered have defects
Check that there is no dough or crust stuck on the scra ers, the floating belt or the 2 cas-
ings ;
Check the tension of both casings (sli ing during moulding) ;
Check that the ieces are ro erly loaded into the chute.
A ways get an authorised dea er to carry out maintenance work on your machine!

Notice d’instructions origina e
10

Vous venez d’acquérir une machine JAC, nous vous remercions our votre confiance.
Pour que votre machine vous donne entière satisfaction au cours des rochaines années,
nous vous invitons à rendre connaissance des conseils suivants :
- Faites-vous aider ar votre agent agréé our l’installation, la mise en service et le suivi ;
- Afin de ouvoir bénéficier de la garantie des 3 ans (voir conditions re rises ci-a rès),
faites com léter, ar votre distributeur, le carnet d’entretien lors de l’installation de votre
machine. Ce carnet d’entretien se trouve à la fin de cette notice d’utilisation.
JAC offre une garantie de 3 ans sur tous ses roduits.
Cette garantie com rend le rem lacement des ièces d'origines reconnues défectueuses et
l'installation gratuite de celles-ci ar l'agent JAC.
La garantie rend effet à la date d'installation du matériel.
Sous es conditions restrictives suivantes :
1. Matériel acquis dans des conditions « normales » ;
2. Installation effectuée ar un agent agréé ;
3. Utilisation du matériel conformément aux indications du mode d’em loi et dans le but
our lequel il a été fabriqué ;
4. Matériel journellement entretenu en « bon ère de famille » ;
5. Entretiens suivis ar l'agent agréé conformément aux s écifications d’entretien avec, au
minimum, un entretien ar an (entretien à charge de l’utilisateur). La notice com rend à
cet effet une age ermettant à l'agent d'indiquer les différents entretiens.
Si il n y a pas de suivi d entretien par un agent agréé et/ou que le carnet d entretien
n est pas correctement complété, la garantie se limite à un an.
6. L'utilisation exclusive des ièces d'origine JAC.
Cette garantie ne couvre pas :
1. Le rem lacement de ièces d'usure normale ;
2. Les ièces non reconnues défectueuses ar nos services ;
3. Les roblèmes résultant d'une utilisation anormale du matériel ;
4. Les roblèmes résultant d'une installation non effectuée ar un agent agréé ;
5. Les ièces ou les roblèmes résultant d'un dégât de trans ort ou d'une manutention
ina ro riée.
Une ré aration et/ou un rem lacement de ièces défectueuses effectués durant la ériode
de garantie n’a as our effet de rolonger ladite garantie.
11
AVANT MISE EN SERVICE
GARANTIE

- Cette machine est destinée aux rofessionnels de la boulangerie ;
- Elle doit être utilisée ar une seule ersonne à la fois. (sauf rescri tion contraire) ;
- Ne as laisser des enfants ou des ersonnes non autorisées utiliser ou mani uler la
machine ;
- Elle doit être stockée et utilisée à l’intérieur dans un local, à l’abri de l’humidité et de la
chaleur ;
- La machine doit être éclairée suffisamment our effectuer le travail ;
- Cette machine a un niveau sonore inférieur à 70 dB(A) suivant norme EN ISO 3744.
- Avant de connecter votre machine au réseau, vérifier l’adéquation de la tension de ser-
vice de la machine (voir laque signalétique sur la machine) et de la tension de votre
réseau ;
- Le raccordement de la machine doit se faire ar l’intermédiaire d’une fiche munie d’une
terre ;
- Votre installation électrique alimentant la machine doit être rotégée comme indiqué ci-
dessous :
- Amérique du Nord : Protection rinci ale 15A ;
- Reste du monde : Protection rinci ale 16 A.
Note : Tout roblème résultant d’un autre ty e de raccordement vous incomberait.
12
- Avant la mise en service, assurez-vous de l’absence de tout objet arasite sur les ar-
ties en mouvement de la machine ;
- Vérifier la tension des ta is (caisson).
- S’assurer que le moteur tourne dans le bon sens. Pour cela, donner une im ulsion et
voir si le ta is avant tourne vers le haut. S’il n’en est as ainsi, inverser dans la rise,
deux fils de hase ;
- Faire fonctionner la machine à vide, fleurer les ta is et les cylindres.
AVERTISSEMENT
RACCORDEMENT
MISE EN SERVICE
DANGER
- En cas de danger our l’utilisateur ou our la machine, vous devez utiliser le bouton
rouge STOP ;
- Retirer la fiche de la rise électrique avant toute o ération de maintenance et d’entre-
tien ;
- Toute o ération de maintenance ou rem lacement de ièce doit être effectuée ar une
ersonne qualifiée.

13
MODE D’EMPLOI
Utiliser les schémas de la age 46 et 47 our l’utilisation de la machine.
En début de journée, mettre la machine sous tension à l’aide de l’interru teur général ou en
relâchant le bouton STOP (si ce dernier est enclenché) ;
Procédure d’uti isation
Façonnage
1. Régler l’allongement (levier su érieur (1)) ;
2. Régler le laminage (levier inférieur (2)) ;
3. A uyer sur le bouton marche ;
Régler la vitesse (TRADI) ;
4. Insérer les âtons dans la goulotte de réce tion ;
5. Réce tionner vos roduits sur la tablette de réce tion.
Pain p at (FORMA)
1. Basculer le ta is de sortie en osition basse ;
2. Régler le laminage (levier inférieur (2)) ;
3. A uyer sur le bouton marche ;
4. Insérer les âtons dans la goulotte de réce tion ;
5. Réce tionner vos roduits sur le ta is ou la tablette de réce tion.
En fin de travail, a uyer sur le bouton rouge STOP our mettre la machine hors tension.
Consei : Pour obtenir un bon résultat sur le roduit final, il est nécessaire que les âtons
soient réguliers et bien résentés au laminage.
D’ajuster les réglages d’allonge et de laminage en fonction des résultats obtenu.
Capacité :
Nombre de cycle ar heure : 0 à 1800 cycles.
Plage de oids : 50 à 1200 gr
Sécurité :
- L’a ui sur l’arrêt d’urgence em êche le fonctionnement de la machine ;
- L’ouverture du carter avant em êche le fonctionnement de la machine ;
- Le basculement du ta is de sortie ain lat em êche le fonctionnement de la machine ;
- L’a ui sur la goulotte vers l’avant em êche le fonctionnement de la machine.

Toute es semaines, ar un utilisateur formé :
1. Nettoyage intérieur
1. Ouvrir le laminage et l’allonge au maximum ;
2. Débrancher la rise de courant du secteur ;
3. Nettoyer la goulotte à l’aide d’une é onge légèrement humide ;
4. Brosser le ta is d’entrée (FORMA) ;
5. Retirer les racleurs ;
7. A l’aide d’un chiffon légèrement humide, nettoyer les cylindres et les racleurs ;
8. Retirer le ta is lourd ;
9. A l’aide d’une brosse, nettoyer les ta is d’allonge et lourd.
2. Nettoyage extérieur
1. Laver l’ensemble de la carrosserie à l’eau tiède additionnée d’un détergent doux et inco-
lore ( roduit utilisé our la vaisselle ar exem le) ;
2. Rincer et sécher soigneusement.
Ne aver jamais a machine à grandes eaux
Tous es ans, ar un agent agréé :
1. Vérifier l’état des ta is d’allongement ;
2. Ouvrir les carters latéraux ;
3. Vérifier la tension de la courroie du moteur ;
4. Vérifier la tension et l’usure des chaînes ;
5. Vérifier l’état des racleurs ;
6. Vérifier la tension et le centrage des ta is ;
7. Vérifier tous les organes de sécurité.
Tous es 6 mois, ar un utilisateur formé :
1. Faire un a oint de graisse sur les chaînes.
Vérifier bien que votre agent agréé enregistre son intervention dans votre carnet
d entretien afin de conserver votre garantie de 3 ans
14
ENTRETIEN

PIECES DE RECHANGE
15
Lors d’une commande d’une ièce de rechange, vérifier avec votre agent agréé de quelle
ièce il s’agit sur base du catalogue de ièces de rechange émis ar le fabricant.
Préciser toujours le numéro de machine comme indiqué sur la laque signalétique.
Votre agent effectue les commandes au rès de JAC.
Le moteur ne tourne pas
Vérifier l'alimentation électrique ;
Contrôler le relais thermique ;
Vérifier les sécurités ;
Vérifier le sens des hases.
La pâte se déchire
Vérifier les racleurs ;
Vérifier la tension des ta is de caissons.
Les produits sortent défectueux
Vérifier l’absence de âte ou de croûtons collés sur les racleurs sur le ta is flottant et sur
les 2 caissons ;
Vérifier la tension des 2 caissons ( atinage lors de l’allongement) ;
Vérifier le bon chargement dans la goulotte.
Faire toujours entretenir sa machine par un agent agréé !
PROBLEMES

Übersetzung der Origina -betriebsan eitung
16

17
VOR DER INBETRIEBNAHME
Sie haben eine JAC-Maschine erworben, und wir danken Ihnen für Ihr Vertrauen.
Damit Ihre Maschine Sie in den kommenden Jahren vollkommen zufrieden stellt, bitten wir Sie
darum, sich die nachstehenden Em fehlungen zur Herzen zu nehmen:
- Lassen Sie sich von Ihrem Vertragshändler bei der Montage, der Inbetriebnahme und den
darauffolgenden Schritten helfen ;
- Um in den Vorzug der Dreijahresgarantie zu gelangen (siehe nachstehende Bedingun-
gen), lassen Sie von Ihrem Vertragshändler das Wartungsheft bei der Einrichtung Ihrer
Maschine ausfüllen. Dieses Wartungsheft finden Sie am Ende dieser Betriebsanleitung vor.
GARANTIE
JAC bietet eine Dreijahresgarantie auf all seine Produkte.
Diese Garantie umfasst die Auswechselung von Originalteilen, die für schadhaft befunden
wurden, und deren kostenlosen Einbau seitens des JAC-Vertreters.
Die Garantie beginnt am Tag der Installation des Materials.
Die Garantie ist fo genden einschränkenden Bedingungen unterworfen:
1. Material wurde unter „normalen“ Bedingungen erworben ;
2. Installation durch einen befugten Vertreter ;
3. Benutzung des Materials ents rechend den Bestimmungen der Gebrauchsanweisung
und für den Zweck, für den es hergestellt wurde ;
4. Material wurde täglich instandgehalten laut Anweisungen und mit der Sorgfalt eines
„guten Familienvaters“ ;
5. Die Wartungen wurden vom Vertragsvertreter gemäß den Wartungss ezifikationen vor-
genommen, mindestens einmal im Jahr (Wartung zu Lasten des Benutzers). Die Anlei-
tung enthält eine Seite, auf der der Vertragsvertreter die einzelnen Wartungen vermerken
kann ;
In Ermangelung einer Wartung durch einen befugten Vertreter oder wenn das War-
tungsheft nicht ordentlich ausgefüllt ist, ist die Garantie auf ein Jahr beschränkt.
6. Es dürfen ausschließlich Originalteile von JAC verwendet werden.
Diese Garantie deckt nicht fo gende Umstände:
1. Die Auswechselung von normalen Verschleißteilen ;
2. Teile, die von unserer Seite nicht für schadhaft befunden wurden ;
3. Schwierigkeiten aufgrund einer zweckfremden Benutzung des Materials ;
4. Schwierigkeiten aufgrund einer Installation, die nicht von einem befugten Vertreter vorge-
nommen worden war ;
5. Teileschäden oder Schwierigkeiten infolge von Trans ortschäden oder einer unsachge-
mäßen Handhabung.
Eine Re aratur und/oder Auswechselung von schadhaften Teilen, die während der Garantie-
laufzeit stattfand, bewirkt keine Verlängerung der anfänglichen Garantielaufzeit.

18
SICHERHEITSHINWEISE
- Diese Maschine ist für die Nutzung durch das Bäckerei ersonal gedacht ;
- Sie darf ausschließlich von einer Person gleichzeitig bedient werden (sofern nicht an-
derslautend bestimmt) ;
- Es dürfen keine Kinder oder Unbefugte die Maschine benutzen oder handhaben ;
- Sie muss in einem Raum abgestellt und eingesetzt werden, abseits von Feuchtigkeit
und Hitze ;
- Die Maschine muss ausreichend beleuchtet sein, wenn mit ihr gearbeitet wird ;
- Die Maschine hat einen Lärm egel unter 70 dB(A) nach der Norm EN ISO 3744.
ANSCHLUSS
- Vor dem Anschluss der Maschine ans Stromnetz ist die Übereinstimmung der Betriebs-
s annung der Maschine, die auf dem Ty enschild der Maschine steht, mit der S an-
nung Ihres Stromnetzes nachzu rüfen ;
- Der Anschluss der Maschine muss auf jeden Fall über einen geerdeten Stecker herge-
stellt werden ;
- Die Elektroinstallation, von der die Maschine ges eist wird, muss folgendermaßen
gesichert sein :
- Nordamerika: Hau tsicherung von 15 Am ere ;
- Restliche Welt: Hau tsicherung von 16 Am ere.
Hinweis Jedes Problem infolge einer anderen Anschlussweise wird nicht berücksichtigt.
INBETRIEBNAHME
- Vergewissern Sie sich vor der Inbetriebnahme, dass sich keine Fremdkör er auf den
beweglichen Teilen der Maschine befinden ;
- Über rüfen Sie die S annung der Bänder (Gehäuse);
- Nach rüfen, ob die Phasen richtig angeschlossen sind. Dazu die grüne Taste betätigen
und nach rüfen, ob der Motor läuft. Wenn der Motor nicht läuft, den Stecker herauszie-
hen und 2 Phasen umkehren.
- Die Maschine leer laufen lassen. Die Bänder und Walzen mit Mehl bestreuen.
GEFAHREN
- Auf die rote STOP-Taste drücken, um die Maschine s annungslos zu schalten ;
- Ziehen Sie das Stromkabel aus der Steckdose vor jeder Instandhaltung oder Wartung
der Maschine ;
- Jede Instandhaltung oder Auswechselung von Teilen muss von einer fachkundigen
Person durchgeführt werden.

19
GEBRAUCHSANWEISUNG
Siehe die Schemata auf der Seite 46 - 47 zur Benutzung der Maschine.
Setzen Sie die Maschine vor ihrem Einsatz durch die Betätigung des Hau tschalters im
Innern der Maschine (neben dem Krumenfang) unter S annung und den grünen Kno f
zu ressen.
Vorgehensweise :
Formgebung (Austrageband gesch ossen)
1. Das Langrollen einstellen (oberster Hebel (1)) ;
2. Das Auswalzen einstellen (unterster Hebel (2)) ;
3. Die Starttaste betätigen ;
Geschwindigkeit einzustellen (TRADI);
4. Die Teiglinge in die Aufnahmerinne einführen ;
5. Die Produkte auf dem Aufnahmetisch entgegennehmen.
F aches Brot (FORMA)
1. Das Austrageband in die niedrigste Position setzen ;
2. Das Auswalzen einstellen (unterster Hebel (2)) ;
3. Die Starttaste betätigen ;
4. Die Teiglinge in die Aufnahmerinne einführen ;
5. Die Produkte auf dem Aufnahmeband oder Aufnahmetisch entgegennehmen.
Am Ende der Arbeit auf die rote STOP-Taste drücken, um die Maschine s annungslos zu
schalten.
Tipp : Für ein zufriedenstellendes End rodukt müssen die Teiglinge gleichmäßig und
ordnungsgemäß zum Auswalzen angeordnet sein.
Das Langrollen und das Auswalzen ents rechend den erzielten Ergebnissen nachstellen.
Kapazität :
Stündlicher Arbeitstakt : 0 bis 1.800
Gewichtsbereich : 50 bis 1.200 g
Sicherheit :
- Mit der Betätigung des Not-Aus-Schalters wird die Maschine angehalten ;
- Mit der Öffnung des Frontgehäuses wird der Betrieb der Maschine unterbrochen ;
- Mit dem Ki en des Brotaustragebandes wird der Betrieb der Maschine unterbro-
chen ;
- Mit dem Vorschub der Rinne wird der Betrieb der Maschine unterbrochen.

20
WARTUNG
Jede Woche von einem geschulten Bediener :
1. Innenreinigung
1. Auswalzeinheit und Langrolleinheit so weit wie möglich öffnen ;
2. Den Netzstecker ziehen ;
3. Die Rinne mit einem leicht angefeuchteten Schwamm reinigen ;
4. Das Eingangsband bürsten (FORMA) ;
5. Die Abstreifer entfernen ;
7. Mit einem leicht angefeuchteten Tuch die Walzen und Abstreifer reinigen ;
8. Das schwere Band entfernen ;
9. Mit einer Bürste das Band der Ausrolleinheit und das schwere Band reinigen.
2. Außenreinigung
1. Den gesamten Aufbau mit lauwarmen Wasser mit weichem und farblosem Reini
gungsmittel (z.B. Geschirrs ülmittel) abwaschen ;
2. Sorgfältig abs ülen und trocknen.
Niema s die Maschine im Wasserstrah oder –bad reinigen.
Jedes Jahr vom Fachmann :
1. Den Zustand der Bänder der Langrolleinheit rüfen ;
2. Die Seitengehäuse öffnen ;
3 Die Motorriemens annung nach rüfen ;
4. Kettens annung rüfen und Ketten auf Verschleiß untersuchen ;
5. Den Zustand der Abstreifer untersuchen ;
6. Über rüfen Sie die S annung und Zentrierung der Bänder ;
7. Sämtliche Sicherheitsorgane über rüfen.
A e sechs Monate : von einem geschulten Benutzer :
1. Die Ketten nachschmieren.
Prüfen Sie nach, ob der befugte Vertreter seine Intervention in Ihrem Wartungsheft
notiert, damit Sie weiterhin Ihre Dreijahresgarantie zu behalten
This manual suits for next models
2
Table of contents
Languages:
Other JAC Commercial Food Equipment manuals
Popular Commercial Food Equipment manuals by other brands

Alto-Shaam
Alto-Shaam 500-1D Operation and care manual

Range Master
Range Master Kitchener 110 User's guide & installation instructions

ELME
ELME BB1 Use and maintenance manual

Welbilt
Welbilt Manitowoc K00497 instruction sheet

Goldmedal
Goldmedal 5587-00-195 instruction manual

Goldmedal
Goldmedal 190 Series instruction manual