manuals.online logo
Brands
  1. Home
  2. •
  3. Brands
  4. •
  5. J&J Electronics
  6. •
  7. Swimming Pool Lighting
  8. •
  9. J&J Electronics PureWhite 2 Operating instructions

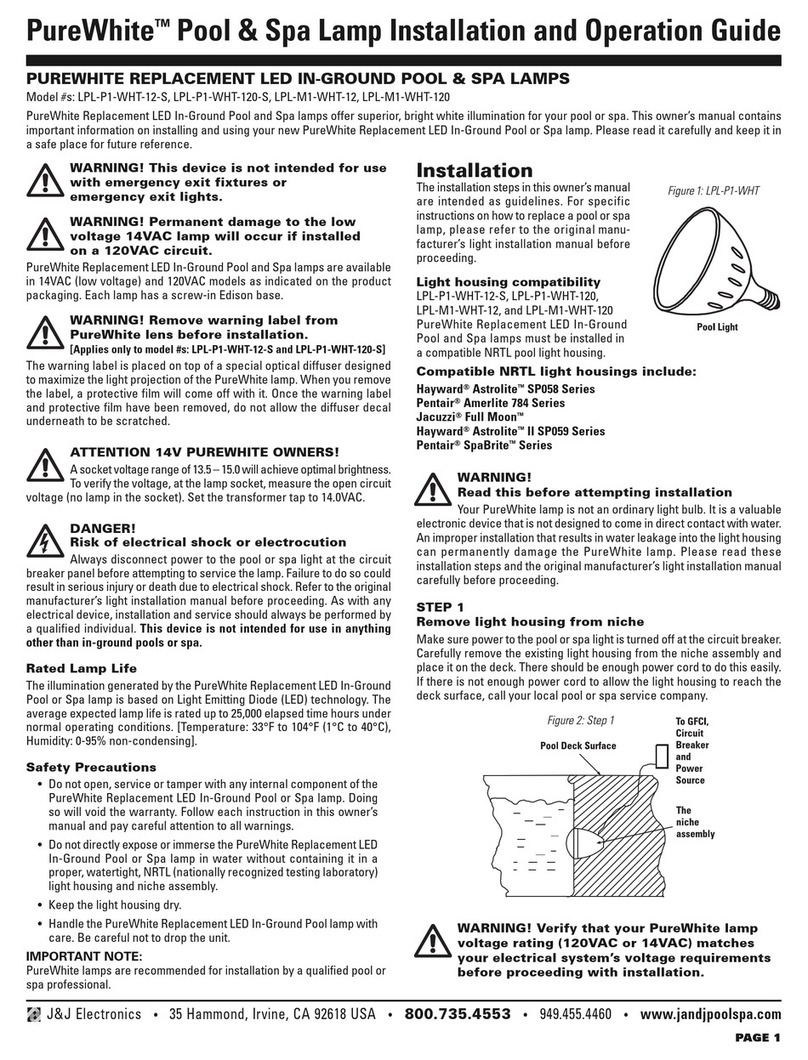
J&J Electronics PureWhite 2 Operating instructions

WARNING! This device is not intended for use with
emergency exit fixtures or emergency exit lights.
WARNING! Permanent damage to the low voltage
14VAC lamp will occur if installed
on a 120VAC circuit.
PureWhite Replacement LED In-Ground Pool and Spa lamps are available in 14VAC (low
voltage) and 120VAC models as indicated on the product packaging. Each lamp has a
screw-in Edison base.
WARNING! Remove warning label from PureWhite lens
before installation.
[Does not apply to model #s: LPL-M1-WHT-12 and LPL-M1-WHT-120]
The warning label is placed on top of a special optical diffuser designed to maximize the
light projection of the PureWhite lamp. When you remove the label, a protective film will
come off with it. Once the warning label and protective film have been removed, do not
allow the diffuser decal underneath to be scratched.
ATTENTION 14V PUREWHITE OWNERS!
A socket voltage range of 13.5 – 15.0 will achieve optimal brightness. To verify the
voltage, at the lamp socket, measure the open circuit voltage (no lamp in the
socket). Set the transformer tap to 14.0VAC.
DANGER!
Risk of electrical shock or electrocution
Always disconnect power to the pool or spa light at the circuit breaker panel
before attempting to service the lamp. Failure to do so could result in serious injury or
death due to electrical shock. Refer to the original manufacturer’s light installation manual
before proceeding. As with any electrical device, installation and service should always
be performed by a qualified individual. This device is not intended for use in anything
other than in-ground pools or spas.
Rated Lamp Life
The illumination generated by the PureWhite Replacement LED In-Ground Pool or Spa
lamp is based on Light Emitting Diode (LED) technology. The average expected lamp life
is rated up to 25,000 elapsed time hours under normal operating conditions. [Temperature:
33°F to 104°F (1°C to 40°C), Humidity: 0-95% non-condensing].
Safety Precautions
• Do not open, service or tamper with any internal component of the PureWhite
Replacement LED In-Ground Pool or Spa lamp. Doing so will void the warranty.
Follow each instruction in this owner’s manual and pay careful attention to all
warnings.
• Do not directly expose or immerse the PureWhite Replacement LED
In-Ground Pool or Spa lamp in water without containing it in a proper, watertight,
NRTL (nationally recognized testing laboratory) light housing and niche assembly.
• Keep the light housing dry.
• Handle the PureWhite Replacement LED In-Ground lamp with care. Be careful
not to drop the unit.
IMPORTANT NOTE:
PureWhite lamps are recommended for installation by a qualified pool or spa professional.
Installation
The installation steps in this owner’s manual are intended as guidelines. For specific
instructions on how to replace a pool or spa lamp, please refertothe original manufac-
turer’s light installation manual before proceeding.
Light housing compatibility
LPL-P2-WHT-12-S, LPL-P2-WHT-120-S,
LPL-P2-WHT-12-SQ-S, LPL-P2-WHT-120-SQ-S, LPL-M1-WHT-12, LPL-M1-WHT-120
PureWhite Replacement LED In-Ground Pool and Spa lamps must be installed in a
compatible NRTL light housing.
J&J Electronics • 35 Hammond, Irvine, CA 92618 USA •800.735.4553 •949.455.4460 •www.jandjpoolspa.com
PAG E 1
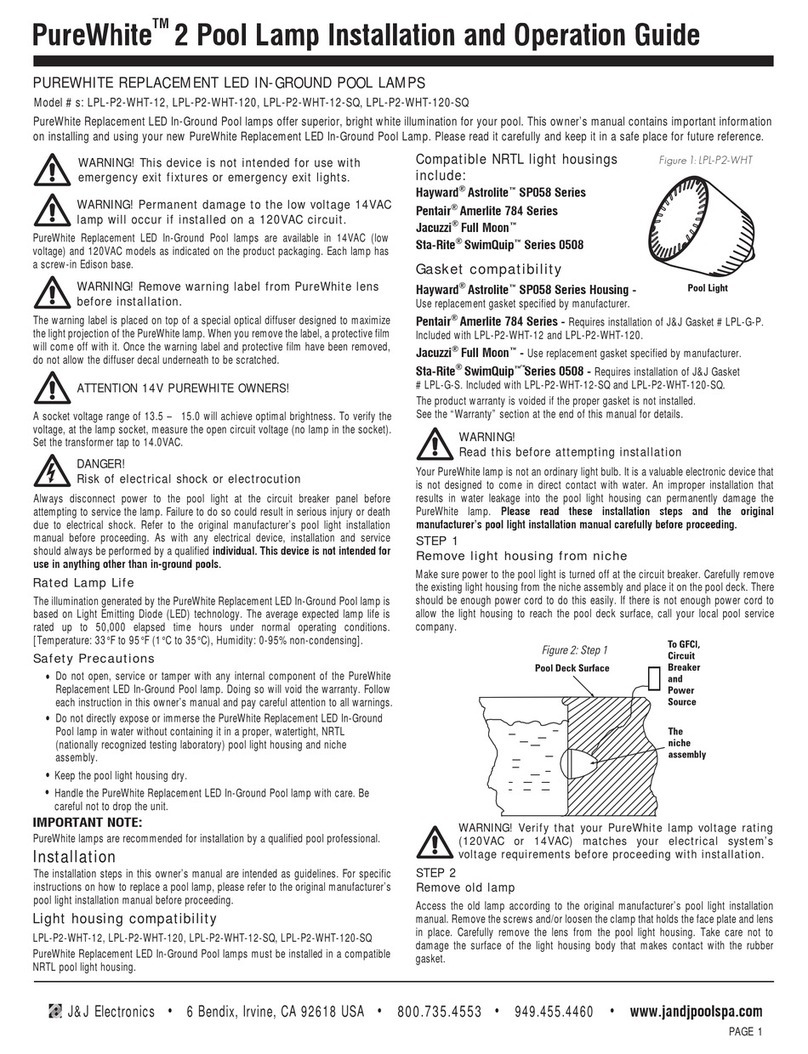
PureWhite™2 Pool & Spa Lamp Installation and Operation Guide
PUREWHITE REPLACEMENT LED IN-GROUND POOL & SPA LAMPS
Model #s: LPL-P2-WHT-12-S, LPL-P2-WHT-120-S, LPL-P2-WHT-12-SQ-S, LPL-P2-WHT-120-SQ-S, LPL-M1-WHT-12, LPL-M1-WHT-120
PureWhite Replacement LED In-Ground Pool and Spa lamps offer superior, bright white illumination for your pool or spa. This owner’s manual contains
important information on installing and using your new PureWhite Replacement LED In-Ground Pool or Spa lamp. Please read it carefully and keep it in
a safe place for future reference.
Compatible NRTL light housings include:
Hayward®Astrolite™SP058 Series
Pentair®Amerlite 784 Series
Jacuzzi®Full Moon™
Sta-Rite®SwimQuip™Series 0508
Hayward®Astrolite™II SP059 Series
Pentair®SpaBrite™Series
Gasket compatibility
Hayward®Astrolite™SP058 Series Housing - Use
replacement gasket specified by manufacturer.
Pentair®Amerlite 784 Series - Requires installation of
J&J Gasket #LPL-G-P. Included with LPL-P2-WHT-12-S and LPL-P2-WHT-120-S.
Jacuzzi®Full Moon™- Use replacement gasket specified by manufacturer.
Sta-Rite®SwimQuip™Series 0508 - Requires installation of J&J Gasket #LPL-G-S.
Included with LPL-P2-WHT-12-SQ-S and LPL-P2-WHT-120-SQ-S.
Hayward®Astrolite™II SP059 Series - Use replacement gasket specified by manufacturer.
Pentair®SpaBrite™Series - Requires installation of J&J Gasket #LPL-M-G-P. Included
with LPL-M1-WHT-12 AND LPL-M1-WHT-120.
The product warranty is voided if the proper gasket is not installed.
See the “Warranty” section at the end of this manual for details.
WARNING!
Read this before attempting installation
Your PureWhite lamp is not an ordinary light bulb. It is a valuable electronic
device that is not designed to come in direct contact with water. An improper installation
that results in water leakage into the light housing can permanently damage the
PureWhite lamp. Please read these installation steps and the original manufacturer’s
light installation manual carefully before proceeding.
STEP 1
Remove light housing from niche
Make sure power to the pool or spa light is turned off at the circuit breaker. Carefully
remove the existing light housing from the niche assembly and place it on the deck. There
should be enough power cord to do this easily. If there is not enough power cord to allow
the light housing to reach the deck surface, call your local pool or spa service company.
WARNING! Verify that your PureWhite lamp voltage
rating (120VAC or 14VAC) matches your electrical
system’s voltage requirements before proceeding with
installation.
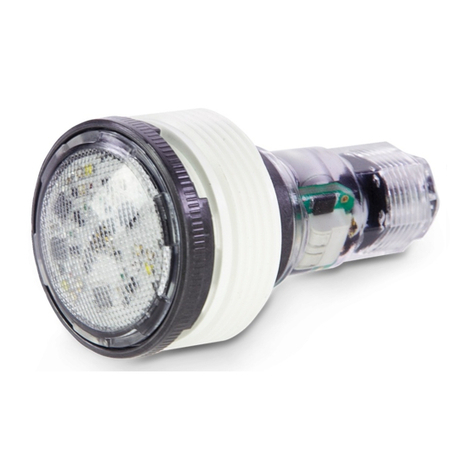
Figure 1: LPL-P2-WHT
LPL-P2-WHT-12-S, LPL-P2-WHT-120-S, LPL-P2-WHT-12-SQ-S,
LPL-P2-WHT-120-SQ-S, LPL-M1-WHT-12, LPL-M1-WHT-120
1-YEAR LIMITED WARRANTY
Product warranty
J&J Electronics, Inc. warrants the PureWhite Replacement LED
In-Ground Pool or Spa lamp (the Product) to be free from defects in
material and/or workmanship, under normal use, conditions and
service, for a period of one (1) year from the original date of
purchase. If during the warranty period, there is a defect in material
or workmanship, J&J Electronics, Inc. will repair or replace (at its
discretion) the Product under the conditions of the warranty. The
warranty covers normal consumer use of the Product. To obtain
warranty service, contact J&J Electronics, Inc. at 800.735.4553 ext. 242
or [email protected].
Exclusions from warranty
The PureWhite Replacement LED In-Ground Pool or Spa lamp is
designed for use in In-Ground swimming pools or spas only. If
installed for use in any other application, the warranty is void thereby
releasing J&J Electronics, Inc. from any and all claims related to its
misuse. The warranty does not cover and J&J Electronics, Inc. shall
be held harmless against any damage occurring during shipment,
damage or failure resulting from alteration, accident, theft, abuse,
negligent installation, improper service, unauthorized repairs or
where adequate care has not been taken to prevent damage to the
Product. Failure to install the proper gasket as specified in this in-
stallation manual will void the warranty. Tampering with any inter-
nal component of this Product will void the warranty. This warranty
does not cover failure due to the presence of water inside the niche
fixture. This warranty excludes all incidental or consequential dam-
ages except as required by state law. This warranty gives you spe-
cific rights. You may have other rights that vary according to the laws
of your state.
STEP 2
Remove old lamp
Access the old lamp according to the original manufacturer’s light installation
manual. Remove the screws and/or loosen the clamp that holds the face plate and lens
in place. Carefully remove the lens from the light housing. Take care not to damage the
surface of the light housing body that makes contact with the rubber gasket.
STEP 3
Inspect your light housing for signs of wear
Inspect the rubber grommet where the power cord enters the light for excessive
deterioration. Inspect the light housing, the tensioning clamp, and face ring for warping,
dents and excessive rust. Do not install PureWhite into a light housing that appears to
be worn out from prolonged exposure to pool water or mishandling.
STEP 4
Dry the light housing and lens
Make sure the inside of the light housing and glass lens are completely dry by wiping
them down with a clean rag.
STEP 5
Install PureWhite lamp
Remove the old lamp and discard. Carefully screw the PureWhite lamp into the socket.
STEP 6
Reassemble the light housing
Proceed by cleaning any gasket residue from the light housing body. A clean surface
is necessary for the new gasket to seat properly and prevent leakage. Install the new
gasket onto the glass lens.
WARNING! Always use a new lens gasket whenever reassem-
bling your light housing.
Failure to install a new lens gasket could result in water leakage
which can permanently damage the PureWhite lamp and cause serious
injury or death due to electrical shock.
The product warranty is voided if the proper gasket is not installed. See the “Gasket
compatibility” section at the beginning this manual for details.
Set the lens and faceplate in the light housing and re-assemble according to the light
housing manufacturer’s specification. Tighten the screws or clamp slightly, allowing
the gasket to seal evenly.
STEP 7
Submerge assembled light into the water
Once the screws or clamp are tight, submerge the assembled light housing in the water
and visually check that air bubbles are not escaping from the gasket area. Should
bubbles appear, immediately remove the light housing from the water and reset the
gasket and lens.
Once you are satisfied that there are no air leaks, complete the installation by wrapping
the cord around the light housing and re-attaching the light housing to the niche
assembly.
STEP 8
Check for air bubbles when light is turned ON
Reconnect power to the pool or spa light by resetting the circuit breaker to the “ON”
position. Go back to the light location and check for air bubbles rising to the surface
from the light housing for at least 10 minutes. It is important that the lamp is turned on
during this time.
If you do not see air bubbles rising to the surface at anytime during the 10-minute
inspection process, the housing is holding its water tight seal and the installation is
complete. You are now ready to enjoy your new PureWhite Replacement LED In-Ground
Pool or Spa lamp.
If you do see air bubbles rising to the surface at anytime during the inspection
process, immediately remove the PureWhite lamp from the housing, dry it completely
and reset the gasket and lens. Make sure that the PureWhite lamp and light housing
are completely dry before reassembling.
If the light housing continually leaks water after 2 or more attempts at installation,
replacement of the light housing may be necessary.
Please read the J&J Electronics “PureWhite Quick Start Guide” for further installation
advice.
Note on Figures 1-3: All figures are provided for illustration purposes only. Refer to the
original pool or spa light manufacturer’s installation manual for further reference.
Operation
LPL-P2-WHT-12-S, LPL-P2-WHT-120-S, LPL-P2-WHT-12-SQ-S and LPL-P2-WHT-120-SQ-S,
LPL-M1-WHT-12, LPL-M1-WHT-120 PureWhite Replacement LED In-Ground Pool and
Spa Lamps
Use the pool’s or spa’s current light switch to turn “ON” and “OFF” your new
PureWhite lamp.
For more information about this or other J&J Electronics lighting products, please visit www.purewhitepoollight.com. Rev. 041511-SM1
©2011 J&J Electronics, Inc. All rights reserved. PureWhite is a trademark of J&J Electronics, Inc. All registered and trademarked brands and names are the property of their respective companies.
J&J Electronics • 35 Hammond, Irvine, CA 92618 USA •800.735.4553 •949.455.4460 •www.jandjpoolspa.com
PAG E 2
This manual suits for next models

6

Other J&J Electronics Swimming Pool Lighting manuals

J&J Electronics PureWhite 2 Operating instructions

J&J Electronics

J&J Electronics PureWhite 2 Operating instructions

J&J Electronics PureWhite 2 Operating instructions

J&J Electronics

J&J Electronics PureWhite 2 Operating instructions

J&J Electronics PureWhite LPL-P1-WHT-12-S Operating instructions

J&J Electronics

J&J Electronics PureWhite LPL-P1-WHT-12-S Operating instructions

J&J Electronics ColorSplash XG LPL-F2C Series Operating instructions

J&J Electronics

J&J Electronics ColorSplash XG LPL-F2C Series Operating instructions

J&J Electronics PureWhite Operating instructions

J&J Electronics

J&J Electronics PureWhite Operating instructions

Popular Swimming Pool Lighting manuals by other brands

ASTEL LIGHTING METEOR LSR36500 Series operating instructions

ASTEL LIGHTING

ASTEL LIGHTING METEOR LSR36500 Series operating instructions

Gemas SlimLED LIGHT Installation and maintenance manual

Gemas

Gemas SlimLED LIGHT Installation and maintenance manual

Fiberli AC5G installation guide

Fiberli

Fiberli AC5G installation guide

Steinbach 061340 user manual

Steinbach

Steinbach 061340 user manual

Jandy Laminar Jet JLLED4C Series Installation and operation manual

Jandy

Jandy Laminar Jet JLLED4C Series Installation and operation manual

Albixon LED-P100 Installation and user guide

Albixon

Albixon LED-P100 Installation and user guide

Spa Electrics Matrix LWB Series Instruction & owner's manual

Spa Electrics

Spa Electrics Matrix LWB Series Instruction & owner's manual

BEGA 99 815 Instructions for use

BEGA

BEGA 99 815 Instructions for use

Interline 57113000 instruction manual

Interline

Interline 57113000 instruction manual

Wiedamark LPL-6 Series instructions

Wiedamark

Wiedamark LPL-6 Series instructions

Jandy Jandy Pro Series Installation and operation manual

Jandy

Jandy Jandy Pro Series Installation and operation manual

manuals.online logo
manuals.online logoBrands
  • About & Mission
  • Contact us
  • Privacy Policy
  • Terms and Conditions

Copyright 2025 Manuals.Online. All Rights Reserved.