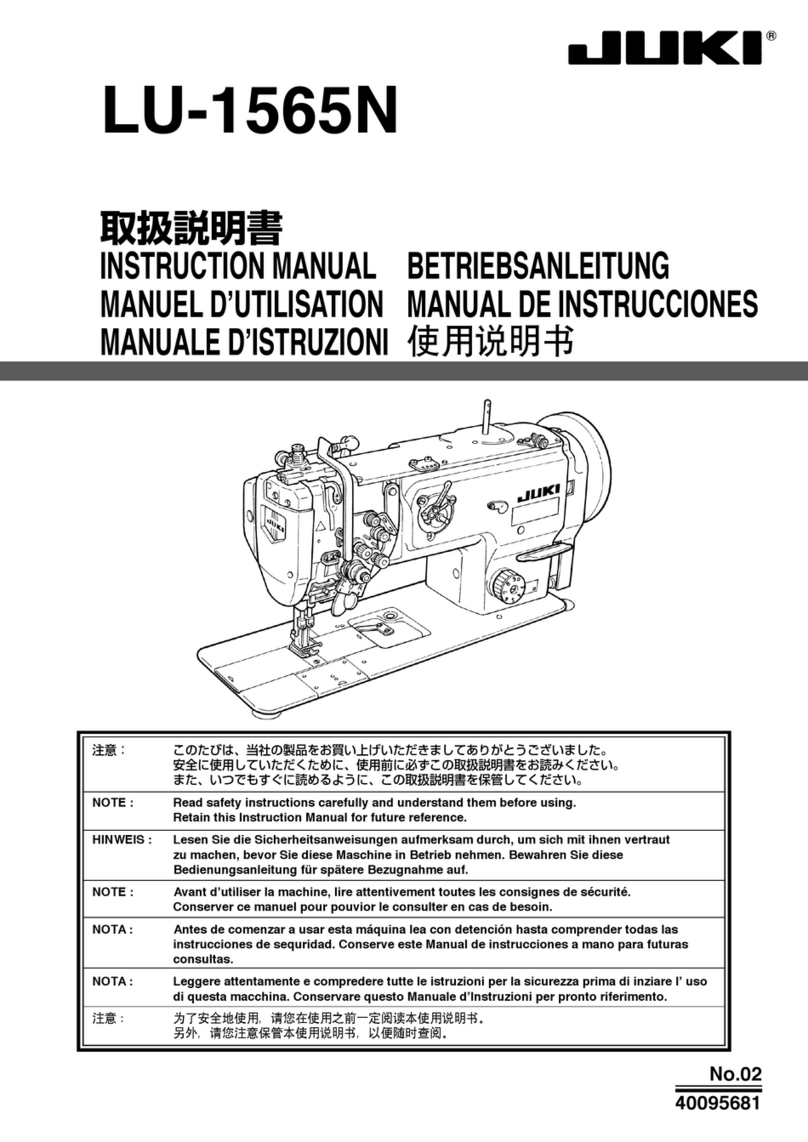
JUKI LU-1510N Quick start guide

29340700
No.E337-02
R
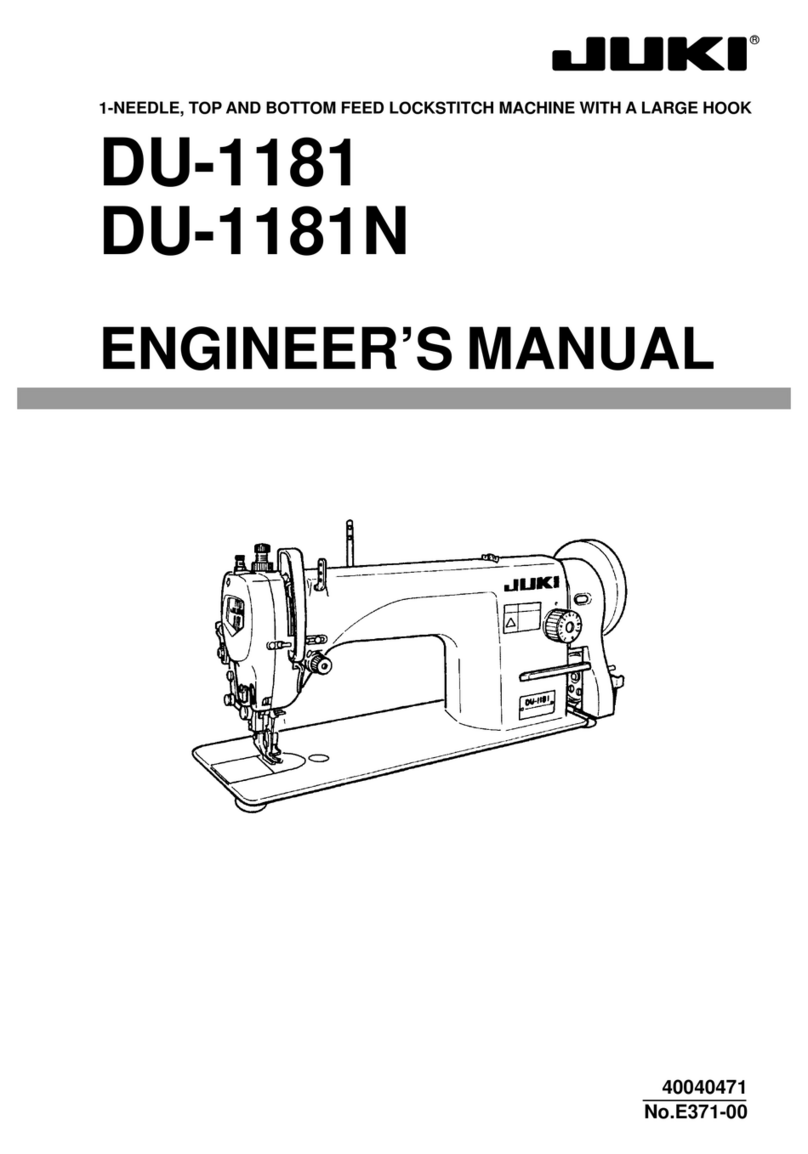
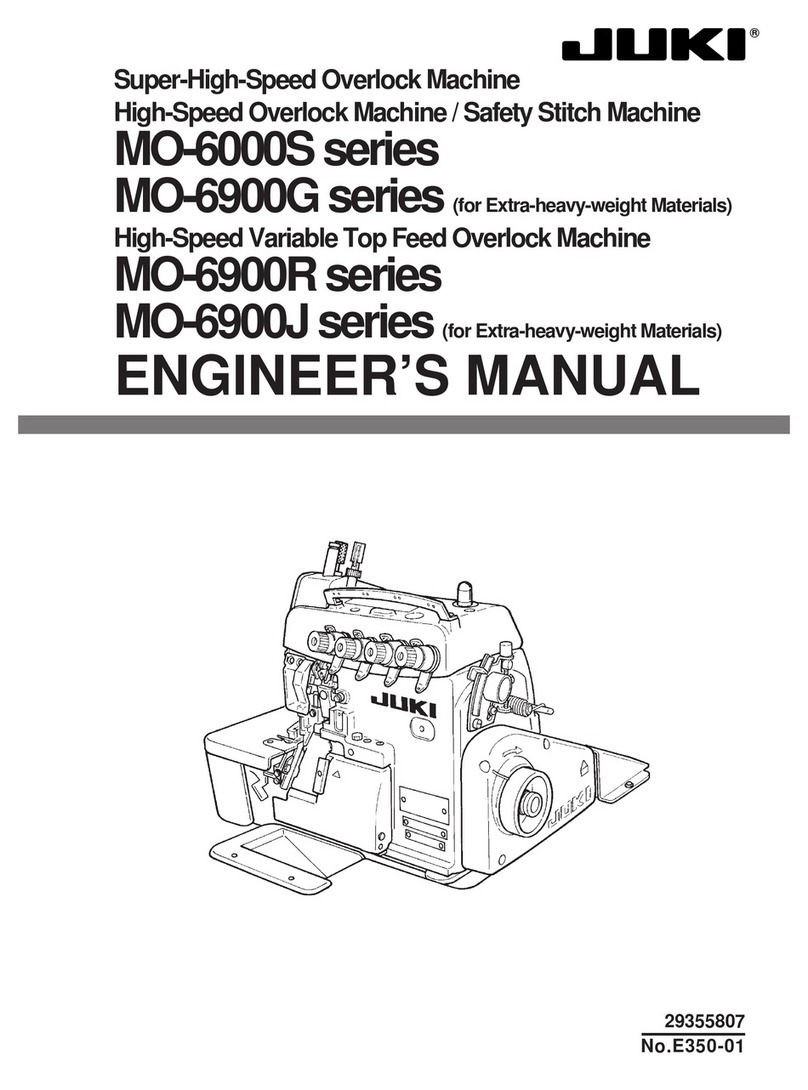
ENGINEER’S MANUAL
1-NEEDLE, UNISON FEED, LOCKSTITCH MACHINE
(AUTOMATIC LUBRICATION)
LU-1510N
1-NEEDLE, UNISON FEED, LOCKSTITCH MACHINE WITH AUTOMATIC THREAD
TRIMMER (AUTOMATIC LUBRICATION)
LU-1510N-7, LU-1511N-7
1-NEEDLE, UNISON FEED, LOCKSTITCH MACHINE
LU-1508N, LU-1509N
1-NEEDLE, UNISON FEED, LOCKSTITCH MACHINE (FOR EXTRA HEAVY-WEIGHT MATERIALS)
LU-1508NH, LU-1509NH
2-NEEDLE, UNISON FEED, LOCKSTITCH MACHINE (AUTOMATIC LUBRICATION)
LU-1560N, LU-1561N
2-NEEDLE, UNISON FEED, LOCKSTITCH MACHINE WITH AUTOMATIC THREAD
TRIMMER (AUTOMATIC LUBRICATION)
LU-1560N-7, LU-1561N-7
2-NEEDLE, UNISON FEED, LOCKSTITCH MACHINE WITH ORGANIZED SPLIT NEEDLE BAR
LU-1565N

PREFACE
This Engineer’s Manual is written for the technical personnel who are responsible for the service and maintenance
of the machine.
The Instruction Manual for these machines intended for the maintenance personnel and operators at an apparel
factory contains operating instructions in detail. And this manual describes “Standard Adjustment”, Adjustment
Procedures”, “Results of Improper Adjustment”, and other important information which are not covered in the
Instruction Manual.
It is advisable to use the relevant Instruction Manual and Parts List together with this Engineer’s Manual when
carrying out the maintenance of these machines.
This manual gives the “Standard Adjustment” on the former page under which the most basic adjustment value
is described and on the latter page the “Results of Improper Adjustment” under which stitching errors and
troubles arising from mechanical failures and “How To Adjust” are described.

CONTENTS
1. SPECIFICATIONS.................................................................................................. 1
2. STANDARD ADJUSTMENT ................................................................................... 6
(1) Needle entry position ............................................................................................................. 6
(2) Longitudinal position of the feed dog ..................................................................................... 6
(3) Lateral position of the feed dog .............................................................................................. 8
(4) Height of the feed dog ............................................................................................................ 8
(5) Height of the hook .................................................................................................................10
(6) Adjusting the inner hook guide .............................................................................................10
(7) Needle-to-hook timing ...........................................................................................................12
(8) Lift of the presser foot ...........................................................................................................14
1) Hand lifter......................................................................................................................................................... 14
2) Knee lifter (Without thread trimmer only) ............................................................................................................. 14
3) Automatic presser foot lifter (Machine with thread trimmer only) ............................................................................ 16
(9) Timing between the upper shaft and the lower shaft .............................................................16
(10) Feed cam timing..................................................................................................................18
1) Horizontal feed cam timing ................................................................................................................................18
2) Top feed cam timing ......................................................................................................................................... 20
(11) Feed motion ........................................................................................................................22
1) Amount of alternate vertical movement (position of the vertical adjusting arm)........................................................ 22
2) Alternate momentum ........................................................................................................................................ 24
(12) Needle sway (Adjusting the bottom feed amount) ...............................................................24
(13) Stitch length of normal/reverse feed ....................................................................................26
(14) Balancer (Machine without thread trimmer only) .................................................................26
(15) Vertical position of the needle bar rocking frame .................................................................28
(16) Dimension of the needle stop adjusting slide shaft (asm.) ...................................................30
(17) Position of the change lever ................................................................................................30
(18) Position of the reverse feed control lever.............................................................................32
(19) Safety clutch .......................................................................................................................32
(20) Reverse feed cylinder ..........................................................................................................34
(21) Lubrication ..........................................................................................................................34
1) In case of manual lubrication ......................................................................................................................... 34
2) In case of automatic lubrication...................................................................................................................... 36
(22) Thread trimmer device ........................................................................................................38
1) Position of the counter knife and the clamp spring ............................................................................................... 38
2) Position of the counter knife base ....................................................................................................................... 40
3) Vertical position of the moving knife .................................................................................................................... 40
4) Adjusting the knife pressure ............................................................................................................................... 42
5) Thread trimmer cam ......................................................................................................................................... 42
6) Thread trimmer cam timing ................................................................................................................................44
7) Connecting the rocking arm and the thread trimmer roller arm .............................................................................. 44
8) Connecting the left and right rocking arms (2-needle machine only) ...................................................................... 46
9) Thread trimmer solenoid.................................................................................................................................... 46
(23) Alternate vertical dial ...........................................................................................................48
1) Installing position of the detection switch of the amount of alternate vertical movement ........................................... 48
3. INSTALLATION OF THE OPTIONAL PARTS ........................................................ 50
(1) DL device (For the machine with thread trimmer only)...........................................................50
(2)
Thread trimmer Ver.UP set (Part No. for 1-needle : 21389259, Part No. for 2-needle : 21389267) ...
51
(3) Bobbin thread remaining amount detecting device (AE-10A Kit Part No. : GAE10000AA0) ....51
(4) Automatic reverse feed device ..............................................................................................52
1) Removing the window plate (Removing parts list) ................................................................................................ 52
2) Removing the reverse feed control lever (Removing parts list) .............................................................................. 52
3) Installing the reverse feed link hinge screw (List 1) ............................................................................................... 52
4) Installing the reverse feed control lever (List 2) .................................................................................................... 53
5) Installing the automatic reverse feed device (List 3) ............................................................................................. 54
6) Installing the touch-back switch (List 4) ............................................................................................................... 55
7) Installing the pneumatic components (List 5) ....................................................................................................... 55
(5) Automatic presser foot lifter ..................................................................................................56
1) Installing the automatic presser foot lifter (List A).................................................................................................. 56
2) Installing the pneumatic device components ....................................................................................................... 57
3) Parts List .......................................................................................................................................................... 58
4. PORTION TO WHICH LOCKTITE IS APPLIED ...................................................... 59
5. SELECTIVE PARTS AND CONSUMABLE PARTS................................................ 60
6. ENGRAVED MARKER DOTS ON THE HANDWHEEL
(FOR THE MACHINE WITH THREAD TRIMMER ONLY) ........................................ 61
7. LUBRICATION ROUTE DIAGRAM ....................................................................... 61
8.
MACHINE HEAD WIRING (FOR THE MACHINE WITH THREAD TRIMMER ONLY) ......
62
(1) Connectors coming from machine head ...............................................................................62
(2) Connectors coming from pneumatic device..........................................................................62
(3) Connectors coming from the relay cable (Connecting side to the control box)......................63
9. TABLE OF TROUBLES AND CORRECTIVE MEASURES ..................................... 65
(1) With reagard to sewing .........................................................................................................65
(2) With regard to thread trimming..............................................................................................69
10. DRAWING OF THE TABLE ................................................................................ 75

– 1 –
No.
1
2
3
4
5
6
7
8
9
10
11
12
13
14
15
16
17
18
19
20
21
22
1. SPECIFICATIONS
Item
Model
Model name
Application
Sewing speed
Needle
Thread possible to be
sewn
Stitch length
Presser foot lift
Stitch length adjusting
mechanism
Reverse stitch adjusting
method
Thread take-up
Needle bar stroke
Alternate foot stroke
Hook
Feed mechanism
Top and bottom feed
actuation mechanism
Lubrication
Lubricating oil
Cylinder bed diameter
Free space for sewing
Size of handwheel
Motor
Specifications
LU-1510N (Standard gauge type)
1-needle, unison feed, lockstitch machine (automatic lubrication)
For heavy-weight materials
Max. 2,500 rpm
SCHMETZ 135 X 17 Nm 125 to 180 Standard : Nm 160
#30 to #5
Max. 9 mm (normal/reverse feed)
Hand lifter : 9 mm Knee lifter : 16 mm
By dial
By lever
Slide thread take-up
36 mm
2.5 mm to 6.5 mm
Alternate foot stroke adjusted by long hole
Full-rotary vertical-axis 2-fold hook (Latch type)
Box feed
Timing belt
Automatic lubrication (partially by manual)
JUKI New Defrix Oil No. 2 (equivalent to ISO standard VG32)
517 mm x 178 mm
255 mm x 99 mm
V belt effective diameter : ø93.3 mm Outer diameter : ø160 mm
2P, 400W, 4P, 400W

– 2 –
No.
1
2
3
4
5
6
7
8
9
10
11
12
13
14
15
16
17
18
19
20
21
22
23
24
Item
Model
Model name
Application
Sewing speed
Needle
Thread possible to be
sewn
Thread possible to be
trimmed
Stitch length
Presser foot lift
Stitch length adjusting
mechanism
Reverse stitch adjusting
method
Thread take-up
Needle bar stroke
Alternate foot stroke
Hook
Feed mechanism
Top and bottom feed
actuation mechanism
Thread trimming
mechanism
Lubrication
Lubricating oil
Cylinder bed diameter
Free space for sewing
Size of handwheel
Motor
Specifications
LU-1510N-7 (Standard gauge type)
LU-1511N-7 (LU-2210 gauge type)
1-needle, unison feed, lockstitch machine with automatic thread trimmer
For heavy-weight materials
Max. 3,000 rpm
SCHMETZ 135 X 17 Nm 125 to 180 Standard : Nm 160
#30 to #5
#30 to #5
Max. 9 mm (normal/reverse feed)
Hand lifter : 9 mm Knee lifter : 16 mm
By dial
Air cylinder type (with touch-back switch)
Slide thread take-up
36 mm
1 mm to 6.5 mm
Alternate foot stroke adjusted by dial
Full-rotary vertical-axis 2-fold hook (Latch type)
Box feed
Timing belt
Cam-driven scissors type
Automatic lubrication (partially by manual)
JUKI New Defrix Oil No. 2 (equivalent to ISO standard VG32)
517 mm x 178 mm
255 mm x 99 mm
V belt effective diameter : ø93.3 mm Outer diameter : ø160 mm
SC-380

– 3 –
No.
1
2
3
4
5
6
7
8
9
10
11
12
13
14
15
16
17
18
19
20
21
22
Item
Model
Model name
Application
Sewing speed
Needle
Thread possible to be
sewn
Stitch length
Presser foot lift
Stitch length adjusting
mechanism
Reverse stitch adjusting
method
Thread take-up
Needle bar stroke
Alternate foot stroke
Hook
Feed mechanism
Top and bottom feed
actuation mechanism
Lubrication
Lubricating oil
Cylinder bed diameter
Free space for sewing
Size of handwheel
Motor
Specifications
Hand lifter : 9 mm Knee lifter : 16 mm
By dial
By lever
Slide thread take-up
2.5 mm to 6.5 mm
Alternate foot stroke adjusted by long hole
Full-rotary vertical-axis 2-fold hook (Latch type)
Timing belt
By manual (Centralized tank lubrication system)
JUKI New Defrix Oil No. 2 (equivalent to ISO standard VG32)
517 mm x 178 mm
255 mm x 99 mm
V belt effective diameter : ø93.3 mm
2P, 400W, 4P, 400W
LU-1508N (Standard gauge type)
LU-1509N (LU-2210 gauge type)
1-needle, unison feed, lockstitch
machine
For heavy-weight materials
Max. 2,500 rpm
SCHMETZ 135 X 17
Nm 125 to 180
Standard : Nm 160
#30 to #5
Max. 9 mm (normal/reverse feed)
36 mm
Box feed
Outer diameter : ø160 mm
LU-1508NH (Standard gauge type)
LU-1509NH (LU-2210 gauge type)
1-needle, unison feed, lockstitch
machine (For extra heavy-weight
materials)
For extra heavy-weight materials
Max. 2,000 rpm
SCHMETZ 190R
Nm 125 to 180
Standard : Nm 160
#8 to #1
Max. 10 mm (normal/reverse feed)
38 mm
Complete box feed
Outer diameter : ø175 mm

– 4 –
No.
1
2
3
4
5
6
7
8
9
10
11
12
13
14
15
16
17
18
19
20
21
22
23
24
Item
Model
Model name
Application
Sewing speed
Needle
Thread possible to be
sewn
Thread possible to be
trimmed
Stitch length
Presser foot lift
Stitch length adjusting
mechanism
Reverse stitch adjusting
method
Thread take-up
Needle bar stroke
Alternate foot stroke
Hook
Feed mechanism
Top and bottom feed
actuation mechanism
Thread trimming
mechanism
Lubrication
Lubricating oil
Cylinder bed diameter
Free space for sewing
Size of handwheel
Motor
Specifications
For heavy-weight materials
Max. 2,500 rpm
SCHMETZ 135 X 17 Nm 125 to 180 Standard : Nm 160
#30 to #5
Max. 9 mm (normal/reverse feed)
Hand lifter : 9 mm
By dial
Slide thread take-up
36 mm
Full-rotary vertical-axis 2-fold hook (Latch type)
Box feed
Timing belt
Automatic lubrication (partially by manual)
JUKI New Defrix Oil No. 2 (Equivalent to ISO standard VG32)
517 mm x 178 mm
255 mm x 99 mm
V belt effective diameter : ø93.3 mm Outer diameter : ø160 mm
LU-1560N (Standard gauge type)
LU-1561N (LU-2260 gauge type)
2-needle, unison feed, lockstitch
machine (Automatic lubrication)
–
Knee lifter : 16 mm
By lever
2.5 mm to 6.5 mm
Alternatefootstrokeadjustedbylonghole
–
2P, 400W, 4P, 400W
LU-1560N-7 (Standard gauge type)
LU-1561N-7 (LU-2260 gauge type)
2-needle, unison feed, lockstitch
machine with automatic thread
trimmer (Automatic lubrication)
#30 to #5
Auto-lifter : 16 mm
Air cylinder type
(with touch-back switch)
1 mm to 6.5 mm
Alternate foot stroke adjusted by dial
Cam-driven scissors type
SC-380

– 5 –
No.
1
2
3
4
5
6
7
8
9
10
11
12
13
14
15
16
17
18
19
20
21
22
23
24
Item
Model
Model name
Application
Sewing speed
Needle
Thread possible to be
sewn
Thread possible to be
trimmed
Stitch length
Presser foot lift
Stitch length adjusting
mechanism
Reverse stitch adjusting
method
Thread take-up
Needle bar stroke
Alternate foot stroke
Hook
Feed mechanism
Top and bottom feed
actuation mechanism
Thread trimming
mechanism
Lubrication
Lubricating oil
Cylinder bed diameter
Free space for sewing
Size of handwheel
Motor
Specifications
LU-1565N
2-needle, unison feed, lockstitch machine
(With organized split needle bar)
For heavy-weight materials
Max. 2,000 rpm
SCHMETZ 135 X 17 Nm 125 to 180 Standard : Nm 160
#30 to #5
–
Max. 9 mm (normal/reverse feed)
Hand lifter : 9 mm Knee lifter : 16 mm
By dial
By lever
Slide thread take-up
33.36 mm
2.5 mm to 6.5 mm Alternate foot stroke adjusted by long hole
Full-rotary vertical-axis 2-fold hook (Cap type)
Box feed
Timing belt
–
By manual
JUKI New Defrix Oil No. 2 (Equivalent to ISO standard VG32)
517 mm x 178 mm
255 mm x 99 mm
V belt effective diameter : ø93.3 mm Outer diameter : ø160 mm
2P, 400W, 4P, 400W

– 6 –
A
aa’
Standard Adjustment
Standard Adjustment
(2) Longitudinal position of the feed dog
2. STANDARD ADJUSTMENT
(1) Needle entry position
1
23
2
60 mm
Top surface of
throat plate
Conditions
• Needle bar at lowest dead
point
• Feed amount : 0 mm
Conditions
• Needle bar at lowest dead point
• Feed amount : 0 mm
1
3
a=a’
LU-2200
gauge type
Model
LU-1561N-7
LU-1511N-7
LU-1509N
LU-1561N
LU-1509NH
LU-1510N-7
LU-1560N-7
LU-1560N
LU-1508N
LU-1510N
LU-1508NH
LU-1565N
DimennsionA
11.5±0.1mm
11±0.1mm
10±0.1mm
9±0.1mm
8.5±0.1mm
8±0.1mm
4
A
2
3
47 mm
Top surface of
throat plate
Standard
gauge type

– 7 –
Adjustment Procedures Results of Improper Adjustment
1. Set the stitch dial to “0”.
2. Turn the handwheel to bring the needle bar to the lowest dead
point of its stroke.
3. Loosen clamping screw 1in the needle bar rocking rear arm.
4. In the state that the presser foot is raised, adjust the clearance
between presser bar 2and walking bar 3to dimension A at
the position where the distance from the top surface of the
throat plate to the presser foot is 60 mm (standard gauge type)
or 47 mm (LU-2200 gauge type), Then securely tighten
clamping screw 1in the needle bar rocking rear arm.
(Caution) Tighten the screw so that the needle bar rocking
shaft has no thrust play.
™Stitch skipping or needle
breakage will result.
™Poorly tensed stitches will result.
™The throat plate comes in
contact with the feed dog and
contacting noise occurs and the
throat plate or the feed dog may
be damaged.
™Irregular stitches may result.
1. Set the stitch dial to “0 ”.
2. Turn the handwheel to bring the needle bar to the lowest dead
point of its stroke.
3. Loosen clamping screw 3in the feed rocker.
4. Move the feed base 4and adjust so that needle 1enters the
center of the needle hole in feed dog 2. Then securely tighten
clamping screw 3in the feed rocker. (a = a’)
Checking method
1. Set the stitch dial to the maximum.
2. Turn the handwheel and make sure that feed dog 2does not
come in contact with the throat plate at the position where the
feed dog travels fully to the front or to the rear.

– 8 –
Standard Adjustment
Standard Adjustment
(4) Height of the feed dog
(3) Lateral position of the feed dog
1
2
1
2
34
aa’
AB
A
Conditions
• Needle bar at lowest dead point
• Feed amount : 0 mm
Conditions
• Feed amount : 0 mm
• Height of feed dog is maximum.
Adjust so that A = B and C = D are
almost obtained.
3
a=a’
In case of 1-needle
4
3
Dimension A
0.4 to 0.5 mm
0.8 to 0.9 mm
Model
LU-1509N
LU-1509NH
LU-1510N-7
LU-1511N-7
LU-1560N-7
LU-1561N
LU-1561N-7
LU-1508N
LU-1508NH
LU-1510N
LU-1560N
LU-1565N
AB
CD
In case of 2-needle

– 9 –
Adjustment Procedures Results of Improper Adjustment
1. Set the stitch dial to “0”.
2. Turn the handwheel to bring the needle bar to the lowest dead
point of its stroke.
3. Loosen clamping screw 3in the feed rocker.
4. Move the feed base 4and adjust so that needle 1enters the
center of the needle hole in feed dog 2. Then securely tighten
clamping screw 3in the feed rocker. (a = a')
In addition, adjust the lateral clearances of feed dog 2in terms
of the window of throat plate to almost equal values. (A = B
and C = D)
When the height of the feed dog is
higher than the specified value :
™Stitch pitch becomes larger than
the scale of the feed dial.
™Balloon stitches will result.
™Return of sewing product will
occur.
™Feed dog comes in contact with
the knife, and the knife and the
feed dog may be damaged.
When the height of the feed dog is
lower than the specified value :
™Stitch pitch becomes smaller
than the scale of the feed dial.
™Feed force will be deteriorated.
™Stitch skipping or thread
breakage will result.
™Poorlytensedstitches will result.
™Needle breakage will result.
1. Set the stitch dial to “0”.
2. Turn the handwheel to bring the height of the feed dog to the
maximum.
(Bring the needle bar to the lowest dead point of its stroke.)
3. Loosen setscrew 1in the feed bar slide fork, move feed bar
slide fork 2up or dowm and adjust feed dog 3from top surface
4of the throat plate (center section) to the dimension A. Then
securely tighten setscrew 1in the feed bar slide fork.

– 10 –
Standard Adjustment
Standard Adjustment
(6) Adjusting the inner hook guide
(5) Height of the hook
Conditions : When the inner hook guide travels to its back end.
: Press the inner hook stopper to the groove in the throat plate.
1
2
3
4
A
Hook stopper section
4
1±0.1 mm
1
2
3
To come in close contact
with each other
Dimension A
0.1 to 0.2 mm
0.1 to 0.3 mm
Model
LU-1510N-7
LU-1511N-7
LU-1560N-7
LU-1561N-7
LU-1508N
LU-1509N
LU-1508NH
LU-1509NH
LU-1510N
LU-1560N
LU-1561N
LU-1565N
A

– 11 –
Adjustment Procedures Results of Improper Adjustment
1. Loosen two setscrews 1in the screw gear (small).
2. Draw out hook 2in the direction of the arrow. (At this time,
bring No. 1 screw of setscrews 1to the front of the operator.)
3. Replace thrust plate 3and adjust so that a clearance of
1±0.1mm is provided between throat plate 4and the top
surface of hook stopper section of hook 2.
(For the kind of thrust plate 3, refer to “5. Selective parts and
consumable parts”.)
4. Assemble hook 2so that the notched section of the shaft of
hook2comes to the front of the operator and tighten setscrews
1. (The notched section should align with No. 1 screw of
setscrews 1.)
™In case of 2-needle, left and right are the same adjustment
value.
When the clearance is larger than
the specified value :
™Loose stitches or thread
breakage will result.
When the clrarance is smaller than
the specified value :
™Inner hook or inner hook guide
may be damaged.
™Stitch skipping or thread
breakage will result.
™Needle breakage will result.
™Irregular stitches will result.
1. Turn the handwheel to bring inner hook guide 1to its back
end position.
2. Turn inner hook 2in the reverse direction of rotation of the
hook (in the direction of arrow mark A) and fit the inner hook
stopper to the inner hook stopping section in throat plate 3.
3. Loosen setscrew 4in the inner hook guide arm and adjust the
clearance between inner hook guide 1and the protruding
section of inner hook 2to dimension A.
4. After the adjustment, securely tighten setscrew 4in the inner
hook guide arm.
™In case of 2-needle, left and right are the same adjustment
value.

– 12 –
Standard Adjustment
(7) Needle-to-hook timing
1
2
Conditions : Feed amount : 0 mm
: Needle bar rises from the lowest dead point of its stroke.
6
A
4
4
8
3
5
6
7
5
BC
D
0.1 to 0.2 mm
Dimension A
58.7 mm
57.7 mm
56.7 mm
55.7 mm
55.9 mm
56 mm
53.9 mm
54 mm
52.3 mm
51.3 mm
Model
LU-1510N-7
LU-1511N-7
LU-1508N
LU-1510N
LU-1509N
LU-1561N-7
LU-1560N-7
LU-1561N
LU-1560N
LU-1508NH
LU-1509NH
1
5
9
!0
!1
Model
LU-1510N-7
LU-1511N-7
LU-1560N-7
LU-1561N-7
LU-1508N
LU-1509N
LU-1510N
LU-1560N
LU-1561N
LU-1508NH
LU-1509NH
LU-1565N
Dimension B
2.3±0.2 mm
18 mm
+0.3
- 0.1
Dimension C
1.5±0.2 mm
1.5±0.3 mm
2.5±0.3 mm
2.8±0.3 mm
Dimension D
0.05 to 0.1 mm
0.05 to 0.15 mm
ba
Screw gear (large)

– 13 –
Adjustment Procedures Results of Improper Adjustment
™Stitch skipping or thread
breakage will result.
™Loose stitches will result.
1) Standard of the lowest dead point of the needle bar
1. Set the stitch dial to “0”.
2. Turn the handwheel to bring needle bar 1to the lowest dead
point of its stroke.
3. Loosen the setscrew in the face plate to remove the face plate.
4. Loosen clamping screw 2in the needle bar holder. At this
time, loosen the screw to such an extent that needle bar 1
moves up and down by hand since needle bar 1drops if the
screw is fully loosened.
5. Adjust the distance from the lower end of needle bar frame to
the lower end of the needle bar to dimension A. Then tighten
clamping screw 2in the needle bar holder. (For LU-1510N-7,
there is an engraved marker line in needle bar 1.)
2) Needle-to-blade point of hook timing
1. Set the stitch dial to “0”.
2. Loosen two setcrews 3in the screw gear (large).
3. Turn the handwheel and when dimensions B and C are
approximately obtained, loosen setscrew A 4and setscrew B
8 in the hook shaft driving saddle. Then move the hook driving
shaft saddle to the right or left to adjust the cearance between
needle 5and blade point 6of the hook to dimension D. Then
securely tighten setscrew A 4and setscrew B 8.
4. Turn the handwheel and move the screw gear (large) to the
right or left so that needle 5aligns with blade point 6of the
hook when needle bar 1is raised from the lowest dead point
of its stroke to dimension B. Then tighten two setscrews 3.
5. Turn the handwheel and loosen clamping screw 2in the needle
bar holder to adjust so that the distance from the top end of the
eyelet of needle 5to blade point 6of the hook becomes
dimension C when needle bar 1is raised from the lowest dead
point of its stroke to dimension B. Then tighten again the
clamping screw. (For LU-1510N-7, there is an engraved marker
line in needle bar 1.) However, in case of LU-1565N, loosen
clamping screws 9and !0 and turn needle clamp !1 to adjust.
Then tighten again the clamping screws. The range to turn
needle clamp !1 is as wide as the clearance between the width
of long hole of needle bar 1and clamping screw !0.
6. Set the stitch dial to the maximum and check that needle 5
does not come in contact with blade point 6of the hook. (For
the dimension, refer to the respective models in the list.)
3) Adjusting the needle guard of the hook
1. Bend needle guard 7and adjust so that the needle guard 7
comes in contact 0.1 to 0.2 mm with the needle.
(Caution) 1. After tightening the hook shaft screw gear,
check that the hook shaft has no thrust play.
2. Check that the hook shaft screw gear has
backlash.
3. In case of 2-needle. left and right are the same
adjustment value.

– 14 –
(8) Lift of the presser foot
1) Hand lifter
1
2
9±0.3 mm
Top surface of
throat plate
Condition
• State that the hand lifter is raised
Standard Adjustment
2) Knee lifter (Without thread trimmer only)
Conditions : Lifting amount when stopper
screw 6comes in contact with
knee lifter lever A
16±0.5 mm
5
6
3
4
Knee lifter lever A Knee lifter lever B
Top surface of
throat plate

– 15 –
1) Hand lifter
1. Loosen setscrew 3in the side cover located at the anti-
operator's side of the machine arm and remove side cover 4.
(Machine without thread trimmer only)
2. Loosen clamping screw 1in the presser bar bracket to set the
hand lifter 2to the raised state.
3. Adjust the lifting amount to 9 ±0.3 mm. At this time, the
adjustment can be easily performed when inserting a thing of
9 mm thick between the top surface of the throat plate and the
bottom face of the presser foot.
4. Tighten clamping screw 1in the presser bar bracket. Move
the presser foot to the left or the right and tighten the screw in
the state that the presser foot does not interfere with the walking
foot.
5. Remove the thing inserted between the top surface of the throat
plate and the bottom face of the presser foot.
6. Attach side cover 4(Machine without thread trimmer only)
Adjustment Procedures Results of Improper Adjustment
When the lifting amount is higher
than the specified value :
™The presser foot is held raised
from the top surface of the throat
plate even when the hand lifter
is returned to its home position.
When the lifting amount is lower
than the specified value :
™The presser foot is not sufficiently
raised and the working property
may be deteriorated.
2) Knee lifter (Machine without thread trimmer only)
1. Remove the knee press plate and tilt the machine arm.
2. Loosen stopper nut 5and adjust the lifting amount by screwing
amount of stopper screw 6. Adjust the height from the top
surface of the throat plate to the bottom face of the presser
foot to 16±0.5 mm.
3. Taking care so as not to move stopper screw 6, tighten stopper
nut 5.
™Tighten stopper screw 6/Lifting amount is decreased.
™Loosen stopper screw 6/Lifting amount is increased.
When the lifting amount is higher
than the specified value :
™The top end of the needle bar
interferes with the walking foot
and the walking foot may be
damaged when the presser foot
is raised.
When the lifting amount is lower
than the specified value :
™The presser foot is not sufficiently
raised and the working property
may be deteriorated.

– 16 –
Standard Adjustment
(9) Timing between the upper shaft and the lower shaft
Standard Adjustment
3) Automatic presser foot lifter (Machine with thread trimmer only)
16±0.5 mm
Top surface of
throat plate
1
2
3
4
0.5 to 1.5 mm
B
A
1
2
3
4
To be parallel Conditions
• Feed amount : 0 mm
• Needle bar at lowest dead point
This manual suits for next models
11
Table of contents
Other JUKI Sewing Machine manuals

JUKI
JUKI HZL-27Z User manual

JUKI
JUKI PLK-J10050R User manual

JUKI
JUKI MH-481 User manual

JUKI
JUKI LZ-2290A Series User manual

JUKI
JUKI DDL-900BB User manual

JUKI
JUKI HZL-G Series User manual

JUKI
JUKI DDL-8700L User manual

JUKI
JUKI HZL-E80 User manual

JUKI
JUKI MO-623 User manual

JUKI
JUKI DDL-9000B-SS User manual

JUKI
JUKI UT55 User manual

JUKI
JUKI AMS-210EN-7450 User manual

JUKI
JUKI Union Special MFC-7406 User manual

JUKI
JUKI DDL-9000 User manual

JUKI
JUKI MC-35 User manual

JUKI
JUKI MF-7900 Series User manual

JUKI
JUKI LK-1900S-SS User manual

JUKI
JUKI DDL-9000B User manual

JUKI
JUKI HZL-27Z User manual

JUKI
JUKI MO-6900C Series User manual