manuals.online logo
Brands
  1. Home
  2. •
  3. Brands
  4. •
  5. Kärcher
  6. •
  7. Cleaning Equipment
  8. •
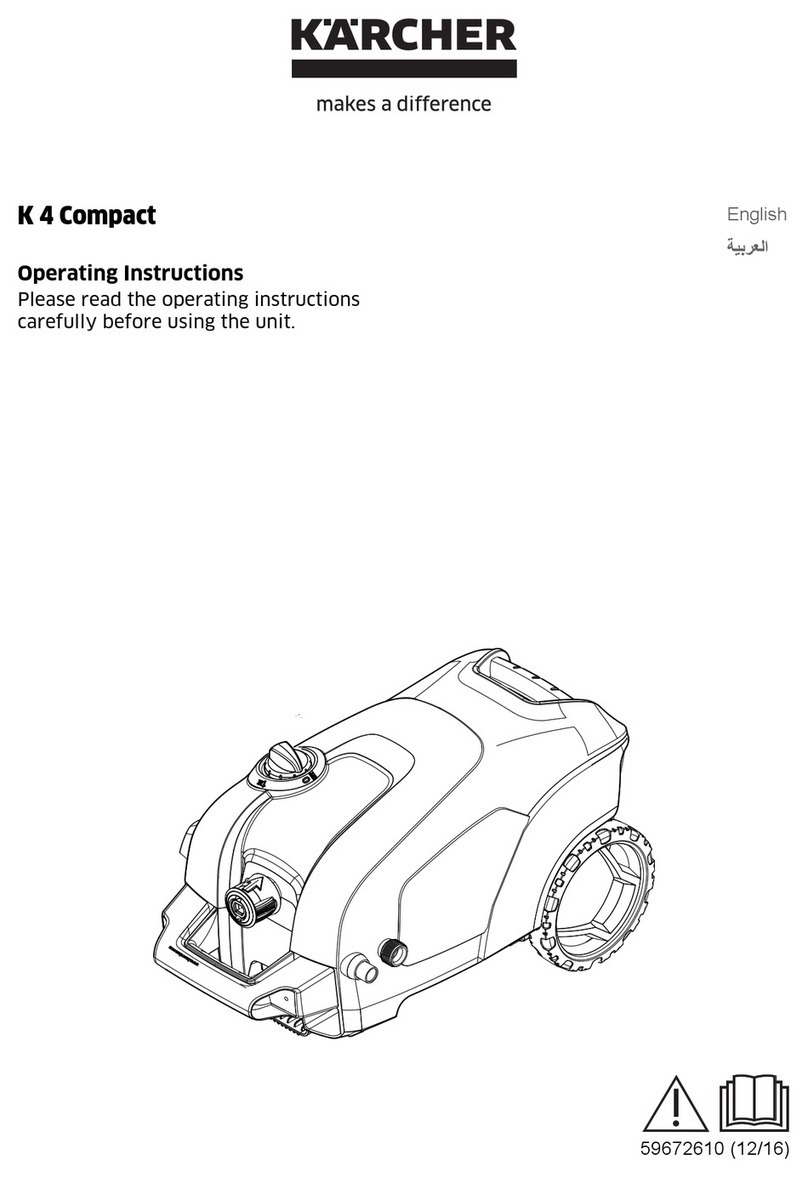
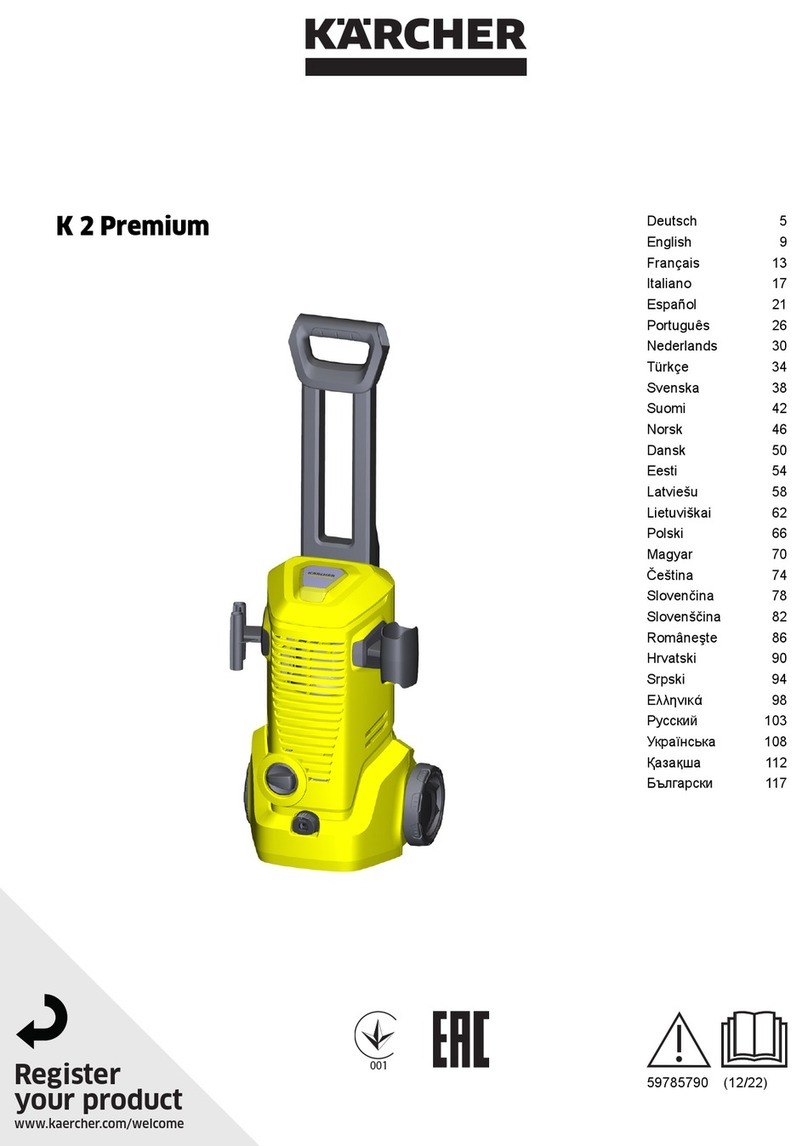
  9. Kärcher K 5 Compact User manual

Kärcher K 5 Compact User manual

Other manuals for K 5 Compact

7

Other Kärcher Cleaning Equipment manuals

Kärcher SE 4001 User manual

Kärcher

Kärcher SE 4001 User manual

Kärcher MFL 2-18 User manual

Kärcher

Kärcher MFL 2-18 User manual

Kärcher K 2.68 User manual

Kärcher

Kärcher K 2.68 User manual

Kärcher WV 1 Plus User manual

Kärcher

Kärcher WV 1 Plus User manual

Kärcher 2.644-191.0 User manual

Kärcher

Kärcher 2.644-191.0 User manual

Kärcher KM 70/15 C User manual

Kärcher

Kärcher KM 70/15 C User manual

Kärcher PS 20 User manual

Kärcher

Kärcher PS 20 User manual

Kärcher BR 55/40 RS User manual

Kärcher

Kärcher BR 55/40 RS User manual

Kärcher 475 M plus User manual

Kärcher

Kärcher 475 M plus User manual

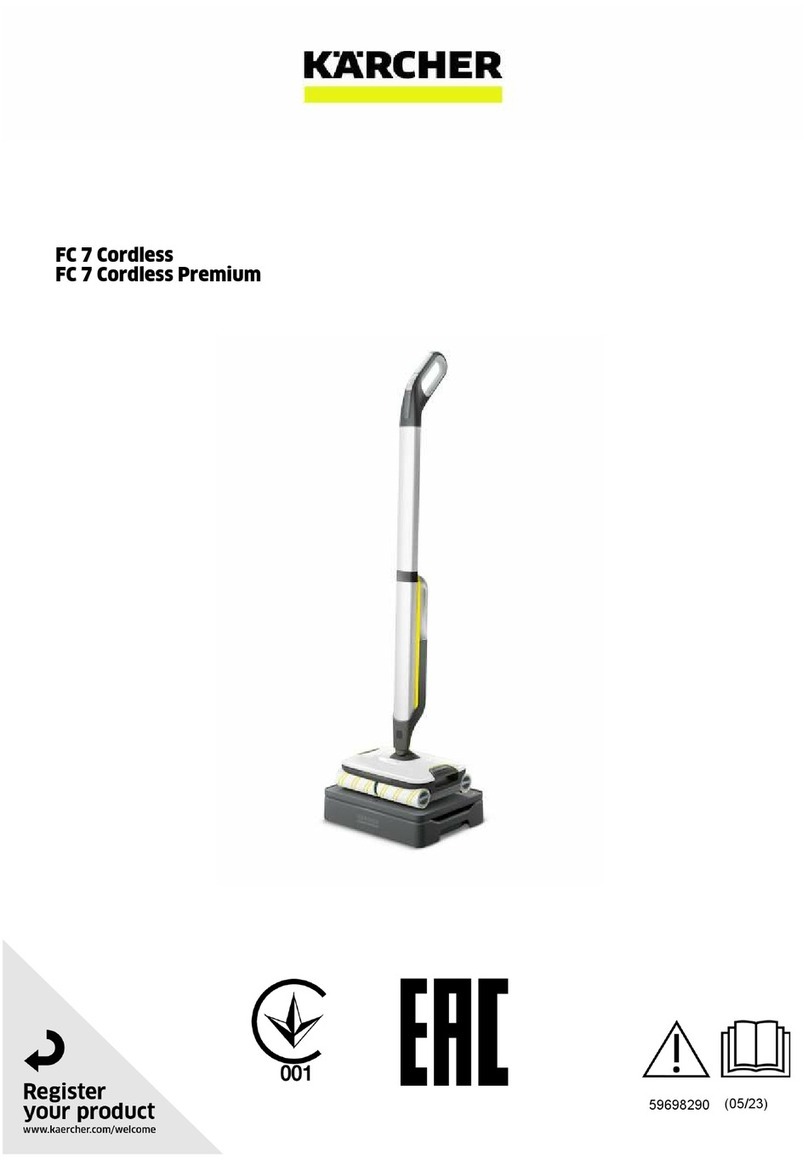
Kärcher FC 7 Cordless User manual

Kärcher

Kärcher FC 7 Cordless User manual

Kärcher B 260 RI User manual

Kärcher

Kärcher B 260 RI User manual

Kärcher HD 13/18-4 S User manual

Kärcher

Kärcher HD 13/18-4 S User manual

Kärcher HDR 777 User manual

Kärcher

Kärcher HDR 777 User manual

Kärcher SC 3 User manual

Kärcher

Kärcher SC 3 User manual

Kärcher K 55 User manual

Kärcher

Kärcher K 55 User manual

Kärcher IB 7/40 Classic User manual

Kärcher

Kärcher IB 7/40 Classic User manual

Kärcher NT 22/1 Ap L User manual

Kärcher

Kärcher NT 22/1 Ap L User manual

Kärcher OC 3 User manual

Kärcher

Kärcher OC 3 User manual

Kärcher PCL 4 User manual

Kärcher

Kärcher PCL 4 User manual

Kärcher B 60 W Ep User manual

Kärcher

Kärcher B 60 W Ep User manual

Kärcher Puzzi 8/1 C User manual

Kärcher

Kärcher Puzzi 8/1 C User manual

Kärcher SP 16.000 Dirt User manual

Kärcher

Kärcher SP 16.000 Dirt User manual

Kärcher Premium Power Control K3 User manual

Kärcher

Kärcher Premium Power Control K3 User manual

Kärcher BR 30/1 C Bp User manual

Kärcher

Kärcher BR 30/1 C Bp User manual

Popular Cleaning Equipment manuals by other brands

Skov Farm AirClean Technical user guide

Skov

Skov Farm AirClean Technical user guide

Nilfisk-Advance CA 240 operating instructions

Nilfisk-Advance

Nilfisk-Advance CA 240 operating instructions

ORBOT LiO operating manual

ORBOT

ORBOT LiO operating manual

unGer OmniClean Assembly instructions

unGer

unGer OmniClean Assembly instructions

CENTREGO Toucan Eco Bio Carry user manual

CENTREGO

CENTREGO Toucan Eco Bio Carry user manual

BANDELIN SONOREX TECHNIK RM 110 UH Instructions for use

BANDELIN

BANDELIN SONOREX TECHNIK RM 110 UH Instructions for use

Sealey VMA913 instructions

Sealey

Sealey VMA913 instructions

Aztec 520-00 owner's manual

Aztec

Aztec 520-00 owner's manual

BÖWE P25 installation instructions

BÖWE

BÖWE P25 installation instructions

Tunap MF 929 Service information

Tunap

Tunap MF 929 Service information

RIDGID K-45AF-7 manual

RIDGID

RIDGID K-45AF-7 manual

Aircraft POWERGLIDE manual

Aircraft

Aircraft POWERGLIDE manual

Suevia 130.5011 EASYCLEANER Mounting instructions

Suevia

Suevia 130.5011 EASYCLEANER Mounting instructions

i-MO Öko 2000 user guide

i-MO

i-MO Öko 2000 user guide

unGer Hydro Power Ultra UNP01 operating instructions

unGer

unGer Hydro Power Ultra UNP01 operating instructions

Black & Decker BHPC130 Original instructions

Black & Decker

Black & Decker BHPC130 Original instructions

Uni-ram UG5000E operating manual

Uni-ram

Uni-ram UG5000E operating manual

Axi MTC HC-300 Installation, operating and maintenance manual

Axi

Axi MTC HC-300 Installation, operating and maintenance manual

manuals.online logo
manuals.online logoBrands
  • About & Mission
  • Contact us
  • Privacy Policy
  • Terms and Conditions

Copyright 2025 Manuals.Online. All Rights Reserved.

K 5 Compact
59685310 (12/18)
English 4
ﺔﻴﺑﺮﻌﻟﺍ 19

A

 C 
E  G
  
K
4English
Safet istrctios
Read these original op-
erating instructions be-
fore using the device for the first
time. Act in accordance with
them. Keep the original operat-
ing instructions for future refer-
ence or for future owners.
You also need to take into
consideration the general
safety regulations and acci-
dent prevention guidelines of
the legislator in addition to the
notes in the operating instruc-
tions.
Warnings and information no-
tices attached to the device
provide important information
for hazard-free operation.
aard levels
!AGE
Indication of an imminent threat
of danger that will lead to severe
injuries or even death.
"AG
Indication of a potentially dan-
gerous situation that may lead to
severe injuries or even death.
"CA
Indication of a potentially dan-
gerous situation that may lead to
minor injuries.
AE
Indication of a potentially dan-
gerous situation that may lead to
damage to property.
ersoal protective
eipmet
"CA Wear suitable
protective clothing and safety
goggles to protect yourself from
water or dirt backsplash. Aero-
sols can be formed when using
high-pressure cleaners. Inhaling
aerosols can be harmful for your
health. Depending on the appli-
cation, the use of fully shielded
nozzles (e.g. surface cleaners)
can significantly lower the emis-
sion of aqueous aerosols. De-
pending on the environment to
be cleaned, wear a suitable res-
piratory protective mask of class
FFP 2 or comparable to protect
yourself from inhaling aerosols if
the use of a fully shielded nozzle
is not possible.
Geeral safet waris
!AGE Risk of asphyxia-
tion. Keep packaging film out of
the reach of children.
"AG Only use the de-
vice for its proper use. Take into
account the local conditions and
beware of third parties, in par-
ticular children, when working
with the device. Persons with
reduced physical, sensory or
mental capabilities, or those with
a lack of experience and knowl-
edge, are only allowed to use
the appliance if they are super-
vised or have been instructed
with respect to using the appli-
ance safely, and understand the
English 5
resultant dangers involved. 
Children must not operate the
device. Children must be su-
pervised to prevent them from
playing with the appliance.
"CA Safety devices
are provided for your own pro-
tection. Never modify or bypass
safety devices.
isk of electric shock
!AGE Only connect pro-
tection class I devices to properly
earthed power sources. Only
connect the device to alternating
current. The voltage indicated on
the type plate must match the
voltage of the power source. 
Only operate the device via a
fault current protection switch
(maximum 30 mA). Never
touch the mains plug and socket
with wet hands. The mains plug
and coupling of the extension ca-
ble must be water tight and may
not be placed in water. The cou-
pling may not be on the floor. Use
cable drums to ensure that the
sockets are at least 60 mm
above the floor. All live parts in
the work area must be protected
against water jets.
"AG Only connect
the device to an electrical con-
nection which has been set up
by a qualified electrician as per
IEC 60364-1. Check the power
supply cable with mains plug for
damage before operation each
time. Do not put the device into
operation with a damaged pow-
er supply cable. Have a dam-
aged power supply cable
replaced immediately by the au-
thorised customer service / qual-
ified electrician. Do not
damage the power supply and
extension cable by running over
it, crushing or yanking it or simi-
lar. Protect the power supply ca-
ble from heat, oil and sharp
edges. Unsuitable electrical
extension cables are danger-
ous. Only use approved and ap-
propriately marked electrical
extension cables with a suffi-
cient line cross section when
outdoors: 1-10 m : 1.5 mm2,
10-30 m : 2.5 mm2
"CA Always fully un-
wind the extension cable from
the cable drum. In case of
longer breaks in operation and
after use, switch off the device at
the main switch / device switch
and pull the mains plug.
peratio
!AGE Operation in ex-
plosive atmospheres is prohibit-
ed. Never suction solvents,
liquids containing solvents or
undiluted acids. This includes
e.g. petrol, paint thinner or heat-
ing oil. The spray mist is highly
flammable, explosive and poi-
sonous. Damaged wheels /

tyre valves are extremely dan-
6 English
gerous. Damaged wheels / tyre
valves can be damaged by the
high-pressure jet and explode.
The first sign of this is discolour-
ation of the tyres. Keep a spray
distance of at least 30 cm when
cleaning the wheels / tyre
valves.
"AG Do not use the
device if people without the
proper protective clothing are in
its reach. Do not aim the high-
pressure jet at yourself, e.g. to
clean clothes or shoes. Do not
direct the high-pressure jet at
persons, animals, live electrical
equipment or at the device itself.
lDo not spray any objects
which contain harmful substanc-
es (e.g. asbestos). Check the
device and the accessories,
such as the high-pressure hose,
high-pressure gun and safety
devices, to make sure they are
in proper safe and reliable con-
dition before each operation. Do
not use the device if it is dam-
aged. Replace damaged com-
ponents immediately. Only use
high-pressure hoses, control
panels and couplings specified
by the manufacturer. Risk of
scalding. When disconnecting
the supply or high-pressure
hose, hot water can leak out of
the connections after operation.
"CA According to the
applicable regulations, the appli-
ance may never be used with
the drinking water network with-
out a system separator. Ensure
that the connection to your
house water system, with which
the high-pressure cleaner is op-
erated, is equipped with a sys-
tem separator according to
EN 12729 type BA. Water that
has flowed through a system
separator is no longer classified
as drinkable. Never leave the
device unsupervised while it is in
operation. Recoil force from
the water stream emerging at
the high-pressure nozzle acts on
the high-pressure gun. Keep
proper footing and hold the high-
pressure gun and spray lance
firmly. Accidents or damage
due to the device falling over.
Before all actions with or on the
device, you must make sure that
it is stable.
AE Do not operate
the device at temperatures be-
low 0 °C.
peratio with deteret
"AG Incorrect use of
detergents can cause serious in-
juries or poisoning.
"CA Keep the deter-
gent out of the reach of children.
lOnly use the detergents sup-
plied or specified by the manu-
facturer. The use of other
detergents or chemicals can im-
pair the safety of the device.
English 7
Care ad service
"AG Always pull out
the mains plug before all care
and maintenance work.
"CA Have repair work
and work on electrical compo-
nents carried out by the author-
ised customer service only.
AE Do not use ace-
tone, undiluted acids or sol-
vents, as they corrode the
materials used on the device.
rasportatio
"CA Risk of accidents
and injuries. Take into account
the weight of the device for
transportation and storage. See
chapter Technical data in the op-
erating instructions.
Cotets
Evirometal protectio
The packing materials can be recycled. Please
dispose of packaging in accordance with the en-
vironmental regulations.
Electrical and electronic appliances contain valu-
able, recyclable materials and often components
such as batteries, rechargeable batteries or oil,
which - if handled or disposed of incorrectly - can
pose a potential danger to human health and the envi-
ronment. However, these components are required for
the correct operation of the appliance. Appliances
marked by this symbol are not allowed to be disposed
of together with the household rubbish.
Cleaning work producing in oily waste water, e.g.
washing engines, washing undercarriages etc.,
may only be performed at washing stations with an oil
separator.
Working with detergents may only be performed on
watertight surfaces with connection to the waste
water sewage system. Do not allow detergent to enter
waterways or the soil.
Extraction of water from public waterways is not
permitted in some countries.
otes o the cotet materials EAC
Current information on content materials can be found
at: www.kaercher.de/REACH
teded se
Use the high-pressure cleaner in private households
only.
The high-pressure cleaner is intended for cleaning ma-
chines, vehicles, buildings, tools, façades, terraces,
garden machines etc. using a high-pressure water jet.
Accessories ad spare parts
Only use original accessories and original spare parts.
They ensure that the appliance will run fault-free and
safely.
Information on accessories and spare parts can be
found at www.kaercher.com.
Safety instructions . . . . . . . . . . . . . . . . . . . . . . . . 4
Environmental protection . . . . . . . . . . . . . . . . . . . 7
Intended use . . . . . . . . . . . . . . . . . . . . . . . . . . . . 7
Accessories and spare parts . . . . . . . . . . . . . . . . 7
Scope of delivery . . . . . . . . . . . . . . . . . . . . . . . . . 8
Device description . . . . . . . . . . . . . . . . . . . . . . . . 8
Safety devices . . . . . . . . . . . . . . . . . . . . . . . . . . . 8
Symbols on the device . . . . . . . . . . . . . . . . . . . . . 8
Installation . . . . . . . . . . . . . . . . . . . . . . . . . . . . . . 8
Initial startup. . . . . . . . . . . . . . . . . . . . . . . . . . . . . 8
Operation . . . . . . . . . . . . . . . . . . . . . . . . . . . . . . . 9
Transport . . . . . . . . . . . . . . . . . . . . . . . . . . . . . . . 10
Care and service . . . . . . . . . . . . . . . . . . . . . . . . . 10
Storage. . . . . . . . . . . . . . . . . . . . . . . . . . . . . . . . . 10
Troubleshooting guide . . . . . . . . . . . . . . . . . . . . . 10
Warranty. . . . . . . . . . . . . . . . . . . . . . . . . . . . . . . . 11
Tech ni ca l da ta . . . . . . . . . . . . . . . . . . . . . . . . . . . 11
EU Declaration of Conformity. . . . . . . . . . . . . . . . 11
8 English
Scope of deliver
The scope of delivery for the appliance is shown on the
packaging. Check the contents for completeness when
unpacking. If any accessories are missing or in the
event of any shipping damage, please notify your deal-
er.
evice descriptio
or the illstratios refer to the raphics pae
llstratio A
1Storage for spray lance
2Storage for high-pressure gun
3Transport handle, telescoping
4Carrying handle
5Quick coupling for high-pressure hose
6Rubber band
7Storage for high-pressure hose and mains connec-
tion cable
8Power switch "0/OFF" / "I/ON"
9Mains connection cable with mains plug
10 Carrying handle
11 Type plate
12 Transport wheel
13 Water connection coupling
14 Water connection with integrated sieve
15 Suction hose for detergent (with filter)
16 High-pressure gun
17 High-pressure gun lock
18 High-pressure hose
19 Button for separating the high-pressure hose from
the high-pressure gun
20 Spray lance with dirt grinder for stubborn soiling
21 Vario Power spray lance for common cleaning
tasks. The working pressure can be continuously in-
creased from "SOFT" to "HARD". To adjust the
working pressure, release the trigger gun lever and
turn the spray lance to the desired position. Deter-
gent can be added to the water jet when the spray
lance is turned all the way in the SOFT direction.
22 **Garden hose with commonly available coupling
–Fabric reinforced
–Diameter of at least 1/2 inch (13 mm)
–Length at least 7.5 m
** additionally required
Safet devices
"CA
Missing or modified safety devices
Safety devices are provided for your own protection.
Never modify or bypass safety devices.
ower switch
The power switch prevents unintentional operation of
the device.
ihpressre  lock
The lock locks the lever of the high-pressure gun and
prevents the device from starting unintentionally.
Atostop fctio
If the lever of the high-pressure gun is released, the
pressure switch turns off the pump and the high-pres-
sure jet stops. The pump switches on again when the le-
ver is pressed.
otor circit reaker
The motor circuit breaker shuts off the device if power
consumption it too high.
Smols o the device
stallatio
or the fires refer to the raphics pae.
Fit the supplied loose parts onto the device before start-
ing up the device.
stall the trasport hadle
1. Attach the transport handle.
llstratio 
stalli the water coectio copli
1. Screw the water connection coupling onto the water
connection on the device.
llstratio C
itial startp
1. Place the device on a flat and level surface.
2. Insert the high-pressure hose into the quick coupling
until it audibly latches into place.
llstratio 
3. Insert the high-pressure hose into the high-pressure
gun until it audibly latches into place.
Note
Tak e care to en sure th e c orr ect alignm ent of t he nipp le.
llstratio E
4. Check for a secure connection by pulling on the
high-pressure hose.
5. Plug the mains plug into a mains socket.
ater sppl
For the connection values, see the type plate or chapter
Tech ni ca l da ta .
Observe the water distribution company regulations.
AE
Damage through contaminated water
Contamination in the water can damage the pump and
the accessories.
KÄRCHER recommends using the KÄRCHER water filter
for protection(special accessory, order number 4.730-059).
Do not aim the high-pressure jet may at
persons, animals, live electrical equipment
or the device itself.
Protect the device against frost.
The device may not be directly connected
to the public drinking water network
English 9
Coectio to the water lie
AE
Damage to the pump
A metal hose coupling with Aquastop on the garden
hose can cause damage to the pump.
Use a plastic hose coupling or a KÄRCHER brass hose
coupling.
1. Plug the garden hose onto the water connection
coupling.
llstratio 
2. Connect the garden hose to the water line.
3. Open the water tap fully.
Scki water from ope cotaiers
When used with the KÄRCHER suction hose with check
valve (special accessory, order number 2.643-100) this
high-pressure cleaner is suitable for sucking up surface
water, e.g. from rain barrels or ponds (for the maximum
suction height see chapter Technical data).
The water connection coupling is not required for suc-
tion operation.
1. Fill the suction hose with water.
2. Screw the suction hose onto the device water con-
nection and hang it in a water source (e.g. water
butt).
et the device
1. Switch the device on "I/ON".
2. Unlock the lever of the high-pressure gun.
3. Press the lever of the high-pressure gun.
The device switches on.
4. Allow the device for run a maximum of 2 minutes un-
til the water escaping from the high-pressure gun is
free of air bubbles.
5. Release the lever of the high-pressure gun.
6. Lock the lever of the high-pressure gun.
peratio
AE
Pump running dry
Damage to the device
If pressure does not build up in the device after 2 min-
utes then switch the device off and proceed according
to the instructions in chapter Troubleshooting guide.
ihpressre operatio
AE
Damage to painted or sensitive surfaces
Surfaces can be damaged when the jet is too close to
the surface or an unsuitable spray lance is used.
Maintain a minimum spray distance of 30 cm when
cleaning painted surfaces.
Do not clean car tyres, paint or sensitive surfaces such
as wood with the dirt grinder.
1. Insert a spray lance into the high-pressure gun and
lock it by turning it 90°.
llstratio G
2. Switch the device on ("I/ON").
3. Unlock the lever of the high-pressure gun.
4. Press the lever of the high-pressure gun.
The device switches on.
peratio with deteret
!AGE
Failure to adhere to the safety data sheet
Incorrect handling of the detergent can seriously dam-
age your health
Observe the safety data sheet of the detergent manu-
facturer, in particular the instructions on personal pro-
tective equipment.
Note
Detergent can only be mixed into the jet at low pressure.
1. Pull the desired length of the detergent suction hose
out of the casing.
llstratio 
2. Hang the detergent suction hose in a container with
detergent solution.
3. Use the Vario Power spray lance.
4. Turn the spray lance all the way in the "SOFT" direc-
tion.
The detergent solution is mixed with the water jet
during operation.
ecommeded cleai method
1. Spray the detergent sparingly on the dry surface and
let it work for a while (do not let it dry).
2. Rinse off the loosened dirt with the high-pressure
jet.
After operatio with deteret
1. Flush the device with clear water for approx. 30 sec-
onds.
terrpti operatio
1. Release the lever of the high-pressure gun.
The device switches off when the lever is released.
The high pressure in the system is retained.
2. Lock the lever of the high-pressure gun.
3. Insert the high-pressure gun into the high-pressure
gun storage compartment.
4. Place the high-pressure gun with the spray lance in
the parking position.
5. Switch the device off "0/OFF" during work breaks
longer than 5 minutes.
iishi operatio
"CA
Pressure in the system
Injuries from high-pressure water escaping uncontrolla-
bly
Only disconnect the high-pressure hose from the high-
pressure gun or the device when the system is fully de-
pressurised.
1. Release the lever of the high-pressure gun.
2. Close the water tap.
3. Press the lever of the high-pressure gun for 30 sec-
onds.
The pressure remaining in the system is discharged.
4. Release the lever of the high-pressure gun.
5. Lock the lever of the high-pressure gun.
6. Disconnect the device from the water supply.
7. Switch off the device "0/OFF".
8. Pull the mains plug out of the socket.
10 English
rasport
"CA
Failure to observe the weight
Risk of injury and damage
Be aware of the weight of the device during transportation.
Carri the device
1. Lift and carry the device by the carrying handles.
lli the device
1. Pull the transport handle out until it audibly latches
into place.
2. Pull the device via the transport handle.
rasporti the device i a vehicle
1. Secure the device against slipping and tipping over.
Care ad service
!AGE
Danger of electric shock
Injuries due to touching live parts
Switch off the device.
Remove the mains plug.
The device is maintenance-free, i.e. you do not need to
perform any maintenance work.
Clea the sieve i the water coectio
AE
Damaged sieve in the water connection
Damage to the device through contaminated water
Check the sieve for damage before inserting it in the wa-
ter connection.
If necessary, clean the sieve in the water connection.
1. Remove the water connection coupling.
2. Pull the sieve out using flat pliers.
llstratio 
3. Clean the sieve under running water.
4. Insert the sieve into the water connection.
Clea the deteret filter
Clean the detergent filter before longer periods of stor-
age.
1. Pull the filter off the detergent suction hose.
llstratio 
2. Clean the filter under running water.
Storae
"CA
Failure to observe the weight
Risk of injury and damage
Be aware of the weight of the device during storage.
Stori the device
1. Place the device on a level surface.
2. Disconnect the spray lance from the high-pressure
gun.
3. Press the separation button on the high-pressure
gun and disconnect the high-pressure hose from the
high-pressure gun.
4. Press the casing of the high-pressure hose quick
coupling in the direction of the arrow and pull out the
high-pressure hose.
5. Store the mains connection cable and accessories
on the device.
6. Store the high-pressure hose on the device.
7. Secure the mains connection cable and the high-
pressure hose with the rubber band.
llstratio K
Observe the additional instructions before storing the
device for a longer period of time, see chapter Care and
service.
rost protectio
AE
Danger of frost
Incompletely emptied devices can be destroyed by
frost.
Completely empty the device and accessories.
Protect the device from frost.
The following requirements must be satisfied:
The device is disconnected from the water supply.
The high-pressure hose is removed.
1. Switch the device on "I/ON".
2. Wait for a maximum of 1 minute until no more water
escapes from the high-pressure connection.
3. Switch off the device.
4. Store the device in a frost-protected room, together
with all accessories.
roleshooti ide
Malfunctions often have simple causes that you can
remedy yourself using the following overview. When in
doubt, or in the case of malfunctions not mentioned
here, please contact your authorised Customer Service.
!AGE
Danger of electric shock
Injuries due to touching live parts
Switch off the device.
Remove the mains plug.
evice ot ri
1. Press the lever of the high-pressure gun.
The device switches on.
2. Check that the voltage specified on the type plate
corresponds to the voltage of the power source.
3. Check the mains connection cable for damage.
4. If the motor is overloaded and the motor circuit
breaker has triggered:
a Switch off the device "0/OFF".
b Allow the device to cool down for 1 hour.
c Switch the device on "I/ON" and resume opera-
tion.
Have the device checked by Customer Service if
this fault occurs repeatedly.
he device does ot start p the motor es
Voltage drop due to a weak mains grid or when using an
extension cable
1. When switching on, first press the lever on the high-
pressure gun and then switch on the device "I/ON".
evice does ot reach reired pressre
The water supply is too low
1. Open the water tap fully.
2. Check the water supply for an adequate flow rate.
The sieve in the water connection is dirty.
1. Pull the sieve in the water connection out using flat
pliers.
2. Clean the sieve under running water.
Air is in the device.
1. Vent the device:
a Switch on the device without a connected high-
pressure hose for a maximum of 2 minutes until
the water escaping from the high-pressure con-
nection is free of air bubbles.
b Switch off the device.
c Connect the high-pressure hose.
d Observe the maximum suction height during suc-
tion operation (see chapter Technical data).
Stro pressre flctatios
1. Clean the high-pressure nozzle:
a Use a needle to remove dirt from the nozzle drill.