KTI-63133A4
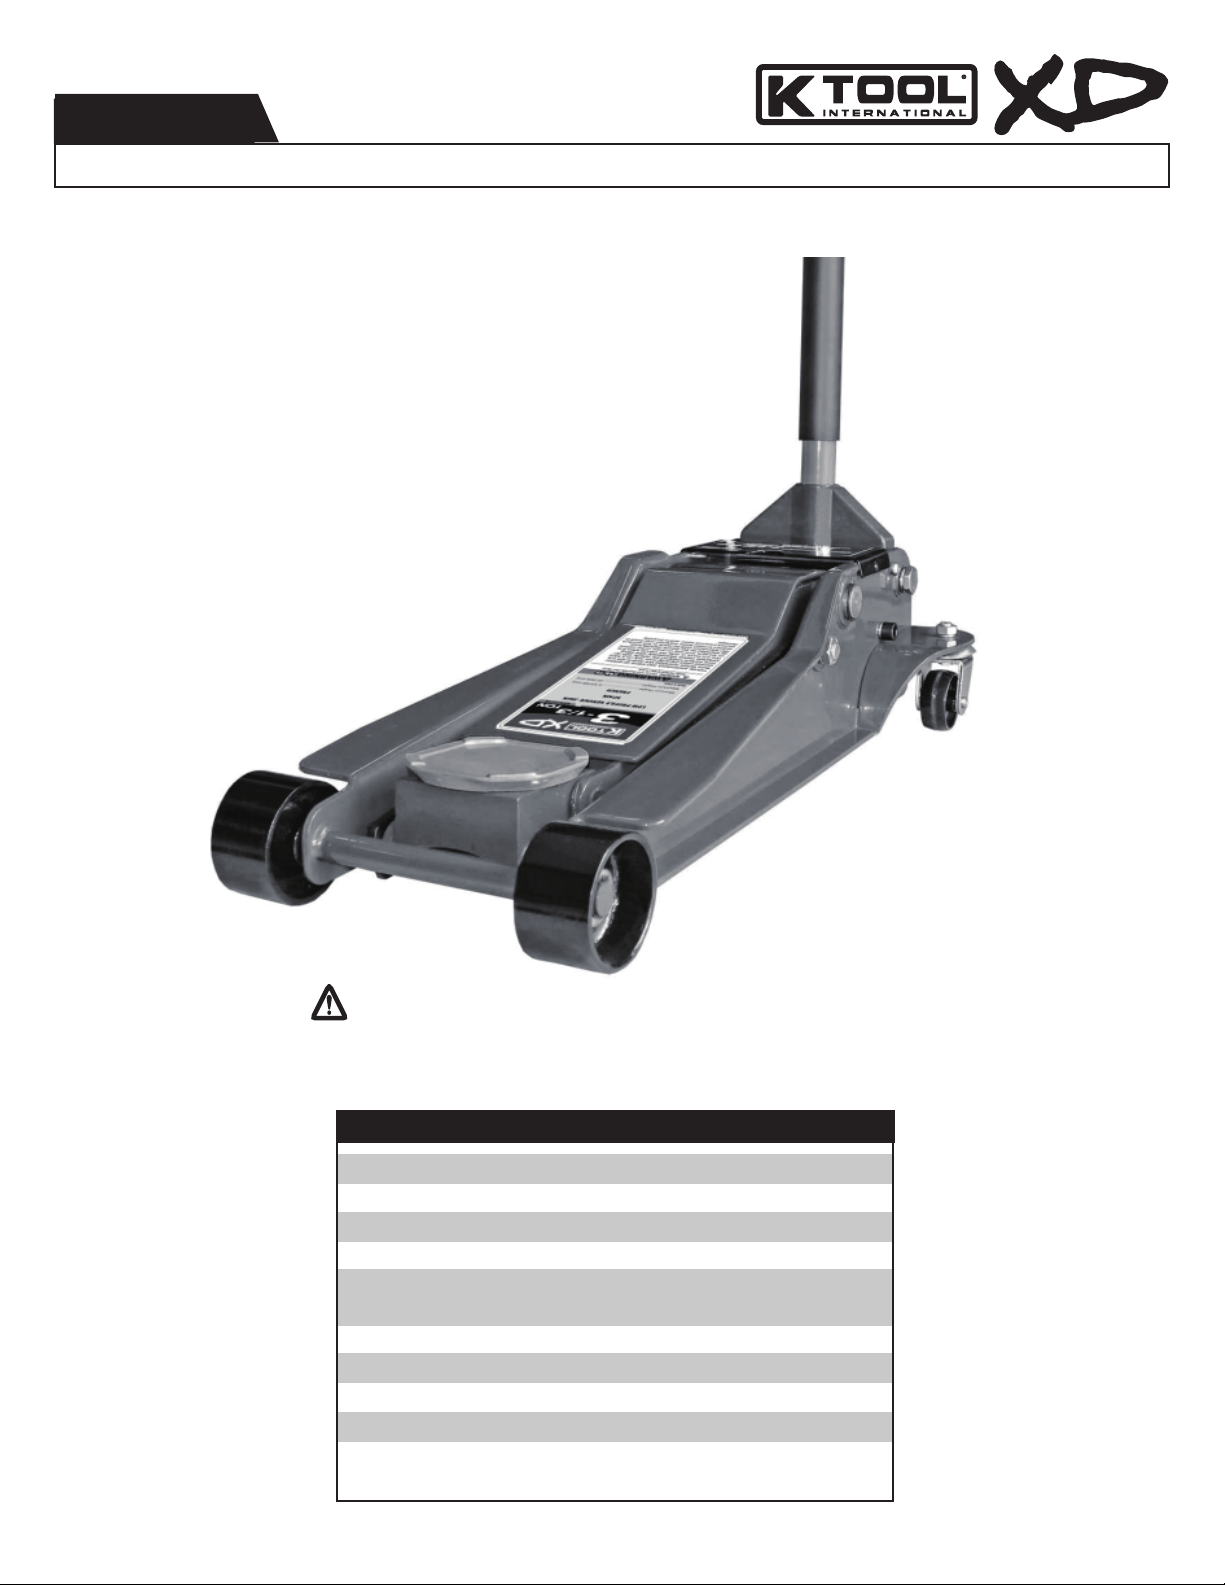
OPERATING INSTRUCTIONS
This is the safety alert symbol used for the OPERATING INSTRUCTIONS section of this manual to alert you to potential personal
injury hazards. Obey all instructions to avoid possible injury or death. IMPORTANT: Before attempting to raise any vehicle, check
vehicle service manual for recommended lifting surfaces.
OPERATION
1. Put vehicle transmission in park or in gear and then apply the emergency brake.
To raise load: Turn the handle in a clockwise direction until tight. Position the jack under the load. Proceed to pump the handle
in order to raise the lift arm to the load. As the saddle at the end of the lift arm gets closer to the load, reposition the jack so the
saddle will contact the load rmly and the load is centered on the saddle. Make sure the saddle is correctly positioned. Raise the
load to the desired work height. Place jack stands of appropriate capacity at the vehicle manufacturers's recommended support
areas that provide stable support for the raised vehicle. DO NOT CRAWL UNDER VEHICLE WHILE LIFTING VEHICLE OR PLACING
OR REMOVING THE JACK STANDS! Once jack stands are positioned, turn the jack handle VERY SLOWLY in a counterclockwise
direction to lower the load to rest on the jack stands. Inspect the relationship between the jack stands and load to make sure the setup
is stable and safe. If the setup is not stable or safe, follow the preceding steps until corrected.
2. To lower load: Follow the procedures mentioned in "To raise load" section of the OPERATING INSTRUCTIONS in order to raise
the load off the jack stands. Once the load has cleared the jack stands, remove the jack stands from under the load and away from the
work area. DO NOT CRAWL UNDER VEHICLE WHILE LIFTING VEHICLE OR PLACING OR REMOVING THE JACK STANDS! Turn
handle very slowly in a counterclockwise direction until the load is completely lowered to the ground. Once the jack's lifting saddle has
cleared the load, remove the jack from under the load. CAUTION: Keep hands and feet away from the hinge mechanism of the jack.
PREVENTATIVE MAINTENANCE
This is the safety alert symbol used for the PREVENTATIVE MAINTENANCE section of this manual to alert you to potential
personal injury hazards. Obey all instructions to avoid possible injury or death.
1. Always store the jack in a well protected area where it will not be exposed to inclement weather, corrosive vapors, abrasive dust,
or any other harmful elements. The jack must be cleaned of water, snow, sand, grit, oil, grease or other foreign matter before using.
2. The jack must be lubricated periodically in order to prevent premature wearing of parts. A general purpose grease must be applied to
caster wheels, front axle, elevator arm, handle base pivot bolts, release mechanism and all other bearing surfaces. Worn parts resulting
from inadequate or no lubrication are not eligible for warranty consideration. See page 5 for Regular Maintenance.
IMPORTANT: In order to prevent seal damage and jack failure, never use alcohol, hydraulic brake uid, or transmission oil in the
jack. Use hydraulic jack oil, a light turbine oil, Chevron AW ISO 32 or Unocal Unax AW 150.
3. Every jack owner is responsible for keeping the jack labels clean and readable. Use a mild soap solution to wash external
surfaces of the jack but not any moving hydraulic components.
4. Inspect the jack before each use. Do not use the jack if any component is cracked, broken, bent, shows sign of damage or leaks
hydraulic uid. Do not use the jack if it has loose or missing hardware or components, or is modied in any way. Take corrective action
before using the jack again.
PROPER STORAGE
It is recommended that the jack be stored in a dry location with all wheels touching the ground on a relatively level surface.
TROUBLESHOOTING
Important: Service jacks are self-contained devices used for lifting, but not sustaining, a partial vehicular load. In accordance with ASME-
PALD Load Sustaining Test: “A load not less than the rated capacity…shall not lower more than 1/8" (3.18mm) in the rst minute, nor a total
of .1875" (4.76mm) in 10 minutes.” Lowering within this range is considered normal operation and is NOT a warrantable defect.
PROBLEM:UNITWILLNOTLIFTRATEDLOAD.
ACTION: Purge air from hydraulic system by following procedure under SETUP.
PROBLEM:UNITWILLNOTSUSTAINRATEDLOADORFEELS"SPONGY"UNDERRATEDLOAD.
ACTION: Purge air from hydraulic system as above.
PROBLEM:UNITWILLNOTLIFTTOFULLHEIGHT.
ACTION: Purge air from hydraulic system as above or check oil level in reservoir.
PROBLEM:HANDLETENDSTORAISEUPWHILETHEUNITISUNDERRATEDLOAD.
ACTION: Pump the handle rapidly several times to push oil past ball valves in power unit.