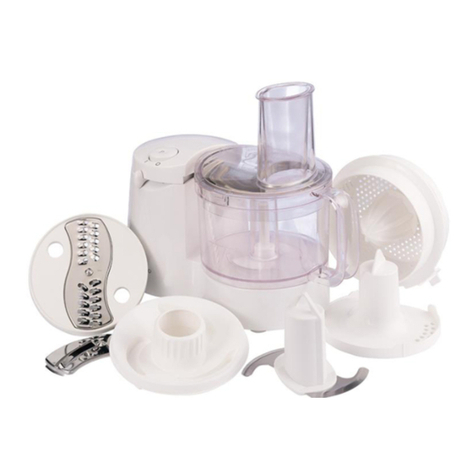
Kenwood QuickMix+ HMP50.000BK User manual
Other Kenwood Kitchen Appliance manuals
Kenwood
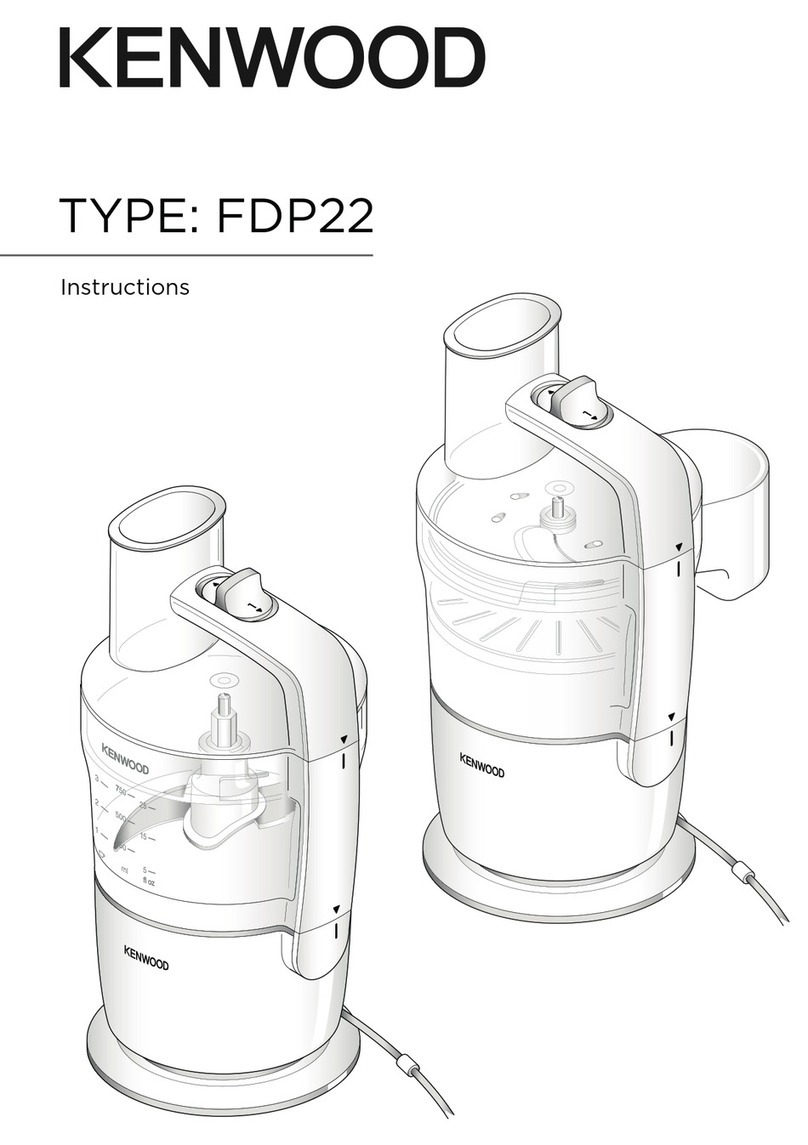
Kenwood FDP22.130RD User manual
Kenwood
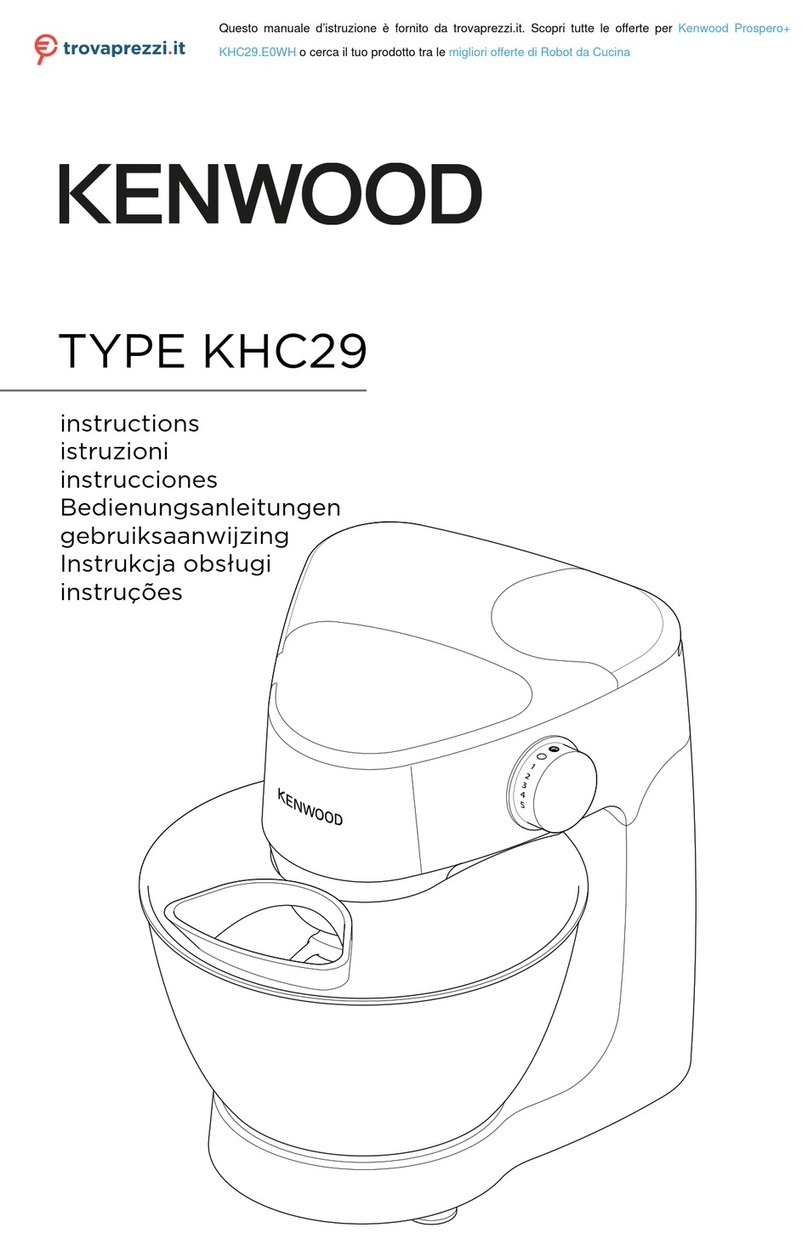
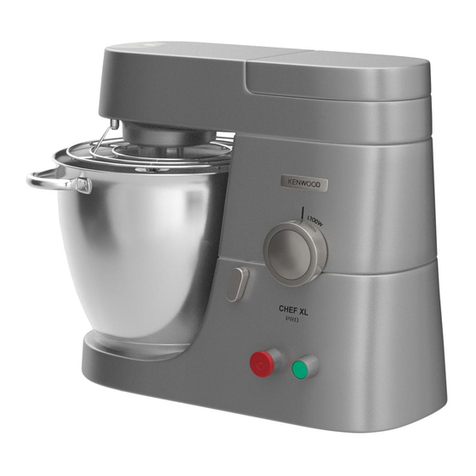
Kenwood KHC29.E0WH User manual
Kenwood
Kenwood KPL90 User manual

Kenwood
Kenwood ID200 User manual

Kenwood
Kenwood SJT670 User manual

Kenwood
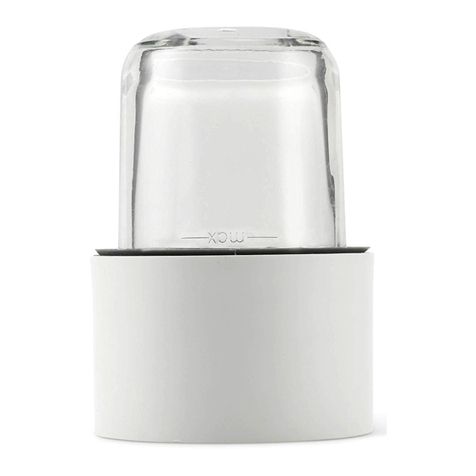
Kenwood AT972A User manual
Kenwood
Kenwood AT320 User manual
Kenwood
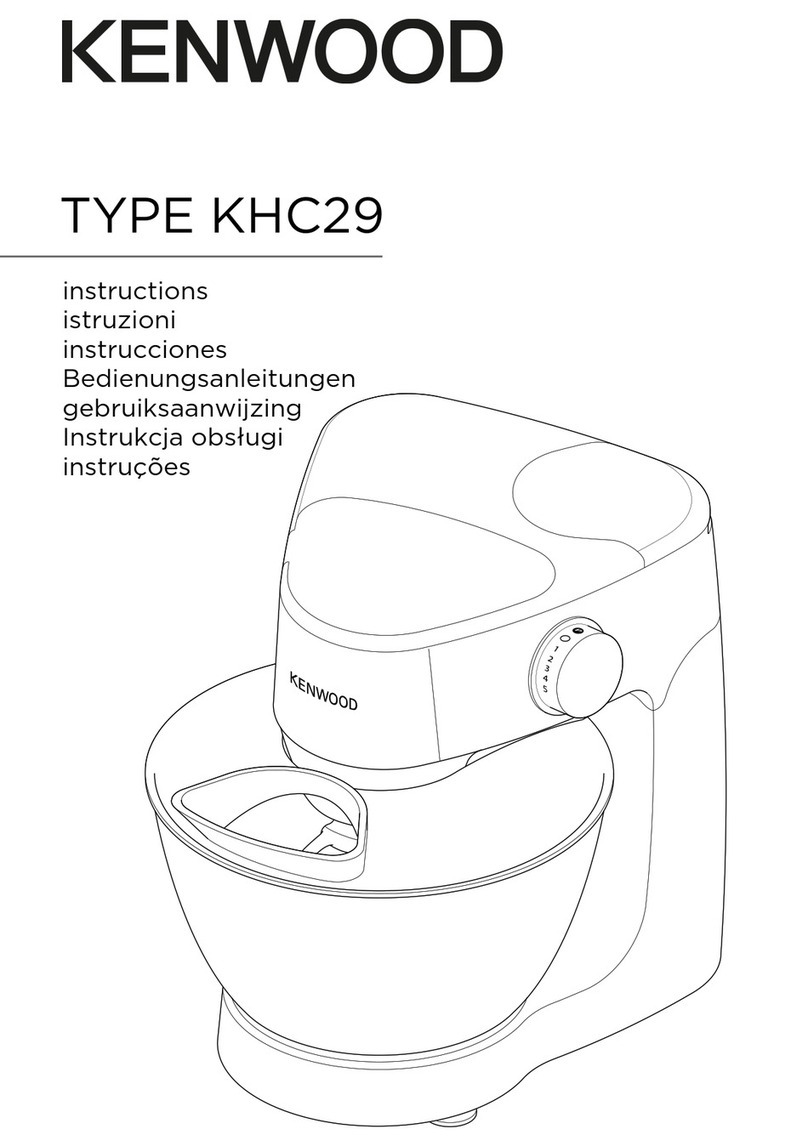
Kenwood HMP34 User manual
Kenwood
Kenwood KHC29.J0WH User manual
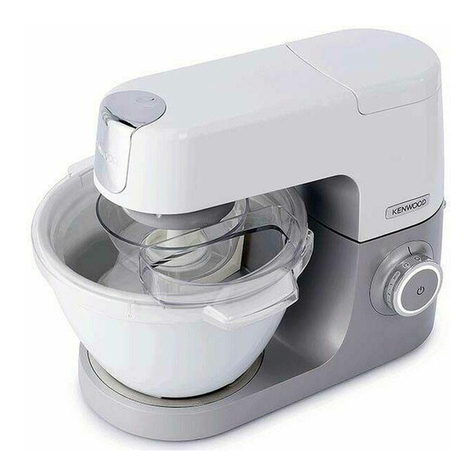
Kenwood
Kenwood KVC50 Chef User manual

Kenwood
Kenwood HB150 series User manual
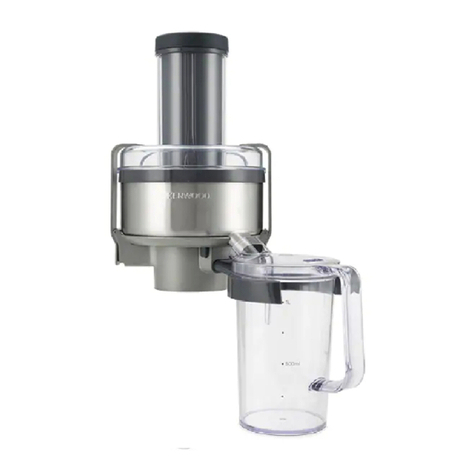
Kenwood
Kenwood AT641 User manual

Kenwood
Kenwood Chef Elite XL KVL6320S User manual
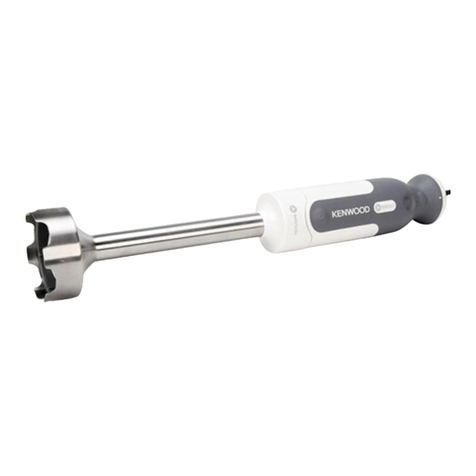
Kenwood
Kenwood HB720 series User manual

Kenwood
Kenwood KPL90 User manual
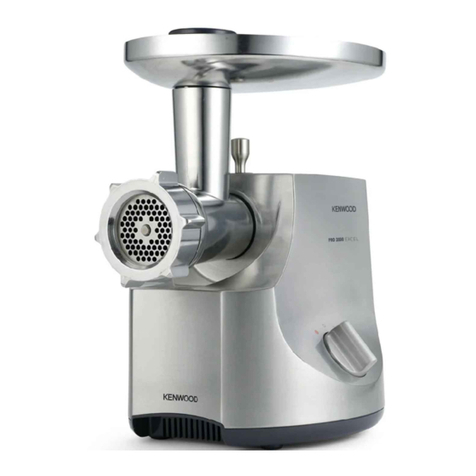
Kenwood
Kenwood MG700 series User manual

Kenwood
Kenwood CK 680 User manual
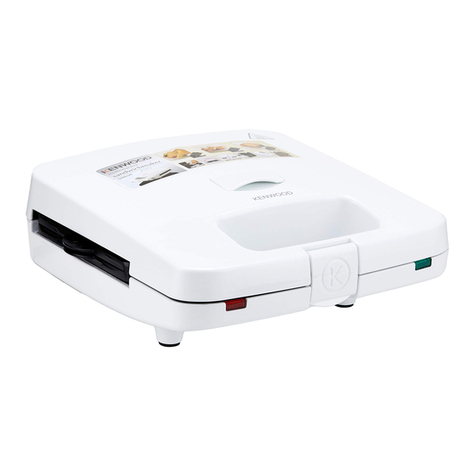
Kenwood
Kenwood SM630 Installation guide
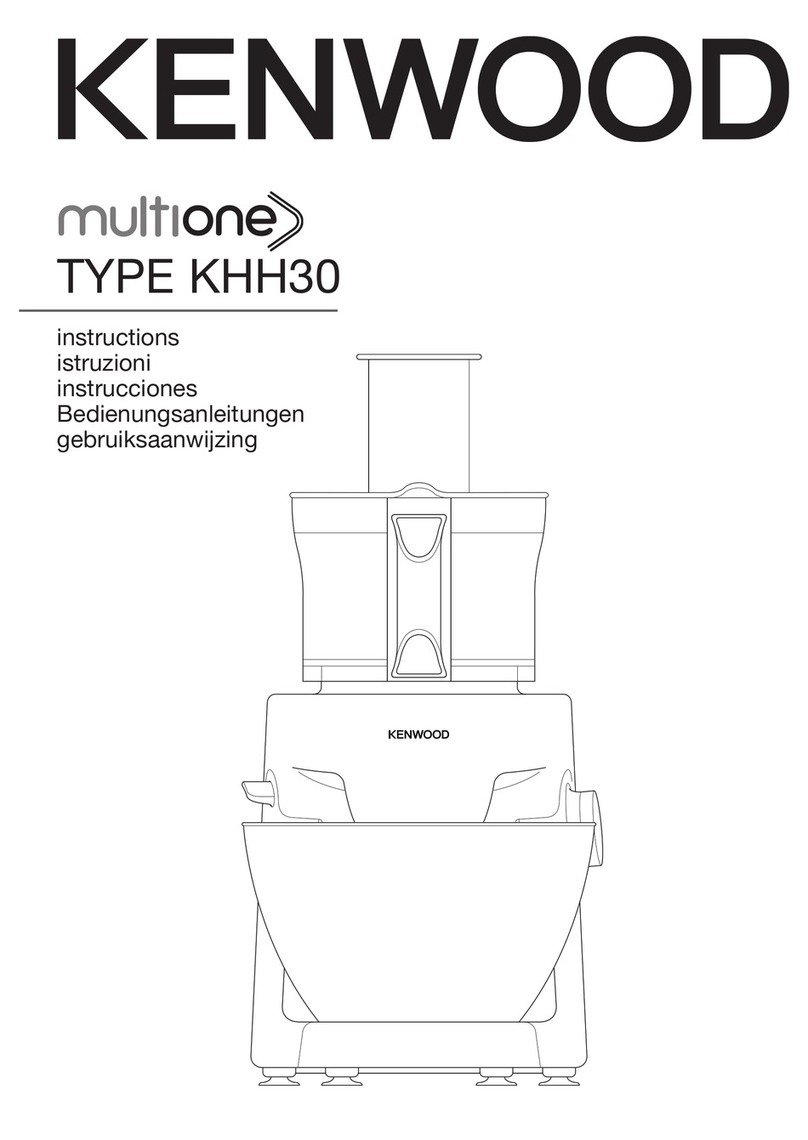
Kenwood
Kenwood KHH30 multizone User manual
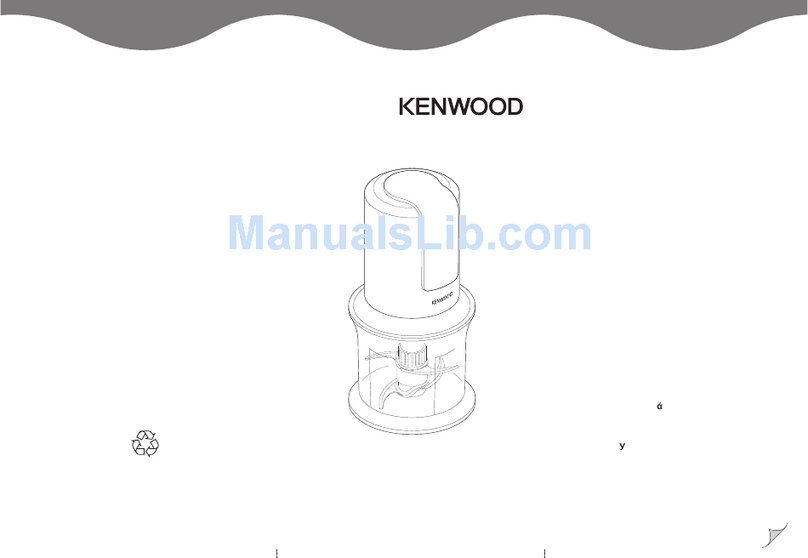
Kenwood
Kenwood CH580 series User manual
Popular Kitchen Appliance manuals by other brands

Tayama
Tayama TYG-35AF instruction manual

AEG
AEG 43172V-MN user manual

REBER
REBER Professional 40 Use and maintenance

North American
North American BB12482G / TR-F-04-B-NCT-1 Assembly and operating instructions

Presto
Presto fountain popper instruction manual

Westmark
Westmark 1035 2260 operating instructions


