manuals.online logo
Brands
  1. Home
  2. •
  3. Brands
  4. •
  5. KI
  6. •
  7. Indoor Furnishing
  8. •
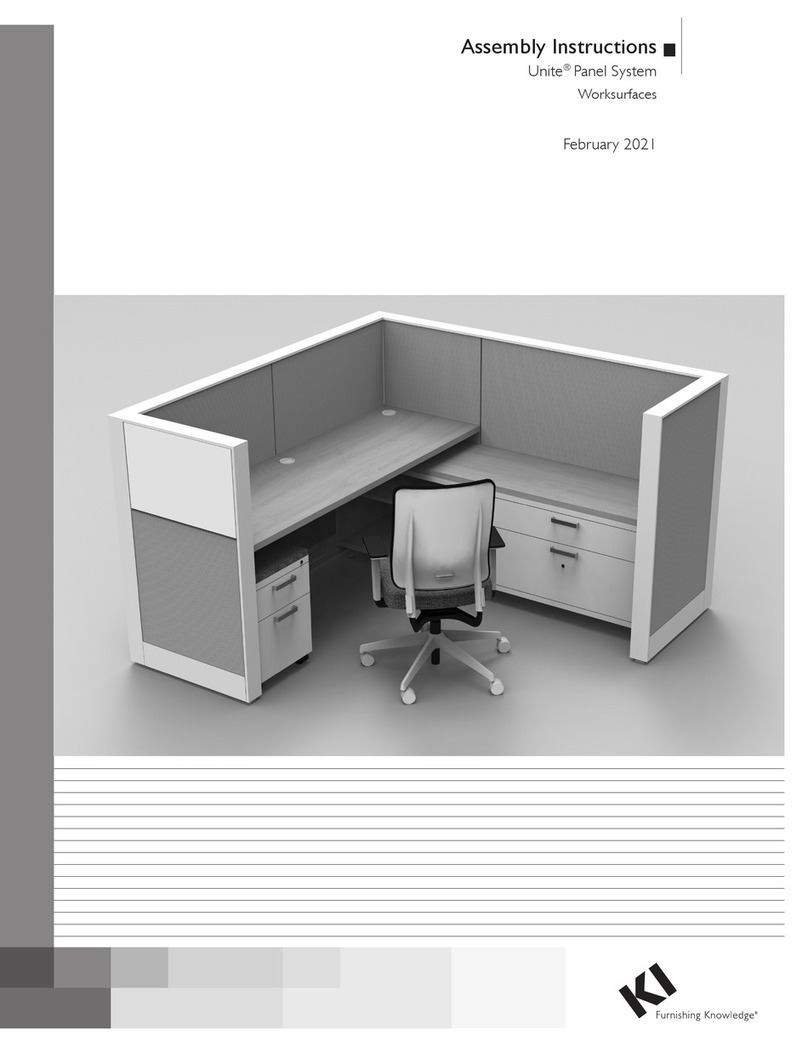
  9. KI CrossRoads Shelving Single Face Metal with Back... User manual

KI CrossRoads Shelving Single Face Metal with Back... User manual

Top Assembly
Shared End Panel
Right End Panel
Base Assembly
Glides
Left End Panel
2" Hex Head Bolts
with Lock Washers
and Flat Washers
4
1
/
2
" Hex Head Bolts
with Lock Washers
and Flat Washers
Shelf Adder Inst.eps
Figure 4
Flat Washer
and Hex Nut
Assembly Instructions
CrossRoads®Shelving
Single Face Metal with Back Stop
November 2009
Tools Required:
•#2Phillips screwdriver
•1/2"socket
•Socket wrench
Hardware Included:
•#8 x 5/8"screws
•#8 x 11/4"screws
•5/16" x 2" hex head bolt
•5/16"x 41/2"hex head bolt
•1/4"flat washer
•5/16"lock washer
•5/16"flat washer
•5/16"hex nut
•Metal pegs
1. Set back edge of left end panel on flat
surface (holes to inside – if it’s a
curved end panel make sure the
curved edge is up).
2. Align the side holes in the base assembly
with the lower holes in the left end
panel. Insert 2" hex head bolts with
lock washers and flat washers into the
base and end panel. Tighten (Figure 1).
3. Align the side holes in the top
assembly with the upper holes in the
left end panel (Figure 2). Make sure
the faceplate on the top assembly is to
the front and that the back panel
groove is to the back. Insert 2" hex
head bolts with lock washers and flat
washers into the top assembly and
end panel. Tighten. Note: for shelving
units 72" and higher, the top shelf
assembly should be flipped so that
the cleat side faces up.
4. For single starter unit (stand-alone)
and final end panel for connecting
units: Take the right end panel (holes
to inside) and align the side with the
holes in both the base and the top
assembly (Figure3). Insert 2" hex
head bolts with lock washers and flat
washers into the base and top
assembly. Tighten.
5. For adder units (connecting) – Align
the side holes in the shared panel
(holes both sides) with the holes in
both the base assembly and the top
assembly. Insert 41/2"hex head bolts
with lock washers, flat washers and
nut into the base assembly. Do not
tighten (Figure4).
6. Align the side holes in both the base
and top assembly with the side holes
in the right end panel. Insert 2" hex
head bolts with lock washers and flat
washers into base assembly and top
assembly (Figure4).
7. Tighten all 2" and 41/2"hex head bolts.
Insertglides into all end panels.
Left End Panel
2" Hex Head Bolts
with Lock Washers
and Flat Washers
Base Assembly
Base Assembly.eps
Figure 1
Left End Panel
2" Hex Head Bolts
with Lock Washers
and Flat Washers
Base Assembly
Top 
Assembly
Top Asm.eps
Figure 2

Figure 2
Right End Panel
Rt. End Pnl Install.eps
Glides
Figure 3
Left End Panel
2" Hex Head Bolts
with Lock Washers
and Flat Washers
Base Assembly
Top Assembly
Figure 3
Assemble units as described herein only. To do otherwise
may result in instability. All screws, nuts and bolts must
be tightened securely and must be checked periodically
after assembly. Failure to assemble properly, or to secure
parts may result in assembly failure and injury.
1330 Bellevue Street • P.O. Box 8100 • Green Bay, WI 54308-8100 • Tel 1-800-424-2432 • www.ki.com
©2009 KI All Rights Reserved • Litho in USA. • Code KI-61562AR6-MBS/TMI/PDF/1109
Figure 4
Figure 1

8. Carefully tip the shelving unit into an
upright position. Note that two or
more assemblers are recommended
when multiple units are connected.
9. Bottom shelf. Insert (2) metal pegs
into pre-drilled holes just above the
base assembly. Lay bottom shelf with
routed side down and align onto metal
pegs (Figure 5).
10. Fixed center shelf. For 60", 72", 82"
and 96" high units, measure up half
way on the end panels. Within 6" of
this dimension, determine desired shelf
location. Rest shelf on four metal pegs.
Attach fixed shelf with #8 x 5/8"
screws and (2) 1/4" flat washers per
screw to the end panel (Figure 5).
11. Adjustable shelves. Insert (4) metal
pegs into pre-drilled holes at desired
adjustable shelf heights. Set each shelf
onto the metal pegs with notched side
down. Repeat for each adjustable shelf
(Figure 5).
Assemble units as described herein only. To do otherwise
may result in instability. All screws, nuts and bolts must be
tightened securely and must be checked periodically after
assembly. Failure to assemble properly, or to secure parts
may result in assembly failure and injury.
Wooden Bottom Shelf
Base Assembly
Metal Adjustable Shelf
Metal Pegs
(4 per Shelf)
#8 x
5
/
8
" Screws
with two
1
/
4
" Washers
(4 per Shelf)
Fixed Middle Shelf
(Position Within 6"
of Middle of End Panels)
Metal Pegs
(2 per Bottom Shelf)
Metal Peg Locations
Front of Shelf
Shelf Detail
Fixed Middle Shelf
Screw Locations
CRMetalShlfBS5.eps
Screw
Washers
Figure 5
CrossRoads®Shelving - Single Face Metal with Back Stop
Assembly Instructions

Other KI Indoor Furnishing manuals

KI System 3000 Countertop User manual

KI

KI System 3000 Countertop User manual

KI Impress Guide

KI

KI Impress Guide

KI WorkUp FX User manual

KI

KI WorkUp FX User manual

KI Barron Table User manual

KI

KI Barron Table User manual

KI Tattoo Pedestal User manual

KI

KI Tattoo Pedestal User manual

KI Trek TT-Base Folding Table User manual

KI

KI Trek TT-Base Folding Table User manual

KI CrossRoads Metal Media Shelving Single Face User manual

KI

KI CrossRoads Metal Media Shelving Single Face User manual

KI Genesis User manual

KI

KI Genesis User manual

KI Unite System User manual

KI

KI Unite System User manual

KI Pirouette Tables User manual

KI

KI Pirouette Tables User manual

KI Pirouette User manual

KI

KI Pirouette User manual

KI CrossRoads Newspaper Display Unit User manual

KI

KI CrossRoads Newspaper Display Unit User manual

KI Rapture Stack Chair Guide

KI

KI Rapture Stack Chair Guide

KI Engage Task Chair Installation instructions

KI

KI Engage Task Chair Installation instructions

KI 700 Series User manual

KI

KI 700 Series User manual

KI Toggle SS User manual

KI

KI Toggle SS User manual

KI Design Itoki DD User manual

KI

KI Design Itoki DD User manual

KI Toggle EL User manual

KI

KI Toggle EL User manual

KI Impress Ultra Installation guide

KI

KI Impress Ultra Installation guide

KI WorkUp RT User manual

KI

KI WorkUp RT User manual

KI Serenade User manual

KI

KI Serenade User manual

KI Grazie Installation guide

KI

KI Grazie Installation guide

KI Genesis Desking User manual

KI

KI Genesis Desking User manual

KI Concerto User manual

KI

KI Concerto User manual

Popular Indoor Furnishing manuals by other brands

SAFAVIEH COUTURE SFV5534A quick start guide

SAFAVIEH COUTURE

SAFAVIEH COUTURE SFV5534A quick start guide

BLACK RED WHITE GRACE B186-KOM2D Assembly

BLACK RED WHITE

BLACK RED WHITE GRACE B186-KOM2D Assembly

Bob's Discount Furniture Troy 2074-541F Assembly instructions

Bob's Discount Furniture

Bob's Discount Furniture Troy 2074-541F Assembly instructions

Allen + Roth LLBVT2439D Assembly instructions

Allen + Roth

Allen + Roth LLBVT2439D Assembly instructions

Hewi 950 Installation and operating instructions

Hewi

Hewi 950 Installation and operating instructions

Kvik MH514-060 Assembly manual

Kvik

Kvik MH514-060 Assembly manual

Leckey Squiggles User instructions

Leckey

Leckey Squiggles User instructions

VS 800 Series Assembly instructions

VS

VS 800 Series Assembly instructions

Forte MADRANO MEGV521L Assembling Instruction

Forte

Forte MADRANO MEGV521L Assembling Instruction

Powell 21A2070 quick start guide

Powell

Powell 21A2070 quick start guide

Furniture Values International aspenhome I248-366-1 Assembly instructions

Furniture Values International

Furniture Values International aspenhome I248-366-1 Assembly instructions

Legacy Classic Kids 3850-4204 Assembly instructions

Legacy Classic Kids

Legacy Classic Kids 3850-4204 Assembly instructions

Costway HW63224-13 user manual

Costway

Costway HW63224-13 user manual

ROOMS TO GO HNCL 9650-LS quick start guide

ROOMS TO GO

ROOMS TO GO HNCL 9650-LS quick start guide

Whittier Wood McKenzie Alder 1614a Assembly instructions

Whittier Wood

Whittier Wood McKenzie Alder 1614a Assembly instructions

Coaster 300837 Assembly instructions

Coaster

Coaster 300837 Assembly instructions

OWIM Miomare HG00718 Operation and safety notes

OWIM

OWIM Miomare HG00718 Operation and safety notes

Naomi Home Isabella Assembly instructions

Naomi Home

Naomi Home Isabella Assembly instructions

manuals.online logo
manuals.online logoBrands
  • About & Mission
  • Contact us
  • Privacy Policy
  • Terms and Conditions

Copyright 2025 Manuals.Online. All Rights Reserved.