manuals.online logo
Brands
  1. Home
  2. •
  3. Brands
  4. •
  5. KI
  6. •
  7. Indoor Furnishing
  8. •
  9. KI Aristotle Casegoods Aluminum Leg Table with Acrylic... User manual

KI Aristotle Casegoods Aluminum Leg Table with Acrylic... User manual

Assemble units as described herein only. To do otherwise
may result in instability. All screws, nuts and bolts must be
tightened securely and must be checked periodically after
assembly. Failure to assemble properly, or to secure parts
may result in assembly failure and personal injury.
Assembly Instructions
Aristotle® Casegoods
Aluminum Leg Table with Acrylic Panels
December 2018
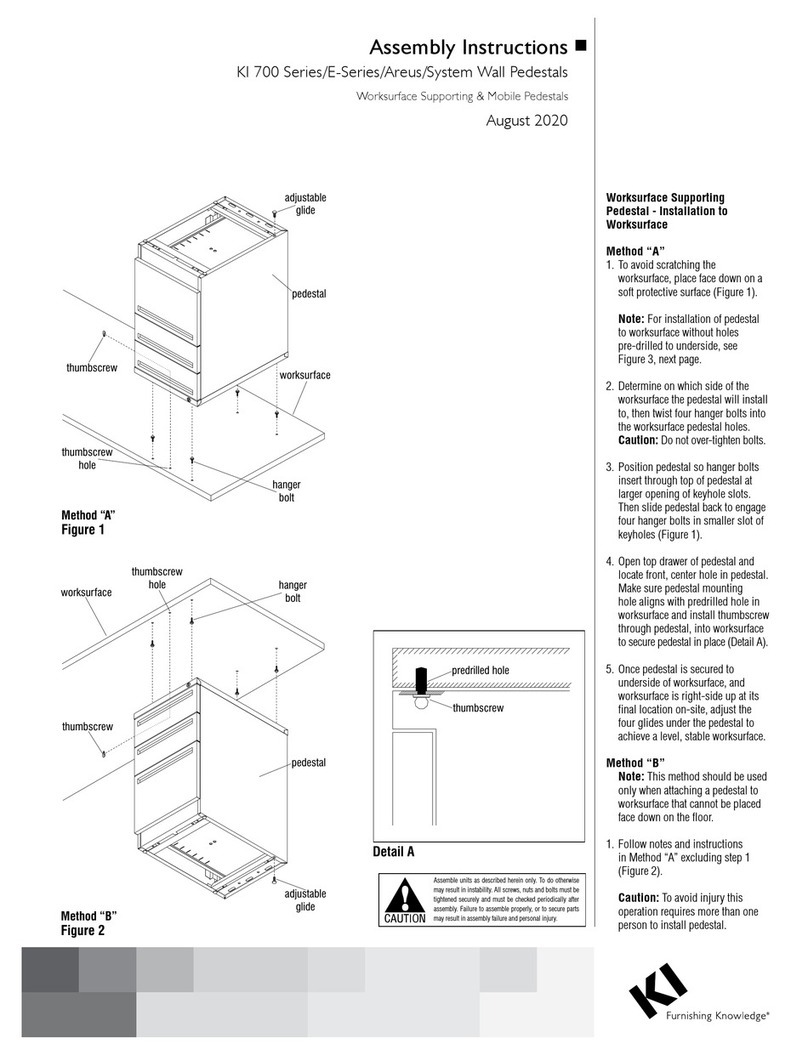
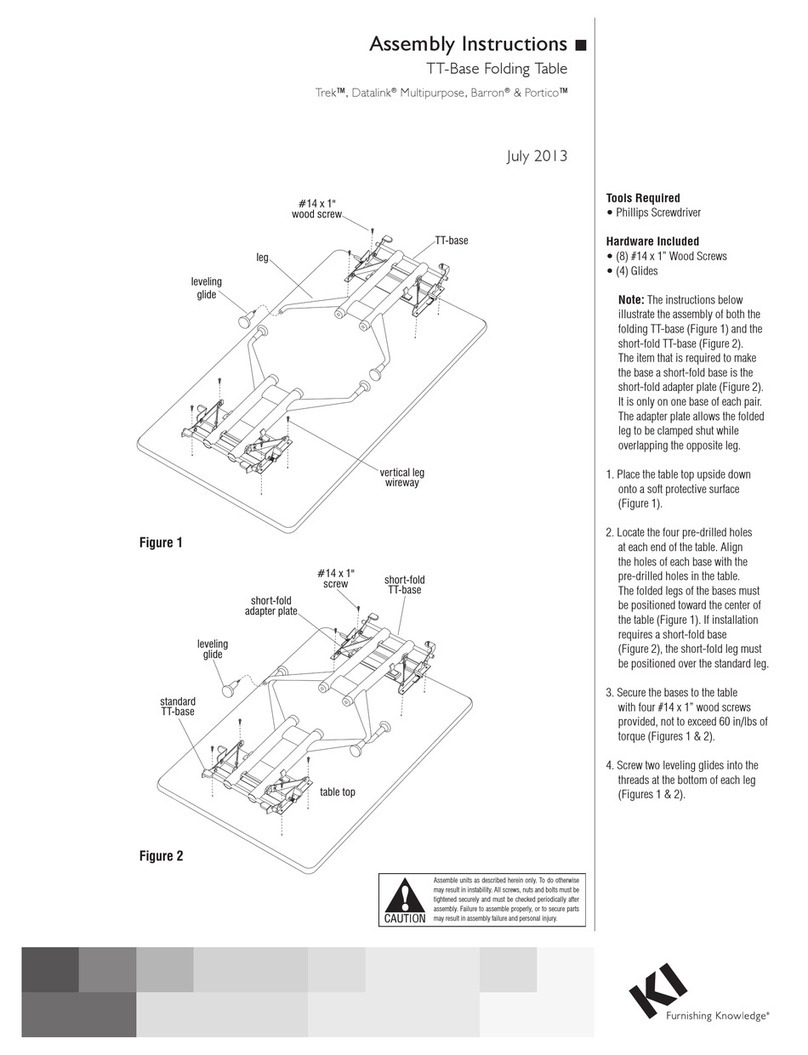
1. Carefully place tabletop upside down
onto a soft, protective surface. One
at a time, position a leg assembly
over pre-drilled holes where it will be
installed. Some holes are pre-drilled
in the tabletop to aid in locating the
leg’s mounting position (Figure 1).
2. Secure the aluminum leg assembly
to the underside of the tabletop
using eight #8 x 1” wood screws as
illustrated. Take care when tightening
to not strip screws in tabletop
underside (Figure 1).
3. If tabletop is 60” in length or longer,
a stiffener bar must be installed.
Align the four outside mounting
holes of the stiffener bar to the four,
pre-drilled mounting holes at the
underside of the top and secure
with #8 x 1” woodscrews. Use the
remaining mounting holes in the
stiffener bar as a template, and
secure the bar to the underside of the
tabletop, using a total of sixteen
#8 x 1” screws (Figure 2).
aluminum
leg assembly
tabletop
#8 x 1”
wood screw
Figure 1
Figure
2
#8 x 1”
wood screw
stiffener bar
tabletop
(60” or longer)
7HP37 - Hardware Pack
#8 x 1”
screws 16
2
Assemble units as described herein only. To do otherwise
may result in instability. All screws, nuts and bolts must be
tightened securely and must be checked periodically after
assembly. Failure to assemble properly, or to secure parts
may result in assembly failure and personal injury.
Aristotle®Casegoods - Aluminum Leg Table with Acrylic Panels
Assembly Instructions
4. Begin installation of acrylic modesty
panel(s) into aluminum legs by
removing the leveling glides
(Figure 3).
Note: The Figure 3 assembly
illustration below shows the optional
second acrylic panel configuration.
Your installation may only specify
one panel and aluminum rail per
leg set.
5. As illustrated, slide acrylic panels
and aluminum rails into position
between the aluminum legs channels
(Figure 3). Adjust the screws
(pre-installed) in each end of
aluminum rail, if required to make
sure that the screw fits over the rib in
the groove of the leg (Detail A).
6. With the acrylic panel(s) and
aluminum rail(s) in place between
the legs, twist a lock nut onto a
#10-24 x 3/8” cap screw and slide
the nut-end of the pair into the slot,
behind the rib of the groove in the
leg (Figure 4). Repeat this procedure
for the other leg, at the other end of
the aluminum rail (Figure 4 &
Detail B).
7. Using the Allen wrench provided,
tighten each #10-24 x 3/8” hex head
cap screw into the lock nuts to
secure the aluminum rail(s) to the
legs (Figure 4 & Detail B).
Figure 3
Detail A
leveling
glide
screw
(in rail)
aluminum rails
aluminum
leg
aluminum
rail
screw
rib
aluminum
leg
channel
aluminum
leg channel
7HP36 - Hardware Pack
cap screw
#10-24 x /”
3
84
lock nut
#10-24 4
Allen
wrench 1
adhesive
strips 8
Figure 4 Detail B
rib
hex head
cap screw
& nut
aluminum
rail
screw
(in rail)
aluminum
leg
acrylic
panel
#10-24 x /”
hex cap screw
& lock nut
3
8
3
Assemble units as described herein only. To do otherwise
may result in instability. All screws, nuts and bolts must be
tightened securely and must be checked periodically after
assembly. Failure to assemble properly, or to secure parts
may result in assembly failure and personal injury.
Aristotle®Casegoods - Aluminum Leg Table with Acrylic Panels
Assembly Instructions
8. One at a time, remove the tape
backer from two adhesive strips
supplied and attach them to the
center underside of the tabletop,
tight against both sides of the
acrylic panel (Figure 5 & Detail C).
9. To reduce movement of the acrylic
panel at the ends, attach two
additional adhesive strips to the
underside of the tabletop. Install
one at each end at the user side,
making certain they are tight to the
acrylic panel as illustrated (Figure 5
& Detail C).
10. Re-install the leveling glides
removed in step 4 (Figure 3).
11. Carefully turn the table to its
upright position and adjust leveling
glides as required.
Figure 5
tabletop
tape
backer
adhesive
strip
adhesive
strip
acrylic
panel
tape
backer
adhesive
strip
aluminum
leg channel
Detail C
adhesive
strips
adhesive
strip
adhesive
strip
USER
SIDE
aluminum
leg channel
aluminum
leg channel
tabletop
(underside)
7HP36 - Hardware Pack
cap screw
#10-24 x /”
3
84
lock nut
#10-24 4
Allen
wrench 1
adhesive
strips 8
Assemble units as described herein only. To do otherwise
may result in instability. All screws, nuts and bolts must be
tightened securely and must be checked periodically after
assembly. Failure to assemble properly, or to secure parts
may result in assembly failure and personal injury.
1330 Bellevue Street • P.O. Box 8100 • Green Bay, WI 54308-8100 • Tel 1-800-424-2432 • www.ki.com
© 2018 Krueger International, Inc. All Rights Reserved • Code KI-62476R1/KI/PDF/1218
Aristotle®Casegoods - Aluminum Leg Table with Acrylic Panels
Assembly Instructions

Other KI Indoor Furnishing manuals

KI Unite System User manual

KI

KI Unite System User manual
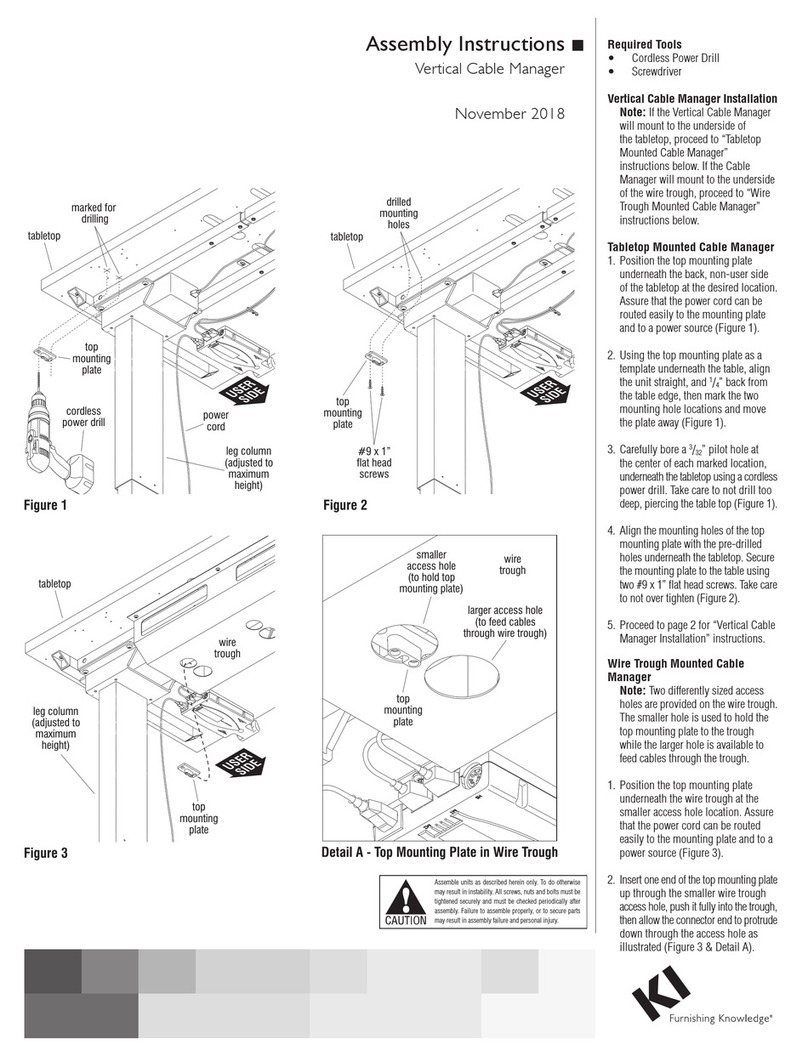
KI Likha Casegoods User manual

KI

KI Likha Casegoods User manual

KI HF User manual

KI

KI HF User manual

KI Balance User manual

KI

KI Balance User manual

KI CrossRoads Shelving Single Face Metal with Back... User manual

KI

KI CrossRoads Shelving Single Face Metal with Back... User manual

KI Sift Installation instructions

KI

KI Sift Installation instructions

KI InTandem User manual

KI

KI InTandem User manual

KI Rapture Stack Chair User manual

KI

KI Rapture Stack Chair User manual

KI Genesis Desking User manual

KI

KI Genesis Desking User manual

KI CR User manual

KI

KI CR User manual

KI Pirouette User manual

KI

KI Pirouette User manual

KI Intellect Chair Guide

KI

KI Intellect Chair Guide

KI CafeWay ECRCB Maintenance manual

KI

KI CafeWay ECRCB Maintenance manual

KI 700 Series User manual

KI

KI 700 Series User manual

KI All Terrain ATSW45 User manual

KI

KI All Terrain ATSW45 User manual

KI Likha Casegoods User manual

KI

KI Likha Casegoods User manual

KI Tattoo Low Cupboard User manual

KI

KI Tattoo Low Cupboard User manual

KI Trek User manual

KI

KI Trek User manual

KI System 3000 Countertop User manual

KI

KI System 3000 Countertop User manual

KI Extol Auditorium Seating Installation instructions

KI

KI Extol Auditorium Seating Installation instructions

KI Toggle EL User manual

KI

KI Toggle EL User manual

KI Pirouette User manual

KI

KI Pirouette User manual
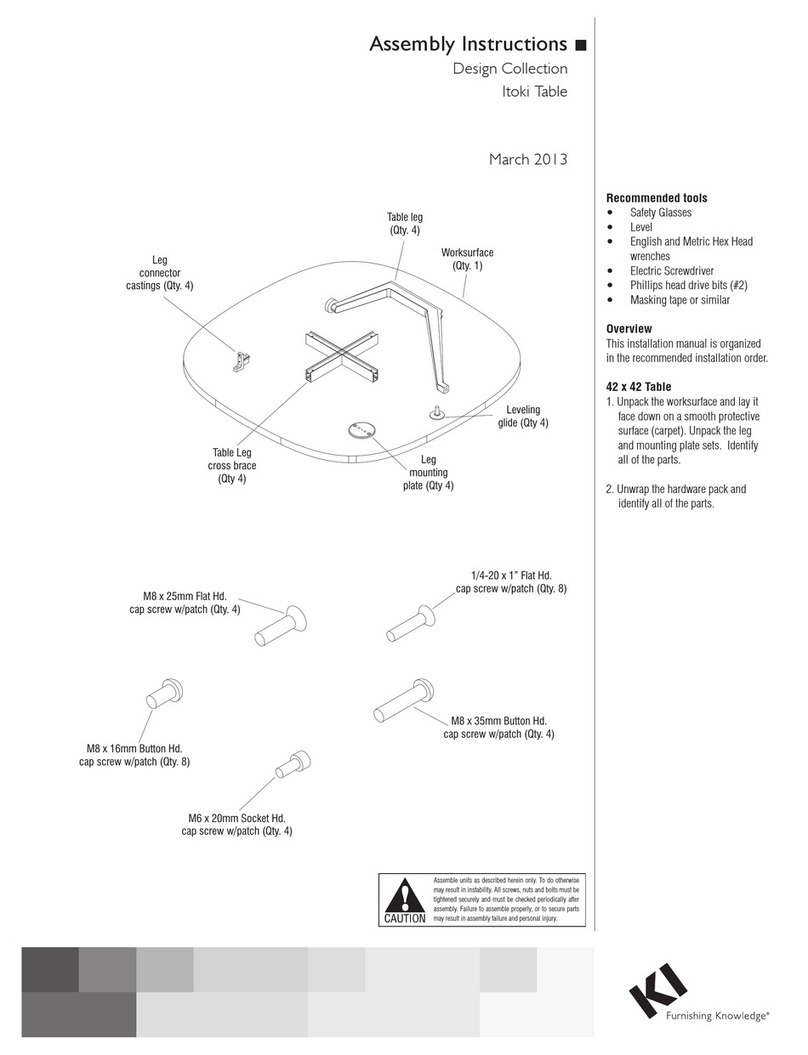
KI Matrix Guide

KI

KI Matrix Guide

KI Design Itoki DD User manual

KI

KI Design Itoki DD User manual
Popular Indoor Furnishing manuals by other brands

Regency LWMS3015 Assembly instructions

Regency

Regency LWMS3015 Assembly instructions

Furniture of America CM7751C Assembly instructions

Furniture of America

Furniture of America CM7751C Assembly instructions

Safavieh Furniture Estella CNS5731 manual

Safavieh Furniture

Safavieh Furniture Estella CNS5731 manual

PLACES OF STYLE Ovalfuss Assembly instruction

PLACES OF STYLE

PLACES OF STYLE Ovalfuss Assembly instruction

Trasman 1138 Bo1 Assembly manual

Trasman

Trasman 1138 Bo1 Assembly manual

Costway JV10856 manual

Costway

Costway JV10856 manual

moss DESIGN Caisson Credenza Assembly instructions

moss DESIGN

moss DESIGN Caisson Credenza Assembly instructions

Aquaglide FULL DECK 15.0 owner's manual

Aquaglide

Aquaglide FULL DECK 15.0 owner's manual

AREBOS AR-HE-SW30 user manual

AREBOS

AREBOS AR-HE-SW30 user manual

Till-Hilft Fulda 87005.330 Assembly instructions

Till-Hilft

Till-Hilft Fulda 87005.330 Assembly instructions

Twoey Outside 2010 quick start guide

Twoey Outside

Twoey Outside 2010 quick start guide

Hettich Easys 200 operating instructions

Hettich

Hettich Easys 200 operating instructions

The bedboss RELAX 404 Series owner's manual

The bedboss

The bedboss RELAX 404 Series owner's manual

Oeseder Möbelindustrie Bern 991 720 Assembly instructions

Oeseder Möbelindustrie

Oeseder Möbelindustrie Bern 991 720 Assembly instructions

Costway HW68469 user manual

Costway

Costway HW68469 user manual

Next ALIX A27743 Assembly instructions

Next

Next ALIX A27743 Assembly instructions

BROSA Hans Assembly guide

BROSA

BROSA Hans Assembly guide

Prodigg MINIKA PBA015T-FUR installation manual

Prodigg

Prodigg MINIKA PBA015T-FUR installation manual

manuals.online logo
manuals.online logoBrands
  • About & Mission
  • Contact us
  • Privacy Policy
  • Terms and Conditions

Copyright 2025 Manuals.Online. All Rights Reserved.