manuals.online logo
Brands
  1. Home
  2. •
  3. Brands
  4. •
  5. KI
  6. •
  7. Indoor Furnishing
  8. •
  9. KI Instruct All Terrain Instructor's Desk User manual

KI Instruct All Terrain Instructor's Desk User manual

Assemble units as described herein only. To do otherwise
may result in instability. All screws, nuts and bolts must be
tightened securely and must be checked periodically after
assembly. Failure to assemble properly, or to secure parts
may result in assembly failure and personal injury.
Assembly Instructions
Instruct® Classroom Furniture
All Terrain®Instructor’s Desk
March 2016
1/4-20
k-lock nut
landing pad
mount bushing
(upper)
1/4
-20 x 4”
bolt
#8 x 1/”
2
screw
landing pad
post
landing pad
bushing
(lower)
1/”flat
4
washer
landing pad
(underside)
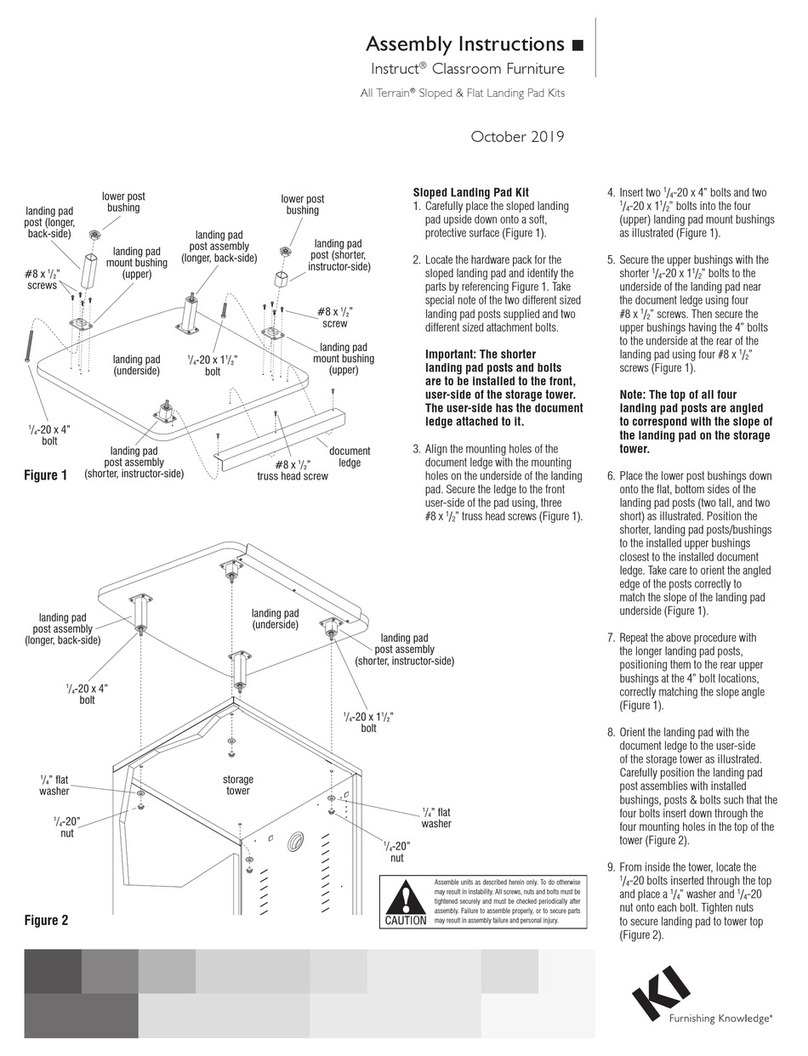
1. Locate the hardware pack for the
Landing Pad and identify the parts
by referencing Figure 1. Begin
assembly by inserting four
1/4-20 x 4” bolts into four (upper)
landing pad mount bushings.
Secure the upper bushings to the
underside of the landing pad as
illustrated using four
#8 x ½” screws (Figure 1).
2. Place a lower landing pad post
bushing into the bottom of each
landing pad post and press the four
landing pad posts/lower bushings
onto the installed upper landing
pad mount bushing and 4” bolt
(Figure 1).
3. Carefully position the landing pad
with installed bushings, posts &
bolts such that the four bolts insert
through the four mounting holes in
the top of the cabinet (Figure 1).
4. From inside the cabinet, locate the
1/4-20 x 4” bolts inserted through
the top and place a 1/4” flat washer
and 1/4-20 k-lock nut onto each
bolt. Tighten nuts to secure landing
pad to cabinet top (Figure 1).
Instruct®Classroom Furniture - All Terrain®Instructor’s Desk
Assembly Instructions
Assemble units as described herein only. To do otherwise
may result in instability. All screws, nuts and bolts must be
tightened securely and must be checked periodically after
assembly. Failure to assemble properly, or to secure parts
may result in assembly failure and personal injury.
Part # 80466R1
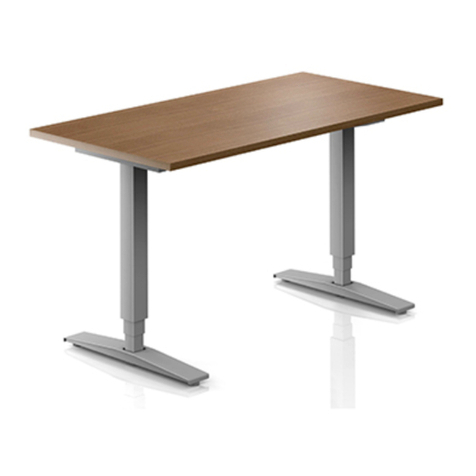
5. Carefully lay the worksurface
upside down on a soft,
protective surface. Position
the worksurface stiffener over
the pre-drilled holes in the
worksurface and secure using
#10 x 1/2" Type AB screws as
illustrated (Figure 2).
6. Position the support column
with the column plate over the
pre-drilled holes and secure
using eight #14 x 7/8” black
screws (Figure 2).
7. Twist the adjustable glide
into the bottom of the support
column until fully inserted.If
required, install a carpet gripper
into the bottom of the glide. Final
adjustment will be done at the
end of the assembly process
(Figure 2).
8. Place the modesty panel
mounting brackets over the
pre-drilled holes in the
worksurface and secure using
four #14 x 7/8" black screws
(Figure 2).
9. Locate the landing pad on the
storage unit and place the
grommet into the top side of
the landing pad as illustrated
(Figure 3).
10. Position one table support
bracket over the pre-drilled
holes in the side of the storage
tower and secure using four
1/4-20 x 5/8" hex washer bolts as
illustrated. Repeat procedure for
second table support bracket
at adjacent side to the first.
(Figure 3).
Note: Adjustment of glide on
table support column may be
necessary for table surface to
mate properly with table support
brackets.
Figure 2
Figure 3
adjustable
glide
carpet
gripper
table
support
bracket
#14 x /
7
8”
black screw
table assembly
#14 x /
7
8”
black screw
storage unit
¼-20 x /
5
8”
hex washer bolt
table
support
bracket
grommet
landing pad
worksurface
worksurface
stiffener
#14 x /
7
8”
black screw
support
column
modesty
panel
#14 x /
7
8”
black screw
#10 x 1/”
2
Type AB screw
column
plate
11. Carefully turn table assembly
to the upright position and rest
the table onto the table support
brackets installed to storage
unit. Align pre-drilled mounting
holes at underside of table with
holes in both table support
brackets and secure brackets to
table using four #14 x 7/8" black
screws per bracket (Figure 3).
12. Twist adjustable glide at
underside of table support
column in or out to achieve level
table surface.
1330 Bellevue Street • P.O. Box 8100 • Green Bay, WI 54308-8100 • Tel 1-800-424-2432 • www.ki.com
© 2016 Krueger International, Inc. All Rights Reserved • Code KI-62120R3/KI/PDF/0316
Other KI Indoor Furnishing manuals

KI WorkUp HF User manual

KI

KI WorkUp HF User manual

KI CrossRoads Metal Media Shelving Single Face User manual

KI

KI CrossRoads Metal Media Shelving Single Face User manual

KI Trek User manual

KI

KI Trek User manual

KI InTandem Leg-Mounted CPU Holder User manual

KI

KI InTandem Leg-Mounted CPU Holder User manual

KI Aristotle Casegoods Wall-Mounted Overhead... User manual

KI

KI Aristotle Casegoods Wall-Mounted Overhead... User manual

KI WireWorks User manual

KI

KI WireWorks User manual

KI All Terrain ATSW45 User manual

KI

KI All Terrain ATSW45 User manual

KI FX User manual

KI

KI FX User manual

KI Barron Table User manual

KI

KI Barron Table User manual

KI USPF2324 User manual

KI

KI USPF2324 User manual

KI Oath Installation instructions

KI

KI Oath Installation instructions

KI Altus Installation guide

KI

KI Altus Installation guide

KI Rapture Stack Chair User manual

KI

KI Rapture Stack Chair User manual

KI Lancaster User manual

KI

KI Lancaster User manual

KI Pirouette User manual

KI

KI Pirouette User manual

KI CrossRoads Newspaper Display Unit User manual

KI

KI CrossRoads Newspaper Display Unit User manual

KI Doni User manual

KI

KI Doni User manual

KI Gladly Lounge Chair Guide

KI

KI Gladly Lounge Chair Guide

KI Pirouette User manual

KI

KI Pirouette User manual

KI Pirouette User manual

KI

KI Pirouette User manual

KI WireWorks Base Raceway Center Support User manual

KI

KI WireWorks Base Raceway Center Support User manual

KI Jubilee Lounge Seating Guide

KI

KI Jubilee Lounge Seating Guide

KI Uniframe Convertible Bench User manual

KI

KI Uniframe Convertible Bench User manual

KI USPF2324 User manual

KI

KI USPF2324 User manual

Popular Indoor Furnishing manuals by other brands

MaiLink MLD6 Series Instructions for assembly and use

MaiLink

MaiLink MLD6 Series Instructions for assembly and use

Furniture of America Shauna CM4354E Assembly instructions

Furniture of America

Furniture of America Shauna CM4354E Assembly instructions

IKEA FAMMARP instruction manual

IKEA

IKEA FAMMARP instruction manual

Woodard RXTV-1822-LS Assembly instructions

Woodard

Woodard RXTV-1822-LS Assembly instructions

Sister Bay Hudson Barstool 20-3 Assembly instructions

Sister Bay

Sister Bay Hudson Barstool 20-3 Assembly instructions

Emmezeta FY-2242A Assembly instructions

Emmezeta

Emmezeta FY-2242A Assembly instructions

boori Urbanе Metro Box BU-MTBX Assembly instructions

boori

boori Urbanе Metro Box BU-MTBX Assembly instructions

ShelterLogic DBBWESEU Owner's manual & assembly guide

ShelterLogic

ShelterLogic DBBWESEU Owner's manual & assembly guide

Wenger StageTek Guardrail Acceossory Assembly and operating instructions

Wenger

Wenger StageTek Guardrail Acceossory Assembly and operating instructions

Comfy Chair CFO500 instruction sheet

Comfy Chair

Comfy Chair CFO500 instruction sheet

Next 783983 Assembly instructions

Next

Next 783983 Assembly instructions

Furinno 14035 Assembly instruction

Furinno

Furinno 14035 Assembly instruction

Car Shades REN-CAPT-5-A installation manual

Car Shades

Car Shades REN-CAPT-5-A installation manual

Home affaire Johan 6710 Assembly instructions

Home affaire

Home affaire Johan 6710 Assembly instructions

fatboy LAMZAC 3.0 Series manual

fatboy

fatboy LAMZAC 3.0 Series manual

HARTO Bureau Victor Assembly instructions

HARTO

HARTO Bureau Victor Assembly instructions

Lightolier Lytecaster 2001 specification

Lightolier

Lightolier Lytecaster 2001 specification

Winners Only BU1001QHS Assembly instructions

Winners Only

Winners Only BU1001QHS Assembly instructions

manuals.online logo
manuals.online logoBrands
  • About & Mission
  • Contact us
  • Privacy Policy
  • Terms and Conditions

Copyright 2025 Manuals.Online. All Rights Reserved.