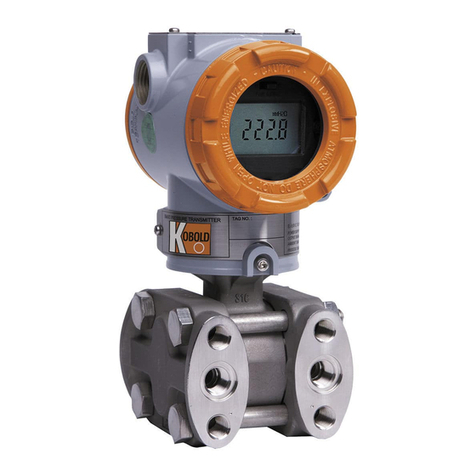
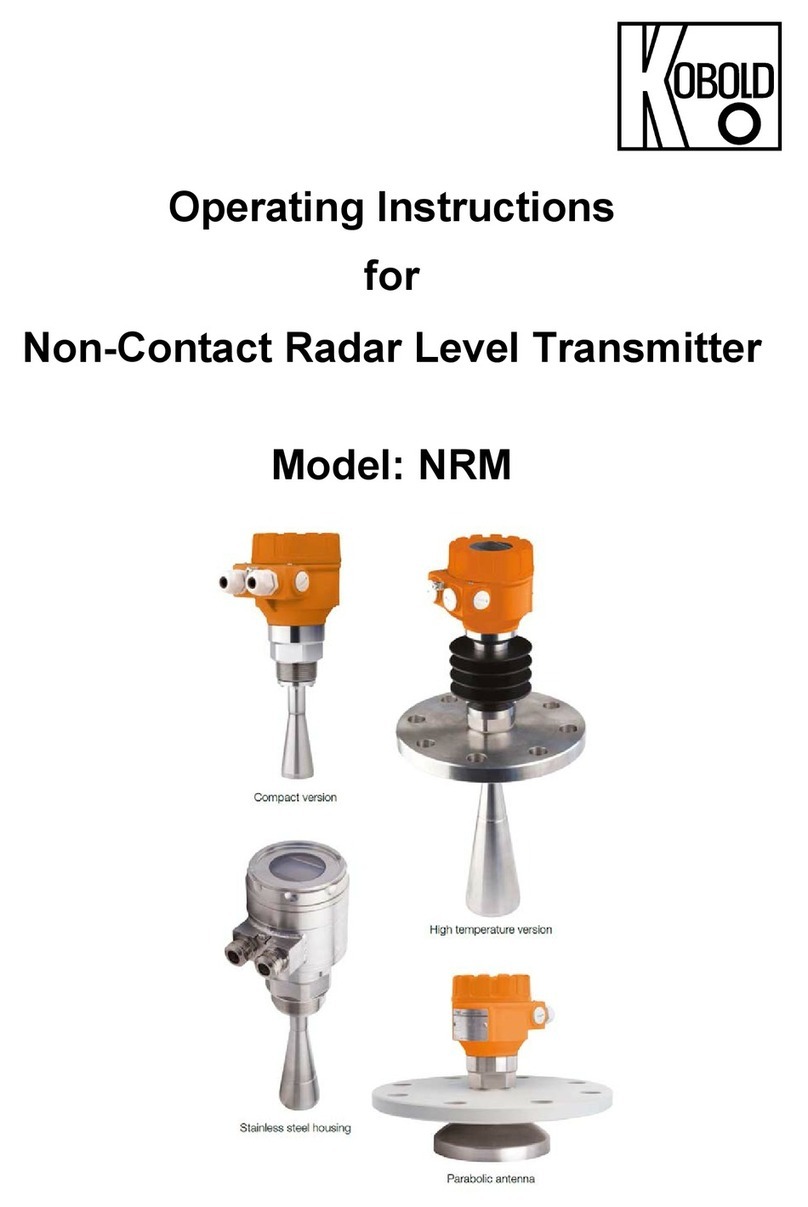
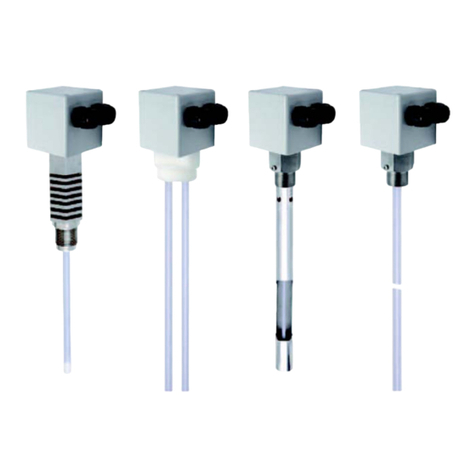
Kobold LCI User manual

Operating Instructions
for
Inductive Conductivity / Concentration
and TemperatureTransmitter
Model: LCI

WARNING!
A sudden failure of the instrument or of a sensor connected to it could result in dangerous
overdosing. Please take suitable precautionary measures for this case.
NOTE!
All the nececssary settings are described in this manual. However, if any difficulties should
arise during start-up, please do not carry out any unauthorized manipulations. You could
endanger your righs under the instrument warranty!
NOTE!
Resetting the LC display
If the brightness/contrast setting is such that the text in the display is not readable, the
basic setting can be restored as follows:
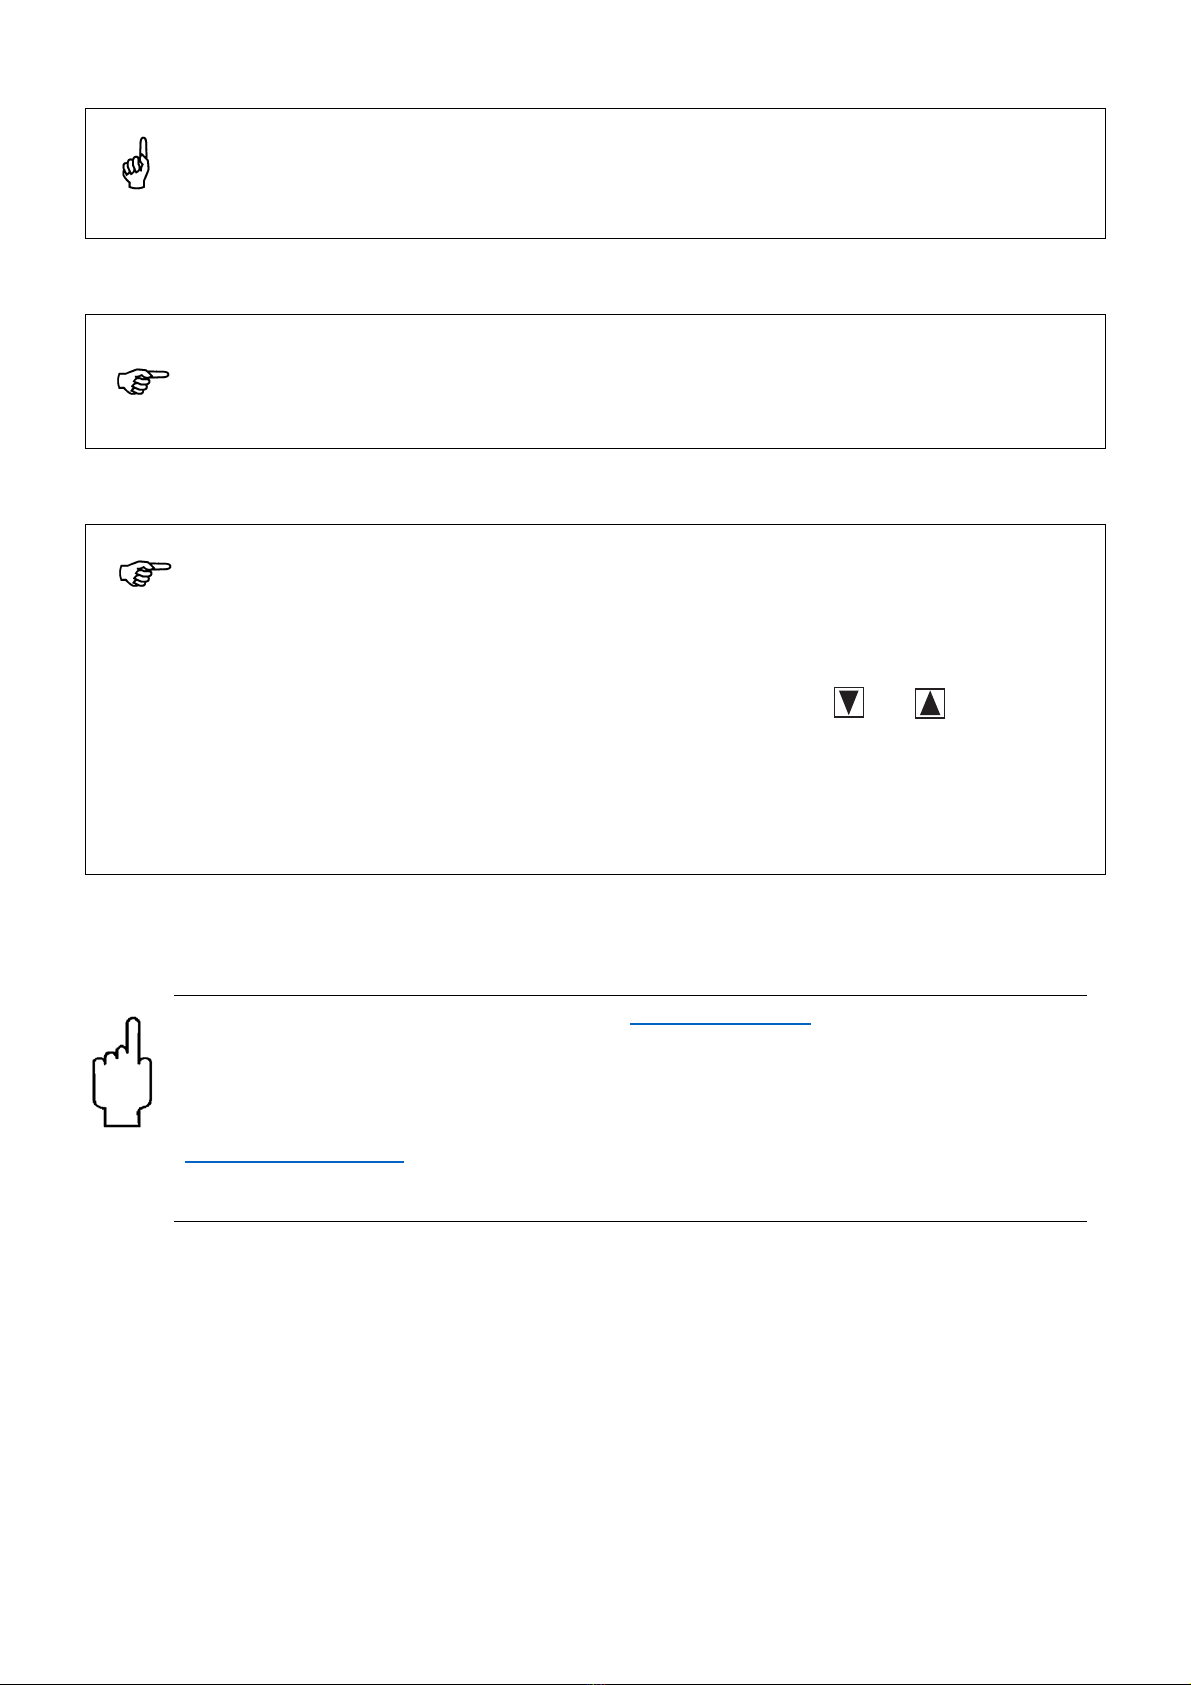
✱Switch off the supply voltage.
✱Switch on the supply voltage and immediately keep the keys and held down.
Resetting the operating language to "English"
If the operating language has been set and you cannot understand the text of the display,
the language can be set to "English" with the Administrator password 7485. Thereafter, the
desired language can be set in ADMINISTRATOR LEVEL / DEVICE DATA / .... .
The instruction manuals on our website www.kobold.com are always for currently
manufactured version of our products. Due to technical changes, the instruction
manuals available online may not always correspond to the product version you have
purchased. If you need an instruction manual that corresponds to the purchased
product version, you can request it from us free of charge by email
(info.de@kobold.com) in PDF format, specifying the relevant invoice number and serial
number. If you wish, the operating instructions can also be sent to you by post in paper
form against an applicable postage fee.

Contents
1 Typographical conventions ...................................................... 5
1.1 Warning signs ..............................................................................................5
1.2 Note signs ....................................................................................................5
2 General ....................................................................................... 6
2.1 Foreword ......................................................................................................6
2.2 Structure ......................................................................................................6
3 Inductive conductivity measurement ...................................... 8
3.1 Range of Applications ..................................................................................8
3.2 Function .......................................................................................................9
4 Identifying the device version ................................................ 10
4.1 Nameplate ..................................................................................................10
4.2 Order details ...............................................................................................11
5 Device description .................................................................. 12
5.1 Technical data ..........................................................................................12
6 Mounting .................................................................................. 16
6.1 General .......................................................................................................16
6.2 Dimensions head transmitter .....................................................................17
6.3 The device with separate sensor ...............................................................20
6.4 Mounting examples ....................................................................................25
7 Installation ............................................................................... 28
7.1 General ......................................................................................................29
7.2 Electrical connection ..................................................................................30
8 Setup-Program ........................................................................ 34
8.1 Function .....................................................................................................34
9 Commissioning ....................................................................... 35
9.1 Head transmitter or transmitter with separate sensor ...............................35
9.2 Replacement sensor ..................................................................................35
10 Operation ................................................................................. 36

Contents
10.1 Operating elements ....................................................................................36
10.2 Operation principle .....................................................................................38
10.3 Principle .....................................................................................................40
10.4 Measurement mode ...................................................................................41
10.5 Operating level ...........................................................................................41
10.6 Administrator level .....................................................................................49
10.7 Calibration level ..........................................................................................51
10.8 The desalination function ...........................................................................52
11 Calibration ............................................................................... 56
11.1 General .......................................................................................................56
11.2 Calibration of the relative cell constant ......................................................56
11.3 Calibration of the temperature coefficient of the measurement solution ...58
12 Maintenance ............................................................................ 66
12.1 Conductivity-clean sensor .........................................................................66
13 Rectifying errors and faults ................................................... 67
13.1 Device checking .........................................................................................68
14 Annex ....................................................................................... 73
14.1 Before configuring ......................................................................................73
16EU Declaration of conformance........................................... 78
17Index ......................................................................................... 79
Manufactured and sold by:
Kobold Messring GmbH
Nordring 22-24
D-65719 Hofheim
Tel.: +49(0)6192-2990
Fax: +49(0)6192-23398
Internet: www.kobold.com
version K06/0423
15 Disposal..................................................................................... 77

5
1 Typographical conventions
1.1 Warning signs
1.2 Note signs
DANGER!
This symbol is used when there may be danger to personnel if the instruc-
tions are ignored or not followed correctly!
CAUTION!
This symbol is used when there may be damage to equipment or data if
the instructions are ignored or not followed correctly!
NOTE!
This symbol is used when your special attention is drawn to a remark.
abc1Footnote
Footnotes are remarks that refer to specific points in the text. Footnotes
consist of two parts:
A marker in the text, and the footnote text.
The markers in the text are arranged as continuous superscript numbers.
✱Action instruction
This symbol indicates that an action to be performed is described.
The individual steps are marked by this asterisk.
Example:
✱Remove crosspoint screws.

6
2 General
2.1 Foreword
Please read the operating manual before you commission the device. Store
the operating manual at a place that is accessible for all users at all times.
2.2 Structure
2.2.1 Head transmitter
Example
NOTE!
All the required settings are described in this manual. Should there be any
difficulties nonetheless at the time of commissioning, we request you not to
carry out any impermissible manipulations. You could render your warranty
entitlement null and void!
Please get in touch with the nearest branch or with the head office.
(1) Transmitter (with or without graphics LC-display)
(2) Process connection
(3) Temperature sensor
(4) Inductive conductivity measuring probe
(2)
(1)
(3)
(4)
(1)
(2)
(3)
(4)

7
2 General
2.2.2 Transmitter with separate sensor
Example
(1) Transmitter (with or without graphics LC-display)
(2) Process connection
(3) Temperature sensor
(4) Inductive conductivity measuring probe
(2)
(4)
(3)
(1)
(2)
(4)
(3)

8
3 Inductive conductivity measurement
3.1 Range of Applications
General
The inductive measurement process allows a mostly maintenance-free acqui-
sition of the specific conductivity even in difficult medium conditions. In con-
trast to the conductive measurement process, problems like electrode
replacement and polarization do not occur.
Brief description
The device is used for the measurement/control of the conductivity/concentra-
tions of liquid media. Using it is particularly recommended in media in which
significant deposits from carried dirt, oil grease or of lime and gypsum are
expected. The integrated temperature measurement makes exact and fast
temperature compensation possible, which is particularly important for the
measurement of the conductivity. Additional functions such as the combined
switching of the measurement range and temperature coefficient make possi-
ble the optimum use in case of CIP-processes.
Two integrated switching outputs can be freely programmed for limit value
monitoring or conductivity/concentration and/or temperature. In addition,
alarm and control tasks (desalination) can be assigned.
Operation is either via a membrane keyboard and a plain text graphical display
(user language can be changed) or via a comfortable PC-Setup program. By
simply turning the housing cover, reading the display is possible both in case
of installation in vertical or horizontal pipes. By means of the Setup program,
the device configuration data can also be saved and printed for plant docu-
mentation purposes. To prevent manipulation, the device can also be supplied
without a keyboard/display. In this case, the Setup program is required for pro-
gramming.
The transmitter can be supplied as a combine device (transmitter and measur-
ing cell in one device) or as a shouldered version (transmitter and measuring
cell connected by cables). The separate version is particularly suitable for
plants with intense vibrations and/or intense temperature radiation at the mea-
surement location or for installation at not easily accessible places.
Typical usage fields
• CIP-cleaning (CIP = Clean In Place/Process)
• Concentration monitoring or chemical dosing
• Foodstuffs beverages and pharmaceutical industries
•Productmonitoring(phase separation, Product/Product mixture/
Water) in the beverage industry, breweries, dairies
• Control (e.g. phase separation of cleaners/rinsing water of
cleaning processes e.g. bottle cleaning plants and in case of container
cleaning)

9
3 Inductive conductivity measurement
3.2 Function
of the transmitter
The device is conceived for use at the location. A robust housing protects the
electronics and the electrical connections from aggressive ambient influences
(system of protection IP67). In the standard version, the device has one analog
signal input for the conductivity/concentration and the temperature. The fur-
ther processing of the standard signals can take place in suitable display/con-
trol devices or, e.g. directly in a PLC.
The output signals are galvanically separated from one another and from the
measurement medium.
of the measuring cell
The measurement of the conductivity takes place with an inductive probe. A
sinusoidal AC is supplied to the transmitting coil. Depending on the conductiv-
ity of the liquid to be measured, a current is induced in the receiver coil. The
current is proportional to the conductivity of the medium. The cell constant of
the inductive probe is geometry-dependent. In addition, the cell constant can
be influenced by parts in its immediate vicinity.
(1) Plastic body
(2) Coils
(3) Temperature sensor
(4) Fluid loop
(1)
(1)
(2) (2)
(3)
(3)
(4)
(4)

10
4 Identifying the device version
4.1 Type nameplate
on the
transmitter
on the connect-
ing
cable
(only in case of
separate sen-
sor)
Typ: 202756/16-607-0000-82/000
VARTN: 20/00445843
F-Nr.: 00909467 01 0 0745 0001
DC 19...31 V 3W
ⱕ
F-Nr.: 00909467 01 0 0517 0001
In the case of devices with a separate sensor (base type supplementation (2)
66), for every instrument, the transmitter and the separate sensor are matched
to one another at the factory.
When connecting the components, ensure that the production number of the
external sensor (on the flag tag on the connecting cable) is identical to the pro-
duction number of the transmitter (on the nameplate).
The date of manufacture is encrypted in the "F-No." :
0517 means year of manufacture 2005 / calendar week 17

11
4 Identifying the device version
4.2 Order details
Order Details (Example: LCI-K G40 M PK)
Model Version Process connection Electrical connection Material measuring cell
LCI-
K= compact version
S = remote version
(10 m cable length)1)
G40 = stud thread G1½ male
G50 = stud thread G2 male
L50 = screwed pipe connection
DN 50 DIN 11851
L65 = screwed pipe connection
DN 65 DIN 11851
L80 = screwed pipe connection
DN 80 DIN 11851
T50 = Tri-Clamp®2"
T65 = Tri-Clamp®2 ½"
M = M 12 plug/socket
(mating plug model LCI-GS
be ordered separately)
K= 2x cable glands M16
PK = PEEK
PF = PVDF3)
V40 = VARIVENT® DN 40/502) PK = PEEK
1) Special lengths up to 30 m (in 10 m steps) on request
2) Only possible with PEEK
3) On request

12
5 Device description
5.1 Technical data
5.1.1 Conductivity transmitter
A/D converter
Resolution 15 bits
Sampling time 500 ms = 2 measurements/s
For SELV and PELV circuit operation only.
19 - 31 V DC (24 V DC nominal)
<5 %
yes
≤3W
Power supply
Standard
Residual ripple
Reverse polarity protection
Power draw
with display
without display ≤ 2.6 W
Contact rating of the
PhotoMOS®relay
Voltage
Current
≤ DC 50 V; ≤ AC 50 V
≤ 200 mA
Electrical connection
Cable glands/pluggable screw terminals, 2.5 mm2 or
M12 plug/socket (instead of cable glands)
Display Backlit graphic LCD; adjustable contrast;
dimensions: 62 mm × 23 mm
Permissible ambient
temperature 5 to +50 °C; max. rel. humidity. 93 %, no condensation
Permissible storage
temperature -10 to +75 °C; max. rel. humidity. 93 %, no condensation
Protection ratingaIP67
Electromagnetic
compatibilityb
Interference emission Class B
Interference immunity to industrial requirements
Housing Stainless steel 1.4305 (AISI 303)
Weightc
aDIN EN 60529
bDIN EN 61326
cDependent on version and process connection
approx. 0.3-2.4 kg

5 Device description
13
5.1.2 Measuring ranges
There is a choice of four different measuring ranges. Any one of these ranges
can be activated by an external switch or by a PLC.
NOTE!
The overall accuracy is composed of transmitter accuracy + sensor
accuracy.
Transmitter measuring
rangesaAccuracy (as % of measuring range span)
0 - 500 µS/cm ≤ 0.5 %
0 - 1000 µS/cm
0 - 2000 µS/cm
0 - 5000 µS/cm
0 - 10 mS/cm
0 - 20 mS/cm
0 - 50 mS/cm
0 - 100 mS/cm
0 - 200 mS/cm
0 - 500 mS/cm
0 - 1000 mS/cm
0 - 2000 mS/cmb
Concentration measurement implemented in the device software
NaOH (caustic soda) 0 - 15 % by weight or 25 - 50 % by weight (0 - 90 °C)
HNO3(nitric acid) 0 - 25 % by weight or 36 - 82 % by weight (0 - 80 °C)
Customer-specific
concentration curve
freely programmable via the setup program
(see "Special functions")
Calibration timer 0 - 999 days (0 = OFF)
Output signal conductivity
and concentrationc0 - 10 V or 10 - 0 V
2 - 10 V or 10 - 2 V
0 - 20 mA or 20 - 0 mA
4 - 20 mA or 20 - 4 mA
Burden
at current output ≤500 Ω
at voltage output ≥2k Ω
Ambient temperature effect ≤ 0.1 %/K
Analog output at "Alarm"
Low
High
0 mA/0 V/3.4 mA/1.4 Vor a fixed value
22.0 mA/10.7 V or a fixed value
aTypical application starting at approx. 100 µS/cm.
bNot temperature compensated.
cThe output signal is freely scalable.

14
5 Device description
5.1.3 Temperature transmitters
5.1.4 Temperature compensation
Temperature acquisitionaManually, -20.0 to 25.0 to 150 °C or °F, or automatically
Measuring range -20 - 150 °C or °F
Characteristic linear
Accuracy ≤0.5 % of the measuring range
Ambient temperature effect ≤0.1 %/K
Output signal 0-10Vor10-0V
2-10Vor10-2V
0 - 20 mA or 20 - 0 mA
4 - 20 mA or 20 - 4 mA
The output signal is freely scalable in the -20 to +200°C range.
Burden
at current output ≤500 Ω
at voltage output ≥2k Ω
Analog output at "Alarm"
Low 0 mA/0 V/3.4 mA/1.4 V or a fixed value
High 22.0 mA/10.7 V or a fixed value
aTake the permissible sample medium temperature into consideration!
Reference temperature 15 to 30 °C, adjustable
Temperature coefficient 5.5 %/°C, adjustable
Compensation range -20 to 150 °C
Function linear or
natural water (EN 27888) or
non-linear (learning function, see Special functions

5 Device description
15
5.1.5 Inductive conductivity sensor
Measuring rangea
0-500µS/cm
0 - 1000 µS/cm
0 - 2000 µS/cm
Accuracy (as % of measuring range span)
≤ 1%
≤ 1%
≤ 0.5 %
0 - 5000 µS/cm
0-10mS/cm
0-20mS/cm
0-50mS/cm
0-100mS/cm
0-200mS/cm
0-500mS/cm
≤ 0.5 %
≤ 0.5 %
≤ 0.5 %
≤ 0.5 %
≤ 0.5 %
≤ 0.5 %
≤ 0.5 %
0 - 1000 mS/cm ≤1%
0 - 2000 mS/cmb≤1%
PEEK/PVDF -Type of measuring cell PEEK
- Type of measuring cell PVDF
Material
Permissible sample
medium temperatures -10 - +120 °C, briefly +140 °C (sterilization)
Pressure max. 10 bar
aTypical application starting at approx. 100 µS/cm.
bNot temperature compensated
NOTE!
The temperature, pressure and sample medium affect the service the ser-
vice life of the measuring cell!

16
6 Mounting
6.1 General
6.1.1 Installation location
Ensure easy accessibility for subsequent calibration.
The fastening must be secure and low-vibration.
Avoid direct sunlight.
It is necessary to pay attention to a good flow through and around the sensor (2).
When installing in a pipe, a minimum distance of 20 mm must be maintained
from the sensor to the pipe wall.
If these minimum distances cannot be maintained, the parameter "Mounting
factor" can be used to achieve limited equalization.
In immersion operation in a basin, an installation location that is representative
for the typical conductivity or concentration must be provided.
6.1.2 Mounting location
The device can be mounted in any position.
The display can be adjusted according to the mounting direction by means of
a captive fastening screw..
6.1.3 Screwing in and unscrewing the separate sensor
(1)
(2)
CAUTION!
When using head transmitters the Pg screw connections (1) must point in
the direction of the flow!
For separate conductivity sensors the direction of the flow is labelled by a
dot on the upper part of the sensor.
This dot must point towards the direction of the flow!
CAUTION!
No cable twisting should occur.
Avoid tensile forces on the cable, especially jerky pulling.

6 Mounting
17
6.2 Dimensions head transmitter
6.2.1 Process connections
Version with process connection
G40 = screw-in thread G11/2 A
G50 = screw-in thread G2A
Version with process connection
G40 = screw-in thread G11/2 A
G50 = screw-in thread G2A
36
1
1
2
36
1
3
1 = stainless steel 1.4301 2 = PEEK 3 = PVDF
Type of measuring cell PEEK Type of measuring cell PVDF

18
6 Mounting
Version with process connection
L50 = tube fitting DN 50
L65 = tube fitting DN 65
L80 = tube fitting DN 80
Version with process connection
L50 = tube fitting DN 50
L65 = tube fitting DN 65
L80 = tube fitting DN 80
1
1
2
2 (607)
11
1
3
1 = stainless steel 1.4301 2 = PEEK 3 = PVDF
Type of measuring cell PEEK Type of measuring cell PVDF

6 Mounting
19
Version with process connection
T65 = Clamp 2 1/2"
Version with process connection
T65 = Clamp 2 1/2"
Version with process connection
V40 = VARIVENT®DN 40/50
1 (617)
2
2 (616)
1
1
3
1
2
4
1 = stainless steel 1.4301 2 = PEEK 3 = PVDF 4= PPS GF 40
Type of measuring cell PEEK Type of measuring cell PVDF
Type of measuring cell PEEK

6 Mounting
20
6.3 The device with separate sensor
6.3.1 Operating unit
Transmitter with separate sensor, in plastic housing
with electrical connection M12 plug / socket (mating plug not included)
6.3.2 Wall mounting (standard with remote version)
ø110
84
71
176
Table of contents
Other Kobold Transmitter manuals

Kobold
Kobold NGM-HART User manual

Kobold
Kobold TDA Series User manual

Kobold
Kobold PAS User manual

Kobold
Kobold DF-MA User manual

Kobold
Kobold APM-1 User manual

Kobold
Kobold NMC User manual

Kobold
Kobold AFB User manual

Kobold
Kobold SEN-98 User manual

Kobold
Kobold KAL-7000 Series User manual

Kobold
Kobold NEO-7 Series User manual