- 3 -
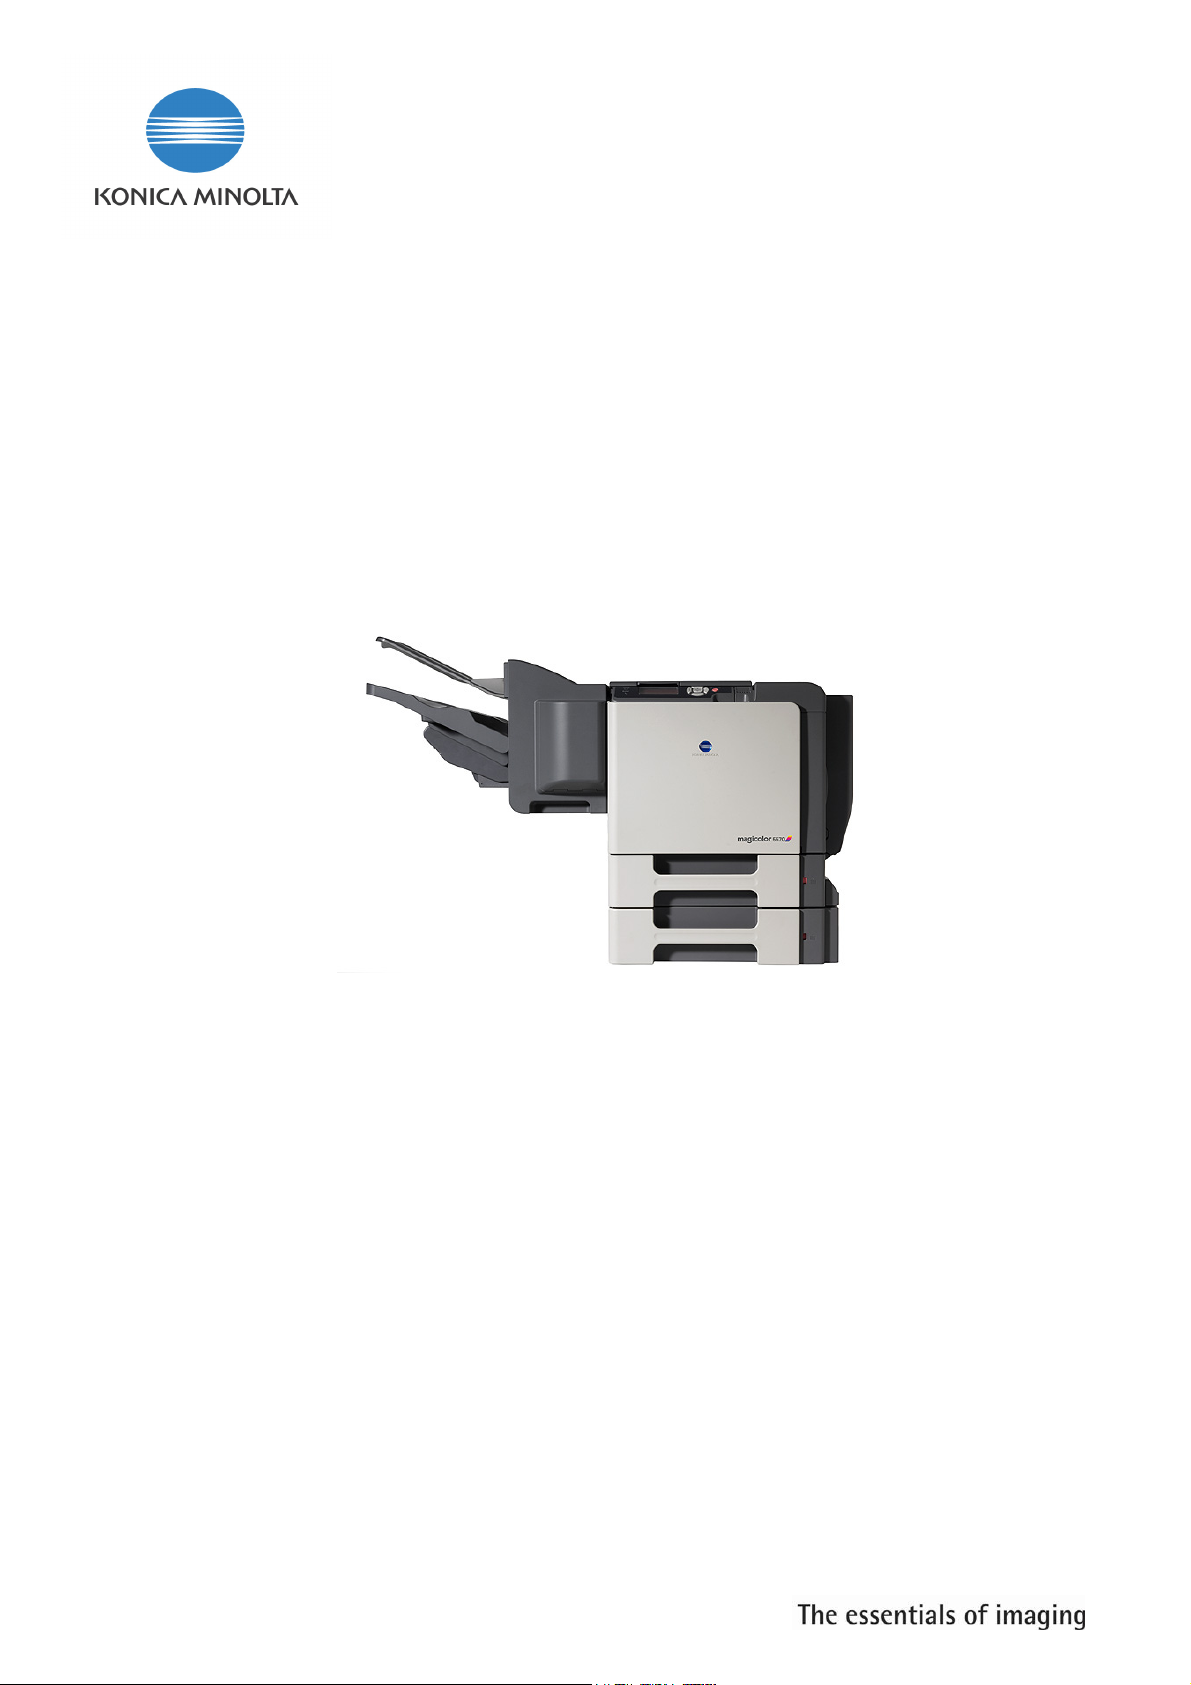
Staple Finisher mc5550/5570
Intro
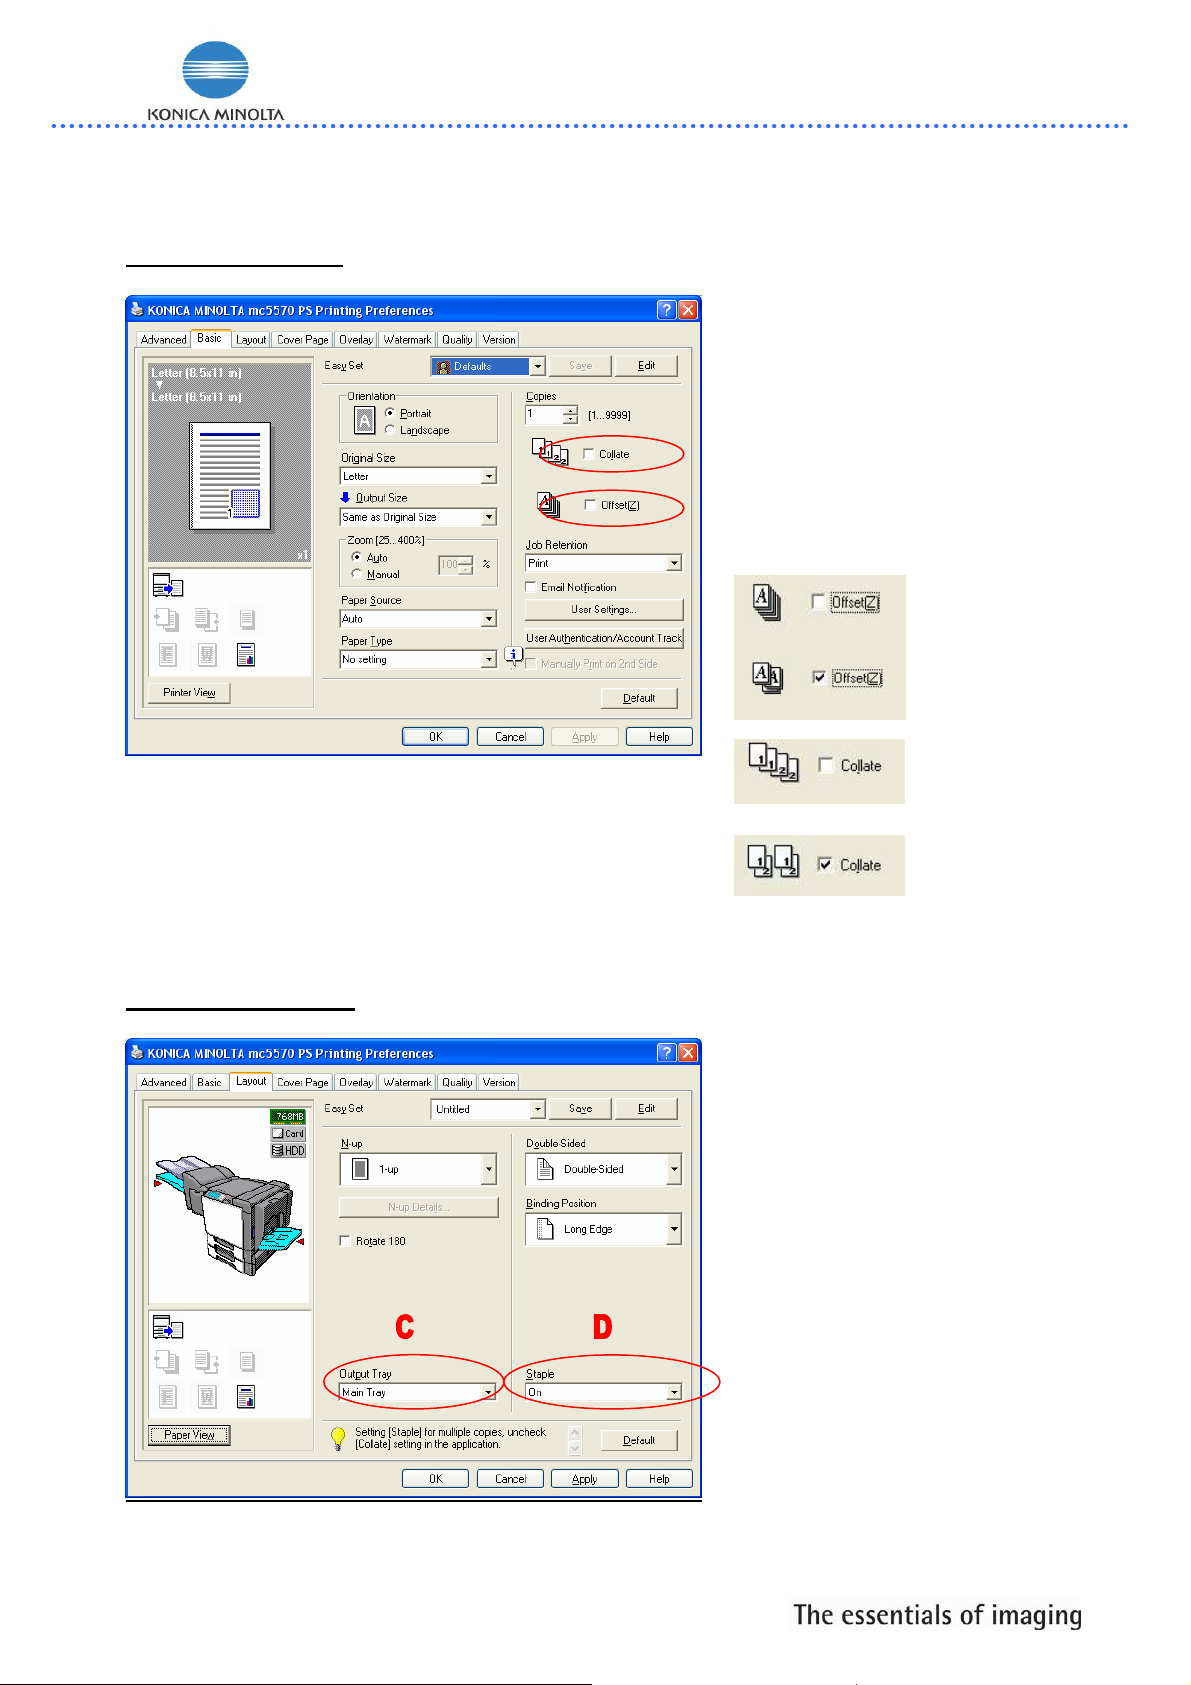
The optional installed staple finisher enables you performing job separation, offset and stapled printing.
Below listed you will see the details regarding to installation, configuration, driver and printer menu settings
recommended to follow for easy usage.
1.Media recommendation
Maximum capacities of the sub and main tray are shown in the table below separated on modes:
Non Sort/Sort/Group:
Plain paper
Recycled paper 60 – 90 g/m2Max Capacity/sheets: Sub: 100(50*) , Main
500(250*)
Postcard, Envelope,
Envelope, Glossy paper,
Label, Letterhead - Max Capacity/sheets: Sub: 20 , Main 20
Thick paper 1 91 – 150 g/m2Max Capacity/sheets: Sub: 20 , Main 20
Thick paper 2
Max. Paper
size: 216x356
Min. Paper
size: 92x148
151 – 210 g/m2Max Capacity/sheets: Sub: 20 , Main 20
Sort offset/group offset
Plain paper
Recycled paper
Max. Paper
size: 216x356
Min. Paper
size: 182x257
60 – 90 g/m2Max Capacity/sheets: Sub: not supp. ,
Main 500 or 50 sets
(250 or 25 sets*)
Sort stable:
Plain paper
Recycled paper
Max. Paper size:
216x356
Min. Paper size:
182x257
60 – 90 g/m2
Max Capacity/sheets:
Main:400 or 40 sets
(200 or 20 sets*)
Sub: not supp
No of sheets to
be stapled:
2 to 30 #
*Media length longer than 300 mm
# limited for high density images- 20sheets x 20 sets
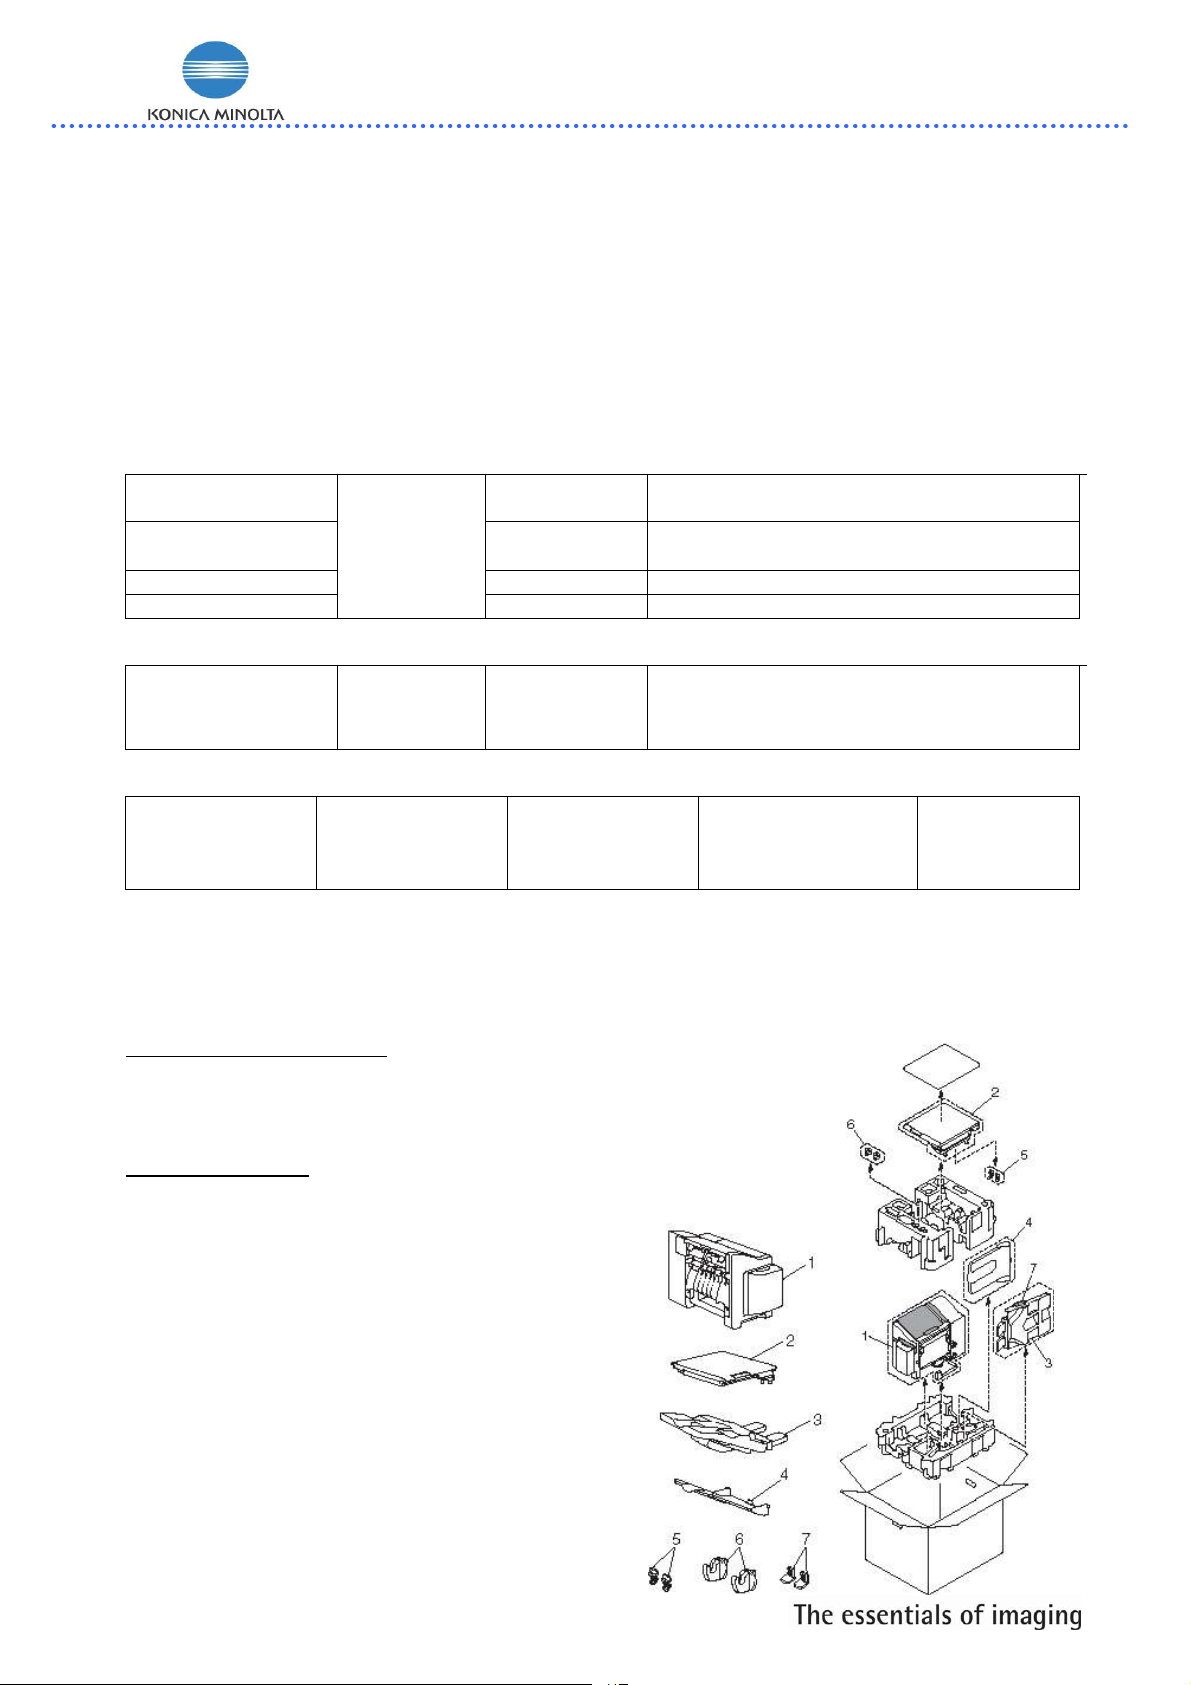
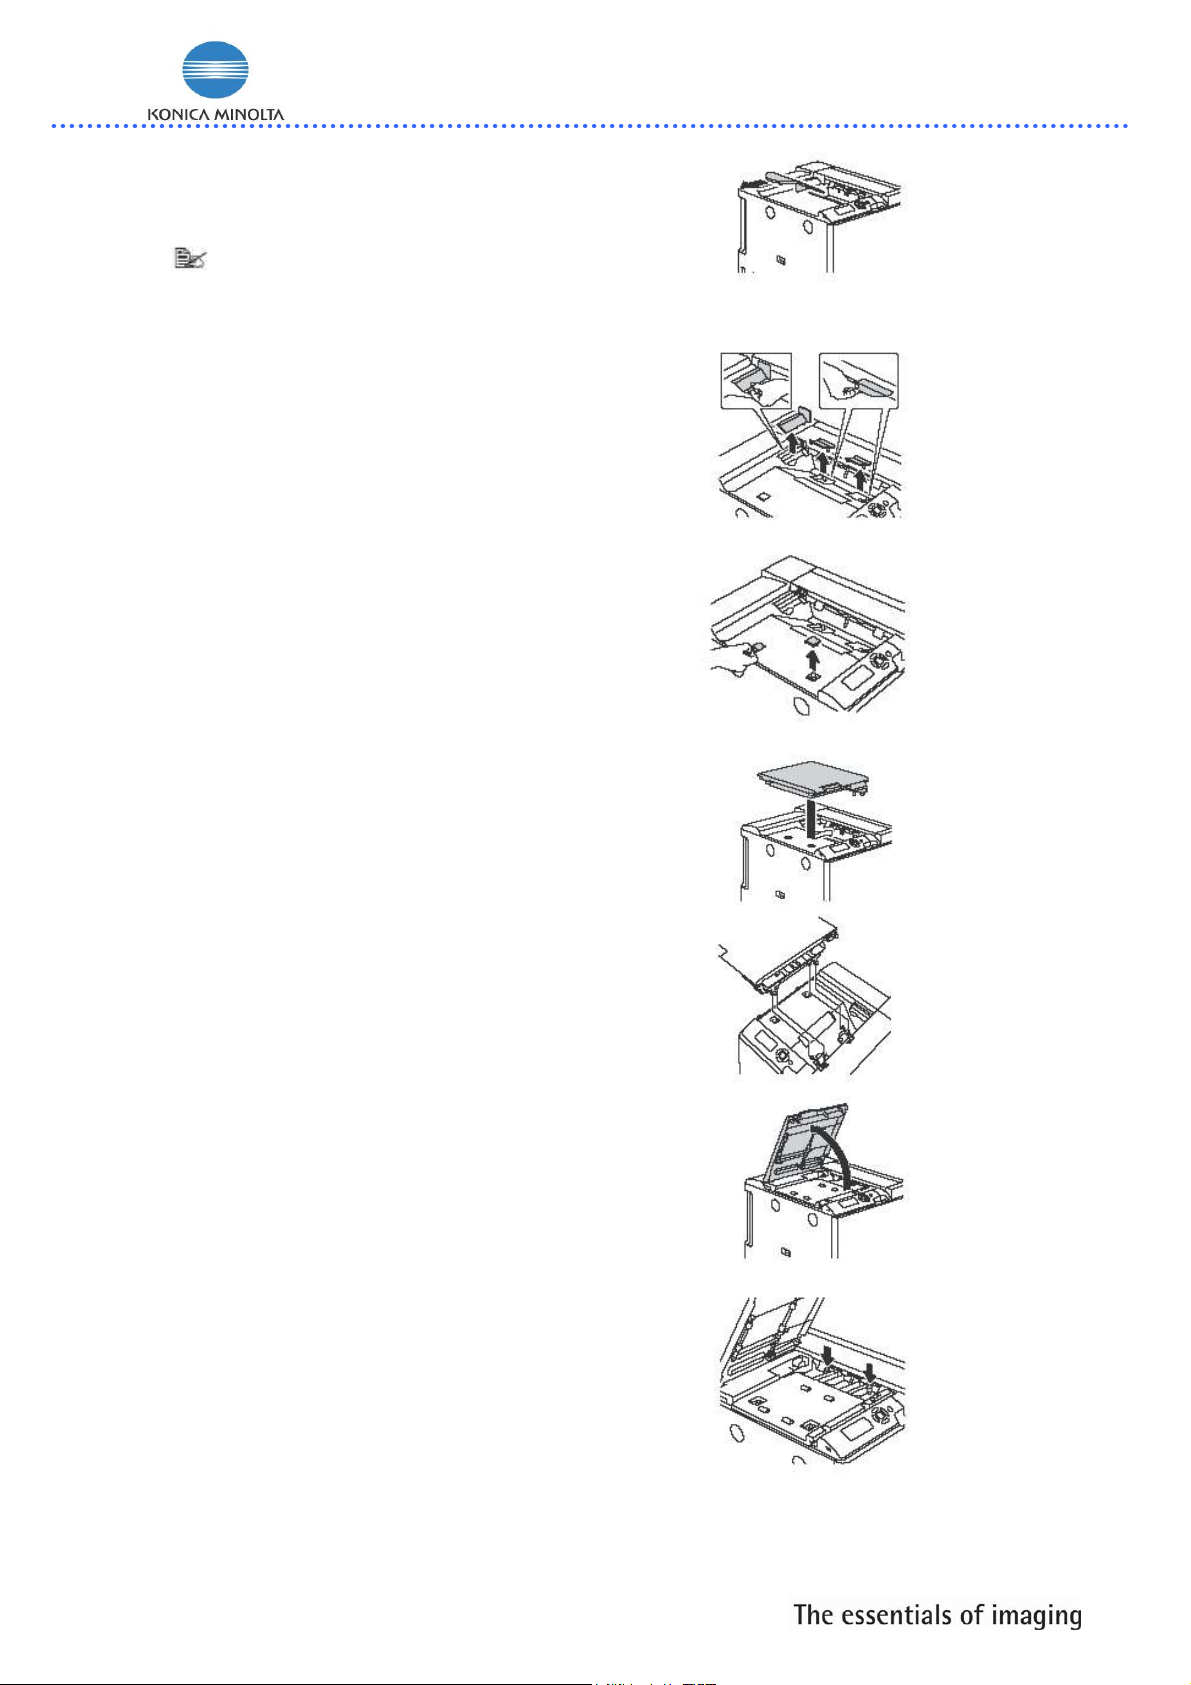
2. Installation
Part number- Staple Finisher: A01F0Y1
Part number Staple cartridge*: 4623361
(*included within new Staple Finisher- for changing procedure see page 7/ note 21a,
capacity: 5000 staples)
2.1. Acessories:
1.) Staple Finisher
2.) Relay Unit
3.) Main output tray
4.) Sub output tray
5.) Hooks (For securing the relay unit)
6.) Hooks (For installing the Staple Finisher)
7.) Mounting clips for the main output tray