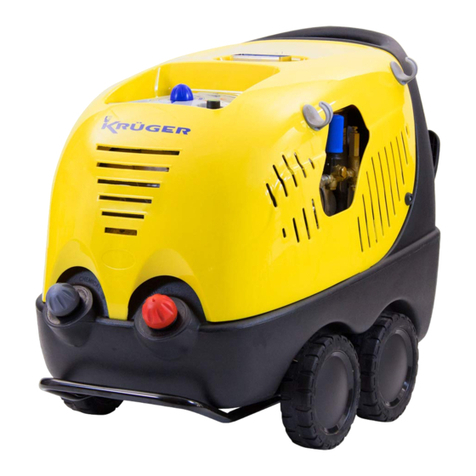
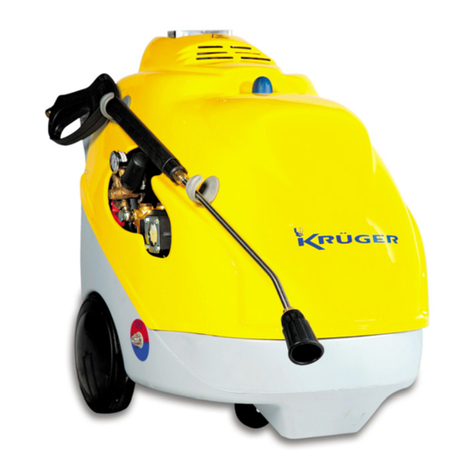
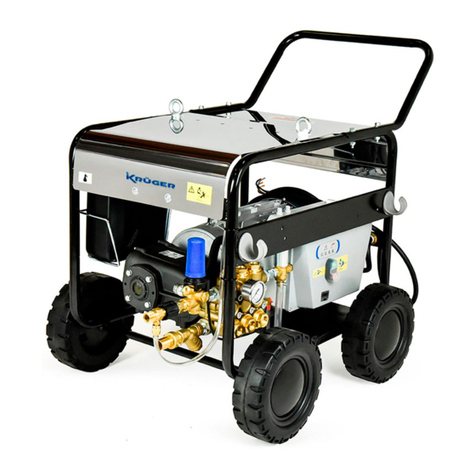
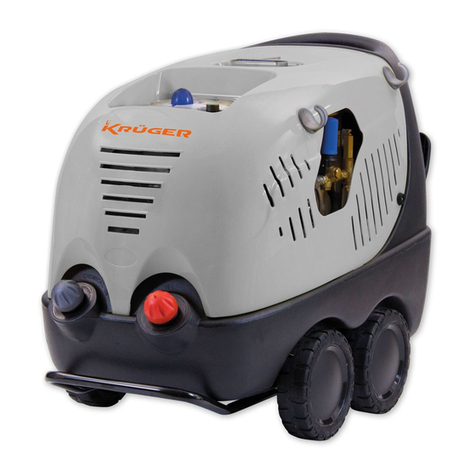
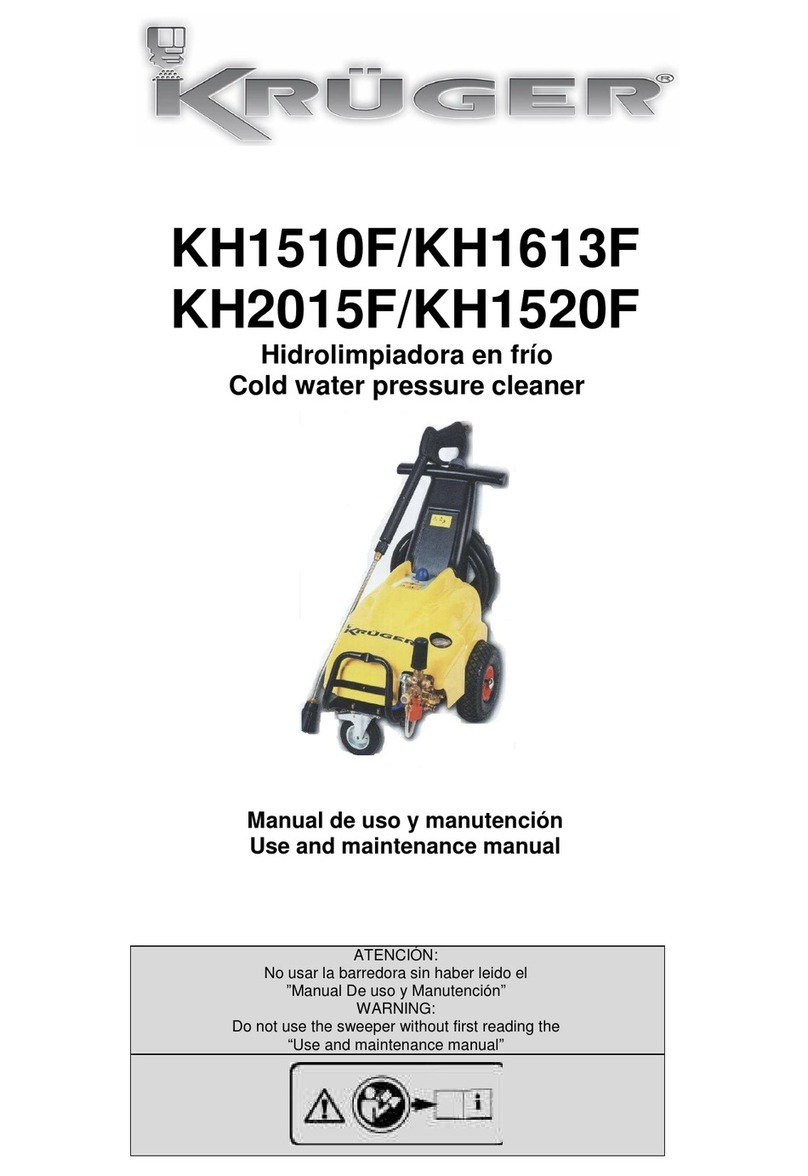
Kruger KH522 User manual

PRODUCTOS DE CALIDAD
MANUAL DE INSTRUCCIONES
KH522

ALTERATION OF OPERATING PERFORMANCE
2.1.13 Do not leave the cleaner unattend-
ed. ACCIDENT HAZARD
2.1.14 Do not move the cleaner by pulling
on the electrical cable SHORT CIRCUIT
HAZARD
2.2 SAFETY "MUSTS"
2.2.1 All electrical conductors must be
protected against the water jet.
SHORT CIRCUIT HAZARD
2.2.2 The cleaner must only be con-
nected to a correctly earthed
power supply. ELECTRIC SHOCK HAZARD
• Use of a safety residual current circuit-
breaker (R.C.C.B.) will provide additional
protection for the operator (30 mA).
2.2.3 The high pressure
may cause mate-
rials to bounce off surfaces at speed; the-
refore protective clothing and safety gog-
gles must be worn. INJURY HAZARD
2.2.4 Before doing work on the cleaner,
remove the plug. ACCIDENTAL START-
UP HAZARD
2.2.5 Before pressing the trigger, grip the
gun firmly to counteract the recoil.
INJURY HAZARD
2.2.6 Comply with the requirements of the
local water supply company.
According to DIN 1988, power-jet cleaners
may only be connected to the mains drink-
ing water supply if a backflow preventer
valve with drain facility is installed in the
supply hose. CONTAMINATION HAZARD
2.2.7 Maintenance and/or repair of electri-
cal components must be carried out
by qualified staff. ACCIDENT HAZARD
2.2.8 Discharge residual pressure before
disconnecting the cleaner hose.
INJURY HAZARD
2.2.9 Before using the cleaner, check
every time that the screws are fully
tightened and that there are no broken or
worn parts. ACCIDENT HAZARD
2.2.10 Only use deter-
gents which will not
corrode the coating materials of the high
pressure hose/electrical cable. EXPLOSION
AND ELECTRIC SHOCK HAZARD
2.2.11 Ensure that all people or ani-
mals keep a minimum dis-
tance of 16 yd. (15m) away. INJURY HAZARD
15m
1INTRODUCTION
1.1 The high pressure power-jet cleaner you
have purchased is a technologically
advanced product designed by one of the
leading European manufacturers of high
pressure pumps. To obtain the best per-
formance from your unit, read this booklet
carefully and follow the instructions each
time you use the cleaner. We congratulate
you on your choice and wish you succes-
sful operation.
2SAFETY RULES
2.1 SAFETY "MUST NOTS"
2.1.1 Do not use the
cleaner with in-
flammable or toxic liquids, or any products
which are not compatible with the correct
operation of the cleaner. EXPLOSION OR POI-
SONING HAZARD
2.1.2 Do not direct the water jet
towards people or animals.
INJURY HAZARD
2.1.3 Do not direct the water jet
towards the unit itself, electri-
cal parts or towards other electrical equip-
ment. ELECTRIC SHOCK HAZARD
2.1.4 Do not use the cleaner outdoors in
case of rain. SHORT CIRCUIT HAZARD
2.1.5 Do not allow children or incompetent
persons to use the cleaner. INJURY
HAZARD
2.1.6 Do not touch the plug and/or
socket with wet hands. ELEC-
TRIC SHOCK HAZARD
2.1.7 Do not use the cleaner if the
electrical cable is damaged.
ELECTRIC SHOCK AND SHORT CIRCUIT HAZARD
2.1.8 Do not use the cleaner if the
high pressure hose is dama-
ged. EXPLOSION HAZARD
2.1.9 Do not jam the trigger in the oper-
ating position. ACCIDENT HAZARD
2.1.10 Check that the data plates are af-
fixed to the cleaner, if not, inform
your dealer. Cleaners without plates must
not be used as they are unidentifiable and
potentially dangerous. ACCIDENT HAZARD
2.1.11 Do not tamper with or with or
alter the calibration of the
safety valve. EXPLOSION HAZARD
2.1.12 Do not alter the original diameter of
the spray head nozzle. HAZARDOUS
1
English

3.1.8 Position the cleaner as NEAR as possible
to the water supply.
3.1.9 The packaging is easily recyclable, and
must be disposed of in compliance with
the regulations in force in the country of
installation.
3.1.10 Use the cleaner only with accessories and
replacement parts authorised by the
manufacturer. The use of original acces-
sories and replacement parts will ensure
safe, trouble-free operation.
3.1.11 The cleaner must be used standing on a
secure, stable surface, positioned as
shown. FIG.3A
3.2 INTENDED USE
3.2.1 The cleaner is intended only for the clean-
ing of vehicles, machines, boats, build-
ings, etc., by the removal of stubborn dirt
using clean water and chemical deter-
gents.
For domestic use only (single-phase
motors only). Not for professional use (for
three-phase or industrial motors only), and
only for operation at temperatures above
0°C.
Compliant with EN 60335-2-79/A1 stan-
dard.
3.2.2 When using chemical detergents, use
only highly biodegradable types.
3.2.3 Only clean vehicle engines in areas in
which suitable oil traps are installed.
3.3 SAFETY VALVE
3.3.1 The safety valve also functions as a pres-
sure limiting valve. When the gun trigger is
released, the safety valve opens and the
water recirculates through the pump inlet.
4INSTALLATION
4.1 Fit the lance into the gun and
rotate it until the two parts are
completely locked. FIG.4A
4.2 Connect the gun to the high pressure
hose. FIG.4B
4.3 Connect the high pressure hose to the
water outlet on the cleaner. FIG.4C
4.4 Connect the water supply hose FIG.4D
(not supplied) to the water inlet of the
cleaner. The supply hose must have an
internal diameter of at least 13 mm (1/2
in.) and must be reinforced. The water
supply must be at least equal to the clea-
ner delivery capacity.
The intake water tempera-
ture must not exceed 60°C
(122°F). The water supply pressure
must not exceed 10 bar (145 psi).
KEY
a-Water outlet (OUTLET)
b-Water inlet with filter(INLET)
c-High pressure rotating nozzle kit
(optional accessory)
d-Adjustable spray nozzle
e-Use • Maintenance handbook
f-Electrical cable (with plug only for 1~)
g-Lance
h-Gun with safety catch
i-High pressure hose
m-Nozzle cleaning tool
n-Motor switch
q-Pressure gauge
r-Pressure regulator knob
s-Tank outlet plug
t-Motor rotation key (for models with this
feature)
u-Detergent tank plug
v-Detergent control knob
y-Data plate
3GENERAL RULES
3.1.1 The USE and MAINTENANCE manual
constitutes an essential part of the cleaner
equipment and should be kept in a safe
place for future reference. If you sell the
cleaner, the manual should be handed on
to the new owner.
3.1.2 Before starting the cleaner, make sure that
it is receiving water correctly. Operating
the cleaner without water could damage
the seals.
3.1.3 Do not disconnect the plug by pulling on
the electrical cable.
3.1.4 If you are too far from the object you wish
to clean, do not move the cleaner nearer
by pulling on the high pressure hose; use
the handle provided.
3.1.5 Protect the cleaner from freezing during
the winter.
3.1.6 Do not obstruct the ventilation grilles
during operation.
3.1.7 The cross-section of any exten-
sion cables used must be propor-
tional to their length, i.e. the longer the
extension cable, the greater the cross-
section; cables with a protection level
of "IPX5" must be used. See table a.
Table a.
2English
Voltage Extension Extension
Volts cable cable
up to 25 m up to 50 m
220 - 230 section section
MOTOR 240 - 400 3x1.5 mm23x2.5 mm2
100 - 115 section section
120 3x2.5 mm23x4 mm2

models with this feature) FIG.5E
5.6 CORRECT USE OF THE ROTARY
NOZZLE (Where fitted)
5.6.1 For increased washing power, use the
rotary nozzle kit as follows:
5.6.2 Turn off the high pressure cleaner
5.6.3 Unscrew the adjustable head and fit the
rotary nozzle onto the lance.
5.6.4 Turn the high pressure cleaner back on.
5.7 RECOMMENDED CLEANING PROCE-
DURE
5.7.1 Dissolve dirt by applying detergent with
the fan jet to the dry surface.
On vertical surfaces, work from the bottom
upwards. Leave the detergent to act for 1
to 2 minutes, but do not allow to dry out.
Apply the high pressure jet, keeping the
nozzle at least 30 cm (10 in.) from the sur-
face, working from the bottom upwards.
Avoid allowing the rinsing water to run on
to unwashed surfaces.
5.8 STORAGE
5.8.1 Switch off the cleaner.
5.8.2 Turn off the water supply tap.
5.8.3 After use, the detergent residues should
be removed from the tank.
5.8.4 Discharge residual pressure by pressing
the trigger until no more water comes out
of the adjustable nozzle.
5.8.5 Engage the gun safety catch.
5.8.6 Remove the plug from the socket.
5.8.7 Operate the cleaner with non-
corrosive/non-toxic antifreeze before sto-
ring for the winter.
5.10 USE AND CHARACTERISTICS OF TSS
MODELS FIG.5H with automatic delivery
flow cut-off:
-when the trigger is released, the dynamic
pressure automatically cuts out the motor.
-when the trigger is pressed the pressure
drop automatically starts the motor and
the pressure is restored with a very slight
delay.
-For correct operation of the TSS, once the
trigger has been released it must not be
pressed again for at least 4÷5 seconds.
For correct use of the TSS model cleaner,
do not leave the unit in automatic cut-off
status for more than 10 min.
6THREE-PHASE OPERATION
6.1 CAUTION: with THREE-PHASE
motor (~ 3) on first use the plug
must be connected with the polarity set
so that the motor fan turns clockwise.
Ensure that this is the case by chec-
king that the motor fan turns in the cor-
rect direction.
4.4.1 CAUTION! The cleaner must only
be used with clean water; use of
unfiltered water or corrosive chemicals
will damage the cleaner.
4.5 Turn the motor switch to the "0" position.
FIG. 5B
4.6 Check that the electrical supply voltage and
frequency (Volts/Hz) correspond to those
specified on the cleaner data plate. FIG.4E
If the power supply is correct, you may
now plug in the cleaner.
The cleaner must only be connected to
power sockets with regulation earth con-
nection. A differential safety breaker (30
mA) will increase the safety of operators.
CAUTION! The machine may
cause electrical disturbances
when starting.
4.6.1 If the motor stops and fails to restart, wait
2 to 3 minutes before restarting. THERMAL
CUTOUT TRIPPED
5USE
5.1 Turn on the water supply tap fully.
5.2 Release the safety catch FIG.5A, then
press the trigger for a few seconds to
allow air to escape and to discharge
residual pressure in the pipes.
5.3 Keeping the trigger pressed, push the
switch to start the motor. FIG.5B
Turn the pressure control knob to the de-
sired setting. FIG.5C (FOR MODELS
WITH THIS FEATURE).
5.3.1 When re-starting the motor, always
keep the trigger pressed.
5.4 USING DETERGENT
5.4.1 CAUTION: liquid detergent must
be sprayed at low pressure. See
5.5 “Proper use of standard accesso-
ries”.
5.4.2 Fill the detergent tank to the level indica-
ted through the inlet. FIG. 5D
5.4.3 Select LOW PRESSURE (see instruc-
tions); the detergent will be sucked up and
mixed with the water, with the suction rate
regulated by the knob provided. FIG. 5F
5.4.4 Now distribute the detergent drawn in and
mixed with water.
5.5 Correct use of standard accessories
FIG.5E
5.5.1 The cleaner is equipped with the adjusta-
ble nozzle, which provides some impor-
tant functions:
5.5.2 LOW PRESSURE operation (for suction
and spraying of detergent).
5.5.3 HIGH PRESSURE operation (for high
pressure washing and rinsing).
5.5.4 Jet adjustment from pencil to fan. (For
3
English

deposits. Working through the hole on
the rear, or a 6 Allen key (6) for models
with this feature. FIG. 6B.
Then remove the key and restart.
7.4 Clean the nozzle with the tool provided.
Remove the lance from the gun (FIG. 4A),
remove any dirt from the nozzle hole
(FIG.6D) and rinse.
7MAINTENANCE
7.1 CAUTION! Before working on the
cleaner, disconnect the plug from
the power supply socket.
7.2 To ensure good performance, check and
clean the suction and detergent filters after
every 50 hours of operation. FIG.6A
7.3 Long periods of disuse may lead
to the formation of lime scale
4English
Table of contents
Languages:
Other Kruger Pressure Washer manuals

Kruger
Kruger KGM15020C User manual

Kruger
Kruger KX130 User manual

Kruger
Kruger KH4014F User manual

Kruger
Kruger KH1510F User manual

Kruger
Kruger KKH20015CP User manual

Kruger
Kruger K101EX User manual

Kruger
Kruger modular 140 User manual

Kruger
Kruger KH120CI User manual

Kruger
Kruger KHL1108C User manual

Kruger
Kruger KH15010CP User manual