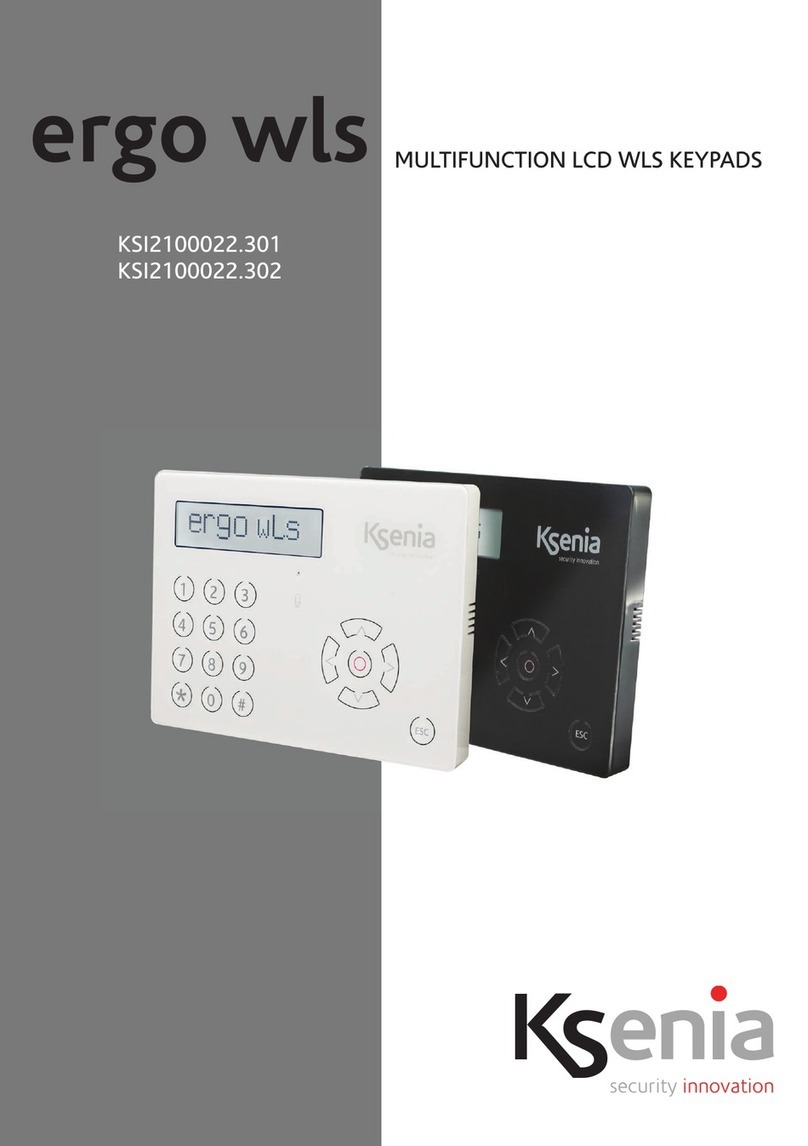
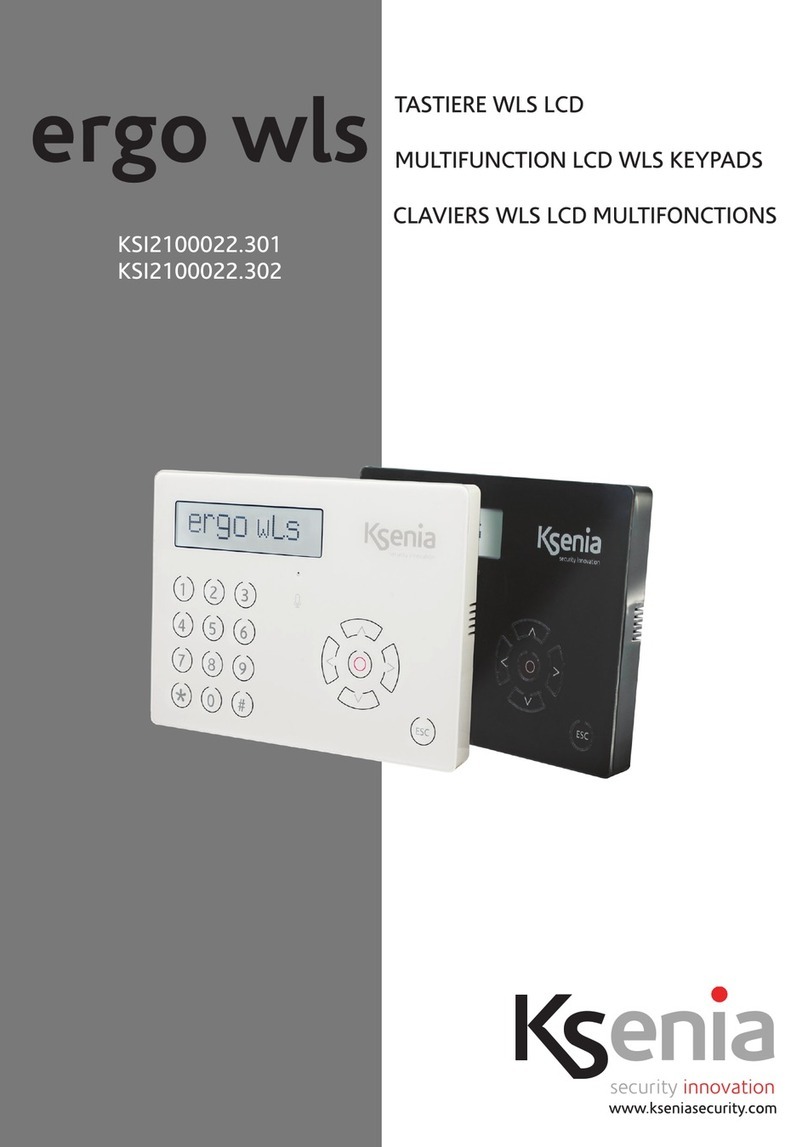
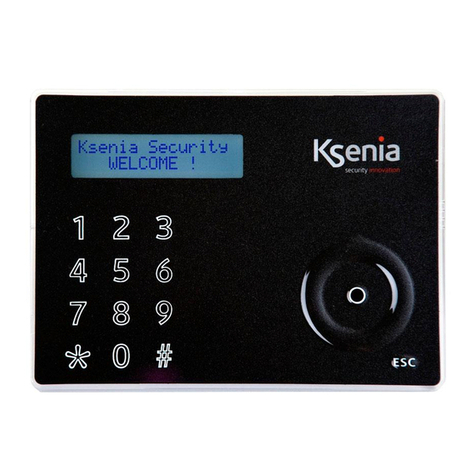
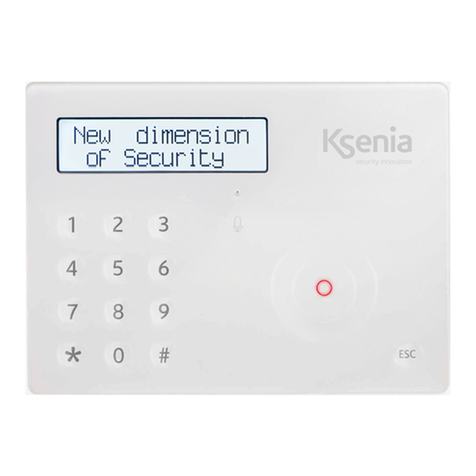
Ksenia ergo wls User manual

code R30023.110en www.kseniasecurity.com
ed.05/2020
ergo wls
LCD wireless keypads
Installation guide
INTRODUCTION
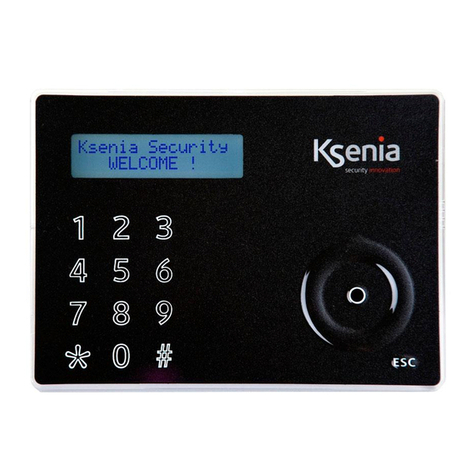
The ergo wls keypads with Wide Dot Matrix LCD Display have been added to the controls, user interfaces for
Ksenia lares 4.0 control panels.
MAIN CHARACTERISTICS
• Display of system status;
• Display of functioning parameters (date/time, temperatures, etc.);
•Systemcommands;
• Complete or partial arming: programmed by the installer as keypads on BUS;
• Reset alarms;
• Deleting lists of queued telephone calls;
• Zone status and exclusion of open zones during alarm insertion;
• Scenarios activation.
QUANTITY DATA
lares 4.0 models wls 96 16 40 40 wls 140 wls 644 wls
Maximum number of ergo wls
keypads
42334 4

code R30023.110en www.kseniasecurity.com
ed.05/2020
TECHNICAL DATA
Wide Dot matrix LCD display viewing area 79 x 19 mm
Sound signaling to input / output time
Power (only wls mode) Battery KSI7203019.000 non rechargeable
Lithium battery pack
3V/1900 mA/h
Consumption 10mA standby - 100mA max
Operating temperature range +5°C / +40° C
Overall Dimension 163 x 119 x 14.5 mm
Weight 240 g
Protection degree IP 34
White version KSI2100022.311
Black version KSI2100022.312

code R30023.110en www.kseniasecurity.com
ed.05/2020
INSTALLATION
ergo wls can be installed on any plain surface. Furthermore, in the back there are 3 easy-open holes, suitable
for DIN503 and for 60mm-screw-distance boxes.
STEP 1. OPENING
To open the keypad, please proceed as follows:
1. Push snap fingers (A) using a screw driver
2. Pull outward
STEP 2. INSTALLATION ON A SWITCH BOX OR WALL MOUNTED
1. Push the cable through to the opening (6)
2. Fix the keypad base to the wall-box with the supplied screws through the eyelets (1) and (3).
3. Use a plug and the apposite screw (not included) to enable tamper functionality (4).
Legend
1.-3. Easy open hole to be opened to Built-In
installation on DIN 530 box
1. -2. Eyelets for 60mm-screws-distance boxes
4. Place a wall mount screw to enable anti
opening and removal tamper (4)
5. Speaker
6. Cable gland
7. USB connector (future use)

code R30023.110en www.kseniasecurity.com
ed.05/2020
DESCRIPTION OF THE KEYPAD
STEP 3. CABLING AND SWITCHING ON
1. Connect the cables to the terminals on the rear of the keypad.
2. Close the keypad properly (4).
3. At every new installation when ergo wls is switched on (but not wire to BUS [A and B] clamps
disconnected), the display will show the following information:
• First line: “Ksenia Security”
• Second Line: from the first character from the left the FW version loaded on the device (x.xx.xxx),
from the 10th character the device serial-number (six numeric characters) and at the 16th character
“W” to indicate wireless.
Legend
1. Connection Clamps [A B] on KS-BUS (only for
firmware update
2. Anti opening / tamper switch
3. Loudspeakers contact
4. Snap fingers
5. Battery connector
6. Battery pack
7. USB connector (for future use)
Note: DO NOT REMOVE PCB AND DISPLAY FROM
PLASTIC SUPPORT
Legend
1. Alphanumeric keypad with 1 a 9, * and # keys
2. ESC key
3. ENTER key
4. Scroll also including:
4.1. Left arrow
4.2. Down arrow
4.3. Right arrow
4.4. Up arrow
5. Display
6. Audio mic hole (for future use)
7. USB connector (for future use)

code R30023.110en www.kseniasecurity.com
ed.05/2020
DISPLAY
The display shows all the information and the data ergo wls can manage. The display can show up to 2 rows
of 16 characters each.
BATTERY
The keypad continuously checks the level of battery power and visualizes it on the display using the below
icons: the indicators are displayed when the battery level is about to die.
* NOTE: when the keypad displays this information, the device no longer plays any sound and does not turn
on the display backlight.
BATTERY REPLACEMENT
1. Open the front panel of the keypad, as described at paragraph “INSTALLATION” on page 3 STEP.1.
2. Disconnect the old battery pack (6)
3. Connect the new battery pack to the connector (5)
4. Close the front cover by snapping the locking hooks (4)
battery about to die
*low battery, to be replaced

code R30023.110en www.kseniasecurity.com
ed.05/2020
Warning: Use only original batteries Ksenia KSI7203019.000 to avoid damage to the device and continue to
ensure the operation of the same, it is recommended to replace the battery within one month of reporting
faulty battery.
Warning! A battery can explode if treated incorrectly: not recharge, disassemble or dispose on fire.
ACQUISITION
The acquisition starts since the moment that the installer enters the keypad serial number on the lares 4.0
control panel programming interface.
OPERATING MODE
When in idle, the keypad goes into the energy saving state and switches off both the display and the
backlight.
By pressing any button on the keypad, it turns on and the display shows the system status, in order of
priority on the first line and the information displayed depend on the configuration of the keypad.
At this point you can enter the user PIN to perform disarming / arming actions or to access the user menu.
If the number key is held down for more than 1 second, the keypad goes directly from the state of energy
saving to the PIN input without going through the status display.
Instead, with a pressure of about 3 seconds of the number keys, it is available the execution of a scenario.
After performing the desired action, the keypad returns to the energy saving state by pressing the ESC key
and after 10 seconds of inactivity.
USER MENU
To enter the User menu simply edit one of the programmed user codes (default 000001) and press ENTER.
The options available for users are:
• Reset Alarms: allows you to stop any alarm in progress and delete all memories.
• Reset Phone: allows you to stop any Contact ID actions.
KEYPAD FIRMWARE UPDATE
To upgrade the firmware of keypad, the battery MUST NOT be used and the BUS cable MUST be wired
directly to the connector 1 as described at paragraph “INSTALLATION” on page 3, STEP. 3.
With the BUS cable [ A B ] connected to the control panel, the keypad is displayed on the real time of the
user interface BUS.

code R30023.110en www.kseniasecurity.com
ed.05/2020
COMPLIANCE
Europe - CE, RoHS
Technical data, appearance, functionality and other product characteristics may change without notice.
ENVIRONMENTAL CARE
The product has been specifically designed and manufactured for the environment respect as follows:
1. No PVC
2. Halogen-free laminates and lead-free PCBA
3. Low consumption
4. LCD Display without mercury
5. Arsenic-free glass
6. Packaging realized mainly with recycled fibers and materials
Information for users: Disposal (RAEE Directive)
Warning! Do not use an ordinary dustbin to dispose of this equipment.
Used electrical and electronic equipment must be treated separately, in accordance with the relative
legislation which requires the proper treatment, recovery and recycling of used electrical and electronic
equipment.
Following the implementation of directives in member states, private households within the EU may return
their used electrical and electronic equipment to designated collection facilities free of charge*. Local
retailers may also accept used products free of charge if a similar product is purchased from them.
If used electrical or electronic equipment has batteries or accumulators, these must be disposed of separately
according to local provisions.
Correct disposal of this product guarantees it undergoes the necessary treatment, recovery and recycling.
This prevents any potential negative effects on both the environment and public health which may arise
through the inappropriate handling of waste.
* Please contact your local authority for further details.
Installation of these systems must be carried out strictly in accordance with the instructions described in this
manual, and in compliance with the local laws and bylaws in force. ergo series have been designed and made
with the highest standards of quality and performance adopted by Ksenia Security. Is recommended that the
installed system should be completely tested at least once a month. Test procedures depends on the system
configuration. Ask to the installer for the procedures to be followed. Ksenia Security srl shall not be
responsible for damage arising from improper installation or maintenance by unauthorized personnel. The
content of this guide can change without prior notice from KSENIA SECURITY.
This manual suits for next models
2
Table of contents
Other Ksenia Keypad manuals

Ksenia
Ksenia ergo A KSI2100030.301 WHITE User manual

Ksenia
Ksenia ergo wls KSI2100022.301 User manual

Ksenia
Ksenia ergo M User manual

Ksenia
Ksenia ergo M Assembly instructions

Ksenia
Ksenia ergo-T User manual

Ksenia
Ksenia ergo-X KSI2100031.302 Use and care manual

Ksenia
Ksenia ergo wls KSI2100022.301 User manual

Ksenia
Ksenia ergo Operating instructions

Ksenia
Ksenia ergo M User manual

Ksenia
Ksenia ergo-T User manual