manuals.online logo
Brands
  1. Home
  2. •
  3. Brands
  4. •
  5. Kyosho
  6. •
  7. Toy
  8. •
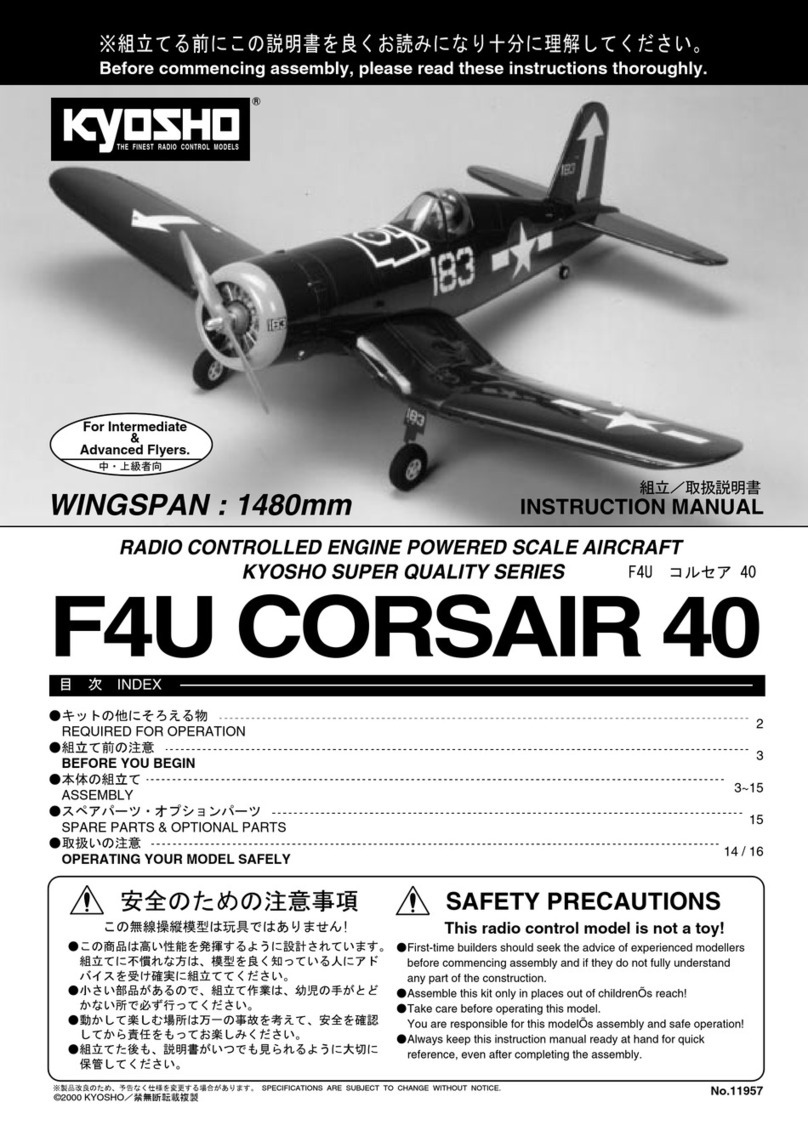
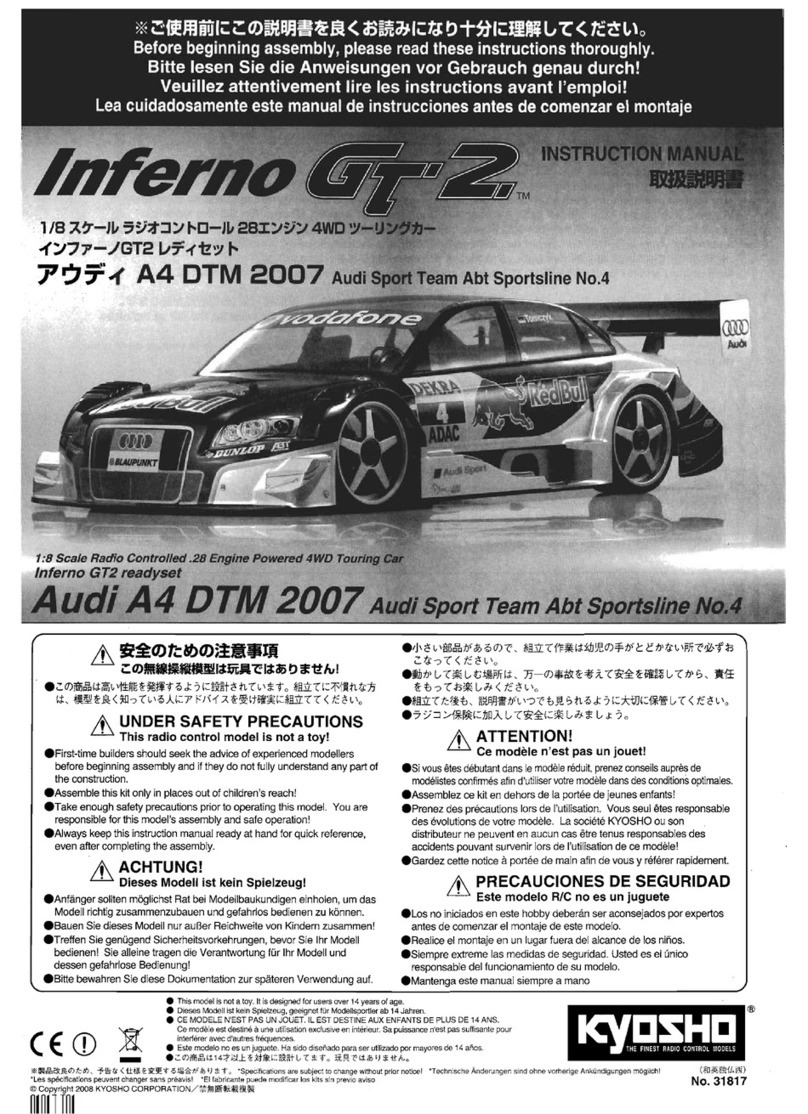
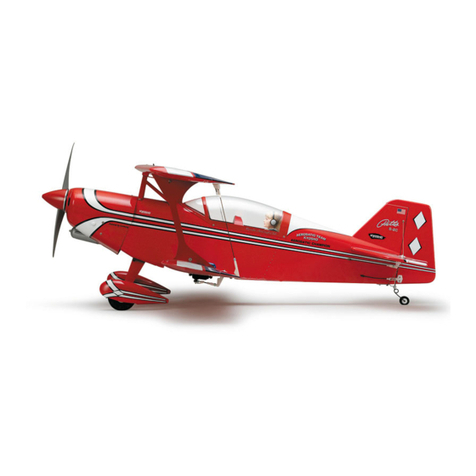
  9. Kyosho LEARJET User manual

Kyosho LEARJET User manual

This manual suits for next models

1

Other Kyosho Toy manuals

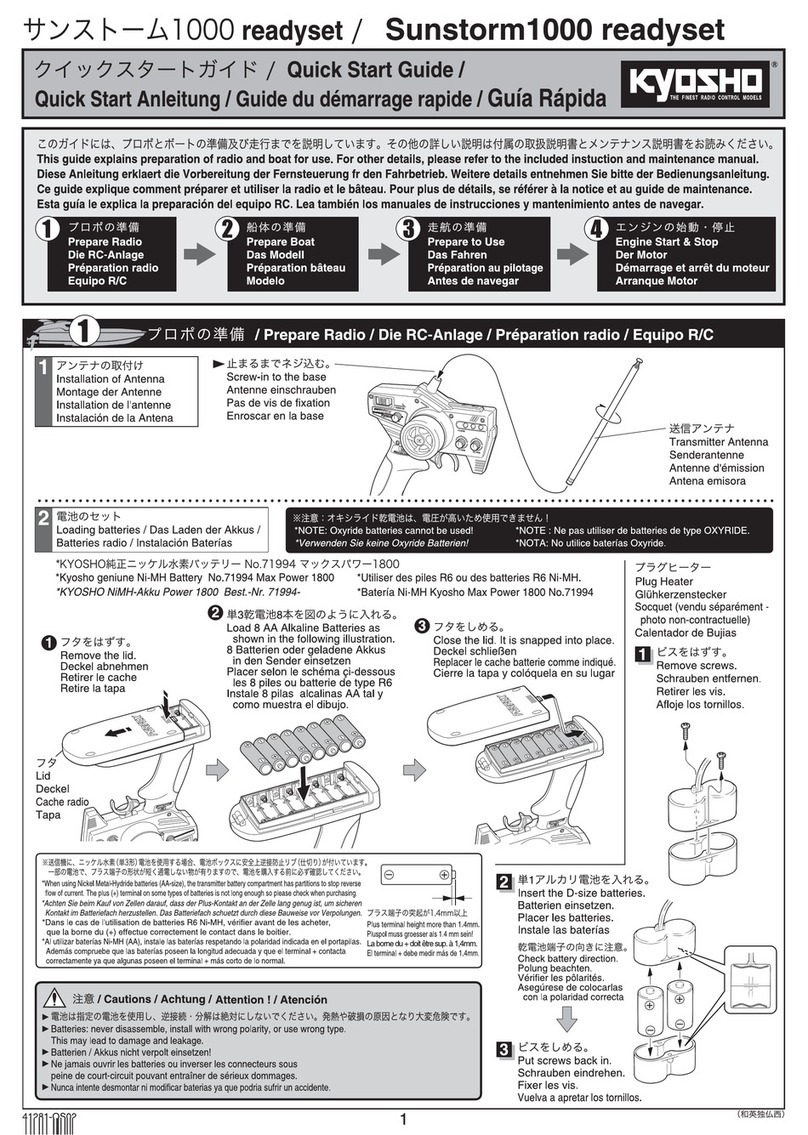
Kyosho Caliber 90 User manual

Kyosho

Kyosho Caliber 90 User manual

Kyosho stratus 1600 v-tail User manual

Kyosho

Kyosho stratus 1600 v-tail User manual

Kyosho EP concept User manual

Kyosho

Kyosho EP concept User manual

Kyosho Caliber M50 User manual

Kyosho

Kyosho Caliber M50 User manual

Kyosho Minium AD PROFILE ULTIMATE User manual

Kyosho

Kyosho Minium AD PROFILE ULTIMATE User manual

Kyosho MXW002R User manual

Kyosho

Kyosho MXW002R User manual

Kyosho Calmato Sports User manual

Kyosho

Kyosho Calmato Sports User manual

Kyosho Perfex Kt-5 User manual

Kyosho

Kyosho Perfex Kt-5 User manual

Kyosho Backyard Flyer Series User manual

Kyosho

Kyosho Backyard Flyer Series User manual

Kyosho G.Trick 90 User manual

Kyosho

Kyosho G.Trick 90 User manual

Kyosho Chevrolet Corvette C6-R 2007 Body Shell User manual

Kyosho

Kyosho Chevrolet Corvette C6-R 2007 Body Shell User manual

Kyosho AIRIUM SPITFIRE MK.V VE29 User manual

Kyosho

Kyosho AIRIUM SPITFIRE MK.V VE29 User manual

Kyosho Triumph 4301 User manual

Kyosho

Kyosho Triumph 4301 User manual

Kyosho BMW ORACLE USA-76 User manual

Kyosho

Kyosho BMW ORACLE USA-76 User manual

Kyosho Ford FIESTA S2000 Body Shelll User manual

Kyosho

Kyosho Ford FIESTA S2000 Body Shelll User manual

Kyosho RC SURFER User manual

Kyosho

Kyosho RC SURFER User manual

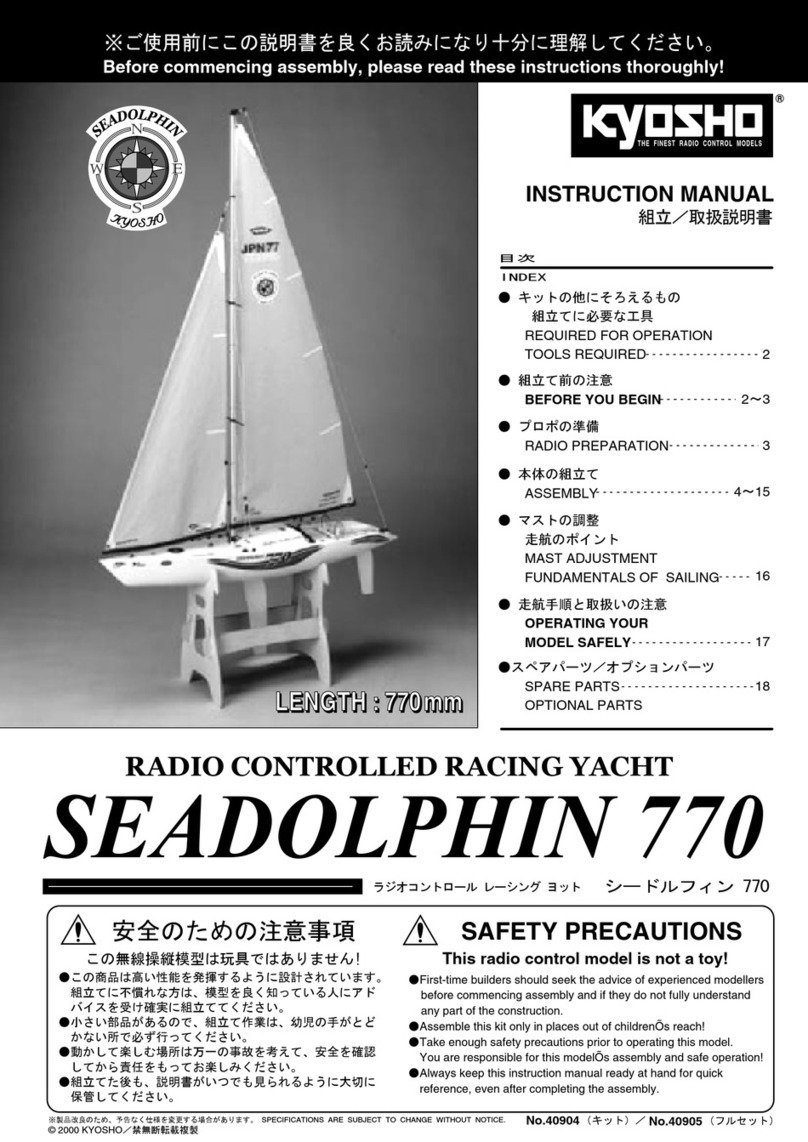
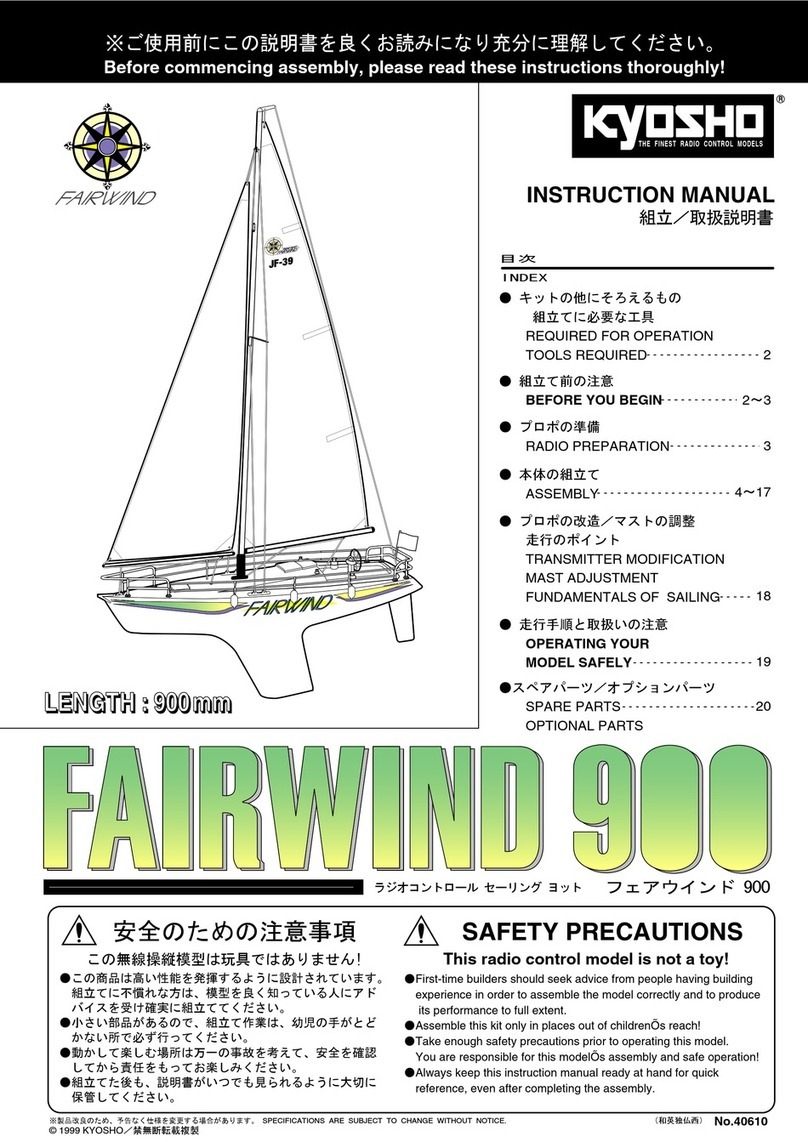
Kyosho FAIRWIND 900 User manual

Kyosho

Kyosho FAIRWIND 900 User manual

Kyosho Firefox 250 User manual

Kyosho

Kyosho Firefox 250 User manual

Kyosho MINIUM EDGE 540 RedBull User manual

Kyosho

Kyosho MINIUM EDGE 540 RedBull User manual

Kyosho 32T User manual

Kyosho

Kyosho 32T User manual

Kyosho Mitsubishi LANCER Evolution VII WRC Body... User manual

Kyosho

Kyosho Mitsubishi LANCER Evolution VII WRC Body... User manual

Kyosho Macchi M33 50 User manual

Kyosho

Kyosho Macchi M33 50 User manual

Kyosho EP Concept SR-K User manual

Kyosho

Kyosho EP Concept SR-K User manual

Kyosho Caliber 60 User manual

Kyosho

Kyosho Caliber 60 User manual

Popular Toy manuals by other brands

FUTABA GY470 instruction manual

FUTABA

FUTABA GY470 instruction manual

LEGO 41116 manual

LEGO

LEGO 41116 manual

Fisher-Price ColorMe Flowerz Bouquet Maker P9692 instruction sheet

Fisher-Price

Fisher-Price ColorMe Flowerz Bouquet Maker P9692 instruction sheet

Little Tikes LITTLE HANDIWORKER 0920 Assembly instructions

Little Tikes

Little Tikes LITTLE HANDIWORKER 0920 Assembly instructions

Eduard EF-2000 Two-seater exterior Assembly instructions

Eduard

Eduard EF-2000 Two-seater exterior Assembly instructions

USA Trains EXTENDED VISION CABOOSE instructions

USA Trains

USA Trains EXTENDED VISION CABOOSE instructions

Modellbau Laffont Z1601 Assembly instructions

Modellbau Laffont

Modellbau Laffont Z1601 Assembly instructions

NOCH 12905 instruction manual

NOCH

NOCH 12905 instruction manual

Eduard Ki-61-Id quick start guide

Eduard

Eduard Ki-61-Id quick start guide

Viessmann Vollmer 45616 Mounting instruction

Viessmann

Viessmann Vollmer 45616 Mounting instruction

Vollmer 42004 Mounting instruction

Vollmer

Vollmer 42004 Mounting instruction

Phoenix Model CLASSIC-EP instruction manual

Phoenix Model

Phoenix Model CLASSIC-EP instruction manual

H-KING Sopwith Camel British WW1 Fighter instruction manual

H-KING

H-KING Sopwith Camel British WW1 Fighter instruction manual

MODSTER Predator 4x4 Crawler user manual

MODSTER

MODSTER Predator 4x4 Crawler user manual

DHK Hobby 8136 User instruction manual

DHK Hobby

DHK Hobby 8136 User instruction manual

THUNDER TIGER Raptor 50 V2 kit manual

THUNDER TIGER

THUNDER TIGER Raptor 50 V2 kit manual

Timberkits Skateboarder instructions

Timberkits

Timberkits Skateboarder instructions

Hangar 9 Funtana 125 Assembly manual

Hangar 9

Hangar 9 Funtana 125 Assembly manual

manuals.online logo
manuals.online logoBrands
  • About & Mission
  • Contact us
  • Privacy Policy
  • Terms and Conditions

Copyright 2025 Manuals.Online. All Rights Reserved.

Ni-Cd
安全のための注意事項 SAFETY PRECAUTIONS
この無線操縦模型は玩具ではありません!
●この商品は高い性能を発揮するように設計されていますので組立てに不慣
 れな方は、模型を良く知っている人にアドバイスを受け確実に組立ててく
 ださい。
●組立て作業は、幼児の手のとどかない所で行ってください。
●動かして楽しむ場所は万一の事故を考えて、安全を確認してから責任をも
 ってお楽しみください。
●組立てた後も説明書がいつでも見られるように大切に保管してください。
First-time builders should seek advice from more experienced persons in order to
assemble the model correctly and realize the full performance potential.
Assemble this kit out of the reach of children.
Take reasonable safety precautions prior to flying this model. You alone are
responsible for the model's correct assembly and safe operation!
Always keep this instruction manual ready at hand for quick reference, even after
completing the assembly.
This radio control model is not a toy!
●
●
●
●
・不要になったニカドバッテリーは、貴重な資源を守るために廃棄しないでリサイクル協力店へお持ち下さい。
・The product you have purchased is powered by a rechargeable battery. The battery is recyclable. At the end of its useful life, under various national /
 state and local laws, it may be illegal to dispose of this battery into the municipal waste stream. Check with your local solid waste officials for details in
 your area for recycling options or proper disposal.
※製品改良のため、予告なく仕様を変更する場合があります。 SPECIFICATIONS ARE SUBJECT TO CHANGE WITHOUT NOTICE.
No. 10801
●キットの他にそろえる物
 REQUIRED FOR OPERATION
●組立て前の注意
 BEFORE YOU BEGIN
●本体の組立て
 ASSEMBLY
●分解図 / スペアパーツ
 EXPLODED VIEW / SPARE PARTS
●取扱いの注意
 OPERATING YOUR MODEL SAFELY
目 次 INDEX
WINGSPAN: 1574mm
THE FINEST RADIO CONTROL MODELS
R
INSTRUCTION MANUAL
組立/取扱説明書
2
3
3~11
12 / 13
11 / 16
※組立てる前にこの説明書を良くお読みになり充分に理解してください。
Before building the model, please read these instructions carefully!
2000 KYOSHO/禁無断転載複製
For intermediate & advanced level fliers
LEARJET
LEARJET
リヤジェット
RADIO CONTROLLED ELECTRIC POWERED TWIN DUCTED FAN AIRCRAFT
Warning!
確実に接着する。
飛行中にはずれると操縦不能になり
事故につながります。
Be sure to glue securely, otherwise
structural failure may occur in flight .
R
THE FINEST RADIO CONTROL MODELS
No.10801
リアジェット
補足説明書
LEARJET
SUPPLEMENTARY INSTRUCTION SHEET
取扱説明書に変更があります。組立てる前に必ずこの補足説明書をお読みください。
Please use these supplementary instructions in conjunction with the manual included in
your kit.
Printed in Japan© 2000 KYOSHO
胴体
Fuselage
5ページ
Page 5 7
キットの他にそろえる物 REQUIRED FOR OPERATION
■カッターナイフ
Sharp Hobby Knife
用意する工具
Tools required
( Tools are not included in the kit )
■+ドライバー(大、中、小)
Phillips Screw Driver (L.M.S)
■ラジオペンチ
Needle Nose Pliers
■ドリル
Drill
■キリ
Awl
■ハサミ
Scissors
AAAAAAAA
2
■ニッパー
Wire Cutters
Epoxy A
Epoxy B
■エポキシ接着剤 (硬化時間30分以上の物)
Epoxy glue with at least 30 minutes curing time
■ニカドバッテリー 8.4V 1700mAh~2000mAh
 7-cell (8.4V) 1700 mAh ~ 2000 mAh Ni-Cd battery
バッテリー
NiCd Battery
3
■
充電器(使用するバッテリーに適合したもの)
 A charger suitable for your model's 7-cell Ni-Cd battery
充電器
Charger
●No. 72506  マルチチャージャー III
Multi Charger III
●No.71705
8.4V 1800SP マルチフォースニカドバッテリー
Multi Force Ni-Cd Battery
●No.71703
8.4V-RC2000 バッテリー
Battery
1
4チャンネル以上の飛行機用無線操縦機(プロポ)セット
サーボ x 3, 飛行機用アンプ x2, 乾電池
Minimum of 4 channel proportional radio control system with
3 servos, 2 proportional electronic speed controllers and
batteries for the transmitter.
■飛行機用4チャンネル以上
 のプロポ
Minimum 4 channel radio
■単3乾電池
AA-size Batteries
プロポの取扱いは、プロポに付属の説明書を参考にしてください。
For proper radio operation, refer to its manual.
■
連続消費電流が30A以上のアンプ
Electronic proportional speed controller suitable
for aircraft, with minimum 8.4 V / 30 A continuous
capacity and battery eliminator circuit.
●No. 90801
 スカイ・ヴィクトリー210アンプ
 SKY VICTORY 210 ESC
■サーボ
Servo
13~16mm
28~30mm
28~30mm
■サーボ用二股コード
Servo "Y" connector
■サーボ用延長コード
Servo extension lead
No.1829 ラウンドカッター&サンダー
ROUND CUTTER & SANDER
キャノピー等のカット、
仕上げ用。 曲線部分も
楽に作業ができます。
For trimming canopies, etc.!
Cutting along curved lines
never was so easy!
100mm
x 1
x 1
x 2
x 2
2
組立に必要な工具 TOOLS REQUIRED
裏面からキリでマークする。
Check the hinge marks on the
underside.
表面からカットする。
Cut between the hinges from
the topside.
上
Top
Warning!
確実に接着する。
飛行中にはずれると操縦不能に
なり事故につながります。
Be sure to glue securely,
otherwise structural failure may
occur in flight .
向きに注意。
Note the direction.
上
Top
1
2
主翼
Main Wings
主翼
Main Wings
3
1
組立てる前に説明書を良く読んで、おおよその構造を理解してから組立てに入ってください。
Read through the manual before you begin, so you will have an overall idea of what to do.
キットの内容をお確かめください。万一不良、不足がありましたら、お買い求めの販売店にご相談いただくか、当社
「ユーザー相談室」までご連絡ください。
Check all parts. If you find any defective or missing parts, contact your local dealer or our Kyosho Distributor.
2
3
説明書に使われているマーク
Symbols used throughout the instruction manual, comprise:
エポキシ接着剤で接着する。
Apply epoxy glue.
左右同じように組立てる。
Assemble left and right sides
the same way.
   にヤスリをかける。
Sanding off shaded portion.
別購入品
Must be purchased separately!
2mmの穴をあける(例)。
Drill holes with the specified
diameter (here: 2mm).
斜線部をカットする。
Cut off shaded portion.
2mm
●重要な注意事項があるマークです。
 必ずお読みください。
 Do not overlook this symbol!
注意して組立てる所。
Pay close attention here! Warning!
組立て前の注意 BEFORE YOU BEGIN
エルロンサーボ
Aileron Servo
60mm
2.6x10mm
10mm
10mm
15mm
3
4
主翼
Main Wings
主翼
Main Wings
4
5胴体
Fuselage
   にヤスリをかける。
Sanding off shaded portion.
斜線部をカットする。
Cut off shaded portion.
左右同じように組立てる。
Assemble left and right sides
the same way.
2mmの穴をあける(例)。
Drill holes with the specified
diameter (here: 2mm).
2mm
別購入品
Must be purchased
separately!
注意して組立てる所。
Pay close attention here!
エポキシ接着剤で接着する。
Apply epoxy glue.
●重要な注意事項があるマークです。
 必ずお読みください。
 Do not overlook this symbol!
Warning!
2.6 x 10mm TP ビス
Screw
8
Warning!
確実に接着する。
飛行中にはずれると操縦不能になり
事故につながります。
Be sure to glue securely, otherwise
structural failure may occur in flight .
3x15mm
2.5
mm
3
mm
接着しない。
No glue.
6
7
胴体
Fuselage
胴体
Fuselage
5
8胴体
Fuselage
左右同じように組立てる。
Assemble left and right sides
the same way.
2mmの穴をあける(例)。
Drill holes with the specified
diameter (here: 2mm).
2mm
別購入品
Must be purchased separately!
斜線部をカットする。
Cut off shaded portion.
注意して組立てる所。
Pay close attention here!
エポキシ接着剤で接着する。
Apply epoxy glue.
●重要な注意事項があるマークです。
 必ずお読みください。
 Do not overlook this symbol!
Warning!
3 x 15mm TP ビス
Screw
1
Warning!
確実に接着する。
飛行中にはずれると操縦不能になり
事故につながります。
Be sure to glue securely, otherwise
structural failure may occur in flight .
70mm
4x20mm
15mm
4
mm
5
mm
4mm
A AÕ
A = AÕ
3mm
9
10
胴体
Fuselage
胴体
Fuselage
6
11
主翼 / 胴体
Main Wing / Fuselage
左右同じように組立てる。
Assemble left and right sides
the same way.
2mmの穴をあける(例)。
Drill holes with the specified
diameter (here: 2mm).
2mm
別購入品
Must be purchased separately!
斜線部をカットする。
Cut off shaded portion.
注意して組立てる所。
Pay close attention here!
エポキシ接着剤で接着する。
Apply epoxy glue.
●重要な注意事項があるマークです。
 必ずお読みください。
 Do not overlook this symbol!
Warning!
3 mm セットビス
Set Screw
2
4 x 20mm ビス
Screw
2
4mm ワッシャー
Washer
2
B BÕ
C CÕ
B = BÕ
C = CÕ
20mm
2.6 x 6mm
2.6mm
6mm
6mm
3 x 20mm
平らな面にセットビスを
しめ込む。
Firmly tighten the set
screw to the flats.
4 x 4mm
3mm
3x20mm
3mm
3mm
3mm
12
13
水平尾翼
Horizontal Stabilizer
ダクテットファン
Ducted Fun Unit
7
14
ダクテットファン
Ducted Fun Unit
左右同じように組立てる。
Assemble left and right sides
the same way.
2mmの穴をあける(例)。
Drill holes with the specified
diameter (here: 2mm).
2mm
別購入品
Must be purchased separately!
斜線部をカットする。
Cut off shaded portion.
注意して組立てる所。
Pay close attention here!
エポキシ接着剤で接着する。
Apply epoxy glue.
●重要な注意事項があるマークです。
 必ずお読みください。
 Do not overlook this symbol!
Warning!
2.6 x 6mm ビス
Screw
2
2.6mm ワッシャー
Washer
2
3 x 20mm サラビス
FH Screw
1
4 x 4mm セットビス
Set Screw
1
6mm ナット
Nut
1
6mm ワッシャー
Washer
2
3 x 20mm ビス
Screw
2
3mm ワッシャー
Washer
3mm ナイロンナット
Nyllon Nut
4
2
表面からカットする。
Cut between the hinges from
the topside.
裏面からキリでマークする。
Check the hinge marks on the
underside.
2x15mm
2x20mm
ラダーサーボ
Rudder Servo
エレベーターサーボ
Elevator Servo
3mm
15
16
水平尾翼
Horizontal Stabilizer
垂直尾翼
Vartical Tail
8
17
胴体
Fuselage
左右同じように組立てる。
Assemble left and right sides
the same way.
2mmの穴をあける(例)。
Drill holes with the specified
diameter (here: 2mm).
2mm
別購入品
Must be purchased separately!
斜線部をカットする。
Cut off shaded portion.
注意して組立てる所。
Pay close attention here!
エポキシ接着剤で接着する。
Apply epoxy glue.
●重要な注意事項があるマークです。
 必ずお読みください。
 Do not overlook this symbol!
Warning!
2 x 20mm ビス
Screw
2mm ナット
Nut
3
3
2 x 20mm ビス
Screw
2
2 x 15mm ビス
Screw
2
3mm セットビス
Set Screw
3
受信機
Receiver
アンプ
Electronic Speed
Controller
二股コード
"Y" connector
ニカドバッテリー
Ni-Cd Battery
3
mm
18
19
胴体
Fuselage
胴体
Fuselage
9
20
主翼 / 胴体
Main Wing / Fuselage
左右同じように組立てる。
Assemble left and right sides
the same way.
2mmの穴をあける(例)。
Drill holes with the specified
diameter (here: 2mm).
2mm
別購入品
Must be purchased separately!
斜線部をカットする。
Cut off shaded portion.
注意して組立てる所。
Pay close attention here!
エポキシ接着剤で接着する。
Apply epoxy glue.
●重要な注意事項があるマークです。
 必ずお読みください。
 Do not overlook this symbol!
Warning!
3mm ナット
Nut
3