1.0 GENERAL SPECIFICATIONS
Electrical requirements:
115V model 115V ±10% - 50/60Hz, 0.2A
230V model 230V ±10% - 50/60Hz, 0.1A
Fuse 2x0.5A230V; 2 x 1A115V
Speed from 10 to 120 rocks (tilts)/min
Tilt angle ±7° from Horizontal
Timer 10 – 120 min in 10 min step, HOLD function
Maximum Load 5 kg
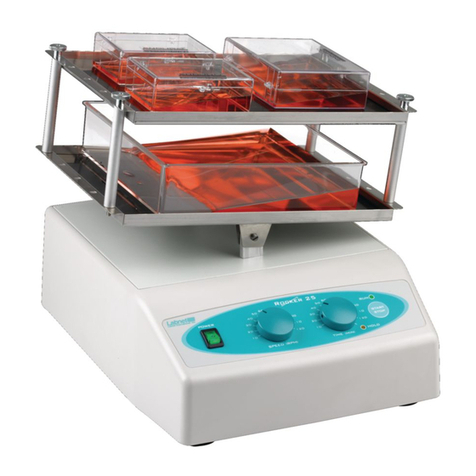
Rocker 25 Dimensions WxLxH 289x320x160mm
Rocker 25XL Dimensions WxLxH 325x360x160mm
Platform dimensions:
Rocker 25 WxL 289x203mm;
Rocker 25XL WxL 300x300mm
Included accessories one flat rubber mat
Weight 5.6 kg
Operating Conditions 4°C to 70°C, up to 85% RH, non-condensing
2.0INSTALLATIONOFTHEROCKER
2.1UNPACKING
Before starting the installation, carefully examine the rocker for possible damage or
missing parts.
•Open the box and carefully remove the padding. Check that the rocker has not been
visibly damaged during transportation. Keep the packing material until you are sure
that the rocker works properly.
•Carefully lift the device out of the box.
•Be sure that the following information is included on the serial label located on the
back of the unit: Serial Number, Product number, Electrical rating.
•Check that the power cord has a pin configuration that fits into a wall socket accord-
ing to the local standard.
Should any kind of damage have occurred during transportation, contact the carrier
immediately. The carrier is responsible for shipping damage.
2.2 SELECTING THE CORRECT LOCATION
When locating the rocker, please consider following:
•Put the rocker on horizontal, leveled and stable surface.
•Leave enough space around the rocker for normal air circulation, min. 10 cm.
•Leave enough space around the rocker for easy access and maintenance.
•Avoid locations subject to shocks and vibrations.
•Avoid locations subject to frequent power fluctuations or power losses (It may affect
rocker performance)
Note: There has to be an easy access to the rocker control panel and main plug in
case of emergency.
2.3 ATTACHING THE POWER CORD
First connect the main power cord to the rocker then connect the plug end of the
cord to a grounded wall socket. Avoid lines on which powerful electric motors,
refrigerators and similar devices are connected.
Be careful when you plug the cord to a grounded wall socket!
Do not touch plug with wet hand!
Do not pull the plug by the cord!
3.0 INSTRUCTIONS FOR USE
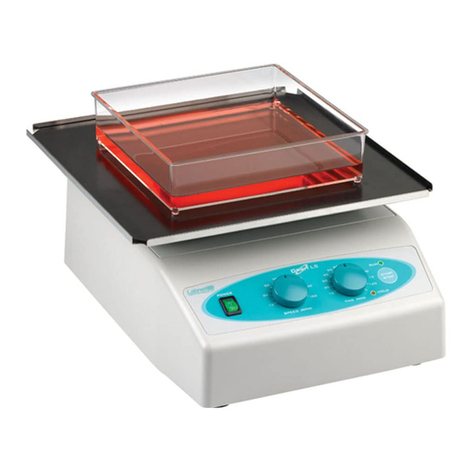
1. POWER switch – to turn the rocker ON (power switch illuminates) or OFF
2. SPEED potentiometer – to set the rocker speed
3. TIME potentiometer – set time of shaker
4. HOLD yellow light – illuminates when shaker is set for continuous running.
5. START/STOP button – START or STOP rocking.
6. RUN green light – illuminates when shaker is running.
Donot usethe rocker nearwater sources.Be sure thatwater doesn’t
get on the device, especially during the cleaning procedures.
!
• Do not expose the shaker to aggressive vapors (e.g. organic solvents).
• Do not insert any objects into the rocker (such as screw driver or metal rods).
• Never operate the shaker without platform securely attached.
• Hazardous samples should be shaken only in appropriate containment vessels.
3.1BASICOPERATION
1. Switch on POWER.
2. Set SPEED potentiometer on desired value.
3. Set TIME potentiometer on desired value or on HOLD - continuous func-
tion (yellow light next to HOLD will illuminate)
4. Press START/STOP button to start rocking.
5. Press START/STOP button to stop rocking (HOLD position). Device
automatically stops after the set time passes.
Note : Pressing the START/stop button during operation will reset the timer.
Do not rock flammable or explosive samples!
!
