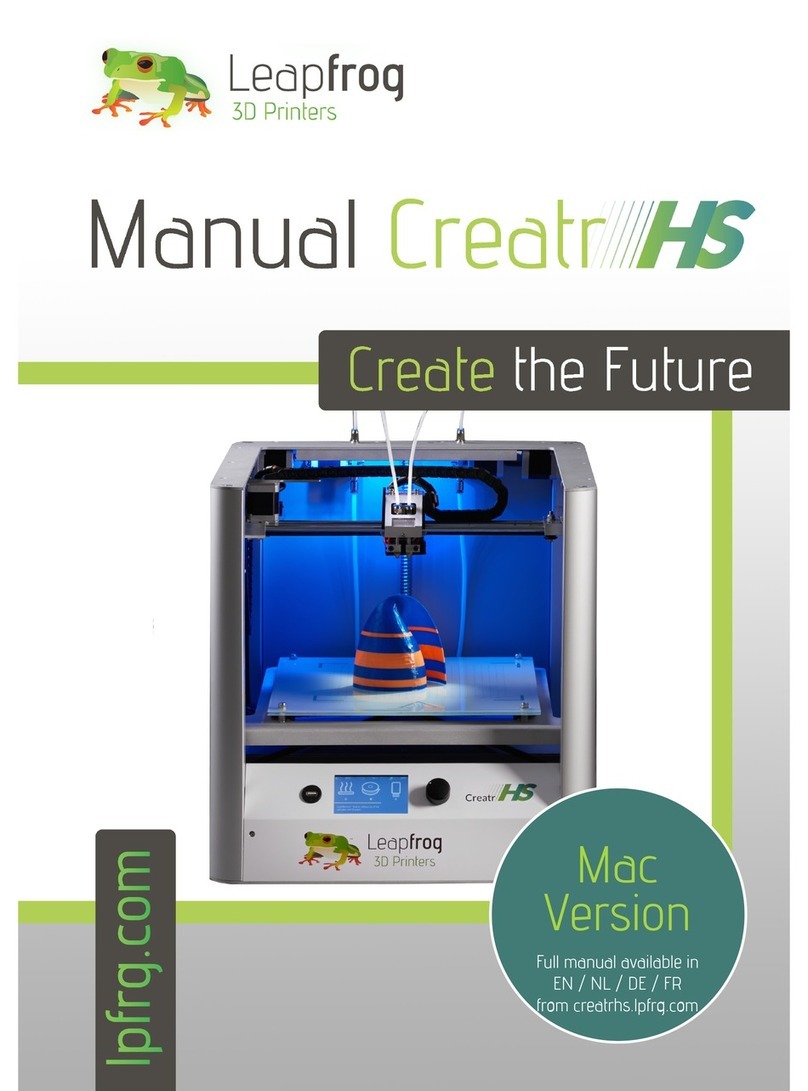
LeapFrog Creatr HS User manual

1
H. Kamerlingh Onnesweg 10
2408 AW Alphen aan den Rijn
The Netherlands
Creatr HS
Flexible filament modification V01-04
Summary
This document describes the modification of the Creatr HS 3D printer of Leapfrog BV to print
flexible filament and written with the intention of use by customers.
Contents
1. Introduction ............................................................................................................................................. 2
2. Safety information ................................................................................................................................... 2
3. Additional information ............................................................................................................................. 2
4. Tools list ................................................................................................................................................... 2
5. Parts list .................................................................................................................................................... 3
6. Additional parts (grab stock) .................................................................................................................... 3
7. Preparation .............................................................................................................................................. 3
8. Procedure ................................................................................................................................................. 3
9. Flexible filament loading procedure ........................................................................................................ 5
10. Tips and tricks .......................................................................................................................................... 9

2
H. Kamerlingh Onnesweg 10
2408 AW Alphen aan den Rijn
The Netherlands
1. Introduction
This document describes the modification of the Creatr HS 3D printer to print flexible filament.
The intended audience are customers of Leapfrog BV. All steps in this procedure are required to be
followed in detail.
2. Safety information
During the performance of this procedure no personal protective equipment (PPE) is required.
There are no chemicals used during the performance of this procedure. The electrical work in this
procedure is de-energized. Common safety rules apply with regards to the Leapfrog Creatr HS 3D printer
with regards to hot surfaces, pinch hazards and fume hazards (certain materials) while printing, as well as
heavy lifting, and crush hazards while moving and/or packing/unpacking the 3D printer. Please read the
safety information.
3. Additional information
During the performance of this procedure a clean working environment is required.
Work areas must be free of clutter and debris as some components are critical to pollution from foreign
objects and some parts are sensitive to scratching. There must be enough room to manoeuvre around the
work area and have good access to the parts being assembled.
4. Tools list
#
Description
Qty
1
Allen key set (Metric)
1
2
Spanner #10
3
Side cutters
NOTE: Images are indicative, colours and/or shapes may vary.
While printing
While printing
While printing
certain materials
While moving
or unpacking
While moving
or unpacking

3
H. Kamerlingh Onnesweg 10
2408 AW Alphen aan den Rijn
The Netherlands
5. Parts list
#
Description
Qty
1
Flexible filament modification
1
2
3
NOTE: Images are indicative, colours and/or shapes may vary.
6. Additional parts (grab stock)
Make sure the following items are readily available during assembly:
Description
No additional parts needed
NOTE: Images are indicative, colours and/or shapes may vary.
7. Preparation
Unpack all delivered parts and make sure all tool described in section 4 and parts described in section 5 are
available for use.
8. Procedure
The following procedure describes how to change the regular filament funnel inside the extruder with a
modified funnel that enables you to print flexible filament better.
Step
Action
NOTE
The images in this procedure show the replacement of the right side funnel for flexible filament
printing, the left side can be replaced in the same manner.
1
Remove all filament from the extruder(s) and bowden tube(s).

4
H. Kamerlingh Onnesweg 10
2408 AW Alphen aan den Rijn
The Netherlands
2
Disconnect the bowden tube to the bowden tube holder by pushing down the blue ring (A)
while gently pulling out the bowden tube.
3
Loosen the set screw that holds the filament guiding funnel inside the extruder assembly using
the Allen key. (Tool 1)
4
Pull out the filament guiding funnel.
5
Unscrew the bowden tube connector from the filament guiding funnel.
6
Place the flexible filament guiding modification into the extruder and push it down.
NOTE: You might need to tap it in gently.
A

5
H. Kamerlingh Onnesweg 10
2408 AW Alphen aan den Rijn
The Netherlands
7
Fasten the set screw using the Allen key. (Tool 1)
WARNING: Do not overtighten this screw!
8
Screw the bowden tube connector into the flexible filament guiding modification.
9
Re-connect the bowden tube into the bowden tube connector by gently pushing it in.
10
Clean up and remove obsolete parts and tools
11
Done
9. Flexible filament loading procedure
Loading flexible filament into the extruder is a little bit more challenging compared to regular 3D printing
filament. This is why we added the following procedure to help you load the flexible filament.
Step
Action
NOTE
The images in this procedure shows loading flexible filament into the right side extruder, the left
side can be placed in the same manner.
1
Use the side cutters (Tool 3) to cut the tip of the flexible filament at an angle

6
H. Kamerlingh Onnesweg 10
2408 AW Alphen aan den Rijn
The Netherlands
2
Push the filament in from the bottom, the same way you would with normal filament.
3
Open the extruder all the way by pulling the handle backwards as far as possible.
4
Keep pushing the filament through the extruder until it is half way in the extruder:
Note: The rest of the printer is not visible only for clearness of the image.

7
H. Kamerlingh Onnesweg 10
2408 AW Alphen aan den Rijn
The Netherlands
5
Close the extruder a little by releasing the handle a little so it pushes the filament towards the
centre of the extruder.
Note: The rest of the printer is not visible only for clearness of the image.
6
By pushing the filament and pulling/releasing the extruder tensioning knob you will be able to
get the filament to go inside the modified funnel.
Note: The rest of the printer is not visible only for clearness of the image.
7
Once the filament is through the funnel disconnect the bowden tube and gently pull the filament
through the extruder until you have enough length (about 65 cm)

8
H. Kamerlingh Onnesweg 10
2408 AW Alphen aan den Rijn
The Netherlands
8
Put the bowden tube over the filament and push it into the coupling. There should be some
filament sticking out of the tube:
9
Heat up the nozzle to 200-230°C
10
Stick the point of the flexible filament into the hot tube and push it by hand to get it extruding.
11
Fit the bowden tube into the connector, you might need to pull the filament back on the bottom
a little.
12
Start printing with flexible filament.
13
Done

9
H. Kamerlingh Onnesweg 10
2408 AW Alphen aan den Rijn
The Netherlands
10. Tips and tricks
1) Keep the printing speed as low as possible. (~100mm/min)
The flexible filament will jam up if you will try to print at fast speeds.
2) Keep the retraction speed low.
Fast speeds only will stretch the filament and not actually retract it.
3) Keep the extruder temperature high.
The softer the filament, the easier it will be pushed through the nozzle.
4) Print a large brim on your prints.
Flexible filament warps, a lot.
Other manuals for Creatr HS
3
Table of contents
Other LeapFrog 3D Printer manuals

LeapFrog
LeapFrog Creatr HS User manual

LeapFrog
LeapFrog BOLT User manual

LeapFrog
LeapFrog 3d printer User manual

LeapFrog
LeapFrog Creatr HS User manual

LeapFrog
LeapFrog Creatr HS User manual

LeapFrog
LeapFrog Bolt PRO User manual

LeapFrog
LeapFrog BOLT User manual

LeapFrog
LeapFrog Xeed User manual

LeapFrog
LeapFrog Bolt PRO User manual

LeapFrog
LeapFrog BOLT User manual