manuals.online logo
Brands
  1. Home
  2. •
  3. Brands
  4. •
  5. LEGRAND
  6. •
  7. Security Sensor
  8. •
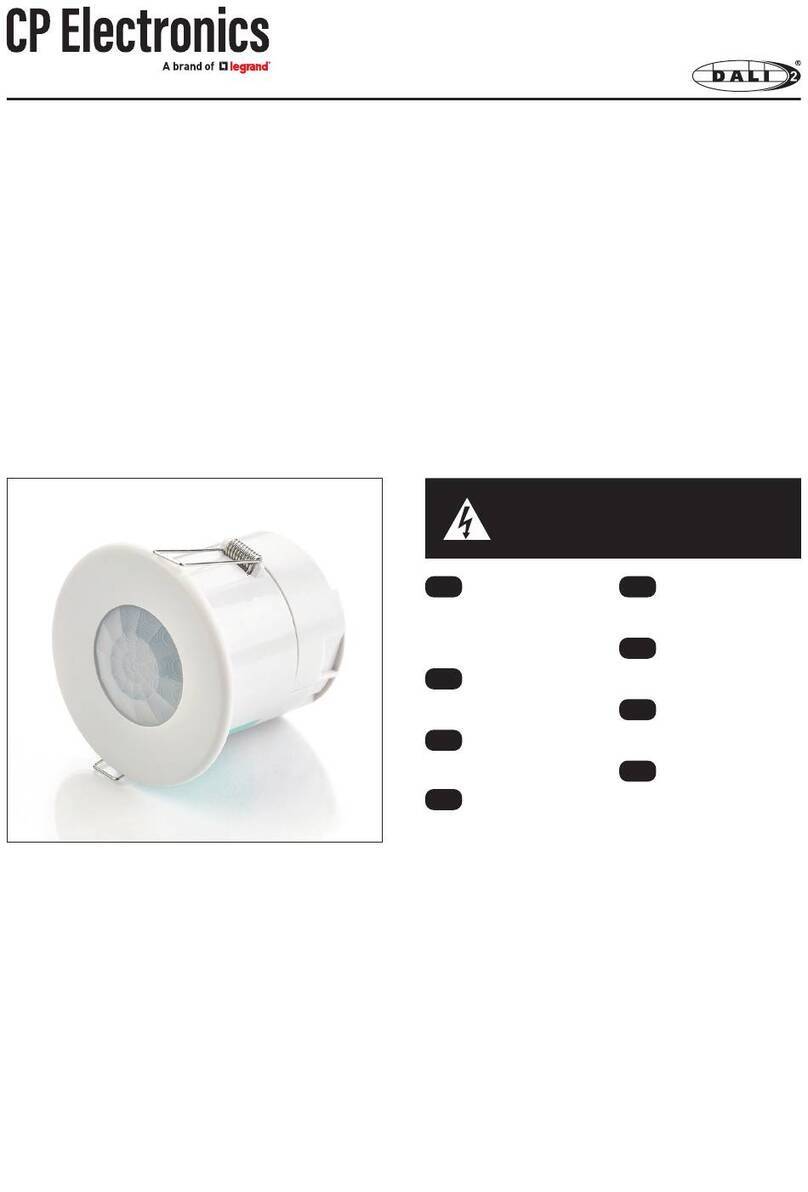
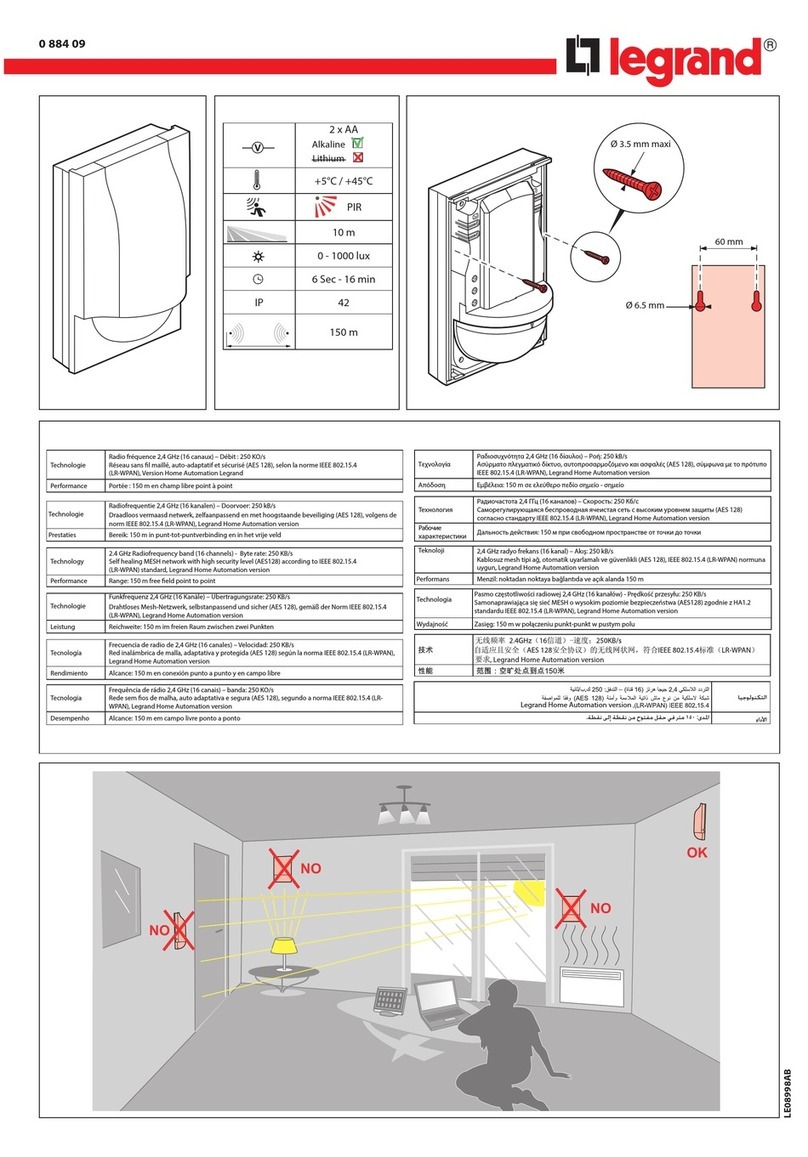
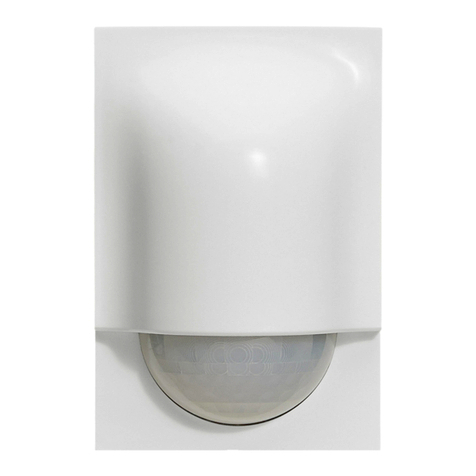
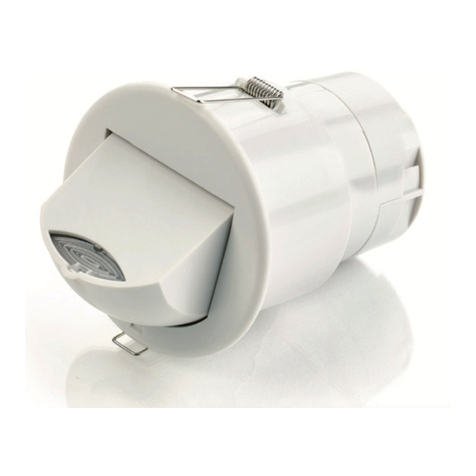
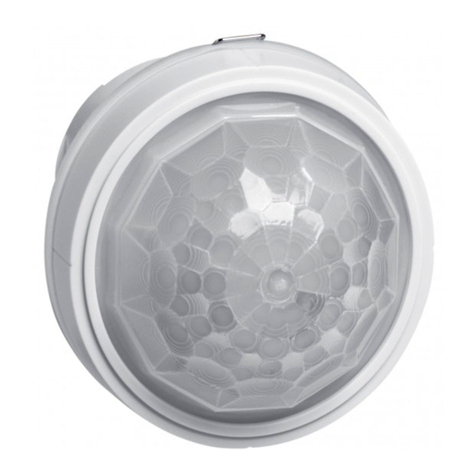
  9. LEGRAND 0 489 66 User manual

LEGRAND 0 489 66 User manual

Other LEGRAND Security Sensor manuals

LEGRAND SANUS SAL-IWP2 User manual

LEGRAND

LEGRAND SANUS SAL-IWP2 User manual

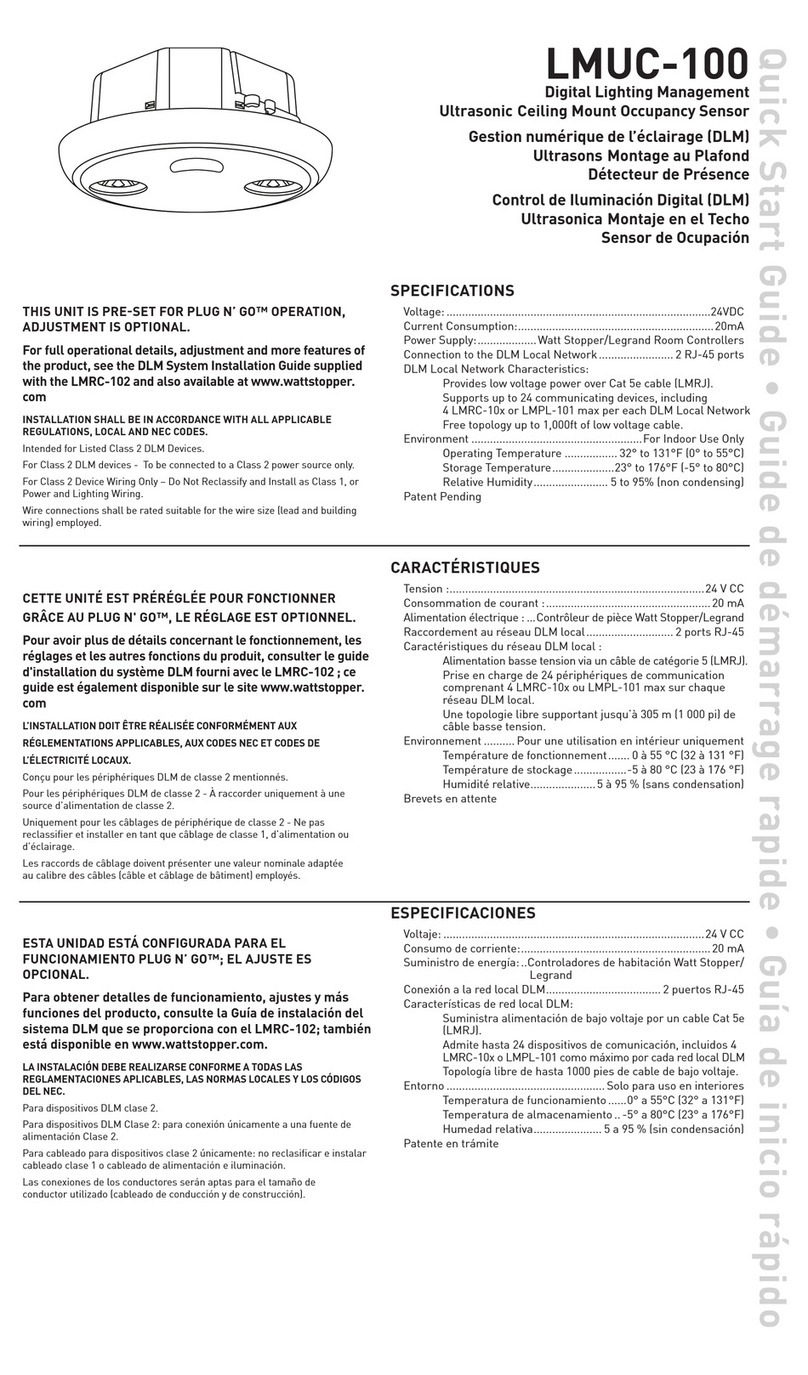
LEGRAND WattStopper LMUC-100 User manual

LEGRAND

LEGRAND WattStopper LMUC-100 User manual

LEGRAND PTDSW301 User manual

LEGRAND

LEGRAND PTDSW301 User manual

LEGRAND Mosaic 493 31 User manual

LEGRAND

LEGRAND Mosaic 493 31 User manual

LEGRAND Celiane Series User manual

LEGRAND

LEGRAND Celiane Series User manual

LEGRAND CP Electronics MWS3A-AT-AD User manual

LEGRAND

LEGRAND CP Electronics MWS3A-AT-AD User manual

LEGRAND Plexo 695 01 User manual

LEGRAND

LEGRAND Plexo 695 01 User manual

LEGRAND Tynetec Aidcall Big Button User manual

LEGRAND

LEGRAND Tynetec Aidcall Big Button User manual

LEGRAND 0 489 41 Instruction Manual

LEGRAND

LEGRAND 0 489 41 Instruction Manual

LEGRAND 0 489 58 User manual

LEGRAND

LEGRAND 0 489 58 User manual

LEGRAND CP Electronics EBDRC-DD User manual

LEGRAND

LEGRAND CP Electronics EBDRC-DD User manual

LEGRAND 0 489 59 User manual

LEGRAND

LEGRAND 0 489 59 User manual

LEGRAND 0 489 54 Instruction Manual

LEGRAND

LEGRAND 0 489 54 Instruction Manual

LEGRAND CP Electronics MWS3A-KNX User manual

LEGRAND

LEGRAND CP Electronics MWS3A-KNX User manual

LEGRAND CP Electronics EXD-HSC User manual

LEGRAND

LEGRAND CP Electronics EXD-HSC User manual

LEGRAND 488 20 User manual

LEGRAND

LEGRAND 488 20 User manual

LEGRAND Tynetec ZXT494 User manual

LEGRAND

LEGRAND Tynetec ZXT494 User manual

LEGRAND 048822 User manual

LEGRAND

LEGRAND 048822 User manual

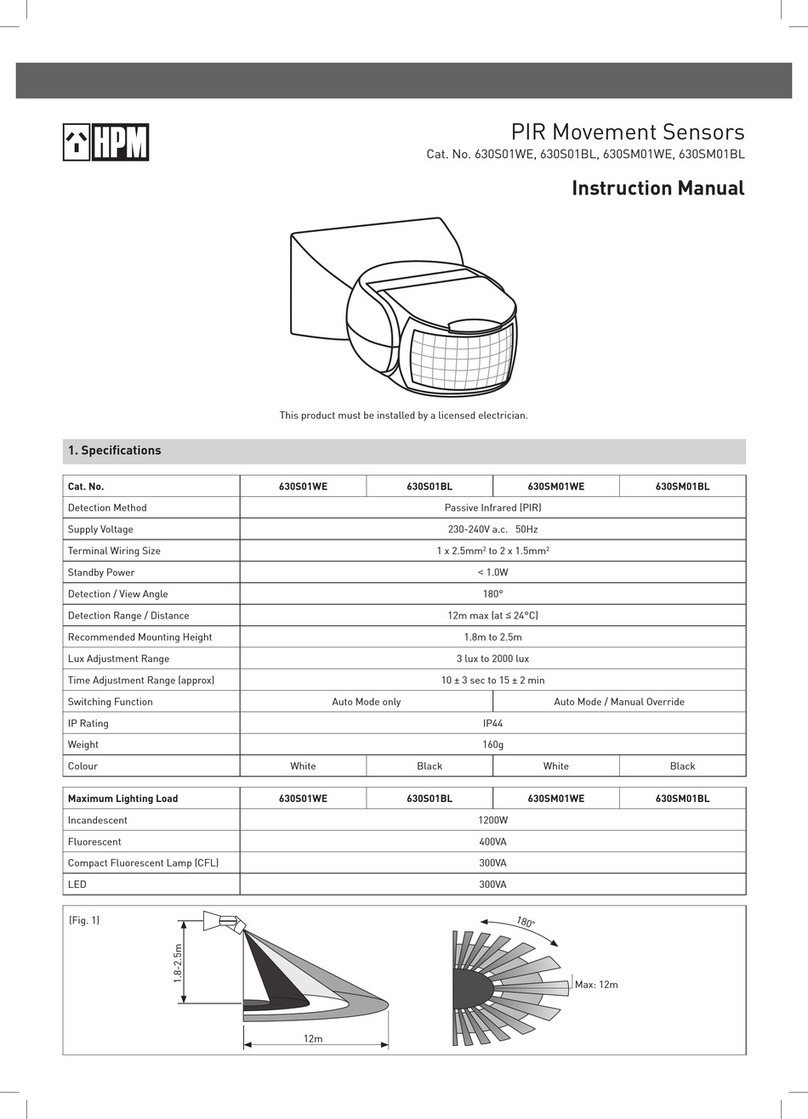
LEGRAND HPM 630S01WE User manual

LEGRAND

LEGRAND HPM 630S01WE User manual

LEGRAND Mosaic 0 489 22 User manual

LEGRAND

LEGRAND Mosaic 0 489 22 User manual

LEGRAND 431 42 User manual

LEGRAND

LEGRAND 431 42 User manual

LEGRAND 0 489 53 User manual

LEGRAND

LEGRAND 0 489 53 User manual

LEGRAND 0 489 59 User manual

LEGRAND

LEGRAND 0 489 59 User manual

LEGRAND 431 17 User manual

LEGRAND

LEGRAND 431 17 User manual

Popular Security Sensor manuals by other brands

Honeywell Home PROSiXCOCN Installation and setup guide

Honeywell Home

Honeywell Home PROSiXCOCN Installation and setup guide

Duevi SIRPZ-RB-868 Operation

Duevi

Duevi SIRPZ-RB-868 Operation

RKI 65-2483RK Operator's manual

RKI

RKI 65-2483RK Operator's manual

Nortech PD160 Enhanced Series user manual

Nortech

Nortech PD160 Enhanced Series user manual

Omron K8AC-H2 manual

Omron

Omron K8AC-H2 manual

Agilent Technologies G8610 Series Quick reference card

Agilent Technologies

Agilent Technologies G8610 Series Quick reference card

Shinko SE2EA-1-0-0 instruction manual

Shinko

Shinko SE2EA-1-0-0 instruction manual

Det-Tronics X Series instructions

Det-Tronics

Det-Tronics X Series instructions

ACR Electronics COBHAM RCL-300A Product support manual

ACR Electronics

ACR Electronics COBHAM RCL-300A Product support manual

TOOLCRAFT 1712612 operating instructions

TOOLCRAFT

TOOLCRAFT 1712612 operating instructions

Elkron IM600 Installation, programming and functions manual

Elkron

Elkron IM600 Installation, programming and functions manual

Bosch WEU PDO 6 Original instructions

Bosch

Bosch WEU PDO 6 Original instructions

THORLABS PDA10JT user guide

THORLABS

THORLABS PDA10JT user guide

Waeco UV-DETECT operating manual

Waeco

Waeco UV-DETECT operating manual

Intermatic IOS-DSIMF manual

Intermatic

Intermatic IOS-DSIMF manual

Siemens AZL66 Series manual

Siemens

Siemens AZL66 Series manual

BTI Profiline Multi Finder operating instructions

BTI

BTI Profiline Multi Finder operating instructions

Challenger SL01 instruction manual

Challenger

Challenger SL01 instruction manual

manuals.online logo
manuals.online logoBrands
  • About & Mission
  • Contact us
  • Privacy Policy
  • Terms and Conditions

Copyright 2025 Manuals.Online. All Rights Reserved.

0 489 66
LE12498AC
230 VA+/- 10 %
50 Hz
1.5 mm2
- 10 °C / + 30 °C
20 min.
Auto ON / OFF
1-10V
10 ballasts 1 - 10V maxi
DIM+/DIM-
L/OUT
PIR
7 m
2,8 m
230 V~ 6 A 6 A 6 A 6 A 6 A 3 A 3 A 3 A 3 A 3 A
5 m 7 m
Approche transversale
Walk across
Attraversare
Approche axiale
Walk towards
Camminare verso
COM
1
D+
D-
L
L/Out
N
•Ballast de variation (10 max.)
•To dimming ballast (10 max.)
•Ballast per variazione (10 max.)
•Poussoir optionnel pour
commande manuelle de
variation et extinction
•Optional momentary switch
for dimming and absence
detection
•Pulsante opzionale per il
controllo manuale di
variazione e spegnimento
•Tête de détection
•Sensor head
•Testa di rilevamento
•Utiliser un câble
secteur pour le
câblage externe
•Use mains rated
cable for external
wiring
•Utilizzare un cavo
di alimentazione
per il cablaggio
esterno
• La longueur de câble maximale entre la tête de détection et le bloc de puissance est de 1 mètre
• The maximum cable length between sensor head and power unit is 1 meter
• La lunghezza massima del cavo tra la testa di rilevamento e l’unità di potenza è di 1 metro
PIR
Hauteur
Height
Altezza
Diamètre
Diameter
Diametro
2. 5 m 4 m
4 m
• Fixation en saillie
Utiliser les ergots à l’arrière du détecteur
pour xation sur une tôle mince
(1 mm max.).
• Flush mounting
The product can be mounted using
the ush mount ring as shown. If ush
mounting in a material that is greater
than 6 mm thick, remove bottom of
retention arms with side cutters.
A 32 mm diameter hole will be required
to insert the ush mount ring.
• Fixation encastrée
Le produit peut être monté avec
l’accessoire de montage encastré
comme indiqué. En cas de montage
encastré dans un matériau de plus de
6 mm d’épaisseur, retirez la base des
languettes de xation avec un cutter.
Un trou de 32 mm de diamètre sera
nécessaire pour insérer l’accessoire de
montage encastré.
• Montaggio a lo
Il prodotto può essere montato con
l’accessorio da incasso come mostrato.
In caso di montaggio a lo in materiale
di spessore superiore a 6 mm, rimuovere
la base delle linguette di ssaggio con
un cutter. Un foro di 32 mm di diametro
sarà necessario per inserire l’accessorio
da incasso.
• Fixation latérale • Side mounting • Montaggio laterale
• Surface mounting
Use the lugs on rear of detector to secure
into thin sheet metal (1 mm max.)
• Montaggio in supercie
Utilizzare le linguette sul retro del
rivelatore per ssare in lamiera sottile
(1 mm max.).
ø 19.5 mm
19 mm
ø 3.5 mm
=> 6 mm
•Retirer la
base des 2
languettes
de xation
•Remove
bottom
of 2 small
retention
arms
•Rimuovere
la base
delle 2
liguette di
ssaggio
Auto ON / OFF
Manual ON / Auto OFF
•Lentille PIR /
récepteur IR / capteur de
luminosité / LED d’état
•PIR lens /
IR Receiver /
Light Level Sensor /
Status LED
•Lente PIR / ricevitore IR /
sensore luminosità /
LED di stato
0 882 40
Legrand Close Up
0-999
0-99 min.
1-9
Mode Auto - Manual
•Pour la conguration, il est nécessaire d’eectuer une opération d’initialisation proposée dans l’application de conguration
Legrand Close Up :
1 – cliquer sur "lecture des paramètres produits" 2 – cliquer sur "détails de paramètres / copier"
3 – dans le menu en haut à droite (…) sélectionner "Initialiser" 4 – cliquer sur "écriture des paramètres produits"
Cette opération permet le réglage prédéni de certains paramètres.
•For conguration, it is necessary to operate an operation for initialization proposed in the Legrand Close Up application:
1 – click on "new scan" 2 – click on "see details"
3 – from the menu at the top right (…) select the action "Initialise" 4 – click on "upload conguration"
This operation allows the predened setting of some parameters.
•Per la congurazione, è necessario eseguire un’operazione di inizializzazione proposta nell’applicazione Legrand Close Up:
1 – clicca su "leggi i parametri del prodotto" 2 – clicca su "dettagli parametro"
3 – dal menu in alto a destra (...) selezionare "Inizializza" 4 – clicca su "scrivi parametri prodotto"
Questa operazione consente l’impostazione predenita di alcuni parametri.
&Google PlayApp Store
Application: «Legrand Close Up»
À la première utilisation: Télécharger l’application Legrand Close Up
sur l' Apple Store ou le Play Store.
On rst use: Download the Legrand Close Up app from Apple Store or Play Store
Al primo utilizzo: Scaricare l’app Legrand Close Up su Apple Store o Play Store.
Réf. 0 882 40 : Passerelle de conguration
Cat. No(s) 0 882 40 : Conguration tool
Ref. 0 882 40: Gateway di configurazione
Pour plus de renseignement sur les paramètres, reportez vous à la fiche technique de la passerelle de configuration Réf. 0 882 40.
For more information about setting parameters, refer to the data sheet for the configuration gateway Cat. No. 0 882 40.
Per maggiori informazioni sulle impostazioni, consultare la scheda tecnica del gateway di configurazione Ref. 0 882 40.