manuals.online logo
Brands
  1. Home
  2. •
  3. Brands
  4. •
  5. Linkskey
  6. •
  7. Switch
  8. •
  9. Linkskey LDV-242AUSK User manual

Linkskey LDV-242AUSK User manual

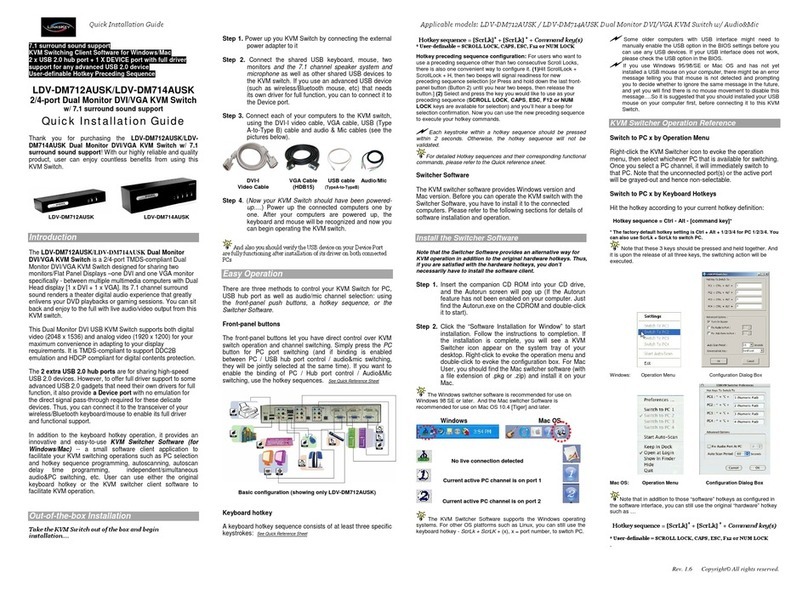
Q uic k Insta lla tio n Guid e Ap p lic a b le m o d el: LDV-242AUSK
Rev. 1.0 Copyrightc All rights reserved
2 x USB 2.0 Hub Ports
USB Keyboard Hotkeys
True Transparent USB Emulation Technology
Single Link DVI 1920 x 1200 Resolution
All-time Full DDC Emulation for Best Video Compatibility
User-definable Hotkey Preceding Sequence
LDV-242AUSK
2-port Compact Desktop
DVI USB KVM Switch
w/ Audio & Microphone Switching
and 2 x USB 2.0 Hub Ports
True Transparent USB Emulation Technology
Qui c k I nst a lla t io n Gu id e
Thank you for purchasing the LDV-242AUSK Compact Desktop
DVI USB KVM Switch! With our highly reliable and quality
product, user can enjoy countless benefits from using it.
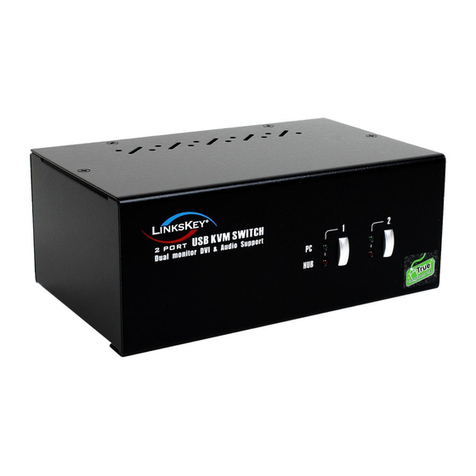
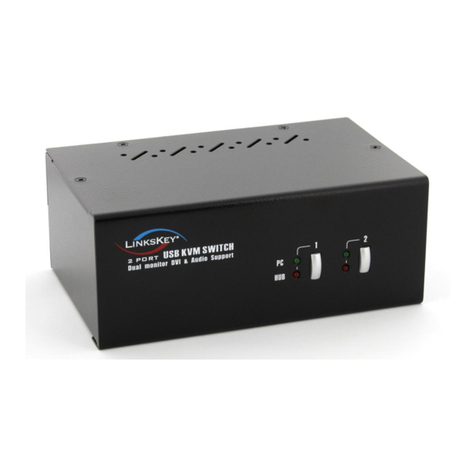
LDV-242AUSK - Front View
LDV-242AUSK Rear View
LDV-242AUSK
Introduction
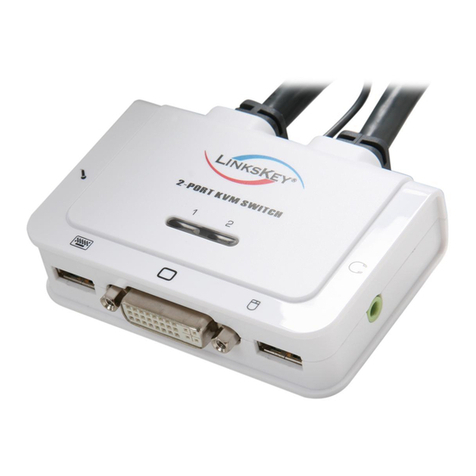
The LDV-242AUSK is a 2-port Compact Desktop DVI USB KVM
Switch with audio and microphone switching function. It features
our latest True Transparent USB (TTU) Emulation Technology.
The TTU Technology ensure ultimate compatibility to all types of
advanced keyboards and mice, giving users a best experience in
seamless KVM Switching, either in gaming or any other critical
computer operation. Its independent audio&mic switching
function allows an uninterrupted audio experience on a same
connected computer even when you switch to another computer.
The LDV-242AUSK adopts the DVI technology for digital video
signal transmission over the cable to reduce undesired distortion
from conventional digital conversion.
Its Audio&Mic switching function offers you uninterrupted
multimedia experience while performing KVM Switching. Multi-
platform support for PC and Mac is available. For users who
might need to use a keyboard hotkey preceding sequence other
than two scroll locks, we also offer five key alternatives for free
configuration.
The LDV-242AUSK features all-time full DDC emulation that can
guarantee best video compatibility with new type of Operating
System that requires more critical DDC communication.
Out-of-the-box Installation
Step 1. First, connect the shared USB keyboard, mouse, monitor,
speaker/headphone and microphone each to the USB
keyboard and mouse console ports on your KVM Switch
(2 x USB ports on the left). After these connections
(especially the monitor connection) are made, then plug
in the power adapter to the power receptacle on the
backpanel.
Step 2. Connect each KVM PC port to a computer, using the slim
3-in-1 KVM combo cable and the audio&mic cable. After
you have connected the KVM and computers properly,
you can operate the KVM Switch immediately.
Some older computers with USB interface might need to manually
enable the USB option in the BIOS settings before you can use any
USB devices. If your USB interface does not work, please check the
USB option in the BIOS.
If you use Windows 95/98/SE or Mac OS and has not yet installed a
USB mouse on your computer, there might be an error message
telling you that mouse is not detected and prompting you to decide
whether to ignore the same message in the future, and yet you will
find there is no mouse movement to disable this message¡ K. Soit i s
suggested that you should installed your USB mouse on your
computer first, before connecting it to this KVM Switch.
Step 3. Connect each of your USB device to the USB 2.0 hub
ports (2 x USB ports on the right).
You can now begin to use the KVM switch .
Sharing High-speed USB Device
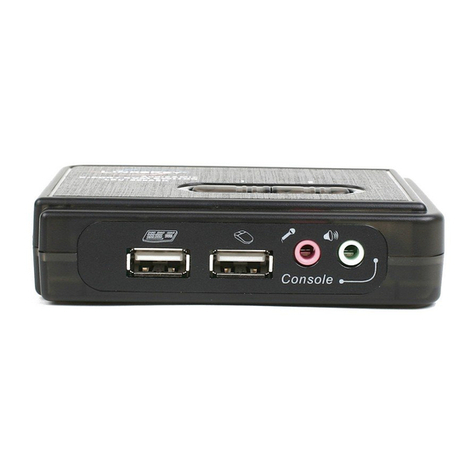
There are 4 x USB ports on the front-panel. The 2 x USB ports
on the left are reserved only for console keyboard and mouse;
while the other 2 x USB hub ports on the right are for connecting
with other USB 2.0 devices.
Easy Operation
There are two methods to control your KVM Switch for PC and
Audio&Mic channel selection: using (1) the face-panel push
buttons, and (2) the keyboard hotkey sequences
Face-panel buttons
The face-panel button allows you a direct control over KVM
switching operation. Simply press the button to switch to the
corresponding PC port (and audio&mic channel, if binding is
enabled). By default, PC port switching and audio&mic port
switching are bound together, unless you specify the audio to be
fixed a specific port.
You can use the face-panel button to switch to an empty port that is
not connected with any computer. Normally, if you use keyboard hotkeys,
you will not be able to switch to an empty port.
Keyboard hotkeys
For keyboard hotkeys, please refer to the Quick Reference Sheet.
4XLFN5HIHUHQFH6KHHW 

$SSOLFDEOHPRGHOV/'9$86.
Rev. 1.0 Copyrightc All rights reserved
Q u i c k R e f e r e n c e S h e e t
Notes:
1. The USB keyboard hotkeys allows you a faster and broader control for your KVM switching operation in addition to the front-panel buttons. If you have configured a hotkey preceding sequence other than
two consecutive scroll locks, you should change your hotkey sequence accordingly.(For preceding sequence key configuration, please refer to Quick Installation Guide)
2. When the binding of PC & USB hub port control switching is enabled by the hotkey sequence: ScrLk + ScrLk + Z, any PC and hub port control switching are bound together. To remove this binding, use the
hotkey sequence: ScrLk + ScrLk + X.
3. When the binding of PC & Audio&Mic switching is enabled by the hotkey sequence: ScrLk + ScrLk + Q, any PC and audio&mic switching are bound together. To remove this binding, use the hotkey sequence:
ScrLk + ScrLk + W.
2 -po rt Co m p act De s kto p D VI U SB KVM Sw itch w / Au d io &Mic -- Op e ra tio n Co m m an ds fo r H o tke ys / Fro n t-Pa n e l Bu tto n s
H o tk e y s e qu e n ce = [ Sc rLk ] *+ [ScrLk ] * + Co m m a n d k e y ( s ) * User-definable Preceding sequence = SCROLL LOCK, CAPS, ESC, F12 or NUM LOCK
Co m m an d H o tke ys 1Fro n t-p an e l B u tto n s D e s cri pti o n
Select PC Channel 2
(Joint-select PC port/hub port control/audio&mic,
if binding is enabled)
ScrLk + ScrLk + ( x)
(x is a top-row n umber key)
x = 1~ 2 for PC ch an nel n o
Press th e corr esponding button to select th e
active PC channel
Select the active PC channel
(J oin t- select PC port/ hub port control/ aud io&m ic , if
bindin g is enabled)
Select Hub Port Control 2
(Joint-select PC & Hub port control, if binding is
enabled)
ScrLk + ScrLk + ( Fx )
Fx = F1~ F2 (Fx is a fun ction key)
x = 1~ 2 for PC cha nne l n o
(Press the corresponding button to select the
specific PC+USB hub port control --w orks
on ly if PC port/ hub port con trol binding
en abled)
Select th e PC channel that contr ol all USB hub ports
(J oint-select PC & H ub p ort control, if PC/ hub port contr ol
bindin g is enabled)
S e le c t Au d io &M ic Ch a n n e l 3
(J oin t-select PC port & audio/mic , if binding is
en abled)
ScrLk + ScrLk + ( Fy)
Fy = F5~ F6 (Fy is a function key)
y = 1~ 2 for a ud io/ m ic ch an nel n o
-- Select the active Audio&Mic channel
(J oin t- select PC & au dio&mic ch an n el, if bind in g is en ab led )
Bind PC & Hub Port Control Switching 2
[Default]
ScrLk + ScrLk + Z
--
En able th e bin ding of PC por t and hu b p or t con trol switching.
(Once this feature is enabled, any pc and/ or hub por t control
switching is bound together ) ( fa c t o ry d efa u lt )
Unbind PC & Hub Port Control Switching 2S cr Lk + S crLk + X -- Disable th e bind ing of PC por t and hub por t control switching
B in d P C & Au d io / M ic S w it ch i n g 3
[Default] S cr Lk + S c rLk + Q --
En able th e bin ding of PC por t and audio&mic switching.
(Once this feature is enabled, any pc and/ or audio&mic
switching is bound together ) ( fa c t o ry d efa u lt )
U n b in d PC & Au d io / M ic S w it ch i n g 3S c rLk + S c rLk + W -- Disable th e bind ing of PC por t and audio&mic switching
Next lower PC channel 2
(Joint-select PC /hub port control/audio&mic,
if binding is enabled)
ScrLk + ScrLk + (arrow up) --
Select th e n ext lower connected PC ch an nel
(J oin t- select PC/ h ub p or t con tr ol/ au dio&m ic, if b ind in g is
enabled)
Next higher PC channel 2
(Joint-select PC /hub port control/audio&mic,
if binding is enabled)
ScrLk + ScrLk + (arrow down)--
Select th e n ext h igher connected PC channel
(J oin t- select PC/ h ub p or t con tr ol/ au dio&m ic , if b in din g is
enabled)
Previous PC channel ScrLk + S crLk +

(Backspace) --Toggle between the pr evious chan nel and curren t channel
Define Hotkey Preceding Sequence
ScrLk + Scr Lk + H + ( y)
y= SCROLL LOCK, CAPS, ESC,
F12 or NUM LOCK
Select th e h otkey pr eceding sequence am ong 5 alter native
keys
Autoscan ScrLk + ScrLk + S -- Autoscan t hrough every connected channel for quick scr een
br owsing of each ch annel (scan delay = 5 sec.).
Autoscan with Programmable Delay Time
ScrLk + Scr Lk + S + ( z)
z= 0 ~ 9
1

10 ¡ ¤ ; 2

20¡ ¤; 3

30 ¡ ¤; 4

4 0 ¡¤ ; 5

50 ¡ ¤
6

60¡ ¤; 7

70¡¤; 8

8 0 ¡¤; 9

9 0 ¡¤; 0

10 0 ¡¤
--Autoscan with a user-defined delay tim e with in a range of
10 ~ 10 0 seconds
Stop Autoscan Press any key on key board Press any button Ter m in ate Autoscan activity
RoHS Compliant
Technical Support
E-mail: [email protected]
Website: www.linkskey.com

Other Linkskey Switch manuals

Linkskey LKS-SG5P User manual

Linkskey

Linkskey LKS-SG5P User manual

Linkskey LKV-T02 User manual

Linkskey

Linkskey LKV-T02 User manual

Linkskey LDV-342ARC User manual

Linkskey

Linkskey LDV-342ARC User manual

Linkskey LKV-T02 User manual

Linkskey

Linkskey LKV-T02 User manual

Linkskey LDV-DM712AUSK User manual

Linkskey

Linkskey LDV-DM712AUSK User manual

Linkskey LKV-248AUSK User manual

Linkskey

Linkskey LKV-248AUSK User manual

Linkskey LKS-SR16 User manual

Linkskey

Linkskey LKS-SR16 User manual

Linkskey LDV-DM202AU User manual

Linkskey

Linkskey LDV-DM202AU User manual

Linkskey LDV-DM02ESK User manual

Linkskey

Linkskey LDV-DM02ESK User manual

Linkskey LKS-SR16 User manual

Linkskey

Linkskey LKS-SR16 User manual

Linkskey LDV-DM202AUSK User manual

Linkskey

Linkskey LDV-DM202AUSK User manual

Linkskey LDV-DM712AUSK User manual

Linkskey

Linkskey LDV-DM712AUSK User manual

Linkskey LDV-DM202AUSK User manual

Linkskey

Linkskey LDV-DM202AUSK User manual

Linkskey LDV-002ESK User manual

Linkskey

Linkskey LDV-002ESK User manual

Linkskey LDV-DM02ESK User manual

Linkskey

Linkskey LDV-DM02ESK User manual

Linkskey LDV-DM702AUSK User manual

Linkskey

Linkskey LDV-DM702AUSK User manual

Linkskey LKS-SG5P User manual

Linkskey

Linkskey LKS-SG5P User manual

Linkskey LDV-302ARC User manual

Linkskey

Linkskey LDV-302ARC User manual

Linkskey LKS-SH5P User manual

Linkskey

Linkskey LKS-SH5P User manual

Linkskey LKS-SG16R User manual

Linkskey

Linkskey LKS-SG16R User manual

Linkskey LKU-S02ASK User manual

Linkskey

Linkskey LKU-S02ASK User manual

Linkskey Prima LKV-9304 User manual

Linkskey

Linkskey Prima LKV-9304 User manual

Linkskey LDV-002ESK User manual

Linkskey

Linkskey LDV-002ESK User manual

Linkskey LKV-7304 User manual

Linkskey

Linkskey LKV-7304 User manual

Popular Switch manuals by other brands

Broadcast Tools 38511 installation manual

Broadcast Tools

Broadcast Tools 38511 installation manual

B&B Electronics EIR618-2SFP-T user manual

B&B Electronics

B&B Electronics EIR618-2SFP-T user manual

Renkforce RS2W operating instructions

Renkforce

Renkforce RS2W operating instructions

Intermatic FM2D50 Series installation instructions

Intermatic

Intermatic FM2D50 Series installation instructions

Synergy Global Technology LCDK 1070 user manual

Synergy Global Technology

Synergy Global Technology LCDK 1070 user manual

SMC Networks TigerCard SMC8724M Specifications

SMC Networks

SMC Networks TigerCard SMC8724M Specifications

ZyXEL Communications GS1915-8 quick start guide

ZyXEL Communications

ZyXEL Communications GS1915-8 quick start guide

Gefen HDMI-242 user manual

Gefen

Gefen HDMI-242 user manual

LevelOne GSW-0508 Brochure & specs

LevelOne

LevelOne GSW-0508 Brochure & specs

Alpine VPE-S431 owner's manual

Alpine

Alpine VPE-S431 owner's manual

Ruijie Networks RG-ES126S quick start

Ruijie Networks

Ruijie Networks RG-ES126S quick start

Logic LG-6X1BYOD-P user manual

Logic

Logic LG-6X1BYOD-P user manual

Belkin P73371-F5U524-G manual

Belkin

Belkin P73371-F5U524-G manual

XTBA Smart Switch 2:1 manual

XTBA

XTBA Smart Switch 2:1 manual

Cisco Nexus 7000 Series Command reference

Cisco

Cisco Nexus 7000 Series Command reference

Heatit Z-PUSH BUTTON 8 Installer manual

Heatit

Heatit Z-PUSH BUTTON 8 Installer manual

Allied Telesis AT-9448Ts/XP AC datasheet

Allied Telesis

Allied Telesis AT-9448Ts/XP AC datasheet

Draytek VigorSwitch G2280x quick start guide

Draytek

Draytek VigorSwitch G2280x quick start guide

manuals.online logo
manuals.online logoBrands
  • About & Mission
  • Contact us
  • Privacy Policy
  • Terms and Conditions

Copyright 2025 Manuals.Online. All Rights Reserved.