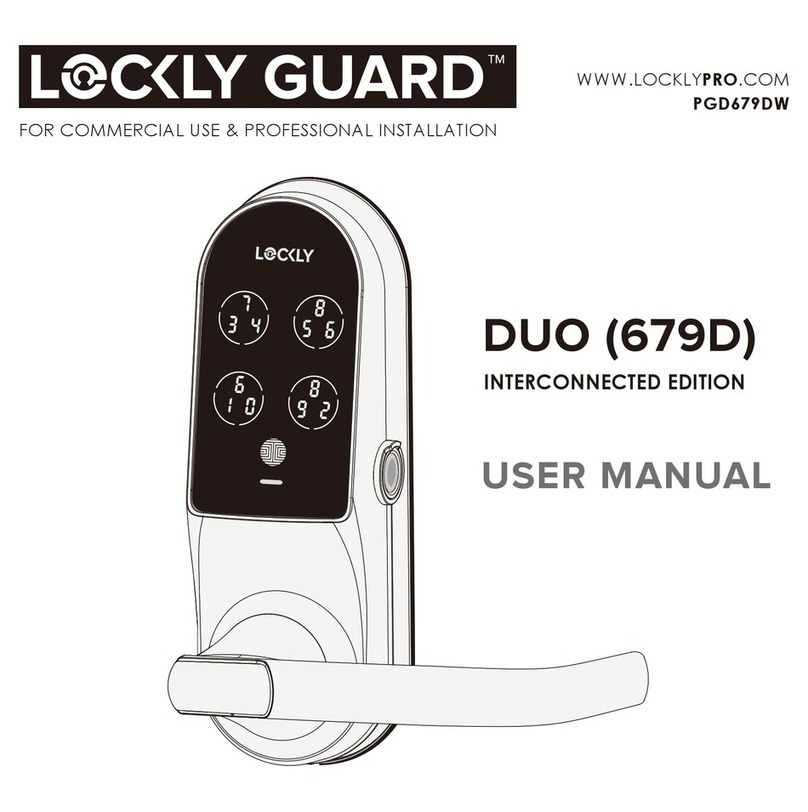
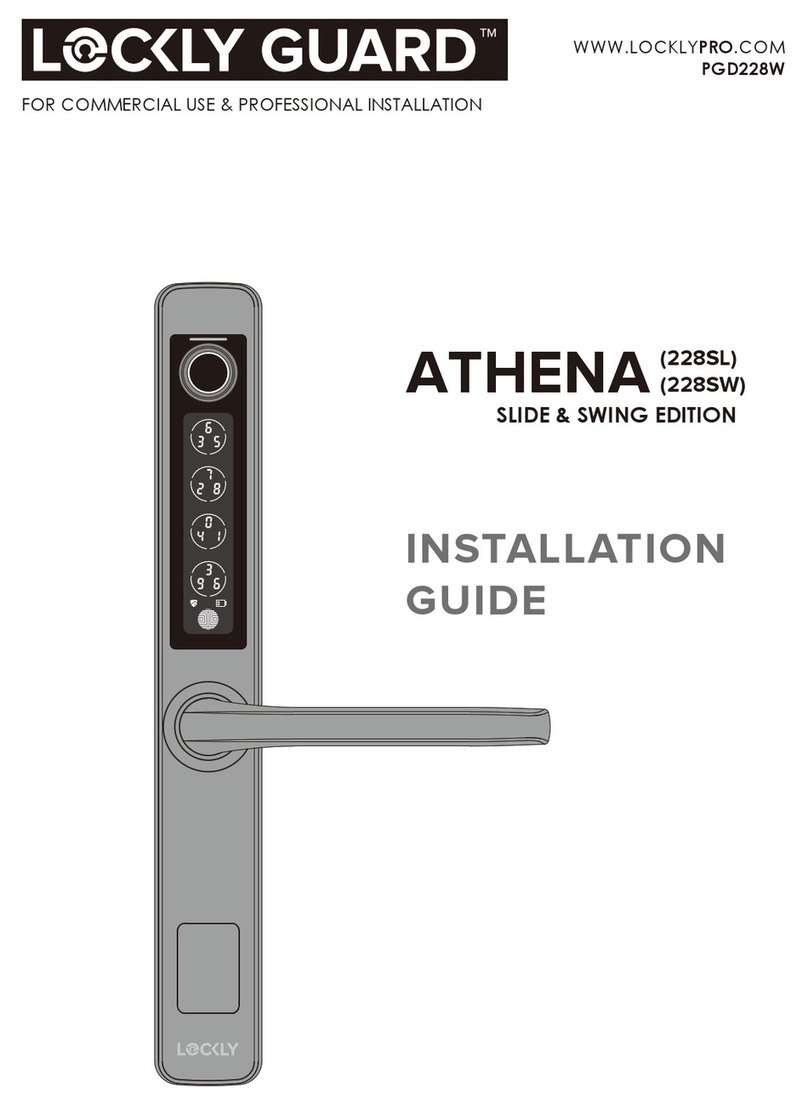
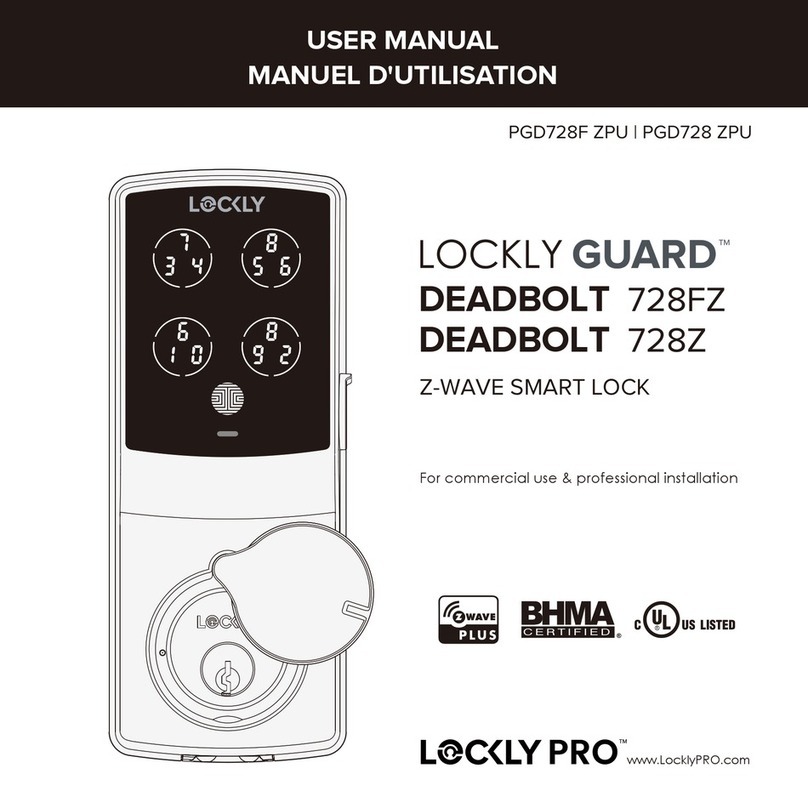
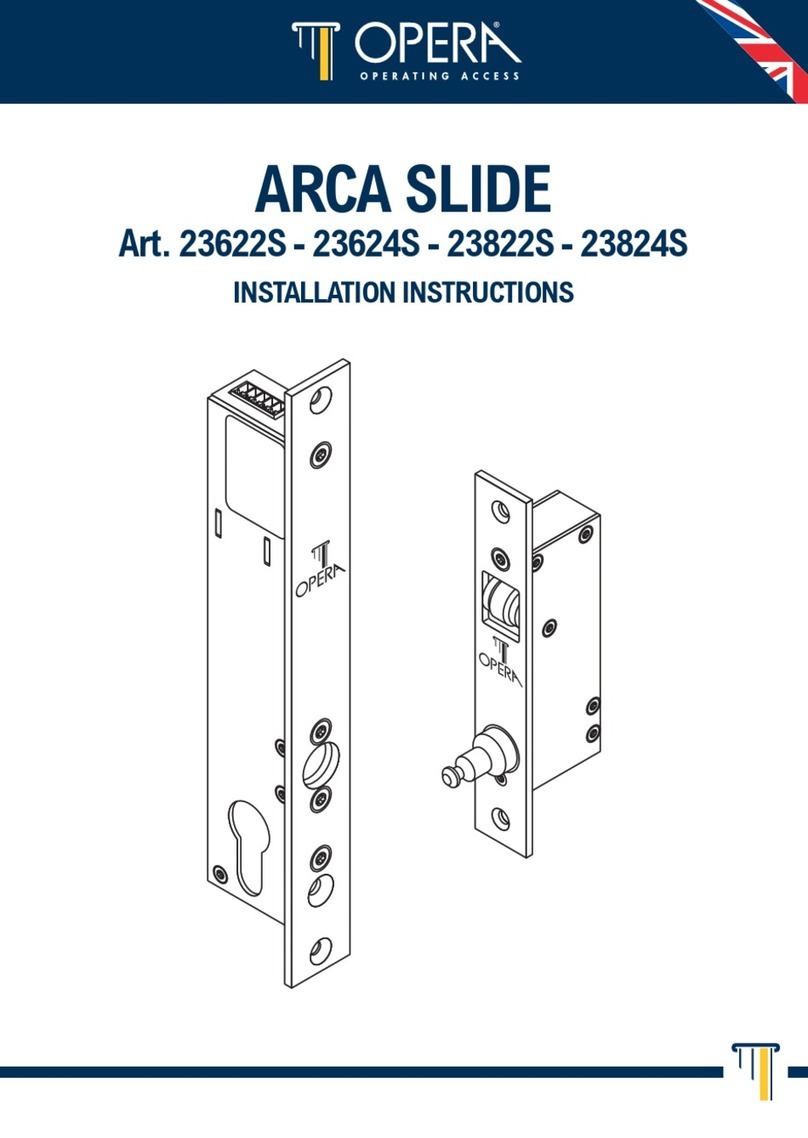
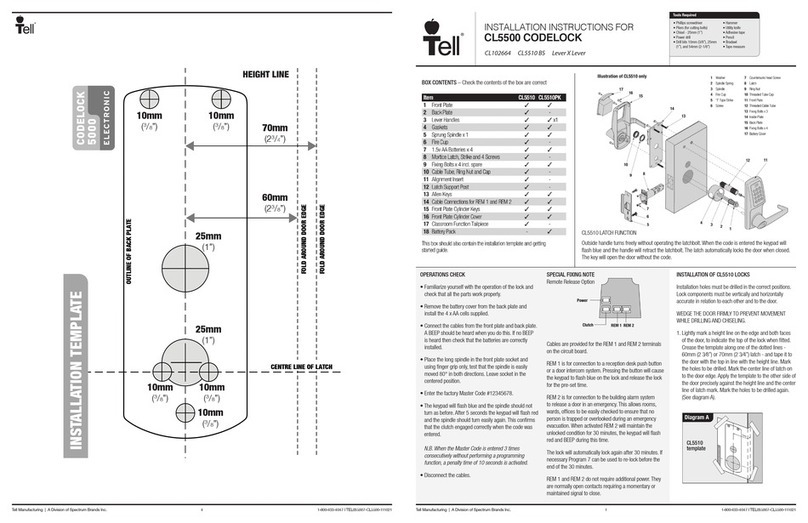
LOCKLY GUARD 698L User manual

LATCH EDITION
INSTALLATION
GUIDE
VISION (698L)
FOR COMMERCIAL USE & PROFESSIONAL INSTALLATION
WWW.LOCKLYPRO.COM
PGD698L
(application in progress)

GET THE MOST OUT OF YOUR
LOCKLY GUARD™
Get the latest user/installation manuals , instructional videos, and FAQs
SCAN or VISIT
Locklypro.com/698L

Reference installation parts overview foldout on back page
Welcome!
This guide will walk you through step-by-step how to install
and get Lockly Guard™up and running. Installation generally
takes less than 30 minutes. If you have any questions please
call our VIP hotline (855) 562-5599 for help.

3
Phillips Screwdriver
To complete the installation you will need:
Flathead Screwdriver Tape measure or ruler
Pliers
Optional
Screwdriver with drill bits
Preparation
Drilling maybe required to install this lock. If you are installing your lock on a
brand new door, a drill is required if there are no holes prepared for lock
installation. Use provided template to bore holes on door.

4
Measure and confirm
your door is between
1-3/8" - 2"
(
35mm -
50mm).
Measure and confirm
the hole in the door is
2-1/8" (54mm)
.
Measure and confirm
that the backset is be
-tween 2 -3/8" (60mm)
to 2 -3/4" (70mm).
Measure and confirm
that hole in the door
edge is 1" (25.4mm).
Remove existing door hardware, latch or deadbolts before installing the
new lock. Use provided template to bore new holes if needed.
1
2
3
4
1- 3/8"—2"
(35mm—50mm)
2-3/8"(60mm)
or
2-3/4"(70mm)
1"
25.4mm
*Optional
IMPORTANT NOTICE
* Use goggles to protect eyes if you need to drill door holes.
4-21/32"(118mm)
2-1/8"
(54mm)
1/2"
(12mm)
Preparation
continued

5
INSTALLING THE LOCKSET
Facing the door exterior, install the lockset according to the in-swing
or out-swing opening direction of your door.
LEFT OUT-SWING DOOR
LEFT IN-SWING DOOR
RIGHT OUT-SWING DOOR
RIGHT IN-SWING DOOR
Inside
Inside
Outside
Outside
Inside
Outside
Inside
Outside
1
2
(a)
Latchbolt Adjustment
Push the shaft (a) to adjust
the lockset to 2-3/8"(60mm)
or 2-3/4"(70mm).
Measure the distance
between center of front
door hole to the edge
of your door. Push the
shaft (a) to adjust the
lockset to 2-3/8"(60mm)
or 2-3/4"(70mm).
Step 1
2-3/4"
(70mm)
2-3/8"
(60mm)
Note: The shaft's horizontal
and vertical aligment must
be sustained
during installa
tion to ensure latch will fully
extend and lock securely.

6
3
INSTALLING THE LOCKSET
Step 1
continued
Install latchbolt Fto door and secure with screws G. Make
sure the spindle shaft is at the center and horizontally positioned.
G
F

7
Changing the Exterior Handle Orientation
12
The lock ships with handle default for right in-swing or left out-swing door.
Check the diagram below if you are unsure of you door orientation.
Hinge
Side
RIGHT IN-SWING DOOR
LEFT OUT-SWING DOOR RIGHT OUT-SWING DOOR
LEFT IN-SWING DOORINTERIOR
EXTERIOR
No need to change door handle
orientation. Skip Step 2.
LEFT-IN SWING and RIGHT OUT-SWING
DOORS require changing the door
handle orientation. Continue to
follow Step 2 to change exterior
and interior door handle orientation.
CHANGING HANDLE FOR RIGHT OR LEFT SWING DOORS
Step 2
(Right handle)
Insert key and rotate
so
that the two white dots
align as shown.
R
Use the provided pin insert Rto
push the metal pin located at the
3 o’clock of the the base handle,
then the other pin at 9 o’clock
position. Remove the handle once
the pins are compressed.

8
3
Twist key back to horizontal position.
The key can be taken out once it
goes back to the horizontal position.
4
56
Rotate the handle 180° to the other
side
of the lock.
Using your fingers, press the two pins
located on the left and right side of
the the lock to insert the handle back
onto the lock.
Check that your handle works smoothly
by giving it a turn up and down.
Confirm that your installation was
complete by checking if the pins
are flush against the handle, and
has popped out. Adjust the handle
accordingly to make sure the pins
are fully decompressed and sits flush
against the surface.
CHANGING HANDLE FOR RIGHT OR LEFT SWING DOORS
Step 2
continued

9
Changing the Interior Handle Orientation
1
2
Remove the handle retaining screw
and detach the handle. Rotate
the
handle 180° as shown.
Insert the handle retaining screw
and tighten using a screw driver.
CHANGING HANDLE FOR RIGHT OR LEFT SWING DOORS
Step 2
continued

10
12
PREPARING LOCK FOR INSTALLATION
Step 3
Carefully prepare the lock and ensure the required parts ( C, D, E)
have been properly attached before installing to door.
E4
Insert slotted barrel
extension Eto upper
hole of the exterior
panel. Use a flathead
screwdriver to twist
clockwise to tighten.
Install Spindle C
with the holes side
into the base of the
lock and align the
holes locate in the
3 o’clock and 9
o’clock position.
Insert locking pin
D in to the hole as
shown above.
3
Carefully bend the
end of the locking
pin D with a needle
nose pliers.
Failure to bend the
locking pin and turn
the handle freely
without obstruction
will result to malfunc-
tion.
D

11
INSTALLING THE LOCK (EXTERIOR)
Step 4
Note: The fire hood should
not press the wire.
1
Install fire shield N1 as shown.
2
Use a screwdriver to secure the cables in the fire hood.
Ensure that the cables are routed out of the U-shaped
slot and the fire hood does not press cables.
4
N1
N1
Pull the connecting wire in the direction
of the arrow.
N1

12
Check lock alignment and
ensure that it is sitting flat and
aligned straight.
7
8
Exterior
5
6
INSTALLING THE LOCK (EXTERIOR)
Step 4
continued
Exterior
While aligning the lock straight up-and-down, pass the wiring cable
under the latchbolt F.
Ensure Eis securely installed , then insert Eon the
upper door hole.
B
C
Pass the spindle Cthrough the
center of the latchbolt, and the
round rods through the sides in
their respective holes. The cable
should run underneath the lockset.
EE

13
INSTALLING THE LOCK (INTERIOR)
Step 5
1
2
V
C
Insert Positioning Rods Vinto the holes to the left and right of the Spindle
C. The holes are located at the 3 o’clock and 9 o’clock positions.
N1
Install fire shield N1 as shown. Ensure that
the cables are routed out of the U-shaped
slot and the fire hood does not press
cables.

14
3
INSTALLING THE LOCK (INTERIOR)
Step 5
continued
4
KM4 x 25mm, for door thickness,
1-3/8"~1-2/3"(35~43mm)
KM4 x 32mm, for door thickness,
1-2/3"~2"(43~50mm)
O1
O2
Remove the position rods V
and replace them with screws
OTighten clockwise until the
mounting plate is secure.
LK
O
V
Secure with O1 or O2
Secure interior Mounting plate LK with
screws O, Remove the position rods Vand
replace them with screws OTighten clock-
wise
until the mounting plate is secure.
Cable and spindle Cpassed Mounting
Plate LK .
LK
V

15
INSTALLING INTERIOR ASSEMBLY (N)
Step 6
1
Secure the lock interior
with 3 screws
Do not touch pins inside*
Call our Customer Care Hotline
(669) 500-8835, for help if the
pins are not centered or bent.
X
C
AE
Connect cable A1 to A2 by hand. Plug B1 into B2 , match red side of
plug with red on socket - insert tightly.
A1
B1 B2
A2
AE

16
INSTALLING INTERIOR ASSEMBLY (N)
Step 6
continued
2
1
2
Install Cable Remove Cable
IMPORTANT:
If you need to disconnect this cable,
use a
screwdriver to hold down the
tab before
carefully unplugging. DO
NOT FORCE as this
may result in dam-
aging the lock.
Align the spindle Cto the lock interior and attach the Interior lock to
the interconnection plate.
Gently push some of the excess cable through the rectangular hole
into the door.
Place the remaining cable inside the interior assembly and ensure it
sits securely onto the interconnection plate gear.
Make sure the cable is away
and not tangling with the
spindle C
X
C
AE

17
3
INSTALLING INTERIOR ASSEMBLY (N)
Step 6
continued
4
Insert 4 AA batteries into the lock
by aligning the positive (+) and
negative (-) markings on the
batteries to the battery chamber.
X
Q
Secure the battery by sliding the
cover Qover the lock and
turning the screw clockwise on
top until tight.

IMPORTANT: Gap must be less than 3/4" when installed.
Do not mount (install) door sensors yet. You will install in step 9.
Lockly door sensors comes in Grey (PGA061) and Matte Black
(PGA062) that can be ordered through our customer hotline:
TIP:
About door sensors
Door sensors provide real-time door condition status, such as the ability to
verify if the door is securely closed. It also sends push notifications to your
phone whenever your door opens and enables voice control.
Lockly Guard
™
Vision (698L) comes with a pre-wired door sensors consisting
of two parts:
Removal of Sensor (optional)
There may be circumstances where the sensor cannot be installed because
of molding/door limitations or is not aesthetically desirable. The sensor wired
to the lock is removable by carefully pulling its connector from the circuit
board. If removed, some features and functionality will not be available,
such as real-time condition status.
PREPARING DOOR SENSOR FOR INSTALLATION
Step 7
18
Part AA - Wired Sensor Part AB - Sensor Magnet
When installed on door, the distance between the wired
sensor and sensor magnet must be less than 3/4"in order
for the sensor to work. If door frame is higher than door,
add included foam pads to level parts AA and AB with
each other as much as possible.

PREPARING DOOR SENSORS FOR INSTALLATION
Step 7
continued
19
OR
If needed add Foam Pads
to level AA & AB as much
as possible.
2-3/4"
(70mm)
2-3/8"
(60mm)
< 3/4"
(< 20mm)
EVA
LEFT RIGHT
When you are installing the door sensors, make sure the arrow of the wired
sensor AA is placed next to the arrow of the sensor magnet AB as close
as possible.
IMPORTANT: Do not install the sensor close to the strike plate H.
H
AA AB
H
AA AB
This manual suits for next models
1
Table of contents
Other LOCKLY GUARD Door Lock manuals

LOCKLY GUARD
LOCKLY GUARD DUO INTERCONNECTED EDITION User manual

LOCKLY GUARD
LOCKLY GUARD VISION DUO User manual

LOCKLY GUARD
LOCKLY GUARD ATHENA 228SL User manual

LOCKLY GUARD
LOCKLY GUARD DEFENDER SLIDE EDITION User manual

LOCKLY GUARD
LOCKLY GUARD DEADBOLT 728F Z User manual
LOCKLY GUARD
LOCKLY GUARD DEFENDER 238LM User manual
LOCKLY GUARD
LOCKLY GUARD DEADBOLT 728F Z User manual

LOCKLY GUARD
LOCKLY GUARD DEADBOLT 728F ZU User manual

LOCKLY GUARD
LOCKLY GUARD VISION DUO User manual
LOCKLY GUARD
LOCKLY GUARD DEADBOLT 728Z User manual