3
LT-3800-6A LED RGB Controller ManualLT-3800-6A LED RGB Controller Manual
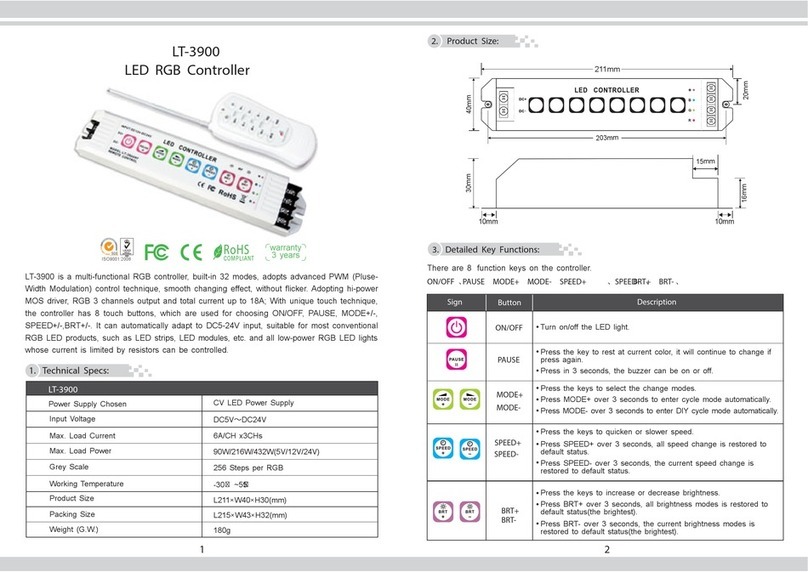
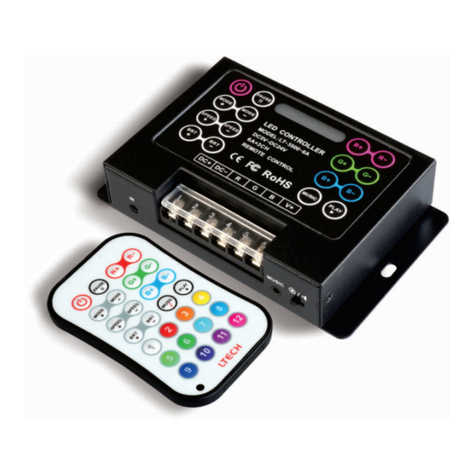
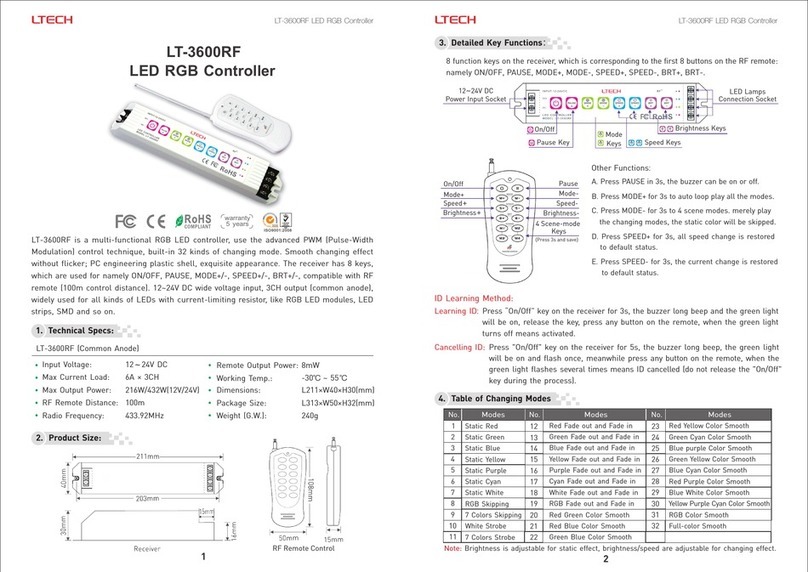
4. Detailed key functions
ZHUHAI LTECH ELECTRONIC TECHNOLOGY CO., LTD. WWW.LTECHONLINE.COM
LT@LTECHONLINE.COM
Tel: +86 756 620 8823 Fax: +86 756 620 8833
LTECH LTECH
4
5. Conjunction diagram
R
G
B
R
G
B
LED CONTROLLER
R
G
B
R
G
B
LED MODULE
DC
LN
AC
POWE R
R
G
B
R
G
B
R
G
B
R
G
B
R
G
B
R
G
B
LED MODULE
R
G
B
R
G
B
R
G
B
R
G
B
R
G
B
R
G
B
LED MODULE
R
G
B
R
G
B
R G BDC DC VIR
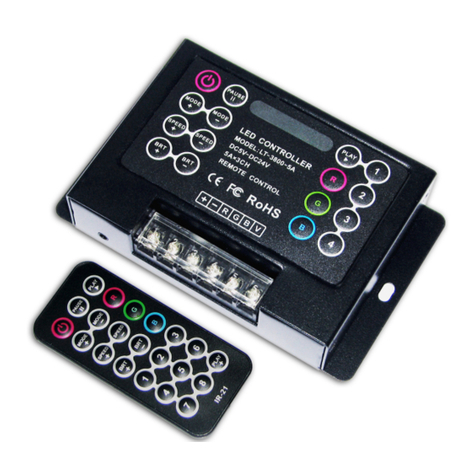
LED CONTROLLER
MODEL: LT 3800 6A
REMOTE C ONTROL
DC5V DC24V
6A×3CH
R
G
B
SPEED SPEED
MODE MODE
PAUSE PLAY
Sign
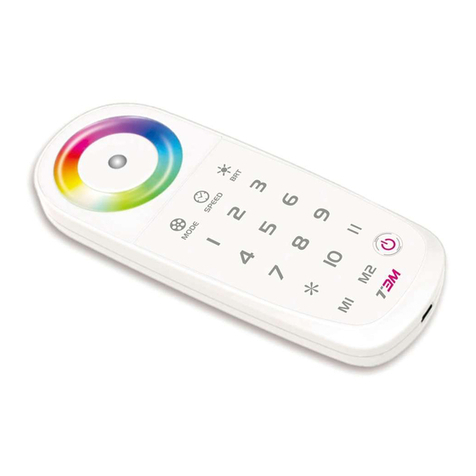
Button Description
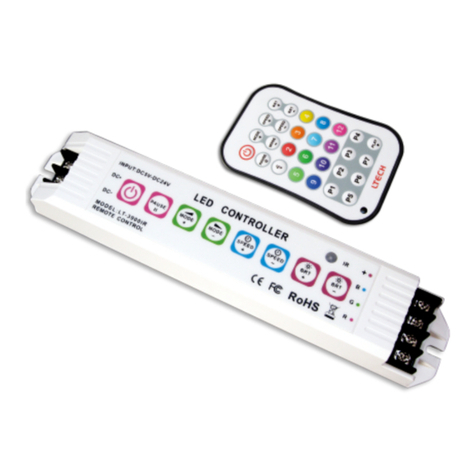
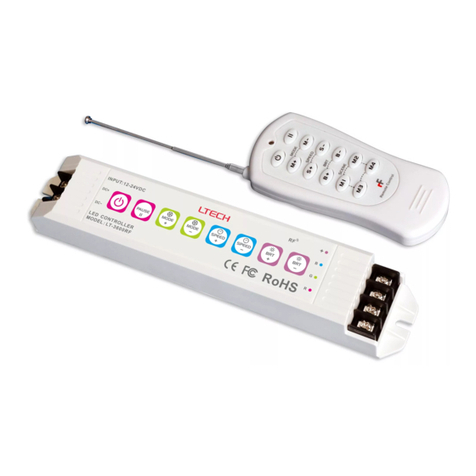
ON /OFF Turn on/off the controller
PAUSE
Press this button will rest at current color, it will
Press this button in 3 seconds, the buzzer can be
continue to change if press again.
on or off.
MODE+
MODE-
Press them to select next mode or back to previous
mode (pls refer to theVI item) .
Press MODE+ or press MODE- over 3s to enter
cycle mode.
SPEED+
SPEED-
Pre ss th em to quicken or s low er sp eed , pre ss
SPE ED+ o r SPE ED- over 3s, all s pee d is
restored to Default status.
BRT+
BRT-
Press them to increase or decrease brightness,
pre s s any o n e o v e r 3s , a l l b r i g ht n e ss i s
Restored to Default status.
4
3
1
2
DIY modes Pr es s t he m o ver 3 s, the n
change mode on this button, later can reach your
pre-setup mode by just pressing it once.
remember current
3
6
2
5
78
4
1DIY modes
of remote
RGB
Dimming key
1.Press single R, G, B key continuously to change
the brightness of RGB LED.
2. In s i n g l e R, G o r B d i m m i n g s t a t u s , p r e s s
B RT + / B RT- k e y t o i n c r e a s e / d e c r e a s e t h e
brightness.of current LED
G
B
R
PLAY PLAY+ Press "PLAY" to cycle the dynamic effects on
the DIY modes
Note: The functions of 1-4 DIY keys on the
controller are the same with the 1-4 DIY keys
on the remote control.
LED MODULE
LED MODULE
LED MODULE
LED MODULE
LED MODULE
LED MODULE
6. Attention
7. Warranty Agreement
1. The product shall be installed and serviced by a qualified person.
2. This product is non-waterproof. Please avoid the sun and rain. When installed outdoors please ensure
it is mounted in a water proof enclosure.
3. Good heat dissipation will prolong the working life of the controller. Please ensure good ventilation.
4. Please check if the output voltage of any LED power supplies used comply with the working voltage of
the product.
5. Please ensure that adequate sized cable is used from the controller to the LED lights to carry the
current. Please also ensure that the cable is secured tightly in the connector to avoid the accidents due
to overheat and poor contact on the wire.
6. Ensure all wire connections and polarities are correct before applying power to avoid any damages to
the LED lights.
7. If a fault occurs please return the product to your supplier. Do not attempt to fix this product by yourself.
1. We provide lifelong technical assistance with this product:
A 3 year warranty is given from the date of purchase. The warranty is for free repair or replacement
and covers manufacturing faults only.
For faults beyond the 3 year warranty we reserve the right to charge for time and parts.
2. Warranty exclusions below:
Any man-made damages caused from improper operation, or connecting to excess voltage and
overloading.
The product appears to have excessive physical damage.
Damage due to natural disasters and force majeure.
Warranty label, fragile label and unique barcode label have been damaged.
The product has been replaced by a brand new product.
3. Repair or replacement as provided under this warranty is the exclusive remedy to the customer. Ltech
shall not be liable for any incidental or consequential damages for breach of any stipulation in this
warranty.
4. Any amendment or adjustment to this warranty must be approved in writing by Ltech only.
★ This manual only applies to this model. Ltech reserves the right to make changes without prior notice.
