manuals.online logo
Brands
  1. Home
  2. •
  3. Brands
  4. •
  5. MAKERGEAR
  6. •
  7. 3D Printer
  8. •
  9. MAKERGEAR M3-ID Installation and operation manual

MAKERGEAR M3-ID Installation and operation manual

M3-ID 3D Printer Rev. 0
to Rev. 1 Upgrade Guide
You will be upgrading your printer with:
1. M3ID-REV-1 T0 Extruder Mounting Plate
2. BLTOUCH cable
3. Zip ties
4. Four (4) M3 Bed Hold Down Clips
5. Insulative sleeve
All of the fasteners you will need are already in your printer so
make sure you don’t misplace them during disassembly.
The tools you will need are as follows:
•2 mm hex driver
•2.5 mm hex driver
•3 mm hex driver
If you have filament loaded in the T0 extruder you will need to
remove it. If not, please skip to step 6.
Open Octoprint and heat up your hotend. Set the hotend to
the printing temperature of the loaded filament (e.g. ABS: 265
C, PLA: 215 C).
Select T0 as your tool.
Retract the ‘T0’ extruder by at least 70 mm.
Remove the filament and filament guide tube from ‘T0’.
Home the Z-axis with the house shaped button. Move the Z-
axis down by around 30 mm (this will give you room to remove
the RAMBo case top later).
Shut down the printer’s raspberry pi through Octoprint or by
holding down the reset button for 10 seconds.
The raspberry pi’s green light will turn off when it is properly
shut down.
Locate your 6-pin power connector in the back of your printer.
Shut off the printer’s 24V power supply and pull out the 6-pin
power connector in the back of the printer.
Make sure you are working on the correct extruder! Looking at
the front of the printer, we will be modifying the left extruder,
it is marked as ‘T0’.
Unplug all of the molex connectors from the extruder. Each
one has a lever that needs to be pressed to release the
connector.
Use a 2 mm hex driver to remove the M3x45mm flat head
screw in the bottom-right of the filament drive fan.
Rotate the filament drive fan clockwise to expose the screw
heads beneath.
Use a 2.5 mm hex driver to remove the two (2) M3x25mm
screws from the filament drive. These screws have M3 washers
on them so make sure they stay together.
Now the filament drive assembly is free and can be set aside
for later use.
Use a 2.5 mm hex driver to remove the three (3) M3x25mm
screws from the motor mount.
Gently move the extruder motor aside to expose the screws
beneath. The motor is connected to a cable; this cable can be
left attached to the motor, but if it is detached we have steps
for reattachment later.
Use a 2.5 mm hex driver to remove the two (2) M3x14mm
screws from the motor mount.
Now everything on top of the hotend mounting plate is free
and can be set aside. It is set on the top plate in the picture,
but it can also be set on the bed.
Use a 2 mm hex driver to remove the two (2) M3x10 flat head
screws from the hotend mounting plate.
Use a 2 mm hex driver to remove the four (4) M3x16 flat head
screws from the hotend mounting plate.
Remove the hotend mounting plate from the printer. Now we
are going to move its parts to the upgrade assembly.
Begin by loosening the hotend with a 2.5 mm hex driver.
Pull the hotend out and set it aside.
Loosen the four (4) M3x25mm screws from the hotend fan
assembly.
Pull off the fan assembly and finger guard and set it aside.
Now locate your hotend mounting plate that came with the
upgrade kit that includes a BL Touch probe.
Place the finger guard into the bottom of the new hotend
mounting plate. The raised side of the finger guard should be
towards the top of the new hotend mounting plate.
Use a 2.5 mm hex driver to fasten the fan assembly to the
hotend mounting plate using the four (4) M3x25mm screws.
Make sure the orientation is correct!
Feed the hotend connectors through the plate as shown.
Slide the hotend into the clamp and tighten it with a 2.5 mm
hex driver so that the top of the hotend is flush with the top of
the hotend mounting plate.
Now it is ready to be installed on the printer!
Loosely fasten the hotend mounting plate to the linear carriage
with a 2 mm hex driver using the two (2) M3x10mm flat head
screws from step 21.
Move T0 and T1 by hand and press them together. While they
are being pressed together, tighten the two screws completely.
This will ensure that T0 is straight. When tightening multiple
screws make sure all of the screws are loosely fastened before
fastening all of them completely.
Fasten the hotend mounting plate to the belt clamp with a 2
mm hex driver using the four (4) M3x16mm flat head screws
from step 22.

Other manuals for M3-ID

1

Other MAKERGEAR 3D Printer manuals

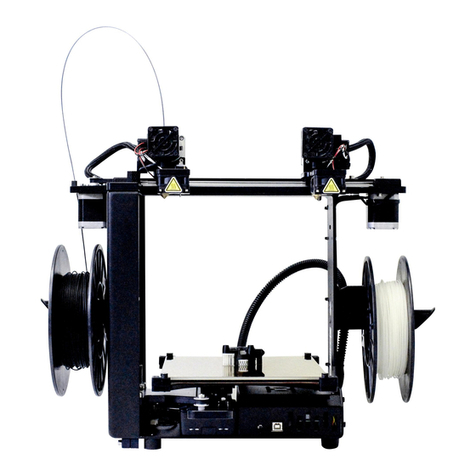
MAKERGEAR M3 User manual

MAKERGEAR

MAKERGEAR M3 User manual

MAKERGEAR M3-SE User manual

MAKERGEAR

MAKERGEAR M3-SE User manual

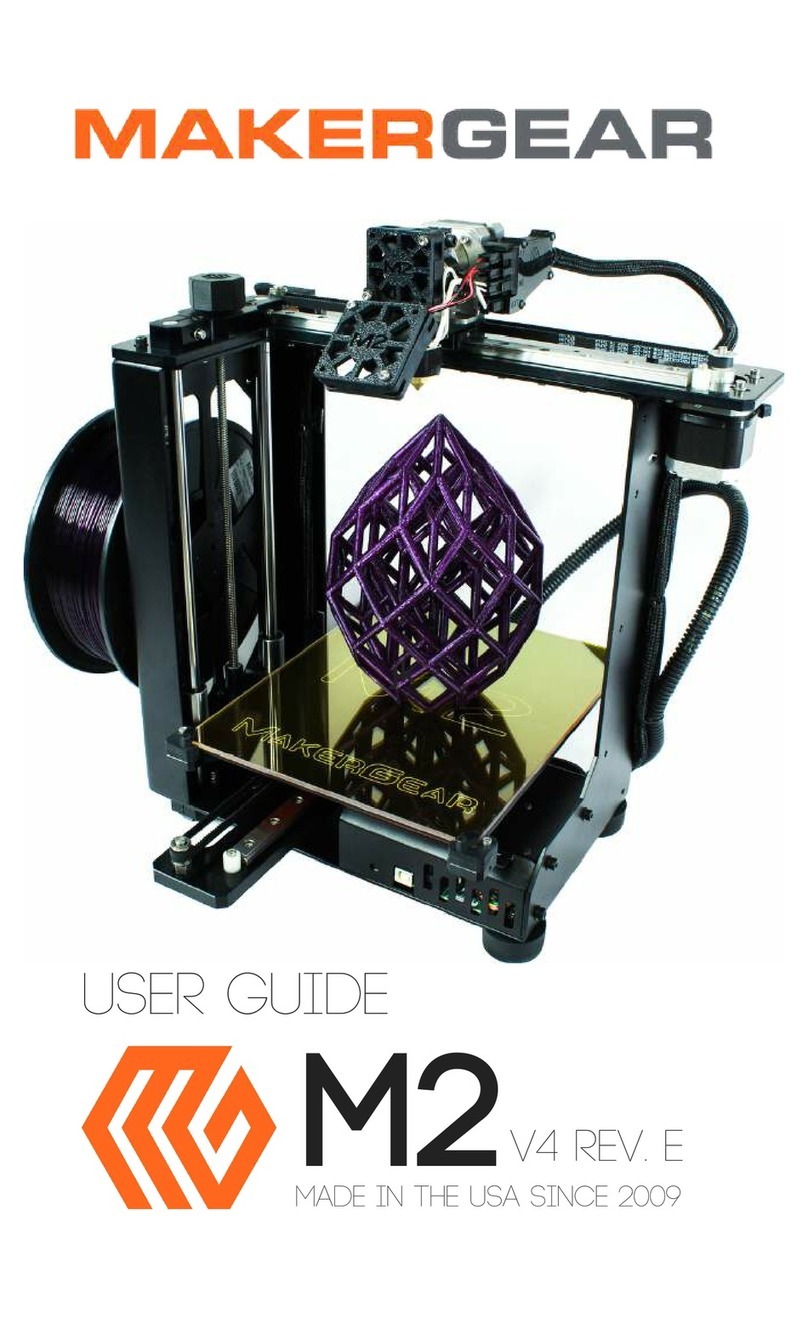
MAKERGEAR M2 User manual

MAKERGEAR

MAKERGEAR M2 User manual

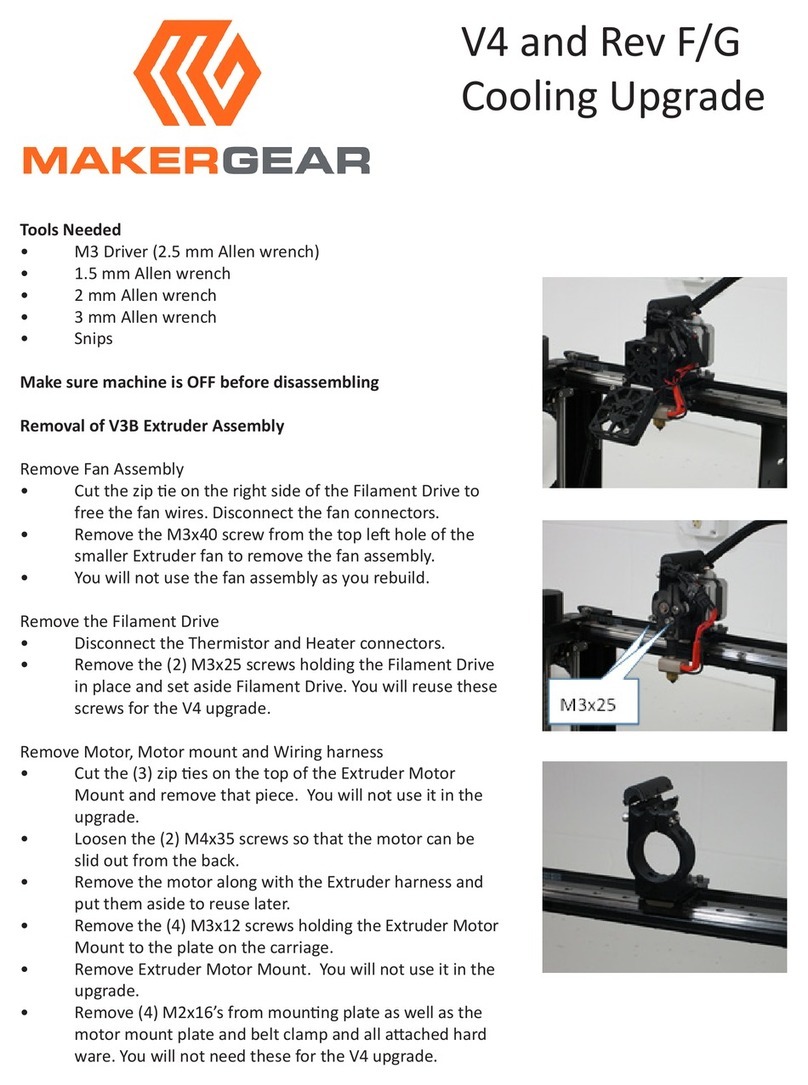
MAKERGEAR V4 Quick start guide

MAKERGEAR

MAKERGEAR V4 Quick start guide

MAKERGEAR M2 User manual

MAKERGEAR

MAKERGEAR M2 User manual

MAKERGEAR M2 User manual

MAKERGEAR

MAKERGEAR M2 User manual

MAKERGEAR M3-ID User manual

MAKERGEAR

MAKERGEAR M3-ID User manual

MAKERGEAR M2 User manual

MAKERGEAR

MAKERGEAR M2 User manual

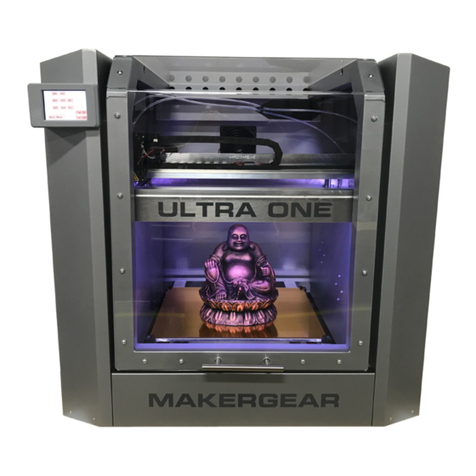
MAKERGEAR Ultra One User manual

MAKERGEAR

MAKERGEAR Ultra One User manual
Popular 3D Printer manuals by other brands

Ryonet Sgreen Washout booth Assembly instructions

Ryonet

Ryonet Sgreen Washout booth Assembly instructions

RepRap Prusa i3 Build manual

RepRap

RepRap Prusa i3 Build manual

m3d Micro+ user manual

m3d

m3d Micro+ user manual

AST2 INVENT3D Operating instructions and troubleshooting guide

AST2

AST2 INVENT3D Operating instructions and troubleshooting guide

weistek IdeaWerk Product user manual

weistek

weistek IdeaWerk Product user manual

Revolution 3D Printers INFINITY 3D Setup guide

Revolution 3D Printers

Revolution 3D Printers INFINITY 3D Setup guide

SMART 3D MACRO PU Maintenance Guide

SMART 3D

SMART 3D MACRO PU Maintenance Guide

Creality 3D Ender-5 Plus user manual

Creality 3D

Creality 3D Ender-5 Plus user manual

FELIXprinters Felix 2.0 instruction manual

FELIXprinters

FELIXprinters Felix 2.0 instruction manual

Skytech 3D PANDORAS user manual

Skytech

Skytech 3D PANDORAS user manual

Creality 3D Ender-5 S1 user manual

Creality 3D

Creality 3D Ender-5 S1 user manual

Shining 3D einstart-c quick start

Shining 3D

Shining 3D einstart-c quick start

FELIXprinters FELIX Tec 4.1 Assembly manual

FELIXprinters

FELIXprinters FELIX Tec 4.1 Assembly manual

RAISE 3D Bondtech Dual Extruder installation guide

RAISE 3D

RAISE 3D Bondtech Dual Extruder installation guide

3D Upfitters Temp Sensor installation manual

3D Upfitters

3D Upfitters Temp Sensor installation manual

Flashforge Inventor user guide

Flashforge

Flashforge Inventor user guide

Cocoon HE150272 instruction manual

Cocoon

Cocoon HE150272 instruction manual

Cocoon HE161192 instruction manual

Cocoon

Cocoon HE161192 instruction manual

manuals.online logo
manuals.online logoBrands
  • About & Mission
  • Contact us
  • Privacy Policy
  • Terms and Conditions

Copyright 2025 Manuals.Online. All Rights Reserved.