manuals.online logo
Brands
  1. Home
  2. •
  3. Brands
  4. •
  5. MaxLite
  6. •
  7. Lighting Equipment
  8. •
  9. MaxLite TRK WS Series User manual

MaxLite TRK WS Series User manual

Operating Instructions TRK WS Series
MaxLite LED TROFFER RETROFIT KIT WS Series (2x2 & 2x4)
© Copyright 2022. MaxLite, Inc. All Rights Reserved.
12 York Ave, West Caldwell, NJ 07006 Tel: 800-555-5629 Fax: 973-244-7333 Email: inf[email protected]
Page: 1
REV: 04/05/22
®
General Safety Information
• To reduce the risk of death, personal injury or property damage from fire,
cuts/abrasions, and other hazards read all warnings and instructions
included with and on the fixture box and all fixture labels.
• Before installing, servicing, or performing routine maintenance upon this
equipment, follow these general precautions.
• Commercial installation, service and maintenance of luminaires should
be performed by a qualified licensed electrician.
• For Residential installation: If you are unsure about the installation or
maintenance of the luminaires, consult a qualified licensed electrician
and check your local electrical code.
• DO NOT INSTALL DAMAGED PRODUCT!
• This fixture is intended to be connected to a properly installed and grounded UL Listed troffer housing.
WAR I G: RISK OF FIRE OR ELECTRIC SHOCK
• Turn off electrical power at fuse or circuit breaker box before wiring fixture to the power supply.
• Turn off the power when you perform any maintenance.
• Verify that supply voltage is correct by comparing it with the luminaire label information.
• Make all electrical and grounded connections in accordance with the ational Electrical Code and any
applicable local code requirements.
• All wiring connections should be capped with UL approved wire connectors.
• Install this kit only in luminaires that have the construction features and dimensions shown in the
photographs and/or drawings and where the input rating of the retrofit kit does not exceed the input
rating of the luminaire.
• Do not make or alter any open holes in an enclosure of wiring or electrical components during kit
installation.
• To prevent wiring damage or abrasion, do not expose wiring to edges of sheet metal or other sharp objects.
• The electrical rating of these products are 120-277 Vac, the installer must determine whether they have
120-277 V at the luminaire before installation.
• LED Retrofit Kit installation requires knowledge of luminaires electrical systems. If not qualified, do not
attempt installation. Contact a qualified electrician.
• Luminaire wiring and electrical parts may be damaged when drilling for installation of LED retrofit kit.
Check for enclosed wiring and components.
CAUTIO : RISK OF I JURY
• Wear gloves and safety glasses at all times when removing luminaire from carton, installing,
servicing or performing maintenance.
• Avoid direct eye exposure to the light source while it is on.
• Account for small parts and destroy packing material, as these may be
hazardous to children.
CAUTIO : RISK OF FIRE
• Keep combustible and other materials that can burn away from
luminaire and lamp/lens.
• MI 90°C SUPPLY CO DUCTORS.
Operating characteristic:
Voltage input: 120/277V 50/60 z
Operating temp: -40°F to 104°F
Compatible Housing:
2’ x 2’ - 24.02” (610 mm) by 23.94” (608 mm) by 3.07” (78 mm) high
2’ x 4’ - 48.03” (1220 mm) by 23.94” (608 mm) by 3.07” (78 mm) high
Models: TRK Series
Picture is for illustration purposes only. Your
model may vary and may not be identical to
the fixture purchased.
Parts:
A: End Plates - 2pcs
B: Side Plates - 2pcs
C: Door Assembly Body - 1pc
D: Self-tapping Screws - 4pcs
A
B
C
D
© Copyright 2022. MaxLite, Inc. All Rights Reserved.
12 York Ave, West Caldwell, NJ 07006 Tel: 800-555-5629 Fax: 973-244-7333 Email: inf[email protected]
General Wiring Diagram
Page: 2
REV: 04/05/22
CAUTIO : Turn off electrical power at fuse
or circuit breaker box before wiring fixture to
the power supply.
Connecting panels to AC source supply:
All units must be individually connected to
the AC supply. (120-277 VAC)
Black = Line, White = Neutral, Green = Ground
Operating Instructions TRK WS Series
MaxLite LED TROFFER RETROFIT KIT WS Series (2x2 & 2x4)
®
Selectable Wattage Function
You can adjust the lumen output with the DIP switch integrated into the driver. The DIP switch has 3 options (left,
middle and right ), corresponding to 3 wattage options.
Factory Setting: 20W.
1. Locate the selector switch on the side of the driver (Fig. 1)
2. Select a wattage by sliding the switch up or down to the desired
value (Fig. 2)
3. After the switch is positioned to the desired settings, insert the silicone cover to lock the switch
in place.
Wattage DIP Switch
Installation & Operation
1. Prior to installation, disconnect all incoming power to fixture. Remove existing hardware (lens/lens frame,
parabolic louver, reflectors/ballast covers, brackets,lamps/lamp holders). Leave supply and grounding leads.
(Fig.1)
OTE: Follow all federal and local regulations when disposing of lamps and removed components.
2. Install LED panel end brackets to each end of the fixture by gently lifting recessed fixture and placing LED
panel end brackets between the fixture and T-grid. Secure the LED panel brackets to the fixture using the
provided #8x1/2” self-drilling screws. There are two hole sets to allow for clearing fixture features that may
obstruct the screws. Locate the wire terminals on the LED board on the end of the light engine panel that
has the wire. (Fig.2)
3. Install LED panel side brackets between the fixture and T-grid, if you are uncomfortable with the gap between
the fixture and T-grid, There are two tabs to allow for placing the side brackets into the slot of end brackets.
(Fig.3)
4. Apply re-lamping label “T IS LUMINAIRE AS BEEN MODIFIED FROM ITS ORIGINAL CONFIGURATION.
T IS LUMINAIRE WILL NO LONGER ACCEPT T E ORIGINAL LAMPS STATED ON T E PRODUCT
LABEL.” to the surface of the fixture.
5. Locate the door assembly body onto the keyholes of end brackets,then slide the door assembly body
horizontally to the end of slots. (Fig.4)
6. Pass grommet. Wire according to diagram on page 2. (Choose appropriate method for general or emergency
models.) ook the safety cables into the holes positioned the end brackets. (Fig.5)
7. Secure the door assembly body by lock the latches riveted on each end of the assembled door frame. (Fig.6)
© Copyright 2022. MaxLite, Inc. All Rights Reserved.
12 York Ave, West Caldwell, NJ 07006 Tel: 800-555-5629 Fax: 973-244-7333 Email: inf[email protected]
Safety cable
keyhole
Hinges
Locking Latch
Page: 3
REV: 04/05/22
Operating Instructions TRK WS Series
MaxLite LED TROFFER RETROFIT KIT WS Series (2x2 & 2x4)
®
MaxLite Inc. warrants its products for a minimum period of FIVE (5) years from the date of original purchase from
MaxLite or its authorized distributor/dealer (the “Warranty Period”), as follows: If a Product fails to operate during the
Warranty Period as a result of defects in materials or workmanship, MaxLite will, at its option, repair it, replace it with
the same or like Product.
Please refer to Maxlite’s website (at http://maxlite.com/resources/warranties) for the complete
terms and conditions of our warranty.
Limitation of Liability
T E FOREGOING WARRANTY IS EXCLUSIVE, AND IS T E SOLE REMEDY FOR ANY AND ALL CLAIMS,
W ET ER IN CONTRACT, IN TORT OR OT ERWISE ARISING FROM T E FAILURE OF PRODUCT AND IS IN
LIEU OF ALL OT ER WARRANTIES, EXPRESS OR IMPLIED, INCLUDING ALL WARRANTIES OF
MERC ANTABILITY OR FITNESS FOR A PARTICULAR PURPOSE, W IC WARRANTIES ARE EREBY
EXPRESSLY DISCLAIMED TO T E EXTENT PERMITTED BY LAW AND, IN ANY EVENT, S ALL BE LIMITED TO
T E WARRANTY PERIOD SPECIFIED ABOVE. T E LIABILITY OF MAXLITE S ALL BE LIMITED TO T E TERMS
OF T E EXPRESS WARRANTY SET FORT EREIN. IN NO EVENT WILL MAXLITE BE LIABLE FOR ANY
SPECIAL, INCIDENTAL OR CONSEQUENTIAL DAMAGES INCLUDING, WIT OUT LIMITATION, DAMAGES
RESULTING FROM LOSS OF USE, PROFITS, BUSINESS OR GOODWILL, LABOR COSTS, REMOVAL OR
INSTALLATION COSTS, DECREASE IN T E LIG T OUTPUT OF T E LAMP, AND/OR DETERIORATION IN T E
LAMP’S PERFORMANCE, W ET ER OR NOT MAXLITE AS BEEN ADVISED OF T E POSSIBILITY T EREOF.
UNDER NO CIRCUMSTANCES S ALL MAXLITE’S ENTIRE LIABILITY FOR A DEFECTIVE PRODUCT EXCEED
T E PURC ASE PRICE OF T AT PRODUCT. WARRANTY SERVICES PROVIDED UNDER T ESE TERMS AND
CONDITIONS DO NOT ENSURE T E UNINTERRUPTED OPERATION OF PRODUCTS; MAXLITE S ALL NOT BE
LIABLE FOR DAMAGES CAUSED BY ANY DELAYS INVOLVING WARRANTY SERVICE.
This Limited Warranty gives you specific legal rights and you may also have other rights that may vary from state to
state. Because some states or jurisdictions do not allow the exclusion or limitation of liability for consequential or
incidental damages, this limitation may not apply to you.
Warranty Information
© Copyright 2022. MaxLite, Inc. All Rights Reserved.
12 York Ave, West Caldwell, NJ 07006 Tel: 800-555-5629 Fax: 973-244-7333 Email: inf[email protected]
Page: 4
REV: 04/05/22
Operating Instructions TRK WS Series
MaxLite LED TROFFER RETROFIT KIT WS Series (2x2 & 2x4)
®

This manual suits for next models

1

Other MaxLite Lighting Equipment manuals

MaxLite LED PLL DirectFit Series User manual

MaxLite

MaxLite LED PLL DirectFit Series User manual

MaxLite QM Plus Series User manual

MaxLite

MaxLite QM Plus Series User manual

MaxLite maxLED MAL Series User manual

MaxLite

MaxLite maxLED MAL Series User manual

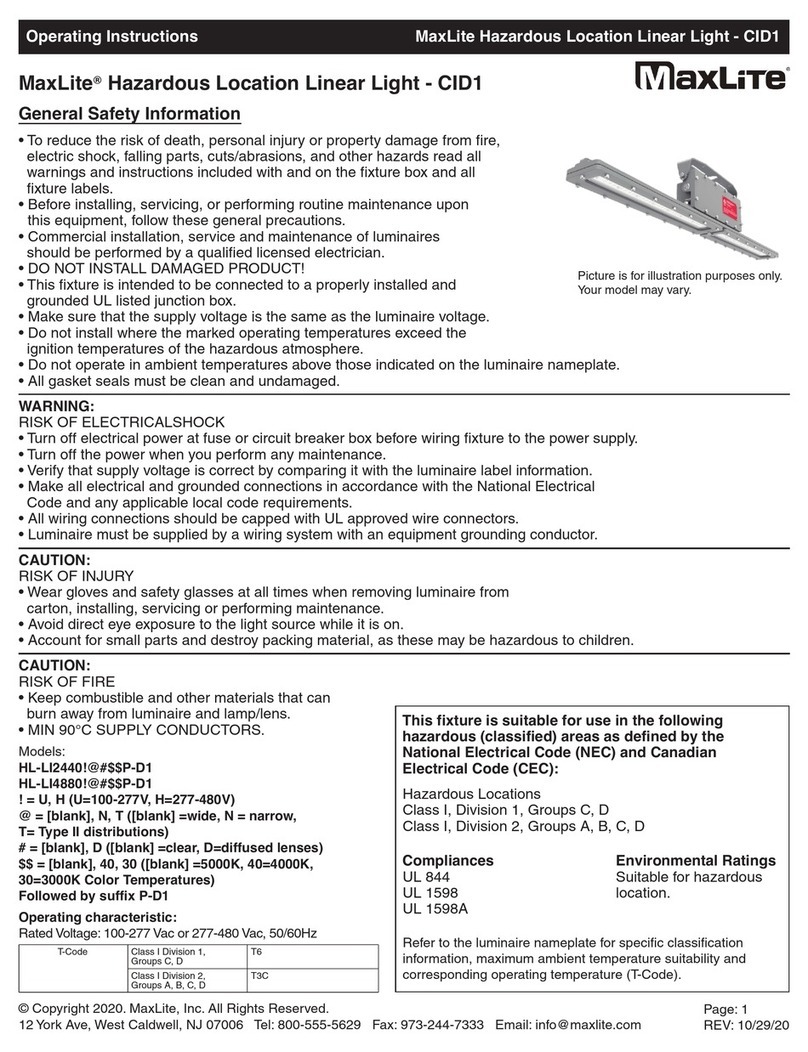
MaxLite CID1 User manual

MaxLite

MaxLite CID1 User manual

MaxLite WPOP Series User manual

MaxLite

MaxLite WPOP Series User manual

MaxLite HL-LI2440UEM0 User manual

MaxLite

MaxLite HL-LI2440UEM0 User manual

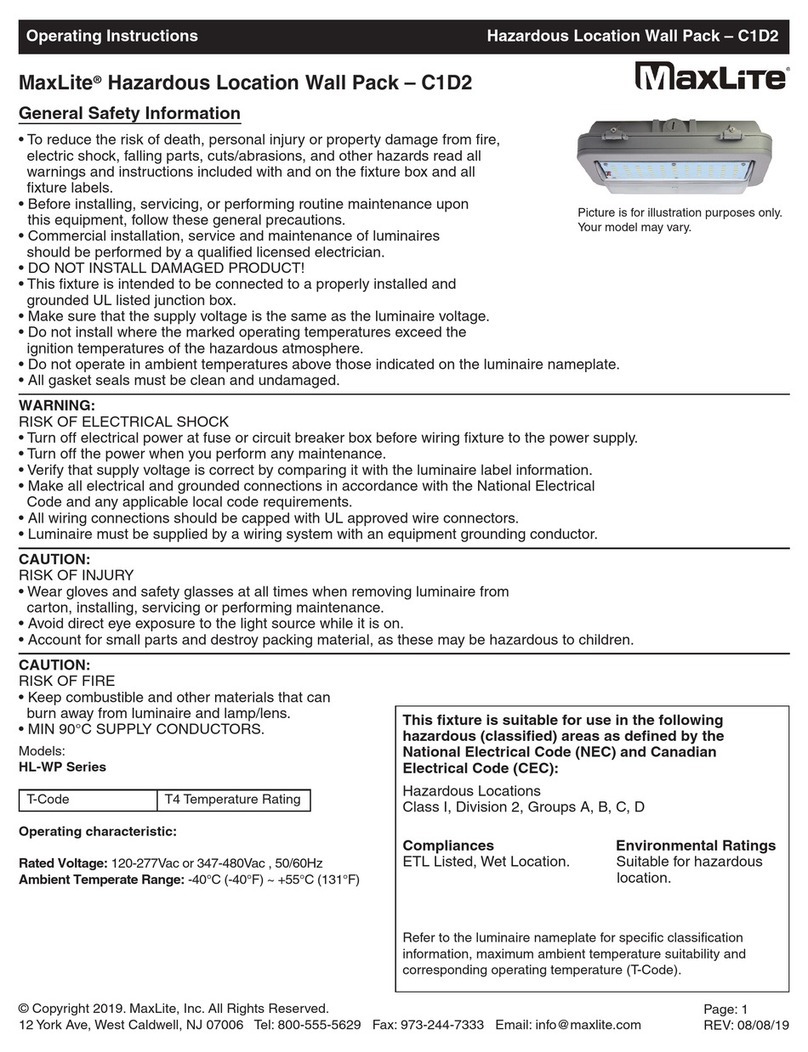
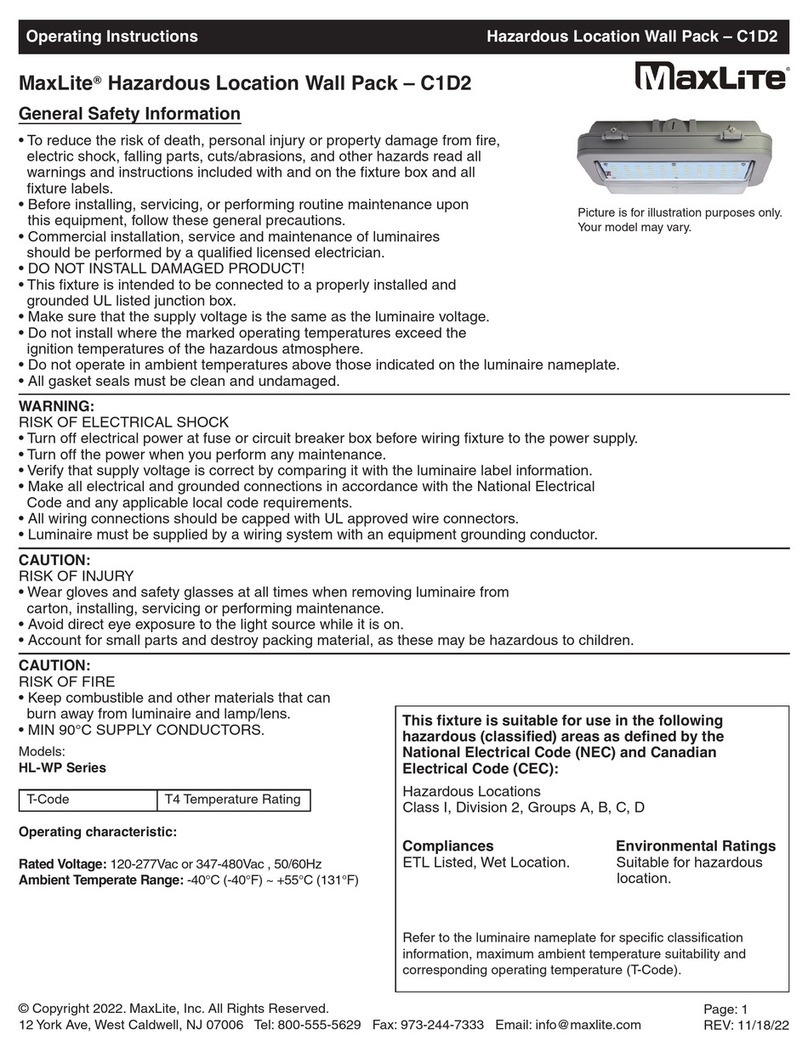
MaxLite C1D2 User manual

MaxLite

MaxLite C1D2 User manual

MaxLite maxLED SEC12U50BPC12 User manual

MaxLite

MaxLite maxLED SEC12U50BPC12 User manual

MaxLite AR Series User manual

MaxLite

MaxLite AR Series User manual

MaxLite ML2LAxP Series User manual

MaxLite

MaxLite ML2LAxP Series User manual

MaxLite maxLED MLCAN20LED50 User manual

MaxLite

MaxLite maxLED MLCAN20LED50 User manual

MaxLite HLRM Series User manual

MaxLite

MaxLite HLRM Series User manual

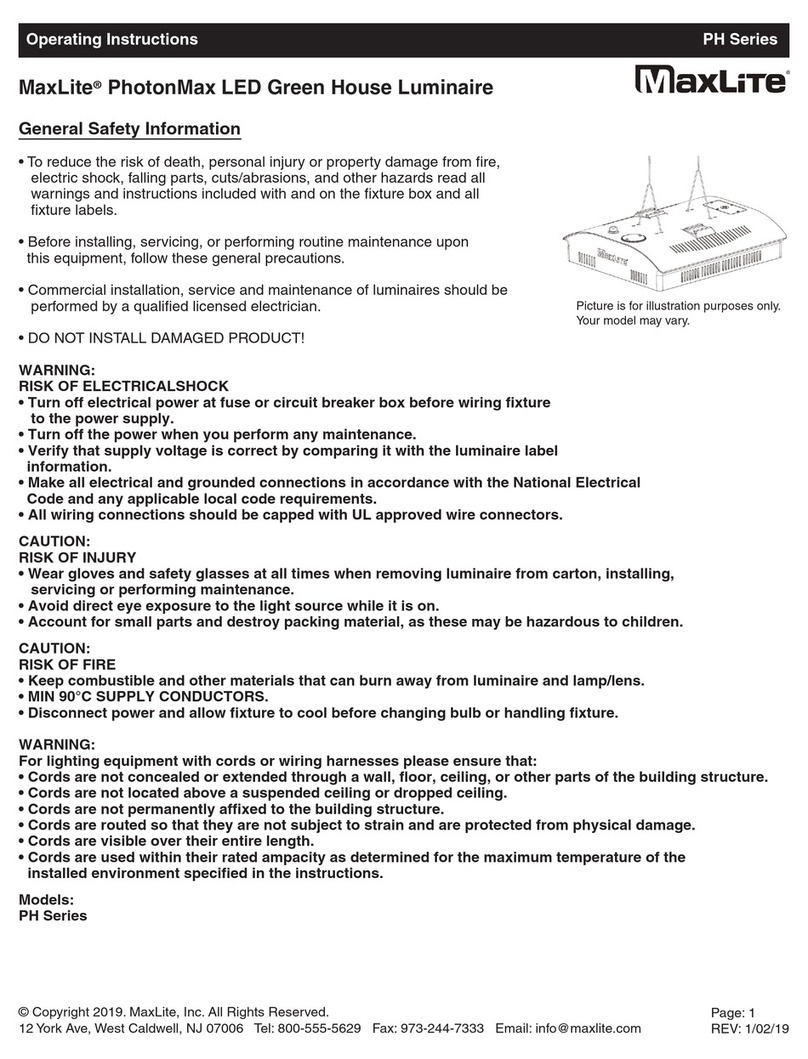
MaxLite PhotonMax PH Series User manual

MaxLite

MaxLite PhotonMax PH Series User manual

MaxLite MPulse Bollard Luminaire User manual

MaxLite

MaxLite MPulse Bollard Luminaire User manual

MaxLite ML2LALABNU249CSEM User manual

MaxLite

MaxLite ML2LALABNU249CSEM User manual

MaxLite HLRS Series User manual

MaxLite

MaxLite HLRS Series User manual

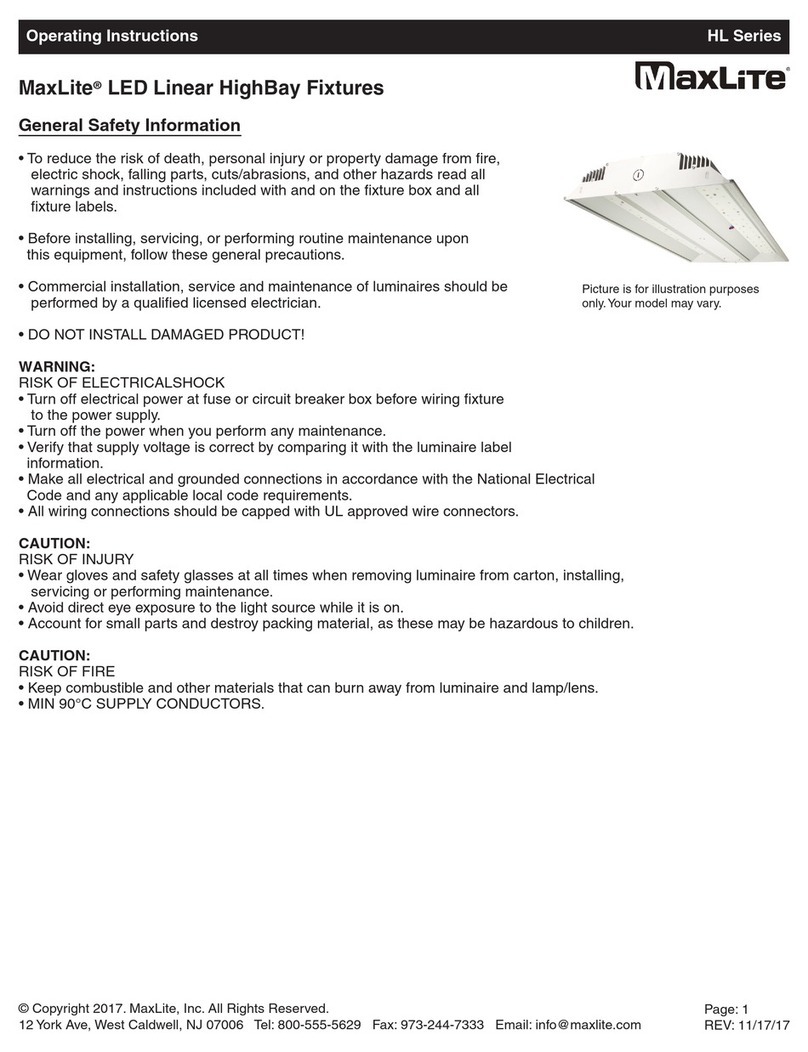
MaxLite MaxLite HL Series User manual

MaxLite

MaxLite MaxLite HL Series User manual

MaxLite MLFP14DP4535 User manual

MaxLite

MaxLite MLFP14DP4535 User manual

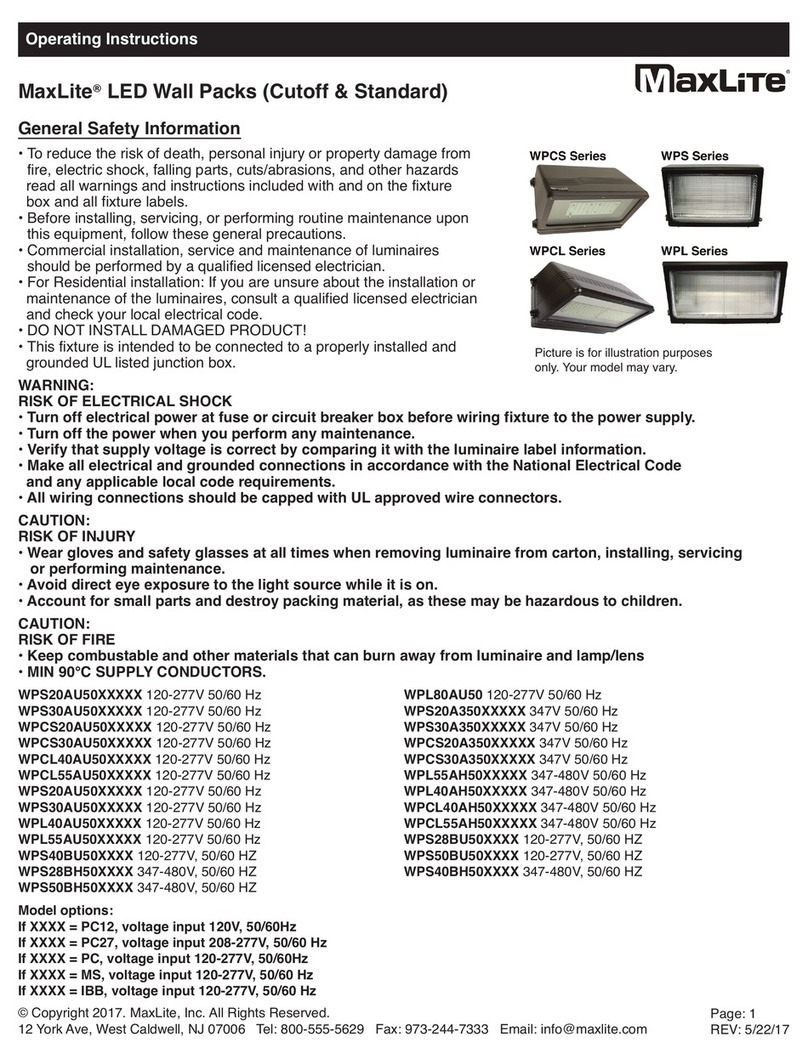
MaxLite WPCS Series User manual

MaxLite

MaxLite WPCS Series User manual

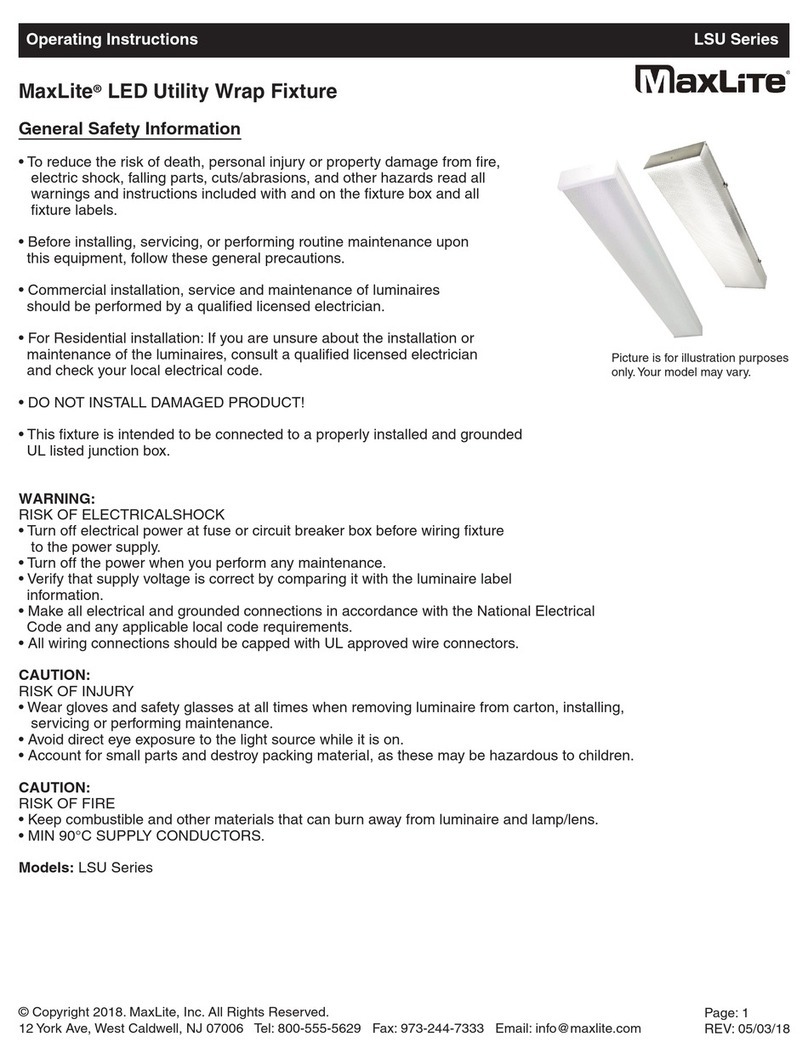
MaxLite LSU Series User manual

MaxLite

MaxLite LSU Series User manual

MaxLite HL Series User manual

MaxLite

MaxLite HL Series User manual

MaxLite CPL Series User manual

MaxLite

MaxLite CPL Series User manual

MaxLite CID1 User manual

MaxLite

MaxLite CID1 User manual

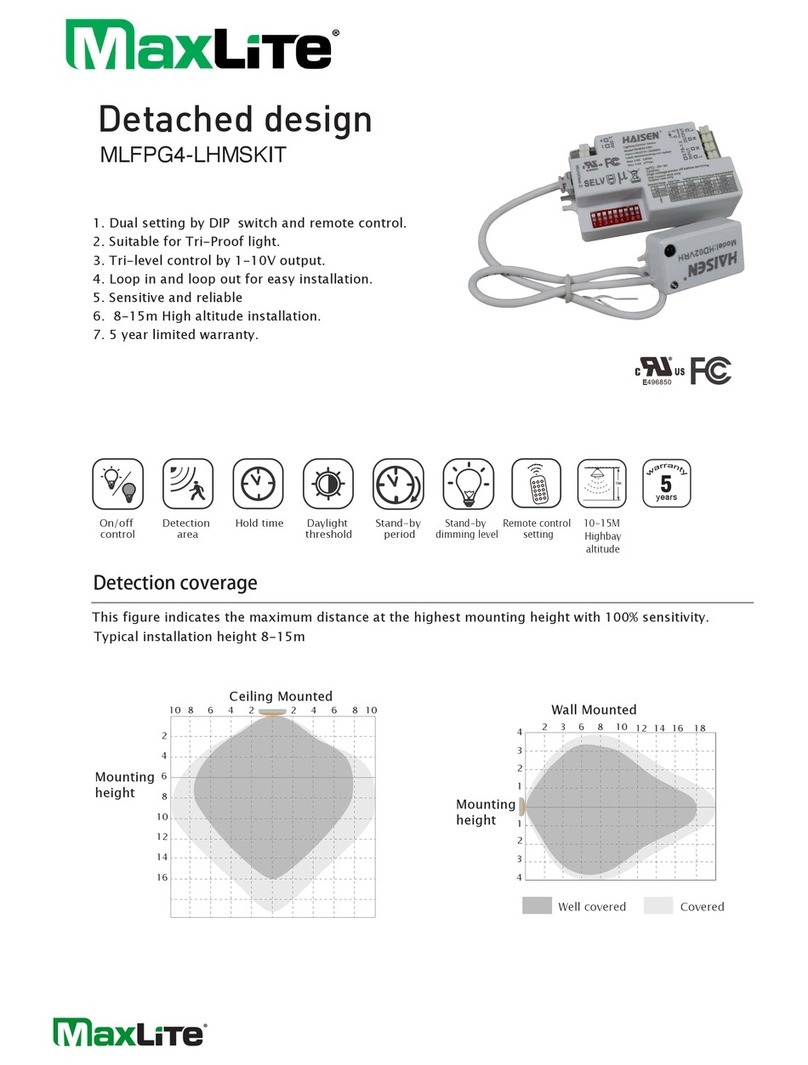
MaxLite MLFPG4-LHMSKIT User manual

MaxLite

MaxLite MLFPG4-LHMSKIT User manual

Popular Lighting Equipment manuals by other brands

Sealey ML20 quick start guide

Sealey

Sealey ML20 quick start guide

EuroLite RGB FLOOD-1500 DMX MK2 user manual

EuroLite

EuroLite RGB FLOOD-1500 DMX MK2 user manual

Awex ARROW P Assembly instructions

Awex

Awex ARROW P Assembly instructions

Stahl 6470/2 Series manual

Stahl

Stahl 6470/2 Series manual

Coopers of Stortford G591 Instructions for use

Coopers of Stortford

Coopers of Stortford G591 Instructions for use

Jandy Levolor K-1100 installation instructions

Jandy

Jandy Levolor K-1100 installation instructions

LumaPro 30UH85 operating instructions

LumaPro

LumaPro 30UH85 operating instructions

Smartwares SH4-99564 quick start guide

Smartwares

Smartwares SH4-99564 quick start guide

DELTA DORE TYXIA 411 Installation and user guide

DELTA DORE

DELTA DORE TYXIA 411 Installation and user guide

Inivos ULTRA-V User instruction manual

Inivos

Inivos ULTRA-V User instruction manual

Iluminarc Ilumipod 18g2 IP Optic RGB user manual

Iluminarc

Iluminarc Ilumipod 18g2 IP Optic RGB user manual

Eaton CEAG W 270.3 Mounting and operating instructions

Eaton

Eaton CEAG W 270.3 Mounting and operating instructions

Chauvet Ovation E-260WW user manual

Chauvet

Chauvet Ovation E-260WW user manual

lap APW1008 Installation

lap

lap APW1008 Installation

LUTEC 7635402012 owner's manual

LUTEC

LUTEC 7635402012 owner's manual

Sagitter MOVING WASH 575 user manual

Sagitter

Sagitter MOVING WASH 575 user manual

American DJ Roto Balls Tri LED User instructions

American DJ

American DJ Roto Balls Tri LED User instructions

Robin Robin Cyclone user manual

Robin

Robin Robin Cyclone user manual

manuals.online logo
manuals.online logoBrands
  • About & Mission
  • Contact us
  • Privacy Policy
  • Terms and Conditions

Copyright 2025 Manuals.Online. All Rights Reserved.