www.maxonamerica.com
2
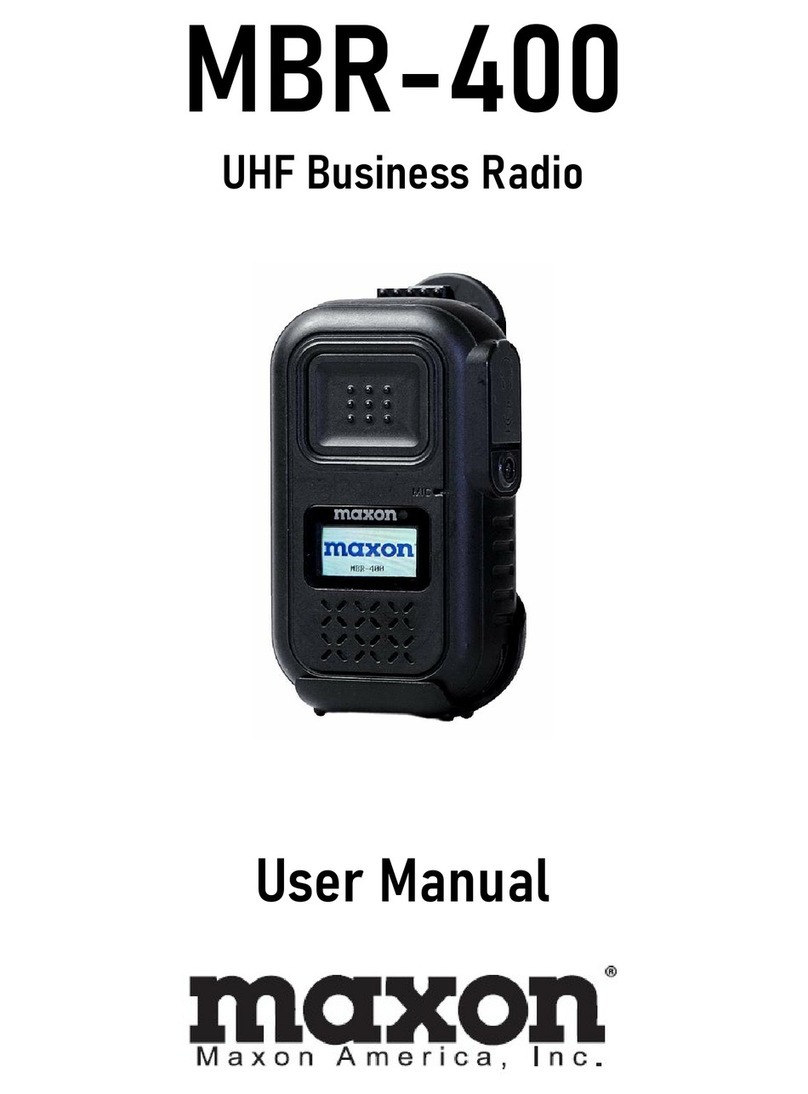
Button and Accessory Jack Operations
Button & Jack Operation Description
Power ON/OFF &
Back out of Menus
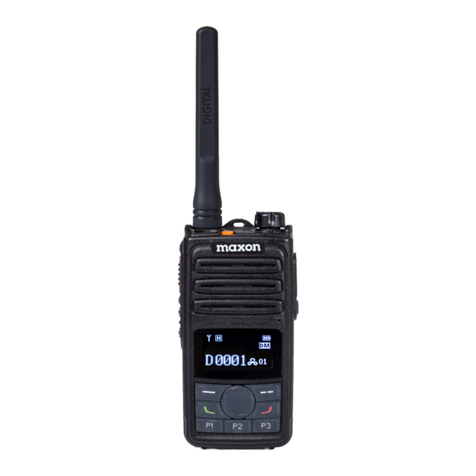
Press & Hold the Power Button to turn on MBR-400. MAXON logo will appear on
the LCD Screen followed by a chime sound. To turn off the radio, press & hold
Power Button for 2-seconds, radio will turn off with “Goodbye” announcement
To move back out of menu selections one step at a time, Quick Press the "Power
On/Off" button for less than 2 seconds.
PTT Button
The radio transmits voice when you press and hold down the PTT button as you
speak. PTT button must be released (not pressed down) to receive any
transmissions. Please speak 5-7cm away from the MIC to transmit a clear voice.
Volume UP /
DOWN Button, Left
/ Right Menu, &
Button Unlock
If you press & hold Volume Up Button your audio volume scrolls louder one step
at a time. Pressing Volume Down decreases your volume. Volume level has a
total of 16 steps.
For selecting Menu options, press the "Volume Up/Down Button" to move your
highlighted selection either up and down or left and right within a menu.
To unlock Button/Keypad lock, press and hold Volume Down for 8 Seconds.
Menu / Select
Button
To enter your Menu screen, press the "Menu Button". Digital Mode provides
three menu options such as Contacts, Record, and Settings. Analog Mode
provides only the Settings option. Press “M” again to make a selection within a
menu.
From within the menu screen, to dismiss all menu options and return to the
welcome screen, press and hold the "Menu button" for about 2 seconds.
2 Pin Accessory
Jack
2 Pin Accessory / MIC Jack is used for:
1) Audio & Microphone Accessories
2) Programming Cable to set CPS Program
3) Interfacing with external devices.
1. Your radio is pre-programmed to work out of the box with 16 digital DMR channels that use
frequencies that are common for jobsite & retail settings. If you need to program your radio with a
specific frequency, visit www.maxonamerica.com for programming CPS Software.
2. If you are purchasing multiple radios to work together, we recommend that you update your
radio’s “OWN ID” so that each radio has a unique radio number. (OWN ID is not used if radios are
reprogrammed to analog channels)
a. Press MENU then go to Settings/Function Settings/Radio ID. You should see a Radio ID
of 00000001. Press MENU again to begin the change. UP/DOWN buttons change the
value while the MENU button advances to the next number. When you get to the end
press the MENU button again to save the setting. POWER button is used as a back one
step button. 4 button presses or a long press of the power button will exit back to the
standby screen.
3. Please charge the radio completely before use.
