manuals.online logo
Brands
  1. Home
  2. •
  3. Brands
  4. •
  5. Merit
  6. •
  7. Arcade Game Machine
  8. •
  9. Merit Ion Aurora User manual

Merit Ion Aurora User manual

COPYRIGHT©2007MERITENTERTAINMENT
ATTENTION:
OBSERVEPRECAUTIONSFORHANDLING ESD-SENSITIVEDEVICES
Removal/Installation of Major Assemblies -
Ion Aurora
Troubleshooting Information - Removal/Installation of Major Assemblies -
IonAurora
MegatouchIonTechnicalReference Manual
BillAcceptorRemoval
1. Turn off and unplug the game.
2. Unlock the rear door and open if it is hinged, or remove if it is detachable.
3. Reach under the center of the top of the cover to locate the rotary draw latch (see Figure 1). Turn
the wing on the latch counterclockwise to disengage.
FIGURE1 -ROTARYDRAWLATCHINSIDETOPCOVER
FIGURE2 -SCREW INCENTER OFBOTTOM COVER
4. Unscrew the screw located in the center of the bottom of the cover (see Figure 2). Slowly lift the
cover and disconnect the ground wire.
5. Disconnect the power cord from the power supply. Remove the wing nut securing the OSD board
and detach the board from the Velcro on the power supply bracket. Carefully set the OSD board
aside. See Figure 3.
FIGURE3 - OSD BOARD
POWER SUPPLY
CORD
SCREW AND
NUT SECURING
OSD BOARD
6. Removethe electronics tray by unscrewing the thumbscrew located inthe middle of the rear of the
tray and sliding the tray out. See Figure 4.
COPYRIGHT©2007MERITENTERTAINMENT
ATTENTION:
OBSERVEPRECAUTIONSFORHANDLING ESD-SENSITIVEDEVICES
Removal/Installation of Major Assemblies -
Ion Aurora (cont’d)
Troubleshooting Information - Removal/Installation of Major Assemblies -
IonAurora
MegatouchIonTechnicalReference Manual
FIGURE4 -REAR VIEWOF ELECTRONICSTRAY
8. Unlock and remove the cash bracket, if applicable. Pull out the bill acceptor magazine by pushing
in the blue button at the top of the acceptor and lifting the magazine up and out. See Figure 6.
BLUE BUTTO
N
BILL ACCEPTO
R
MAGAZIN
E
COIN BOX
FIGURE6- CASHTOWER SECTIONWITH BRACKETREMOVED
THUMBSCREW
SECURING
ELECTRONICS TRAY
CONNECTORS CONNECTING
ELECTRONICS TRAY TO
GAME (3 PLACES)
FIGURE 5 - REAR VIEW OF GAME
9. Remove the coin box, if applicable, to access the bill acceptor screws, then remove the 4 screws
fasteningthe billacceptor to the game (one on eachside andtwo on the bottom). Carefully remove
the bill acceptor from the game. See Figures 6 and 7.
7. If applicable, disconnect the three black connectors (10-, 11- and 12-pin) connecting the electron-
icstray to the game in orderto slide the tray out further (see Figure 5). If your game does nothave
these connectors, the harness is long enough to remove the tray.
COPYRIGHT©2007MERITENTERTAINMENT
ATTENTION:
OBSERVEPRECAUTIONSFORHANDLING ESD-SENSITIVEDEVICES
Removal/Installation of Major Assemblies -
Ion Aurora (cont’d)
Troubleshooting Information - Removal/Installation of Major Assemblies -
IonAurora
MegatouchIonTechnicalReference Manual
10. Disconnect the power connector (green/white/black wires) from the side of the bill acceptor. See
Figure8.
POWE
R
CONNECTO
R
FIGURE8 -POWER CONNECTORON SIDEOF BILLACCEPTOR
11. Remove the bill acceptor fill panel from the bill acceptor bezel. Remove the 4 screws securing the
bill acceptor bezel to the front of the bill acceptor. Screws are located above and beneath the
acceptor. Remove the bezel and the metal mounting plate underneath. See Figures 9 and 10.
SCREWS
SECURING BILL
A
CCEPTOR TO
GAME (4 PLACES)
FIGURE7- BILLACCEPTORWITH MAGAZINEREMOVED
BILL ACCEPTO
R
FILL PANE
L
SCREWS SECURING
BILL ACCEPTOR
BEZEL TO FRONT
OF BILL ACCEPTOR
(4 PLACES)
FIGURE9 -FRONTVIEW OFBILLACCEPTOR
COPYRIGHT©2007MERITENTERTAINMENT
Troubleshooting Information - Removal/Installation of Major Assemblies -
IonAurora
MegatouchIonTechnicalReference Manual
ATTENTION:
OBSERVEPRECAUTIONSFORHANDLING ESD-SENSITIVEDEVICES
Removal/Installation of Major Assemblies -
Ion Aurora (cont’d)
BILL ACCEPTO
R
FILL PANE
L
FIGURE10 - SIDEVIEW OF BILLACCEPTOR
BillAcceptorInstallation
1. Remove the magazine from the new bill acceptor.
2. Line up the bezel’s mounting plate on the front of the new bill acceptor; see Figure 11 for proper
orientation. Line up the bezel on top of the mounting plate and secure to the bill acceptor with 4
screws (see Figure 9). Replace the bill acceptor fill panel on the bezel as shown in Figure 10.
FIGURE11 -METALMOUNTINGPLATE UNDERNEATHBILLACCEPTORBEZEL
3. Attach the power connector to the new bill acceptor (see Figure 8). This connector can only be
connected one way. Secure the new bill acceptor assembly to the game with 4 screws. See
Figure7.
4. Replace the bill acceptor magazine. See Figure 6 for proper orientation.
5. Replace the coin box, if applicable. Replace the cash bracket, if applicable, and lock it in place.
6. Slide the electronics tray back into place, making sure that the connectors on the back of the hard
drive bracket click into the connectors on the wall of the game, if applicable (see Figure 12). If you
disconnected three connectors from the electronics tray to the game (see Figure 5), reconnect
them. Secure the tray by screwing in the thumbscrew. See Figure 4.
COPYRIGHT©2007MERITENTERTAINMENT
ATTENTION:
OBSERVEPRECAUTIONSFORHANDLING ESD-SENSITIVEDEVICES
Removal/Installation of Major Assemblies -
Ion Aurora (cont’d)
Troubleshooting Information - Removal/Installation of Major Assemblies -
IonAurora
MegatouchIonTechnicalReference Manual
Tighten the screw securing the bottom of the door (Figure 2), then turn the wing on the draw latch
clockwise to engage the latch (see Figure 1).
9. Close (or reattach) and lock the rear door.
10. Plug in and turn on the game.
TAB
MATING HOLE
NOTE: ONLY LEFT SIDE SHOWN.
TAB AND MATING HOLE AR
E
ALSO ON RIGHT SIDE.
FIGURE 13 - SIDE VIEW OF GAME
7. Reconnect the power cord to the power supply. Reattach the OSD board to the Velcro on the
power supply bracket and secure with one wing nut. See Figure 3.
8. Reconnect the ground wire to the rear cover and lower the cover into place, carefully lining up the
2 tabs on the cover with the 2 mating holes on the sides of the game (see Figure 13). Make sure
that the plastic lip on the bottom of the rear cover is behind the metal base.
CONNECTORS
ON GAME
(3 PLACES) CONNECTORS
ON BACK OF
HARD DRIVE
(3 PLACES)
NOTE: ELECTRONICS TRAY
TURNED AROUND FOR
VIEWING PURPOSES.
FIGURE12 - CONNECTORSONBACK OF HARD DRIVE BRACKETAND WALLOF GAME

Other Merit Arcade Game Machine manuals

Merit The Vibe User manual

Merit

Merit The Vibe User manual

Merit FORCE Upright User manual

Merit

Merit FORCE Upright User manual
Merit Slim MAXX User manual

Merit

Merit Slim MAXX User manual

Merit FORCE Upright User manual

Merit

Merit FORCE Upright User manual

Merit Ion Aurora User manual

Merit

Merit Ion Aurora User manual

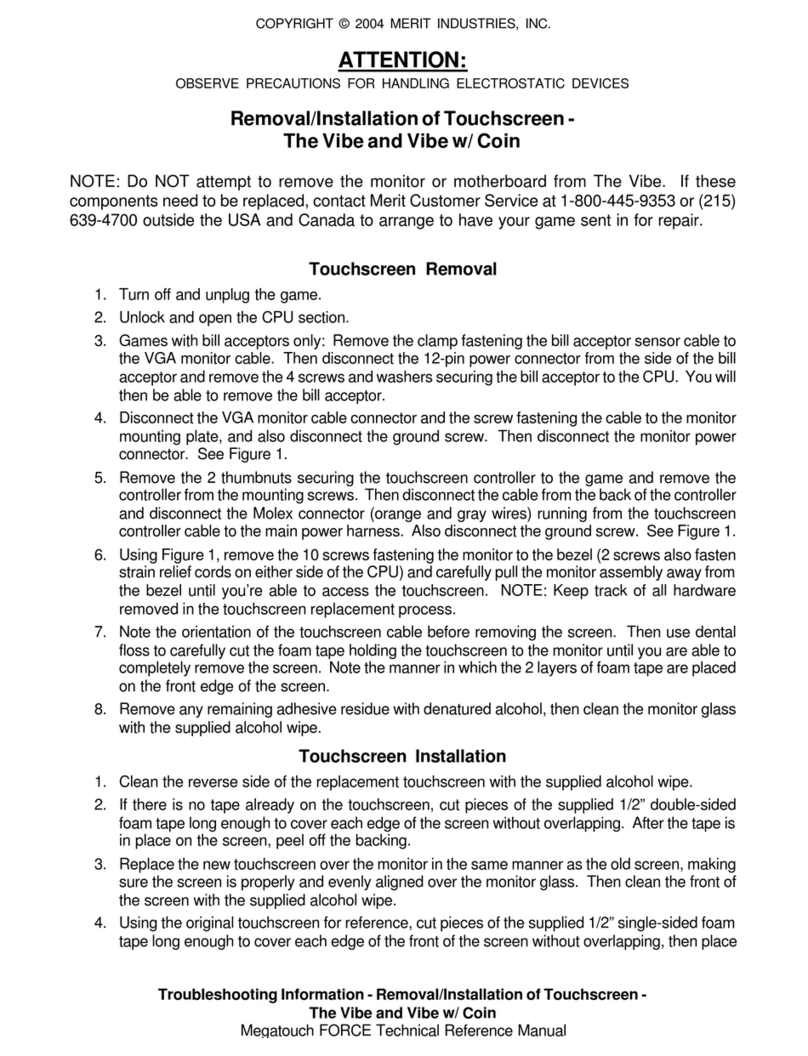
Merit Megatouch Money Shoot User manual
Merit

Merit Megatouch Money Shoot User manual

Merit The Vibe User manual

Merit

Merit The Vibe User manual
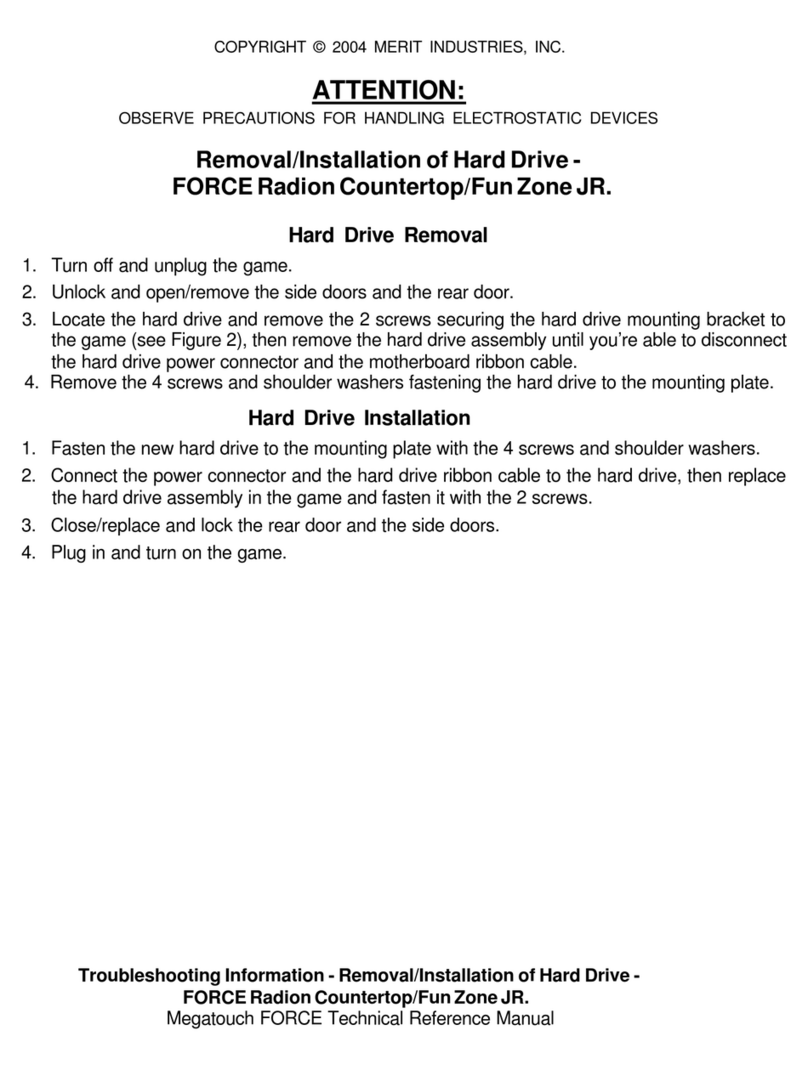
Merit FORCE Radion User manual

Merit

Merit FORCE Radion User manual
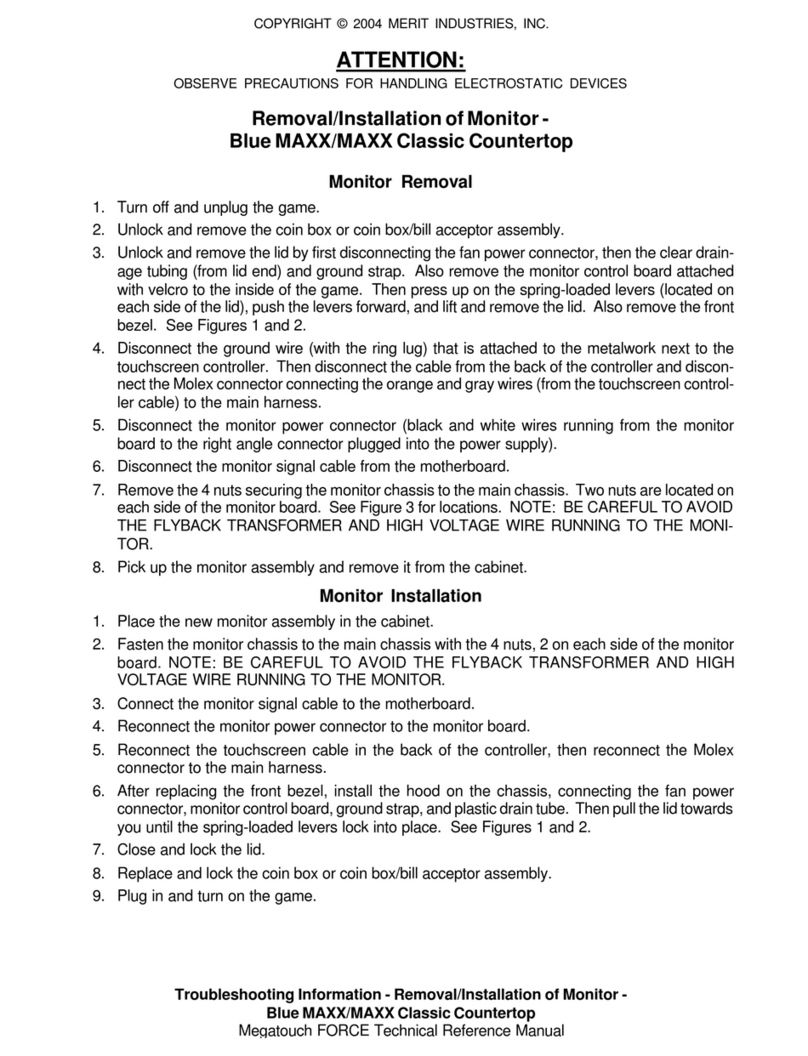
Merit Blue MAXX User manual

Merit

Merit Blue MAXX User manual
Merit Mega-Link User manual

Merit

Merit Mega-Link User manual

Merit Megatouch User manual

Merit

Merit Megatouch User manual
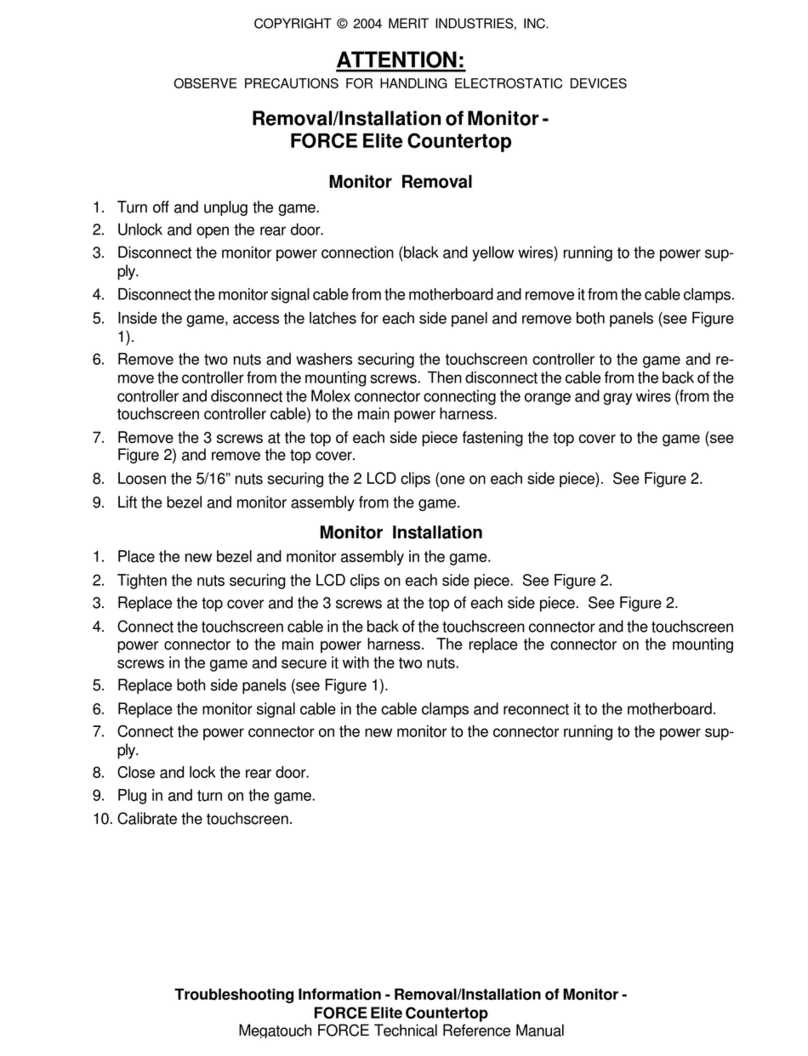
Merit FORCE Elite User manual

Merit

Merit FORCE Elite User manual
Merit SCORPION 9000 User manual

Merit

Merit SCORPION 9000 User manual
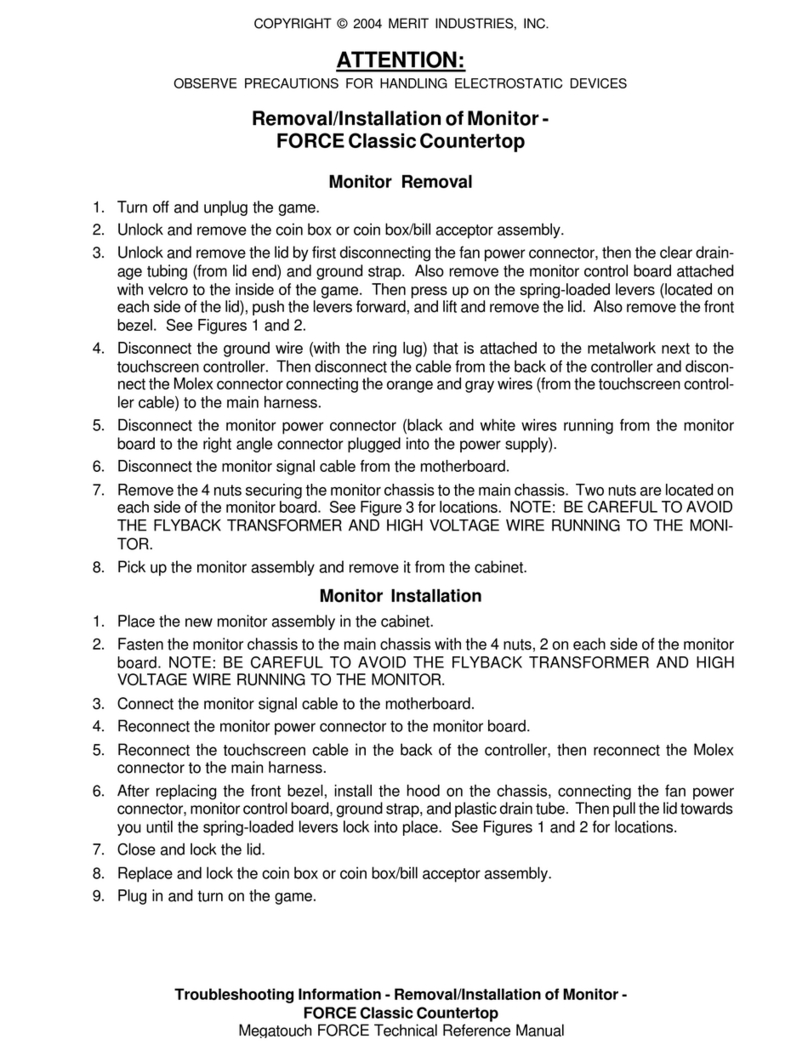
Merit FORCE Classic User manual

Merit

Merit FORCE Classic User manual
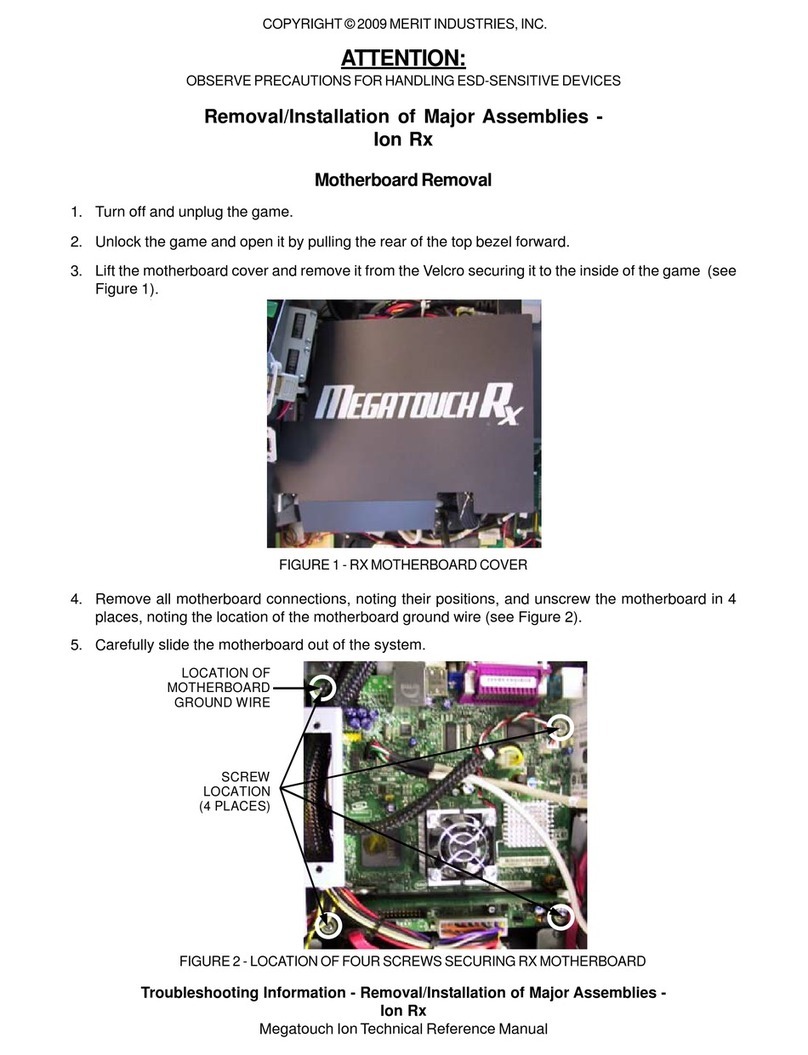
Merit Ion Rx User manual

Merit

Merit Ion Rx User manual

Merit Slim MAXX User manual

Merit

Merit Slim MAXX User manual

Merit Slim MAXX User manual

Merit

Merit Slim MAXX User manual

Merit Blue MAXX User manual

Merit

Merit Blue MAXX User manual

Merit FORCE Upright User manual

Merit

Merit FORCE Upright User manual

Merit Megatouch Money Shoot User manual

Merit

Merit Megatouch Money Shoot User manual

Merit Scorpion DX User manual

Merit

Merit Scorpion DX User manual

Merit Mr. VIPS User manual

Merit

Merit Mr. VIPS User manual

Merit Mr. VIPS User manual

Merit

Merit Mr. VIPS User manual

Merit FORCE Upright User manual

Merit

Merit FORCE Upright User manual

Popular Arcade Game Machine manuals by other brands
Sega BG-X005SGA manual

Sega

Sega BG-X005SGA manual

Benchmark Games Monster Drop Chaos manual
Benchmark Games

Benchmark Games Monster Drop Chaos manual

My Arcade STREET FIGHTER II CHAMPION EDITION Micro Player... user guide

My Arcade

My Arcade STREET FIGHTER II CHAMPION EDITION Micro Player... user guide

Bandai Namco JUMBO JUMPIN' Operator's manual
Bandai Namco

Bandai Namco JUMBO JUMPIN' Operator's manual

HomingGame Key Master Plus manual

HomingGame

HomingGame Key Master Plus manual
Arachnid DiscGlo Shuffle manual

Arachnid

Arachnid DiscGlo Shuffle manual
UNIS JETBALL ALLEY G4K Operation manual

UNIS

UNIS JETBALL ALLEY G4K Operation manual

Pop-A-Shot CLASSIC DUAL owner's manual

Pop-A-Shot

Pop-A-Shot CLASSIC DUAL owner's manual

LAI Games Timebuster Operator's manual

LAI Games

LAI Games Timebuster Operator's manual

Sega Future Tone ProjectDIVA Arcade Service manual

Sega

Sega Future Tone ProjectDIVA Arcade Service manual

Midway NBA HANGTIME Series operating manual

Midway

Midway NBA HANGTIME Series operating manual

Creative Arcades 3500 user manual

Creative Arcades

Creative Arcades 3500 user manual

GCE Vectrex Bedlam manual

GCE

GCE Vectrex Bedlam manual

Family Fun Companies Half Court Hoops Operation manuals

Family Fun Companies

Family Fun Companies Half Court Hoops Operation manuals

Tecway Kid racing instruction manual

Tecway

Tecway Kid racing instruction manual
Bay Tek Games Scooby-Doo Service manual
Bay Tek Games

Bay Tek Games Scooby-Doo Service manual

PlayMechanix Minecraft Dungeons Arcade Setup and Operaton Service Manual

PlayMechanix

PlayMechanix Minecraft Dungeons Arcade Setup and Operaton Service Manual

MD SPORTS DH58101 Assembly instructions

MD SPORTS

MD SPORTS DH58101 Assembly instructions

manuals.online logo
manuals.online logoBrands
  • About & Mission
  • Contact us
  • Privacy Policy
  • Terms and Conditions

Copyright 2025 Manuals.Online. All Rights Reserved.