manuals.online logo
Brands
  1. Home
  2. •
  3. Brands
  4. •
  5. Englefield
  6. •
  7. Bathroom Fixture
  8. •
  9. Englefield STUDIO II 22982A-CP User manual

Englefield STUDIO II 22982A-CP User manual

SPARE PARTS LIST
BEFORE YOU BEGIN
INSTALLATION
INSTRUCTIONS
TAPWARE
Englefield
STUDIO II DUAL RAIN SHOWER
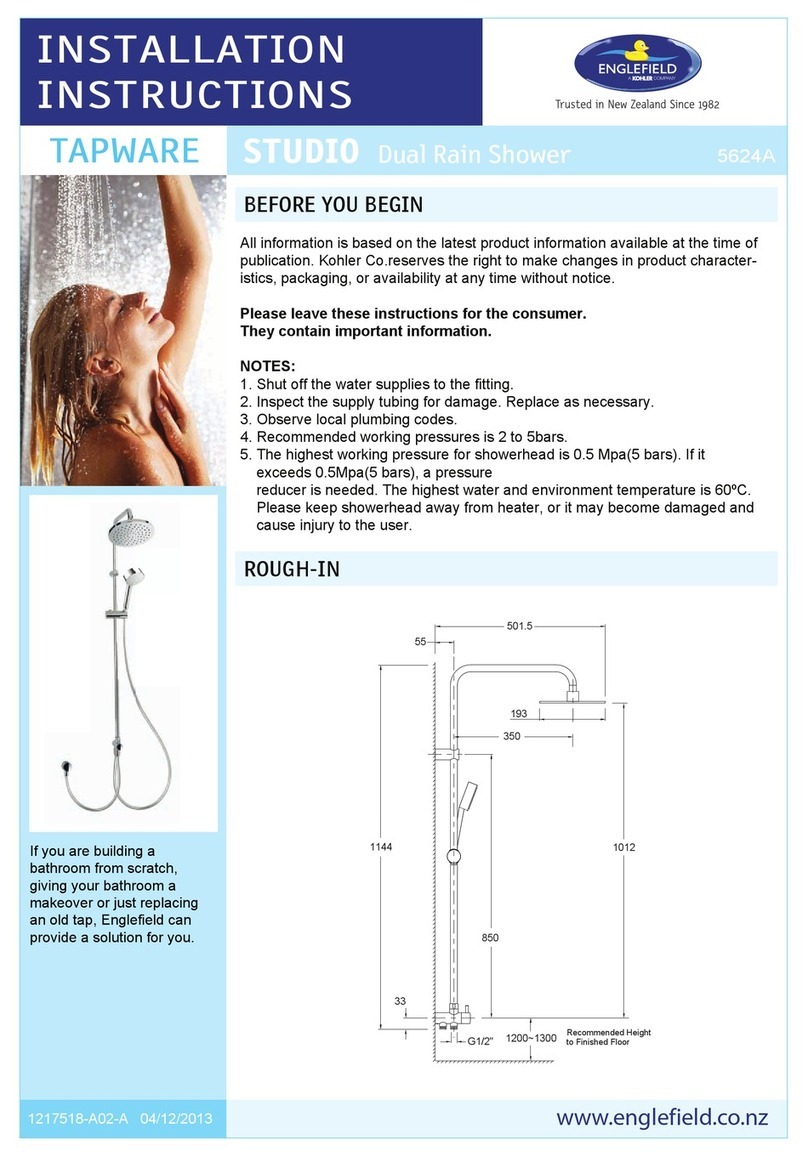
ROUGH-IN DIMENSIONS
CONTACT AND WARRANTY INFORMATION
NEW ZEALAND
KOHLER NZ LTD
Free Ph: 0800 100 382
Free Fax: 0800 664 488
www.englefield.co.nz
AUSTRALIA
KOHLER AUSTRALIA
Free Ph: 1 800 ENGLEFIELD
(1 800 364 533)
www.englefield.com
For warranty information, please visit our website
Page 4
1398216-A02-B 22/10/2020 Englefield
22982A-CP
All information is based on the latest product information available at the time of
publication. Englefield reserves the right to make changes in product character-
istics, packaging, or availability at any time without notice.
Please leave this installation instructions guide for the consumer.
It contain important information.
1. Flush the water supply pipes thoroughly to remove debris.
2. An in-line filter must be used with this product.
3. The highest working pressure for the hand shower and the overhead shower is 500kPa. If it
exceeds 500kPa, a pessure limiting valve must be fitted.
4. The operating temperature of hand shower and the overhead shower is from 10˚C to 70˚C.
NZ building code G12 requires that maximum hot water temperature at any sanitary fixture
used for personal hygiene shall not exceed either 45˚C or 55˚C. If so, a tempering valve must
be installed.
5. This shower is intended for high/mains pressure installations. It may not be suitable for use
with gravity-fed water heaters, low and unequal pressure supplies.
6. All installations should comply with local plumbing codes and the relevant requirements of
AS/NZS 3500 and AS/NZS 6400.
INSTALLATION INSTRUCTIONSSTUDIO II DUAL RAIN SHOWER
Clamp bracket
1241291
Hexagonal wall mount
1241288
200mm Round Shower Head
1241287
Hand shower (Multi modes)
1397398
Shower hose
1241297
Hose washer
1239241
Diverter Assembly
1463413
G 1/2”B
225
Ø 90
1524mm
G 1/2”
* All measurements shown are in milimetres
844
Recommended height
to Finished Floor
51
G1/2”
Ø200
G1/2”B 1200~1300
350
1098
980
1398216-A02-B 22/10/2020
1. Select a location on a vertical wall to install shower
column according to rough-in dimensions.
Note: The shower column must be fixed to timber
studs or nogs in the wall.
2. Install a G1/2”B water supply nipple (1) (not supplied),
ensure the supply nipple and fixing hole are aligned verti
cally, and is 844mm below the top wall fixing hole.
Note 1: Minimum 350mm clearance from ceiling to
top mounting position.
Note 2: Distance from the end of nipple to the
finished wall should not exceed 15mm to avoid to
damage the flow regulator in the diverter.
3. Fix top mounting brackets (2) to the wall by screw set (3
& 4). Align slot in the top mounting bracket vertically.
4. Slide the clamp bracket (5) onto the lower tube (6) and
adjust it to the centre of the lower tuble.
5. Screw the lower tube (6) into top tube (7) through top
support (8) and tighten with screw (9) inside of the top
support.
6. Remove the grub screw (13), pull inlet bracket (11) out of
diverter (12).
7. Apply thread tape or sealant onto the water supply nipple
(1) and then screw the inlet bracket firmly up to the wall.
8. Connect the diverter to the lower tube.
9. Fix the shower columm to the top mounting bracket and
to the inlet bracket with the grub screw (10 & 13). Adjust
the position of top mounting bracket up or down slightly if
necessary to ensure a good alignment.
10. Connect hand shower hose (14) to the outlet of diverter
and to hand shower (15).
11. Attach overhead shower (16) to the top tube.
CLEANING INSTRUCTIONS
INSTALLATION CHECKOUT
Page 3
1398216-A02-B 22/10/2020 Englefield
INSTALLATION INSTRUCTIONSSTUDIO II DUAL RAIN SHOWER
Page 2
1398216-A02-B 22/10/2020 Englefield
INSTALLATION INSTRUCTIONSSTUDIO II DUAL RAIN SHOWER
How to Install the Shower Column & Diverter
INSTALLATION
NB: The shower can be operated in two modes, i.e. Hand Shower or Overhead Shower mode.
1). Ensure that all connections are tight.
2). Turn on the main water supply and check for leaks. Repair as needed.
3). Switch the diverter to Hand Shower mode.
3). Disconnect the hand shower from the shower hose and then turn on the shower mixer for minimum one
minute to flush any residual debris from the lines.
4). Check and clean filter washers as necessary. Reinstall the shower hose back to the hand shower and to the
diverter.
5). Adjust the height of hand shower by sliding the clamp bracket up or down.
6). Switch the diverter to Overhead Shower mode.
7). Disconnect the overhead shower from the top tube and then turn on the shower mixer for minimum one
minute to flush any residual defris from the lines.
8). Check and clean filter washers as necessary. Reinstall the overhead shower back to the shower column.
Clean all finishes with mild soap and warm water. Wipe entire surface completely dry with a clean soft cloth.
Many cleaners may contain such chemicals as ammonia, chlorine, toilet chemials etc, which could adversely
affect the finish and are not recommended for cleaning.
Do not use abrasive cleaners or solvents on Englefield fittings.
15
7
6
2349
5
13
G1/2”B
Distance: 844mm
8
14
11 12
10
1
16

Other Englefield Bathroom Fixture manuals

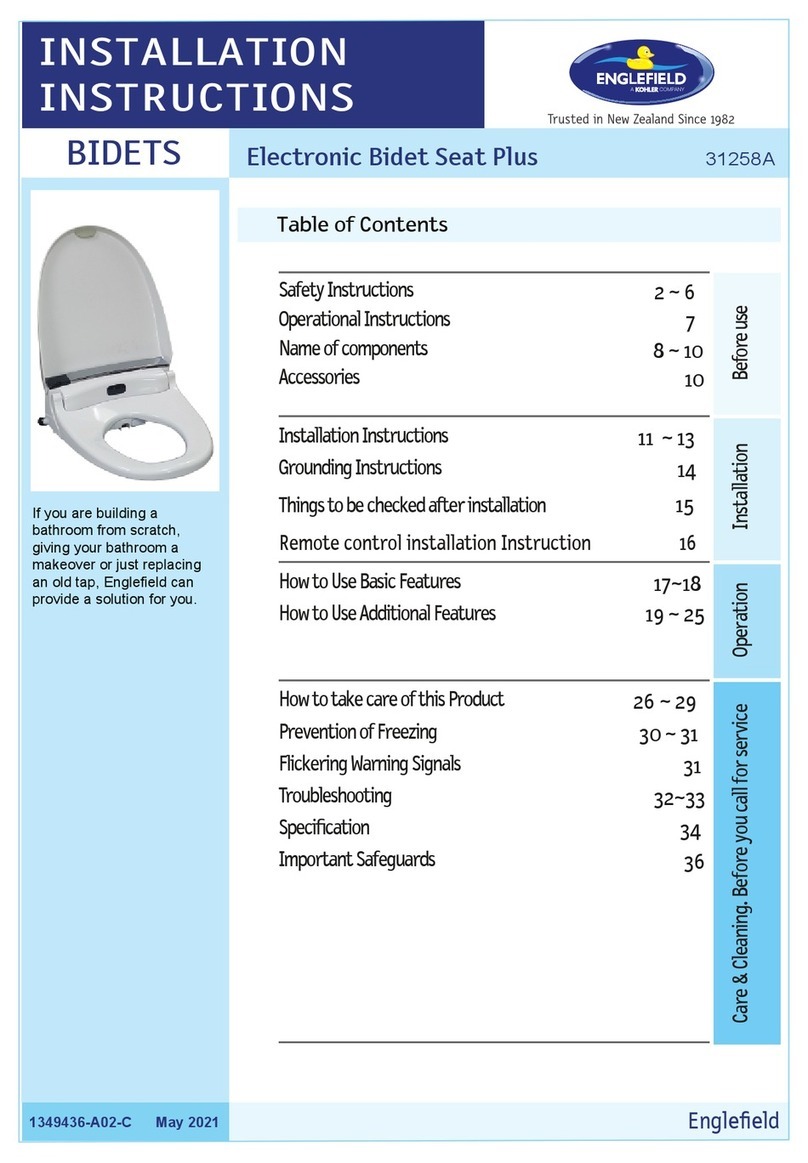
Englefield STUDIO 5624A User manual

Englefield

Englefield STUDIO 5624A User manual

Englefield MILANO Square User manual

Englefield

Englefield MILANO Square User manual

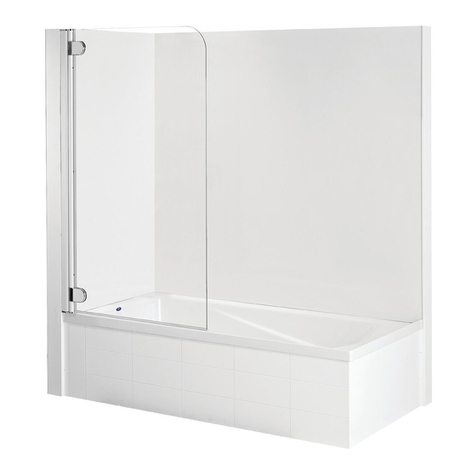
Englefield PREMIUM BATHSCREEN User manual

Englefield

Englefield PREMIUM BATHSCREEN User manual

Englefield TAPWARE STUDIO 5622A-CP User manual

Englefield

Englefield TAPWARE STUDIO 5622A-CP User manual

Englefield 5625A User manual

Englefield

Englefield 5625A User manual

Englefield VALENCIA SLIM VANITY User manual

Englefield

Englefield VALENCIA SLIM VANITY User manual

Englefield Tapware Studio II Slide Shower 22980A-CP User manual

Englefield

Englefield Tapware Studio II Slide Shower 22980A-CP User manual

Englefield MILANO Alcove User manual

Englefield

Englefield MILANO Alcove User manual

Englefield VALENCIA ELITE User manual

Englefield

Englefield VALENCIA ELITE User manual

Englefield 31258A User manual

Englefield

Englefield 31258A User manual

Englefield VALENCIA ELITE User manual

Englefield

Englefield VALENCIA ELITE User manual

Englefield PREMIUM BATH SCREEN User manual

Englefield

Englefield PREMIUM BATH SCREEN User manual

Englefield VALENCIA Slim Vanity User manual

Englefield

Englefield VALENCIA Slim Vanity User manual

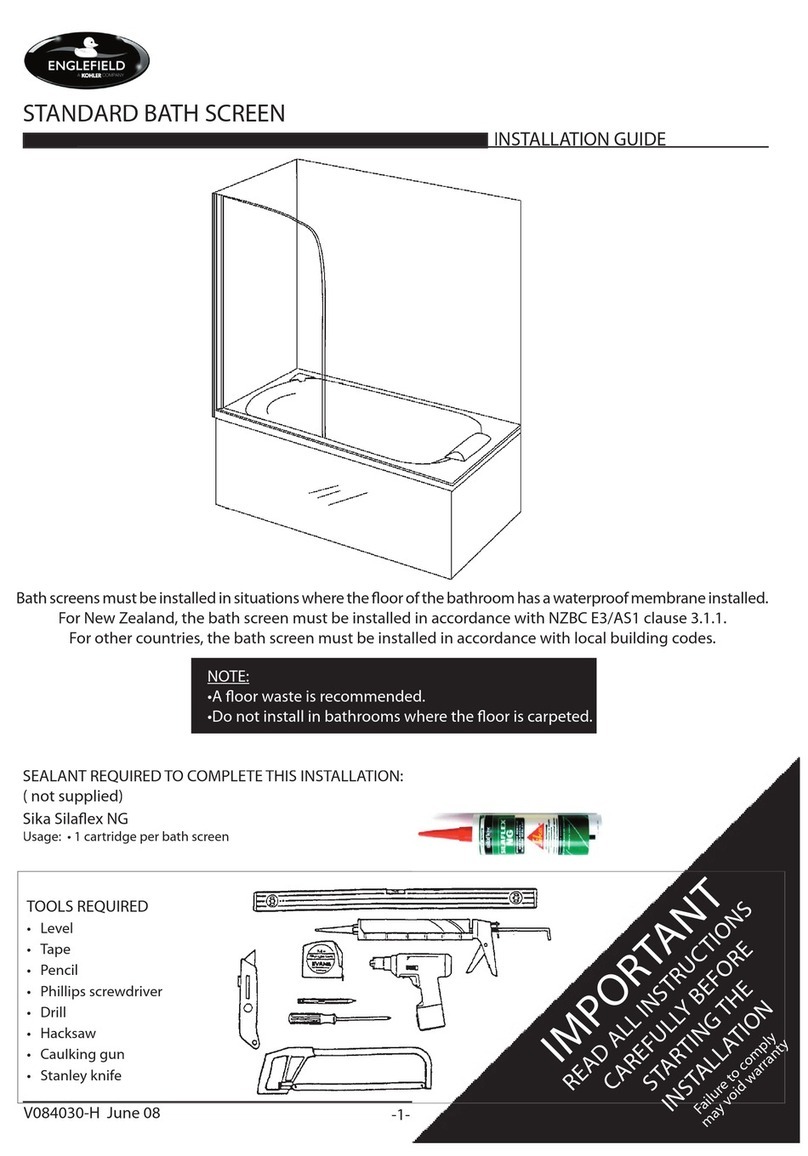
Englefield STANDARD BATH SCREEN User manual

Englefield

Englefield STANDARD BATH SCREEN User manual

Englefield VALENCIA ELITE User manual

Englefield

Englefield VALENCIA ELITE User manual

Englefield 1830 User manual

Englefield

Englefield 1830 User manual

Popular Bathroom Fixture manuals by other brands

Hans Grohe Raindance E 27372 1 Series Installation instructions / warranty

Hans Grohe

Hans Grohe Raindance E 27372 1 Series Installation instructions / warranty

Franke FAID0008 Installation and operating instructions

Franke

Franke FAID0008 Installation and operating instructions

Graff Tephi TEP15-NO Instructions for assembly and use

Graff

Graff Tephi TEP15-NO Instructions for assembly and use

VIGO VG08007 manual

VIGO

VIGO VG08007 manual

Triton Samba Installation and operating instructions

Triton

Triton Samba Installation and operating instructions

Brizo 69918 Series manual

Brizo

Brizo 69918 Series manual

OYPLA Home 4563 user manual

OYPLA Home

OYPLA Home 4563 user manual

Graff G-8220 Manual instruction

Graff

Graff G-8220 Manual instruction

RIHO NOVIK Z108 DORADO installation manual

RIHO

RIHO NOVIK Z108 DORADO installation manual

Fleurco STAK DUO LVSTB24-AP-RD Series installation manual

Fleurco

Fleurco STAK DUO LVSTB24-AP-RD Series installation manual

Triton Safeguard Installation and operating instructions

Triton

Triton Safeguard Installation and operating instructions

kelda 95001000 manual

kelda

kelda 95001000 manual

JADO Wynd 816/989 Series installation instructions

JADO

JADO Wynd 816/989 Series installation instructions

INDA BMR02 S quick start guide

INDA

INDA BMR02 S quick start guide

SIDLER Electric operating instructions

SIDLER

SIDLER Electric operating instructions

Artos PS116 installation guide

Artos

Artos PS116 installation guide

Mirolin S36 Installation instructions and owner's manual

Mirolin

Mirolin S36 Installation instructions and owner's manual

Fleurco Lexus PWJLR5836-11-40L-MC-65 instruction manual

Fleurco

Fleurco Lexus PWJLR5836-11-40L-MC-65 instruction manual

manuals.online logo
manuals.online logoBrands
  • About & Mission
  • Contact us
  • Privacy Policy
  • Terms and Conditions

Copyright 2025 Manuals.Online. All Rights Reserved.