manuals.online logo
Brands
  1. Home
  2. •
  3. Brands
  4. •
  5. Merrithew
  6. •
  7. Fitness Equipment
  8. •
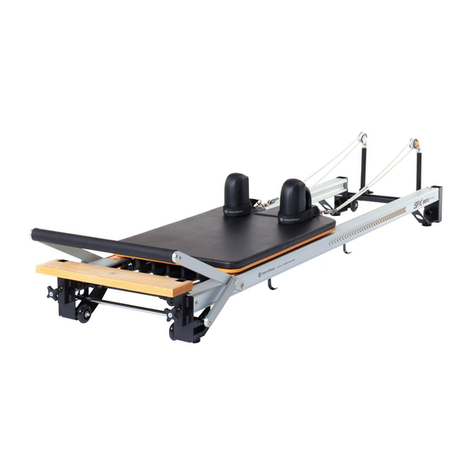
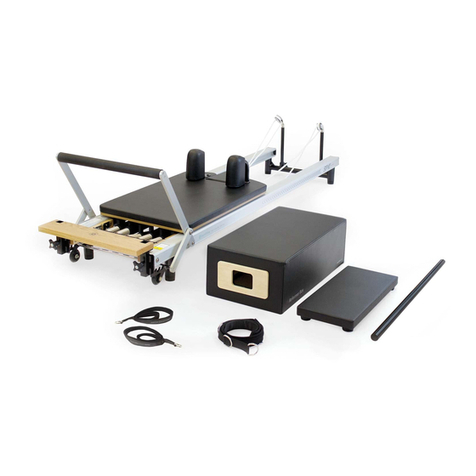
  9. Merrithew V2 MAX PRO User manual

Merrithew V2 MAX PRO User manual

Swing Arm Pin
Fastener Replacement
Please review this important replacement information for the
Swing Arm Pin Fastener on your MERRITHEW™SPX Max or V2 Max Reformer.
For video assembly instructions,
visit: merrithew.com/sapfr-assembly
FOR V2MAX™PRO,REHAB &SPX®MAX REFORMERS
Swing Arm Pin Fastener Replacement Kit
B.
IMPORTANT! PLEASE READ THESE INSTRUCTIONS COMPLETELY BEFORE BEGINNING ASSEMBLY.
• Place all parts from the box in a cleared area and position them on the floor in front of you.
• Remove all packing material from your area and place them back into the box.
• Do not dispose of the packing materials until assembly is completed.
• To prevent unsafe or improper use, please read each step carefully before beginning.
• It is recommended you replace one side at a time.
• Do not tighten hardware until both sides have been replaced. Keep all parts until the replacement is complete.
New Hardware Included:
A. SPX Max Swing Arm Pin Fastener, QTY-2
or V2 Max Pro-Rehab
Swing Arm Pin Fastener, QTY-2
Each Swing Arm Pin Fastener comes with a
pre-set Plastic Shim and is marked with a blue tip
B. Socket Head Bolt, 5/16"x 1/2", QTY-2
A.
STEP 3
STEP 4
STEP 1
STEP 2
Adjuster Bar
As shown on the SPX Max
To Disassemble
Replacement Instructions
1. To prepare, remove the Gearbar and place the Footbar
Assembly in the highest position. In a counter-clockwise
direction, remove the Socket Head Bolt (G) and Washer (F)
from the Swing Arm Pin Fastener with the 1/4" Hex Key.
Toprevent it from spinning, secure the flat ends of the Swing
Arm Pin Fastener with the 3/4" OpenEnded Wrench as shown
in [FIG A]. Setaside Washer (F) to be reattached later. Socket
Head Bolt (G) to be replaced with new SocketHead Bolt (B)
supplied. Keep Swing Arm Assembly on the other side of
Reformer intact.
2. Remove the Socket Head Bolt (G) from the Adjuster Bar using
the 1/4" Hex Key. Set Bolt aside to reattach later.
3. While holding on to the Long Arm of the Swing Arm
Assembly, remove the Socket Head Bolts (H) from the Footbar
using the 3/16" Hex Key. Setaside Bolts to reattach later.
4. Gently remove the full Swing Arm Assembly and set aside
toreattachlater.
(F)
(G)
(G)
(H)
(E)
Existing Hardware to Retain:
C. Hex Lock Nut 3/8", QTY-2
D. Metal Flat Washer 3/8", QTY-8
E. Nylon Washer 1", QTY-2
F. Metal Flat Washer 5/16", QTY-2
G. Socket Head Bolt, 5/16"x 1", QTY-2
H. Socket Head Bolt, 3/16"x 1", QTY-4
REQUIRED TOOLS
INCLUDED
1/4" hex key
3/16" hex key
5/16" hex key
3/4" spx max or v
2
max pro-rehab
open ended wrench
9/16" socket with handle
push tool
NOT INCLUDED:
rubber mallet or hammer
Long Swing Arm
Short Swing Arm
FIG. A
H.C. E.D. F. G.
5. Remove the Hex Lock Nut (C) and Washer (D) housed within
the Wooden Gearbar Block on the inside rail, closest to the
front end of the Reformer first, using the supplied 9/16"
Socket with Handle as per [Fig B]. To prevent the Flat Head
Hex Bolt from spinning, test the 3/16” Hex Key and the 5/16”
Hex Key in the Flat Head Bolt as shown in FIG. B.1, select the
one that is most snug and insert the Hex Key into the Bolt as
shown in [FIG B–STEP 5].
6. Remove the Hex Lock Nut (C) and Washer (D) housed
within the Wooden Gearbar Block, using the supplied 9/16"
Socket with Handle as per [FIG B]. Toprevent Swing Arm Pin
Fastener from spinning, secure the flat ends with the 3/4"
OpenEnded Wrench as shown in [FIG B–STEP 6].
9. Insert the new Swing Arm Pin Fastener with the pre-set
PlasticShim and blue tip (A) through the rail slowly,
as shown in[FIGE].
10. Place inside Metal Flat Washers (D) on the new Swing Arm Pin
Fastener and the Flat Head Hex Bolt as per [FIG F]. Slidethe
Wooden Gearbar Block into the rail on the Swing Arm Pin Fastener
and Flat Head Hex Bolt [FIG F].
11. Using the supplied 9/16" Socket with Handle, reattach the outside
Washer (D) and Hex Lock Nut (C) in the Wooden Gearbar Block on
the inside rail, closest to the front end of the Reformer by turning
clockwise. Toprevent Bolt fromspinning, insert the Hex Key used
in Step 5 (the one with the best fit) into the Flat Head Hex Bolt as
shown in [FIG F].
12. Using the supplied 9/16" Socket with Handle, replace the outside
Washer (D) and HexLock Nut (C) on the Swing Arm Pin Fastener
in the Wooden Gearbar Block. Toprevent Swing Arm Pin Fastener
from spinning, secure theflat ends with the 3/4" OpenEnded
Wrench as per[FIG F].
To Reassemble
STEPS 5, 6 & 7
STEPS 10, 11 & 12
STEP 9
STEP 8
FIG. C
FIG. D
FIG. B
(D)
(D)
(D)
(D)
(C)
(C)
STEP 5
STEP 6
STEP 7
FIG. F
(D)
(D)
(D)
(D)
(C)
(C)
STEP 11
STEP 12
7. Gently remove Wooden Gearbar Block from the rail and place it
and all hardware to the side.
8. To remove the Swing Arm Pin Fastener from the rail, position the
Push Tool into the dimple of the threaded end of the Swing Arm
Pin Fastener and gently tap against the Push Tool until the Swing
Arm Pin Fastener is fully released as per [FIG C & FIG D]. Take
care to not hammer against the aluminum rail.
NOTE: Discard the old Swing Arm Pin Fastener and PlasticShim.
New Hardware supplied.
(A)
FIG. E
FIG. B.1
STEP 10
E
STEP 16
STEP 14
STEP 15
13. Add the Nylon Washer (E) to the Swing Arm Pin Fastener (A)
before reattaching the Swing Arm Assembly.
14. Secure the long Swing Arm with the Metal Flat Washer (F) and
new Socket Head Bolt (B) supplied using the 1/4"Hex Key.
15. Secure the short Swing Arm to the Chrome Adjuster Bar
withthe original Socket Head Bolt (G) using 1/4"Hex Key.
16. Reattach the long Swing Arm to the Footbar with
originalSocket Head Bolts (H) using the 3/16" Hex Key.
NOTE: Ensure the Chrome Adjuster Bar is resting level in
theJ-hooks on both sides.
17. Repeat steps 1 to 16 on the other side.
18. Tighten all hardware.
As shown on the SPX Max
(E)
(F)
(B)
(G)
(H)
STEP 13
P00230 PM-P00230 JAN16 ™/® Trademark or registered trademark of Merrithew Corporation, used under license. Printed in Canada. All rights reserved.
2200 Yonge Street, Suite 500, Toronto, ON M4S 2C6 phone 416.482.4050
fax 416.482.2742 email [email protected] website merrithew.com
Please keep this manual in a safe place.
IMPORTANT
For assistance or any missing parts:
Call: Toll-free in North America 1-800-910-0001
Toll-free in United Kingdom 0800-328-5676
Email: [email protected]

This manual suits for next models

2

Other Merrithew Fitness Equipment manuals
Merrithew Mini Stability Barrel Lite User manual

Merrithew

Merrithew Mini Stability Barrel Lite User manual

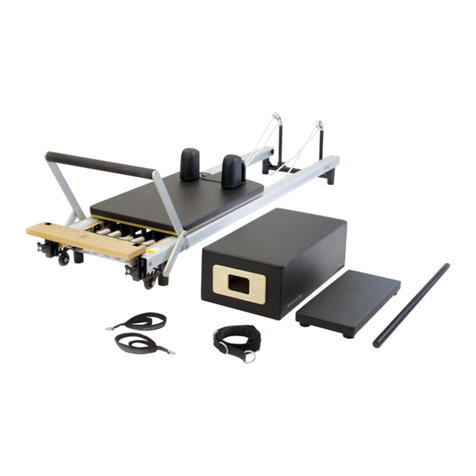
Merrithew SPX REFORMER STOTT PILATES User manual

Merrithew

Merrithew SPX REFORMER STOTT PILATES User manual

Merrithew Stability Barre User manual

Merrithew

Merrithew Stability Barre User manual

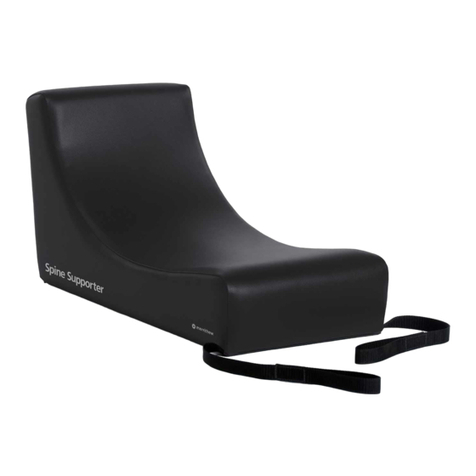
Merrithew Spine Supporter User manual

Merrithew

Merrithew Spine Supporter User manual

Merrithew High-Traction Reformer Feet User manual

Merrithew

Merrithew High-Traction Reformer Feet User manual

Merrithew Tower Trainer User manual

Merrithew

Merrithew Tower Trainer User manual

Merrithew Wall Unit User manual

Merrithew

Merrithew Wall Unit User manual

Merrithew Arc Barrel User manual

Merrithew

Merrithew Arc Barrel User manual

Merrithew Flex-Band Handles User manual

Merrithew

Merrithew Flex-Band Handles User manual

Merrithew SPX Max Reformer Configuration guide

Merrithew

Merrithew SPX Max Reformer Configuration guide

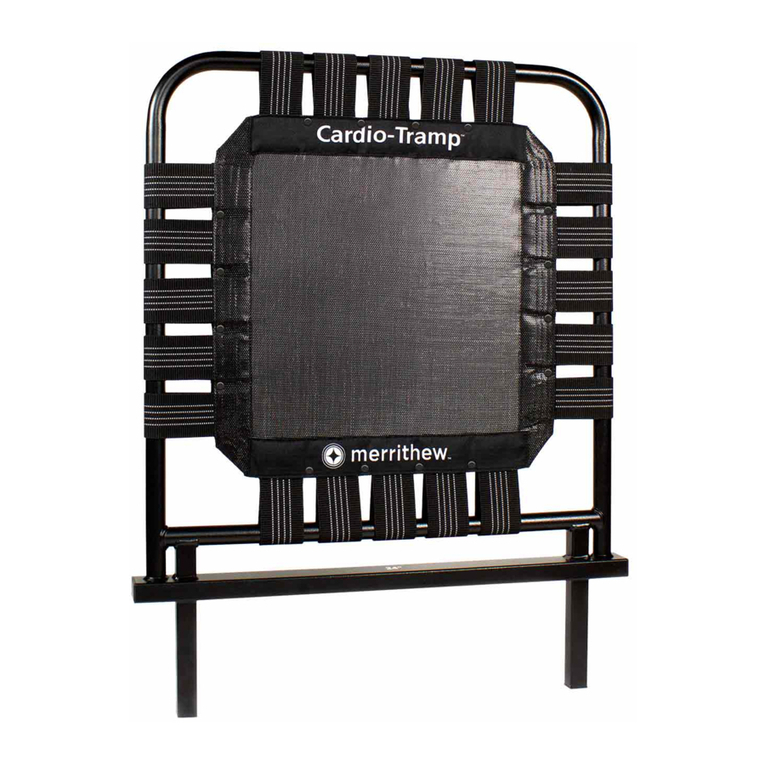
Merrithew Cardio-Tramp User manual

Merrithew

Merrithew Cardio-Tramp User manual

Merrithew Mat Hanger User manual

Merrithew

Merrithew Mat Hanger User manual

Merrithew Reformer Parts list manual

Merrithew

Merrithew Reformer Parts list manual

Merrithew SPX Reformers User manual

Merrithew

Merrithew SPX Reformers User manual

Merrithew Reformer Parts list manual

Merrithew

Merrithew Reformer Parts list manual

Merrithew Halo Trainer Plus User manual

Merrithew

Merrithew Halo Trainer Plus User manual

Merrithew STABILITY BARREL User manual

Merrithew

Merrithew STABILITY BARREL User manual

Merrithew Mini Stability Ball User manual

Merrithew

Merrithew Mini Stability Ball User manual

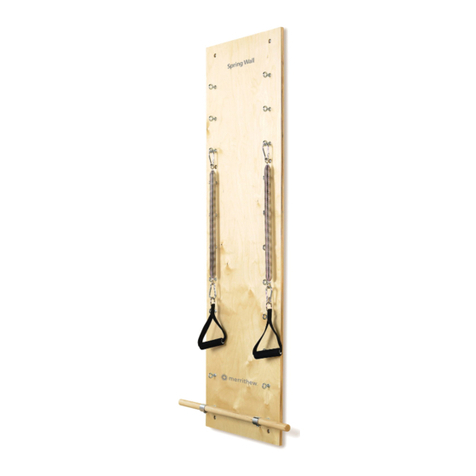
Merrithew Spring Wall User manual

Merrithew

Merrithew Spring Wall User manual

Merrithew Cardio-Tramp Webbing User manual

Merrithew

Merrithew Cardio-Tramp Webbing User manual

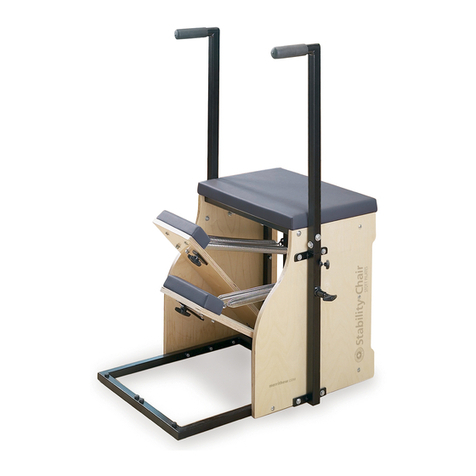
Merrithew STOTT PILATES STABILITY CHAIR User manual

Merrithew

Merrithew STOTT PILATES STABILITY CHAIR User manual

Merrithew Rotational Diskboard User manual

Merrithew

Merrithew Rotational Diskboard User manual

Merrithew PROFESSIONAL Series User manual

Merrithew

Merrithew PROFESSIONAL Series User manual

Merrithew STOTT PILATES Roll-Up Pole User manual

Merrithew

Merrithew STOTT PILATES Roll-Up Pole User manual

Popular Fitness Equipment manuals by other brands

FITBENCH PRO FBH-30 manual

FITBENCH

FITBENCH PRO FBH-30 manual

FRENCH FITNESS FF-FSR50-LPD owner's manual

FRENCH FITNESS

FRENCH FITNESS FF-FSR50-LPD owner's manual

Nustep T4R user manual

Nustep

Nustep T4R user manual

ICAROS PICO instruction manual

ICAROS

ICAROS PICO instruction manual

Stairmaster StepMill 3 Assembly manual

Stairmaster

Stairmaster StepMill 3 Assembly manual

Body Solid SDKRDBL Assembly instructions

Body Solid

Body Solid SDKRDBL Assembly instructions

Tacx Booster Assembly

Tacx

Tacx Booster Assembly

Horizon Fitness OXFORD 3 manual

Horizon Fitness

Horizon Fitness OXFORD 3 manual

RP3 Rowing S owner's guide

RP3 Rowing

RP3 Rowing S owner's guide

Progression Fitness 7000E Owner's operation manual

Progression Fitness

Progression Fitness 7000E Owner's operation manual

Stel'Air TSVF-365 user manual

Stel'Air

Stel'Air TSVF-365 user manual

Men'sHealth Active+ Squat Rack Assembly & user instructions

Men'sHealth

Men'sHealth Active+ Squat Rack Assembly & user instructions

BRONZE GYM H-033 user manual

BRONZE GYM

BRONZE GYM H-033 user manual

Redline Sports M01480RW instruction manual

Redline Sports

Redline Sports M01480RW instruction manual

Taurus BodyCraft SEBR6245 Assembly instructions

Taurus

Taurus BodyCraft SEBR6245 Assembly instructions

Deltech Fitness DF105 Assembly manual

Deltech Fitness

Deltech Fitness DF105 Assembly manual

Mueller Handy Gym quick start guide

Mueller

Mueller Handy Gym quick start guide

Hoist Fitness ROC-IT RPL-5101-A owner's manual

Hoist Fitness

Hoist Fitness ROC-IT RPL-5101-A owner's manual

manuals.online logo
manuals.online logoBrands
  • About & Mission
  • Contact us
  • Privacy Policy
  • Terms and Conditions

Copyright 2025 Manuals.Online. All Rights Reserved.