manuals.online logo
Brands
  1. Home
  2. •
  3. Brands
  4. •
  5. Midea
  6. •
  7. Vacuum Cleaner
  8. •
  9. Midea MVC-P300 User manual

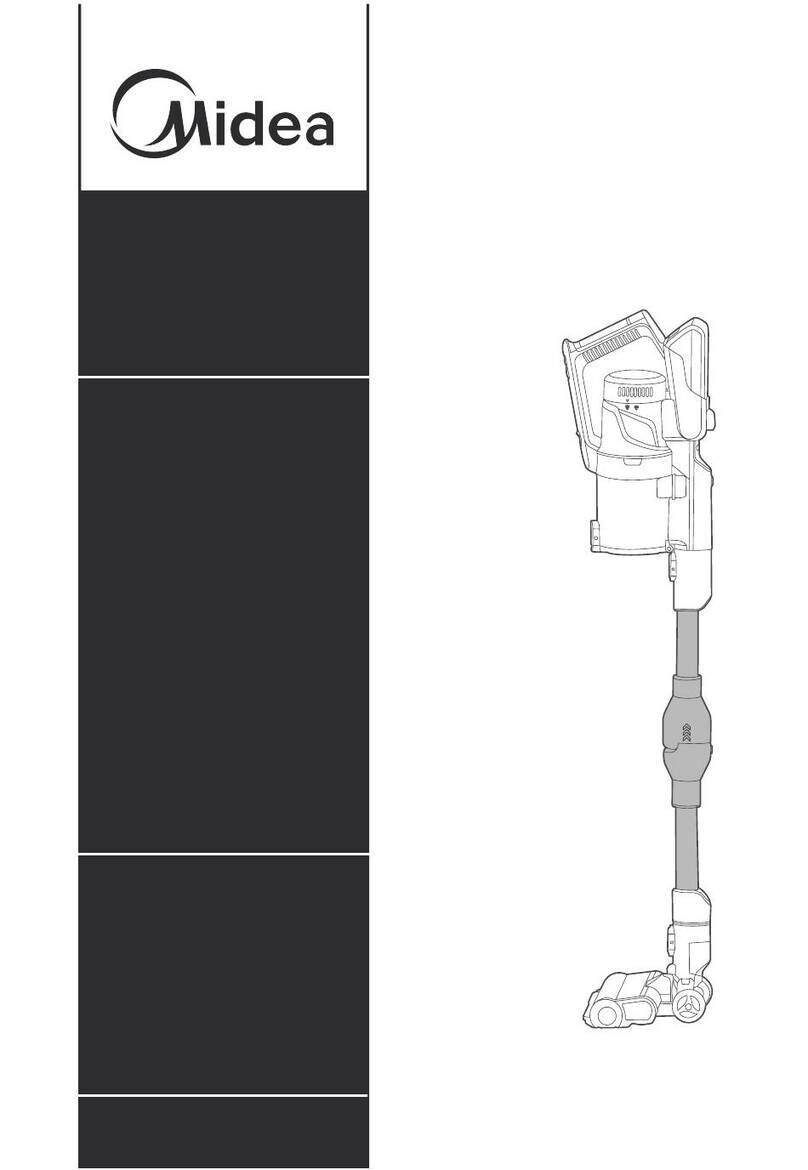
Midea MVC-P300 User manual

220W BLDC CORDLESS
VACUUM CLEANER
INSTRUCTION
MANUAL
Please read the Manual carefully before use, and keep it properly.
Contents 2
4
6
9
11
Safety Introduction
Product Introduction
Product Operation
Product Maintenance
Trouble Shooting
32
7
Safety Introduction
1. Only the certified technician may disassemble this product.
Users are strictly not allowed to disassemble this product.
2. This product shall only be charged using the included
power adapter. Other power adapters may cause damages
to this product.
3. Do not touch power cord, plug or adapter with wet hands.
4. Avoid curtains, any kind of strings or user's body part
wrapping up on the wheel.
5. Keep this product away from cigarette stubs, lighters or
flame.
6. To clean the product, this product must be fully charged
before any cleaning process.
7. Do not over-bend the power cord, or place heavy or sharp
objects on this product.
8. This product is intended for indoor use only, do not use this
product outdoors.
9. Do not place object (e.g. human) with more than 10KG
weight on this product.
10. Do not use this product in wet or moist environment (e.g.
bathroom).
11. Before using this product, please remove any fragile objects
(e.g. glasses, lamps etc) from the floor. Also removes any
objects that may be wrapped up to the side brushes or
may block the suction inlet.
12. Do not put this product on table or benches to avoid falling
off.
13. While delivering or if do not use the product for long time,
please turn it off from the bottom.
14. Before charging, please check whether the power adapter
and socket is connected well.
15. When this product is cleaning the room, please inform
other members to avoid causing them to fall.
16. When the dust bin is full of dust, empty the dust bin before
using this product.
17. This product is functioning at temperature range within
0°C - 40°C.
18. Do not use this product in high-temperature environment.
19. Please remove batteries form this product before disposal.
20. Replace the batteries of the remote control according to
conditions. Depleted batteries should be disposed safely.
21. The appliance is not to be used by persons (including
children) with reduced physical, sensory or mental
capabilities, or lack of experience and knowledge, unless
they have been given supervision or instruction.
22. Children being supervised not to play with the appliance.
23. The appliance is only to be used with the power supply unit
provided with the appliance.
24. The appliance must only be supplied at safety extra low
voltage corresponding to the marking on the appliance.
25. The battery must be removed from the appliance before it
is scrapped;
‒ the appliance must be disconnected from the supply
mains when removing the battery;
‒ the battery is to be disposed of safely.
54
Product Introduction
1
2
3
4
5
6
7
8
9
7
1
2
5
6
4
3
9
8
5
6
Main Unit
Extension Tube
Handle
Main Brush
Crevice Tool
2 in 1 Tool
Wall Mount
Adapter
Battery Pack
10
11
12
13
14
15
16
18
17
19
20
21
22
23
24
25
26
27
10
11
12
13
14
15
16
17
18
Air Outlet Cover
Air Outlet Filter
Base Nozzle
Power Supply Contacts
Dust Empty Button
Dust Cup
Bottom Lid
Power Trigger
Battery Release Button
19
20
21
22
23
24
25
26
27
Battery Status Indicator
Hard Floor Mode Indicator
MAX Power Indicator
Carpet Mode Indicator
Carpet/Hard Floor Mode Button
MAX Button
Fabric Filter
Foam Filter
Filter Cover
Easy assembly
76
Product Operation
Slide battery onto hand vacuum
until firmly attached (Fig. 1).
01
Slide wand onto hand vacuum
until it clicks (Fig. 2).
02
Push wand into motorized floor
nozzle until it clicks (Fig. 3).
03
How to install wall mount
Choose location near power outlet.
Locate point high enough on wall to
allow wand and motorized floor
nozzle to hang freely.
01
Place mount against wall and use
pencil to mark drill holes.
02
Drill holes (with 1/4" bit) and insert
drywall anchors. Insert screws
through holes on mount and tighten
until firmly attached (Fig. 4).
03
How to charge battery
and store accessories
Place assembled vacuum cleaner
on wall mount.
01
Plug charger into power outlet and
then into charger port on handle
(Fig. 5).
02
Loop charger cord into clips on
sides of wall mount.
03
Snap tool(s) into tool storage areas
(Fig. 5).
04
Battery indicator lights show
level of charge (Fig. 5):
A. Fully charged
B. Half charged
C. Low power
• Indicator lights stop blinking when
fully charged.
• Charge battery fully before using for
the first time. This may take up to
four hours.
1
2
3
4
5
Click!
Click!
Drywall anchors
Cord
clip
Cord
clip
Tool storage Tool storage
How to use cleaner for cleaning floors
Click power button once to start.
01
Using motorized floor nozzle, glide back and forth on area to be cleaned. Avoid oversized or sharp
items (such as screws) with cleaner.
02
Twist wrist to engage swivel function.
03
When done, click power button once to stop motor.
04
Power button
Empty dust cup after every use
There are two ways to empty the dust cup:
Hold cleaner over waste basket. Press lever to release bottom lid of dust cup to empty debris.
01
Remove dust cup from hand vacuum by twisting to 'unlock' position. Once emptied, reattach dust
cup by lining up arrow and 'unlock' position. Twist dust cup until arrow lines up with 'locked'
position.
02
C B A
Crevice tool: Cleans
hard-to-reach areas
such as corners,
baseboard edges,
dryer vents,
chairs and
sofas.
89
Product Operation
How to use hand vacuum and accessories
The hand vacuum can be used with or without tools.
Caution
Moving parts! Aways turn off hand vacuum before attaching accessories.
To use without tools, press release
button and remove wand. Collect
debris directly with hand vacuum
nozzle.
01
To use tools with wand, press release
button to remove motorized floor
nozzle. Slide tool onto end of wand
until it clicks.
To use tools with hand vacuum only,
press release button to remove wand.
Slide tool onto hand vacuum until it
clicks.
02
Press release button to remove
wand from hand vacuum. Attach
motorized floor nozzle directly to
hand vacuum until it clicks.
01
2-in-1 upholstery tool: Use
brush to vacuum blinds, vents
or upholstered surfaces. Use felt
portion to clean delicate surfaces.
To switch between felt and brush
portions, press thumb release and
slide brush up or down.
How to use hand vacuum and motorized floor nozzle
Ideal for cleaning stairs.
Click power button once to start.
02
Dust cup ‒ Empty after each use
Hold over wastebasket and
push lever to release bottom
lid. Debris will empty.
01 Remove dust cup by twisting to 'unlock'
position. Empty debris. Reattach dust
cup and twist to 'lock' position.
02
There are two ways to empty the dust cup:
Washable dust cup filter ‒ clean monthly
Twist dust cup and remove.
01
Twist filter screen and remove.
02
Lift out foam filter and holder.
03
Rinse and dry THOROUGHLY.
04
Place foam filter and holder in filter screen.
05
Twist filter screen to 'lock'.
06
Reattach dust cup and twist to 'lock'.
07
24h
Washable post-motor filter ‒ clean every 6 months
Twist filter cover and remove.
01
Lift out post-motor filter.
02
Shake to remove dust.
03
Every 6 months, replace filter or rinse and dry THOROUGHLY.
04
Reposition filter and cover and twist to 'lock'.
05
24h
Caution
Moving parts!Recharge cleaner after each use
Product Maintenance
Never operate vacuum cleaner without all filters,
filter screen and dust cup in proper position.
10 11
In case of malfunction, please refer to the following table
TROUBLESHOOTING
Solution
- Make sure cleaner is fully powered.
- Push charger securely into electrical outlet,
try another outlet or check circuit breaker.
- See detailed "thermal cut-off" instructions above.
- Make sure charger is securely inserted into electrical outlet.
- Make sure charging plug is securely inserted into handle.
- Indicator lights stop blinking when fully charged.
- Empty dust cup and clean or change filters.
See maintenance instructions.
- Make sure cleaner is fully powered. Charge battery.
- Remove clogs that restrict the airflow.
- Make sure cleaner is fully powered.
- Charge battery for 4 hours before using.
- Check brushroll for debris. See maintenance instructions.
Motor will not start
Charging indicator lights
are not lit while charging
Not enough
suction power
Not enough
running time
Brushroll will not turn
Problem
If the problem still can't be solved, please contact local service center.
Place motorized floor nozzle upside down. Use fingers to remove clog or debris. Or use scissors or
knife to cut strings and threads if necessary.
01
If debris cannot be removed easily, remove retainer clip to access brushroll. Using flathead
screwdriver or coin, turn screw to the 'unlock' position.
02
Remove the brushroll and clean debris.
03
To reassemble:
1). Align one end of brushroll with floor nozzle gear.
2). Press other end into slot.
3). Hook retainer clip under tab and press down.
4). Insert screw and turn to 'lock' position.
04
Discarding the vacuum and battery pack
Before you discard this vacuum, dispose of battery in an environmentally safe
manner. Do not discard battery with your regular household trash.
Important battery disposal information.
To preserve natural resources, please recycle or dispose of expired battery
pack properly. This product contains a lithium-ion battery. It must be disposed
of properly. Local laws may prohibit disposal of lithium-ion batteries in ordinary
trash. Consult your local waste authority for information regarding available
recycling and/or disposal options.
Product Maintenance
Washable brushroll ‒ clean frequently
!
Li-ion

Other Midea Vacuum Cleaner manuals

Midea MVC-RTB2-R User manual

Midea

Midea MVC-RTB2-R User manual

Midea VCWX10 User manual

Midea

Midea VCWX10 User manual

Midea SC861 User manual

Midea

Midea SC861 User manual

Midea M100-B Administrator Guide

Midea

Midea M100-B Administrator Guide

Midea MVC-V18P Wiring diagram

Midea

Midea MVC-V18P Wiring diagram

Midea MCS2025GB User manual

Midea

Midea MCS2025GB User manual

Midea C3 VC1707 Administrator Guide

Midea

Midea C3 VC1707 Administrator Guide

Midea C100-B Administrator Guide

Midea

Midea C100-B Administrator Guide

Midea B5 Administrator Guide

Midea

Midea B5 Administrator Guide

Midea MSB 5.700bs Administrator Guide

Midea

Midea MSB 5.700bs Administrator Guide

Midea V20U01ADS2NA User manual

Midea

Midea V20U01ADS2NA User manual

Midea VSS5800 User manual

Midea

Midea VSS5800 User manual

Midea 386600-i5C User manual

Midea

Midea 386600-i5C User manual

Midea B8 Series User manual

Midea

Midea B8 Series User manual

Midea Eureka I5C User manual

Midea

Midea Eureka I5C User manual

Midea M7 User manual

Midea

Midea M7 User manual

Midea MVC-SC861R User manual

Midea

Midea MVC-SC861R User manual

Midea B5D User manual

Midea

Midea B5D User manual

Midea C5 User manual

Midea

Midea C5 User manual

Midea MVC-V18P User manual

Midea

Midea MVC-V18P User manual

Midea VCS38A13L Administrator Guide

Midea

Midea VCS38A13L Administrator Guide

Midea VCL10 User manual

Midea

Midea VCL10 User manual

Midea M7 User manual

Midea

Midea M7 User manual

Midea KH19P User manual

Midea

Midea KH19P User manual

Popular Vacuum Cleaner manuals by other brands

Philips FC8148 manual

Philips

Philips FC8148 manual

Eureka NEC 480 Series owner's guide

Eureka

Eureka NEC 480 Series owner's guide

Optim Stickvac manual

Optim

Optim Stickvac manual

Renkforce 1590624 operating instructions

Renkforce

Renkforce 1590624 operating instructions

Philips Marathon FC9239 manual

Philips

Philips Marathon FC9239 manual

Kärcher VC 5300 user guide

Kärcher

Kärcher VC 5300 user guide

Gisowatt ProfiClean PC 35 Tools Evolution instruction manual

Gisowatt

Gisowatt ProfiClean PC 35 Tools Evolution instruction manual

Felisatti VC25/1400 operating instructions

Felisatti

Felisatti VC25/1400 operating instructions

LG V-CP963STC Service manual

LG

LG V-CP963STC Service manual

Roborock Q Revo user manual

Roborock

Roborock Q Revo user manual

BOMANN BS 9019 CB N instruction manual

BOMANN

BOMANN BS 9019 CB N instruction manual

Shark Stratos IZ420EUT instructions

Shark

Shark Stratos IZ420EUT instructions

RIDGID RV34100 owner's manual

RIDGID

RIDGID RV34100 owner's manual

Panasonic MC-CG683-ZC79 Service manual

Panasonic

Panasonic MC-CG683-ZC79 Service manual

Bissell Pet Hair Eraser 1941 Series Quick start user guide

Bissell

Bissell Pet Hair Eraser 1941 Series Quick start user guide

Arnica LOTUS TREND instruction manual

Arnica

Arnica LOTUS TREND instruction manual

Worx WORXAIR WA4091 product manual

Worx

Worx WORXAIR WA4091 product manual

Samsung SR8730 user manual

Samsung

Samsung SR8730 user manual

manuals.online logo
manuals.online logoBrands
  • About & Mission
  • Contact us
  • Privacy Policy
  • Terms and Conditions

Copyright 2025 Manuals.Online. All Rights Reserved.