manuals.online logo
Brands
  1. Home
  2. •
  3. Brands
  4. •
  5. Miles Industries
  6. •
  7. Fireplace Accessories
  8. •
  9. Miles Industries 1500I User manual

Miles Industries 1500I User manual

Other Miles Industries Fireplace Accessories manuals
Miles Industries Valor RBWSK User manual

Miles Industries

Miles Industries Valor RBWSK User manual

Miles Industries Ventana User manual

Miles Industries

Miles Industries Ventana User manual

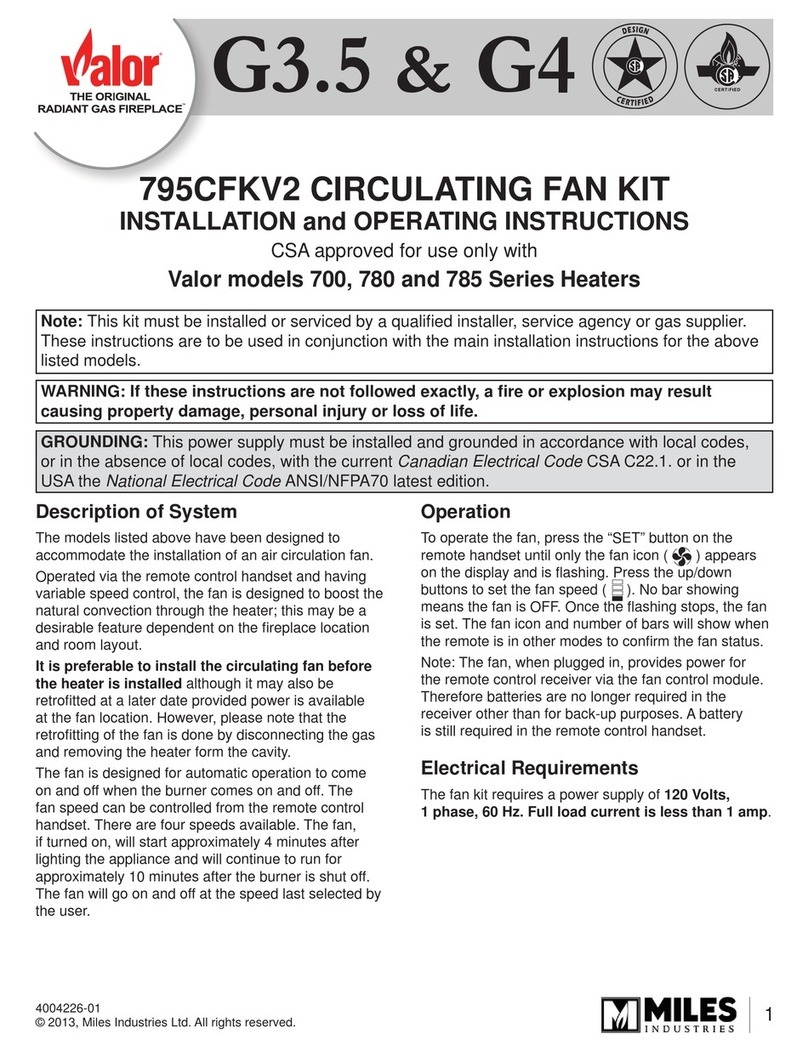
Miles Industries Valor 795CFKV2 User manual

Miles Industries

Miles Industries Valor 795CFKV2 User manual

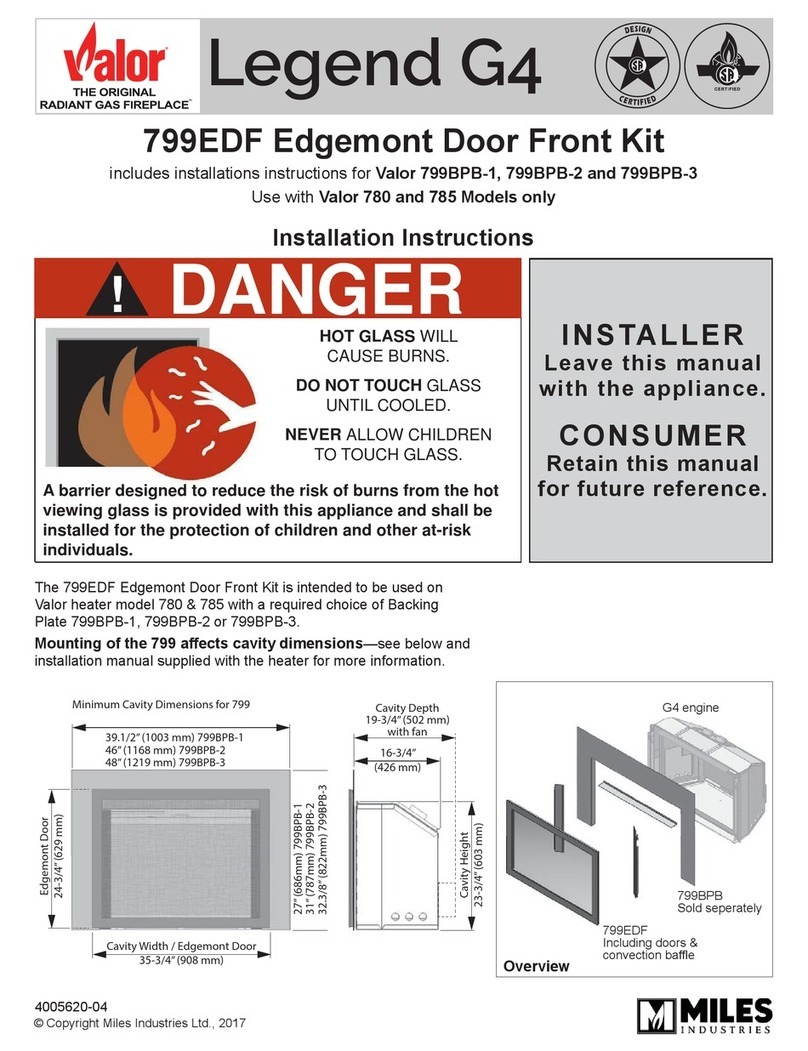
Miles Industries 799EDF User manual

Miles Industries

Miles Industries 799EDF User manual

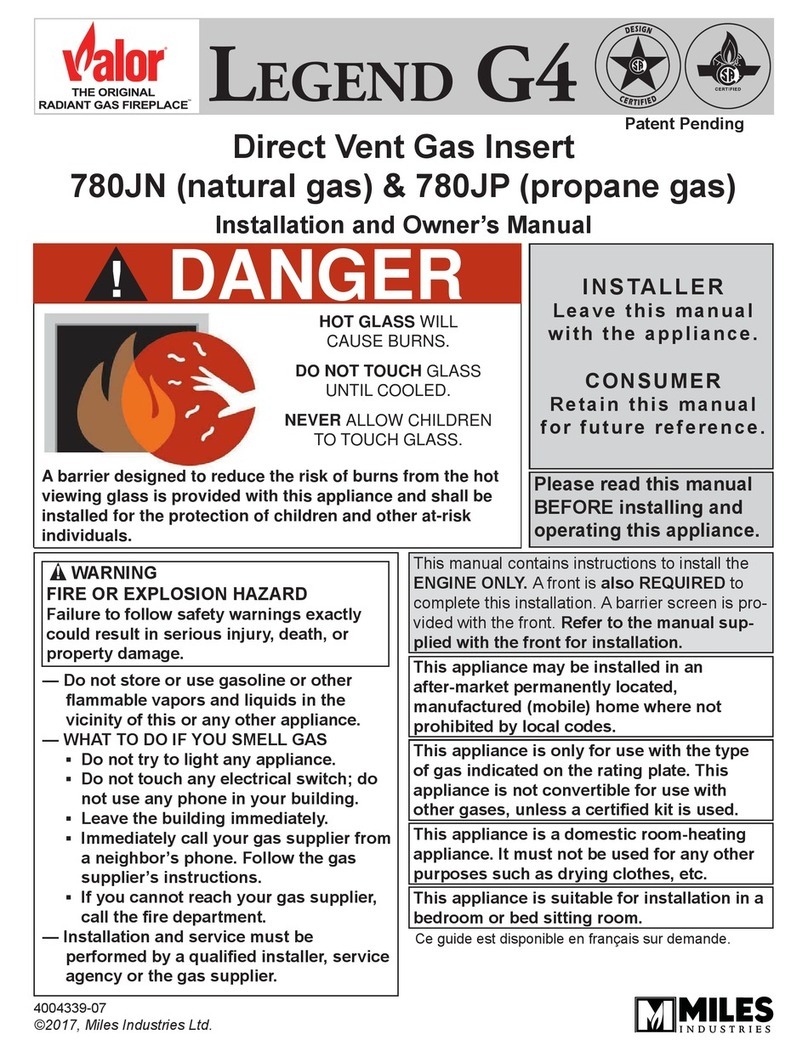
Miles Industries Valor LEGEND G4 780JN Installation instructions

Miles Industries

Miles Industries Valor LEGEND G4 780JN Installation instructions

Miles Industries Valor VOGUE 1345RGP User manual
Miles Industries

Miles Industries Valor VOGUE 1345RGP User manual

Miles Industries 541BPC Installation instructions
Miles Industries

Miles Industries 541BPC Installation instructions

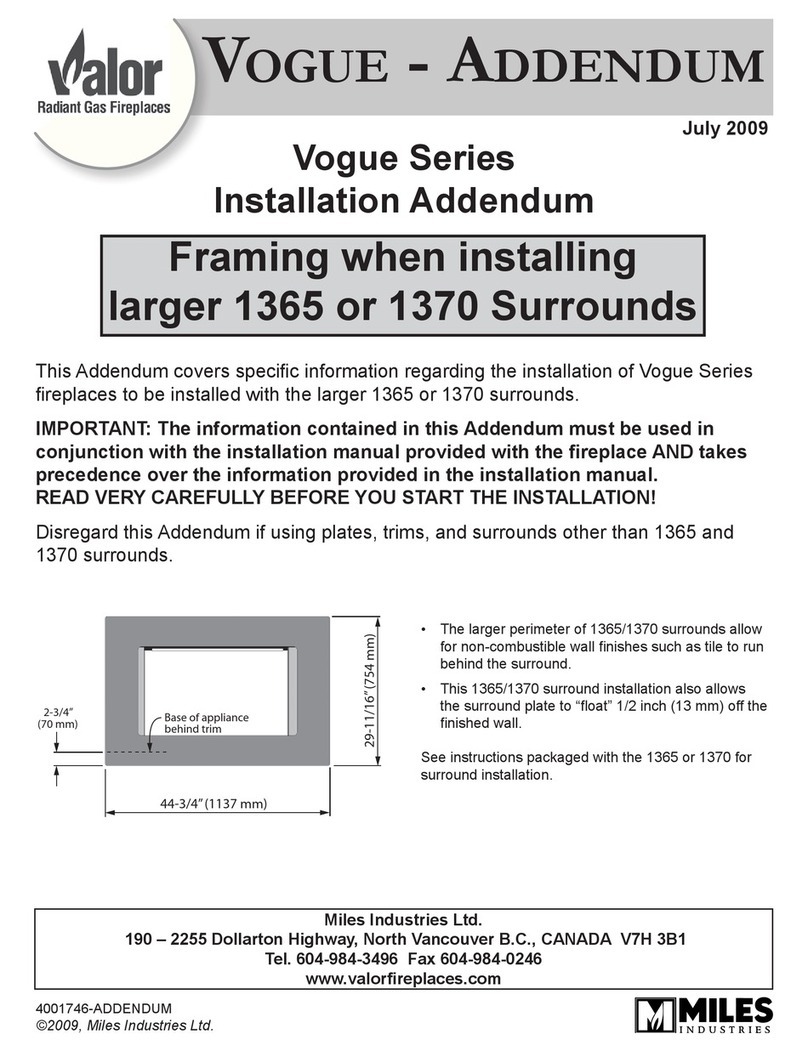
Miles Industries Valor Vogue Series Installation and operating instructions

Miles Industries

Miles Industries Valor Vogue Series Installation and operating instructions

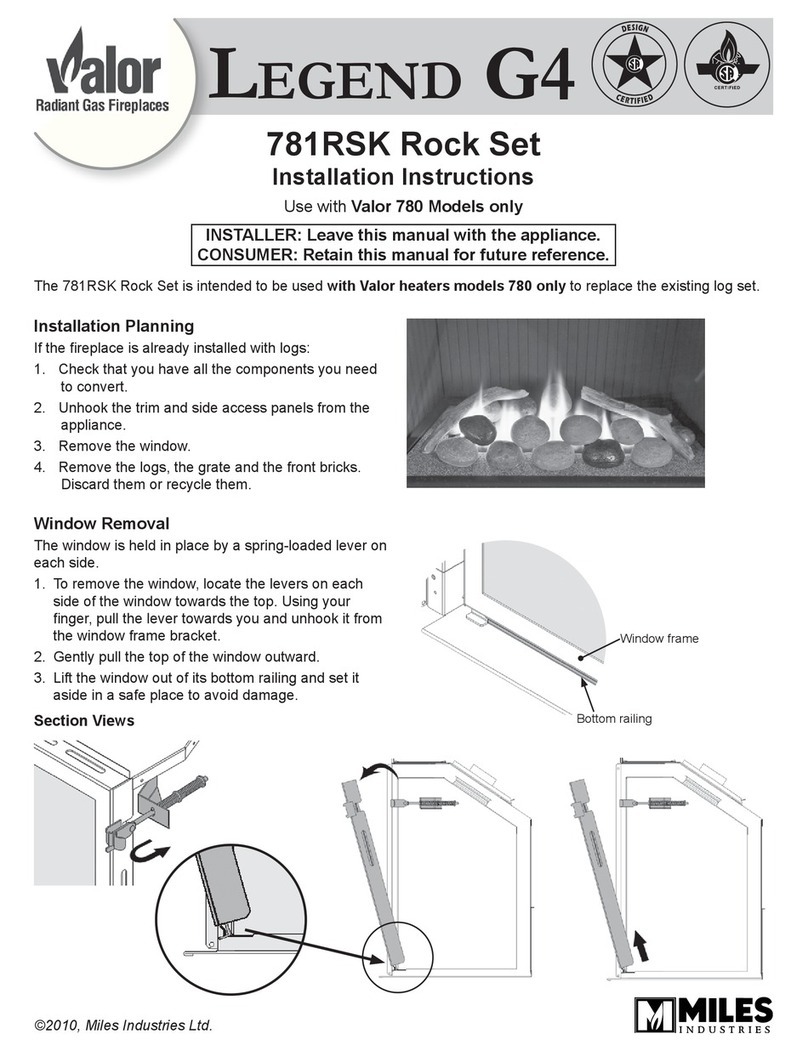
Miles Industries 781RSK User manual

Miles Industries

Miles Industries 781RSK User manual

Miles Industries 700I User manual

Miles Industries

Miles Industries 700I User manual
Popular Fireplace Accessories manuals by other brands

Valor L2 1700K quick start guide

Valor

Valor L2 1700K quick start guide

Exodraft Xzense manual

Exodraft

Exodraft Xzense manual

Whalen Ruso MNFP62BF23-6 manual

Whalen

Whalen Ruso MNFP62BF23-6 manual

Woodstock Soapstone Fireview 201 manual

Woodstock Soapstone

Woodstock Soapstone Fireview 201 manual

EdilKamin SERBATOIO 250 Installation, use and maintenance

EdilKamin

EdilKamin SERBATOIO 250 Installation, use and maintenance

Bronpi KIT-1 instructions

Bronpi

Bronpi KIT-1 instructions

Town & Country Fireplaces 22150051 instructions

Town & Country Fireplaces

Town & Country Fireplaces 22150051 instructions

Travis Industries 33 DVI installation instructions
Travis Industries

Travis Industries 33 DVI installation instructions

Lopi Hearthview 864 user manual

Lopi

Lopi Hearthview 864 user manual

Lennox Hearth Products LENNOX MPE-33R installation instructions

Lennox Hearth Products

Lennox Hearth Products LENNOX MPE-33R installation instructions

Dimplex DFP6776C install guide

Dimplex

Dimplex DFP6776C install guide

Napoleon W175-0689 instruction manual

Napoleon

Napoleon W175-0689 instruction manual

Travis Industries 95400424 installation instructions

Travis Industries

Travis Industries 95400424 installation instructions

Osburn ZERO CLEARANCE KIT installation instructions

Osburn

Osburn ZERO CLEARANCE KIT installation instructions

Majestic QUARTZPLA36IN installation instructions

Majestic

Majestic QUARTZPLA36IN installation instructions

Napoleon DBPO36 installation instructions

Napoleon

Napoleon DBPO36 installation instructions

Dimplex SMP-130-E install guide

Dimplex

Dimplex SMP-130-E install guide

Empire Comfort Systems LS50TINF installation instructions

Empire Comfort Systems

Empire Comfort Systems LS50TINF installation instructions

manuals.online logo
manuals.online logoBrands
  • About & Mission
  • Contact us
  • Privacy Policy
  • Terms and Conditions

Copyright 2025 Manuals.Online. All Rights Reserved.

43
Long Beach Driftwood Kit Installation
Material required
• Middle platform brackets (supplied with appliance)
• Vermiculite platform (supplied with appliance)
• Small container to distribute vermiculite
• Long Beach Driftwood Kit, which contains:
◊5 logs
◊6 pebbles
◊1 bag of vermiculite
Installation
Platform
Carefully unpack the kit.
1. Install both middle platform brackets on front and
rear of the burner, with the tabs upwards fitting the
end platform supports’ protruding dimples into the
slots of the brackets as indicated.
2. Install the vermiculite platform on top of the brackets
as indicated. The beveled edge of the platform
goes downward. Push the platform as far back as
possible to maximize the air gap behind the burner.
3. Fill a small container with the equivalent of
approximately 3 cups (750 ml) of vermiculite from
the bag supplied.
4. Carefully spread the vermiculite on the surface of
burner patting it gently with your hand to form a
single layer to the approximate level of the top of
the flange at the edge of the burner. Do not pour too
much to avoid blocking the burner ports.
NOTE: Ensure the area within the pilot shield is
clear of vermiculite.
Top
Bottom
Installed platform
Gap behind burner
Pilot shield
No gap in front of burner
Top view—platform
QUALIFIED
INSTALLER
Model 1500I
44
Long Beach Driftwood Kit Installation
Logs installed
Logs and rocks
Each log has pegs to help you locate them on the
platform. Install the logs as shown below.
1. Place the rear log in the center of the firebox at the
rear.
NOTE: There are two holes for the left peg of this
log.
Place the log’s left peg in the front hole for natural
gas (NG) fire.
Place the log’s left peg in the rear hole for propane
gas (LPG) fires.
2. Place the rear left log as indicated.
NG
NG
LPG
LPG
3. Place the rear right log as indicated.
4. Place the front left log as indicated.
5. Place one end of the cross log on the rear center log
as indicated and rest its other end on the platform in
front of the burner.
QUALIFIED
INSTALLER
45
WARNING
CHOKING HAZARD! Ensure that the fireplace
area is clear of vermiculite particles as these could
be ingested by small children. Vacuum area after
installation.
6. Some vermiculite may be added outside the burner
on the platform if desired.
7. Place the rocks on the platform as shown below.
You can also place one or two rocks on the
vermiculite as shown.
Long Beach Driftwood Kit installed
Long Beach Driftwood Kit Installation
Material required
• Middle platform brackets (supplied with appliance)
• Vermiculite platform (supplied with appliance)
• Small container to distribute fire glass
• Murano Glass Fire Kit, which contains:
◊1 bag of blue azura fire glass
◊1 bag of black fire glass
◊1 glass platform
Murano Glass Fire Installation
Top
Bottom
Installation
Carefully unpack the kit.
1. Install both platform brackets on each side of the
burner, with the tabs downward fitting the bracket
tabs into the burner support’s slots as indicated.
IMPORTANT: For safety reasons, use only the fire
glass provided with your Valor fireplace or the tem-
pered crushed fire glass brands American Fireglass™
or firegear. The use of any other fire glass products
may void your fireplace warranty.
!
QUALIFIED
INSTALLER