manuals.online logo
Brands
  1. Home
  2. •
  3. Brands
  4. •
  5. Mocka
  6. •
  7. Indoor Furnishing
  8. •
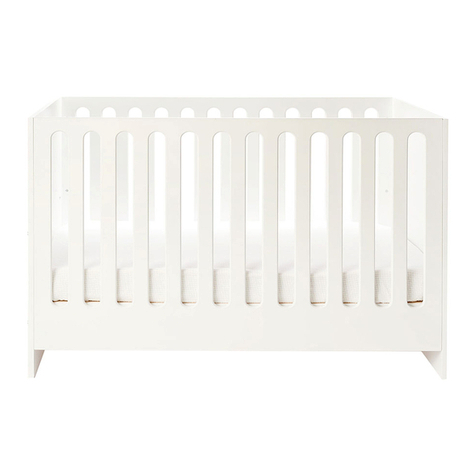
  9. Mocka Aspen Classic Cot User manual

Mocka Aspen Classic Cot User manual

mocka.co.nz I mocka.com.au I PO BOX 18, Pinkenba QLD 4008
ASSEMBLY I N S TRUCTION S
Aspen
Classic Cot
Thank you for your purchase.
Please follow the manufacturers assembly instructions in detail
to ensure the safety features of the cot are not compromised.
WARNING:
TO PREVENT FALLS, THE MATTRESS BASE OF THIS COT
SHOULD BE ADJUSTED TO THE LOWEST POSITION BEFORE
THE CHILD CAN SIT UP.
Ensure the cot is placed at a reasonable distance from curtains, blinds, heaters and power
points. Keep all medications, string, elastic, small toys or small items, such as money, out
of reach from any position in the cot.
Assembly
Care must be taken when attaching sides. Do not over-tighten screws as this can cause
damage to the cot.
Care and Maintenance
Regularly check all screws for tightness or damage that could render the cot unsafe. To
clean - use a damp cloth, avoiding the use of detergents or abrasives.
Recommended mattress size
This cot has been manufactured for use with a mattress which measures 1300mm long x
690mm wide x 100mm in thickness. The width and length are specified because it is impor-
tant that gaps between the mattress and the sides and ends of the cot will not exceed 40mm.
This is to minimize the risk of a child’s limb becoming caught in the gap. The thickness of the
mattress has been specified to ensure that the depth of the cot is greater than 500mm with
the mattress base in the lower position to minimize the risk of a child climbing or falling out
of the cot.
Flathead screwdriver required
Hardware Supplied
A
8x
B
bolt
16x
C
bolt
8x
D
bolt
8x
E
nut
8x
F
dowel
2x
allen key
G
4x
screw
nut
Aspen
mocka.co.nz I mocka.com.au I PO BOX 18, Pinkenba QLD 4008
ASSEMBLY I N S TRUCTION S
2
1
Classic Cot
Insert 8x dowel (E) into 2x panel [7]. Attach 2x panel [5] and 2x panel
[6] to 2x panel [7] with 4x bolts (B). Tighten all bolts with allen key (F).
Place 8x nut (D) inside panels [5] and [6].Attach panels [5] and [6]
to panel [4] with 8x bolts (C). Use a flathead screwdriver to align
nuts (D) with bolts (C). Tighten all bolts with allen key (F).
B
B
B
B
E
E
E
E
E
E
E
E
C
C
C
C
C
F
D
D
D
F
B
6
6
6
6
5
5
5
5
7
7
4
2
Flip the allen key
around so the ball
end is lined up with
the screw/bolt.
Flip the allen key around
so the ball end is lined up
with the screw/bolt.
Aspen
Classic Cot
mocka.co.nz I mocka.com.au I PO BOX 18, Pinkenba QLD 4008
ASSEMBLY I N S TRUCTION S
34
B
Attach 2x panel [1] to panel [4] with 4x bolts (B). Tighten all bolts with allen key (F). Attach 1x panel [2] to panels [1] with 4x bolts (A). Attach panel [2]
to panel [4] with 2x bolts (B). Tighten all bolts with allen key (F).
B
B
B
B
B
A
A
A
A
4
2
1
1
1
1
F
B
FB
A
Flip the allen key around
so the ball end is lined up
with the screw/bolt.
Flip the allen key around
so the ball end is lined up
with the screw/bolt.
mocka.co.nz I mocka.com.au I PO BOX 18, Pinkenba QLD 4008
ASSEMBLY I N S TRUCTION S
Aspen
Classic Cot
56
Attach panel [3] to panels [1] with 4x bolts (B). Tighten all bolts with allen key (F). Attach 1x panel [2] to panels [1] with 4x bolts (A).Attach panel [2]
to panel [4] with 2x bolts (B). Tighten all bolts with allen key (F).
FB
A
B
B
B
B
A
A
A
A
B
B
4
3
2
1
1
1
1
F
B
Flip the allen key around
so the ball end is lined up
with the screw/bolt.
Flip the allen key around
so the ball end is lined up
with the screw/bolt.
Aspen
Classic Cot
mocka.co.nz I mocka.com.au I PO BOX 18, Pinkenba QLD 4008
ASSEMBLY I N S TRUCTION S
78
B
B
B
B
5
All done! Regularly check all screws are suitably tightened. Place the
correct size mattress into the cot before use. To clean use a damp
cloth, avoiding the use of detergents or abrasives. Once assembled lift
furniture into place, do not drag.
OPTIONAL:
To adjust mattress base setting, push the screws and nuts(G) out from the
alternative holes with alien key (F) and repeat steps 5 and 6 by removing
the side panel and moving the base to corresponding holes. Secure ly
attach again in the adjusted position.
WARNING:
To prevent dangerous of hole , when mattress base of this cot adjust lowest
position, the upper alternative hole should be covered with screws and
nuts(G).
Flip the allen key around
so the ball end is lined up
with the screw/bolt.

Other Mocka Indoor Furnishing manuals

Mocka Edmond User manual

Mocka

Mocka Edmond User manual
Mocka Sintra Bedside Table User manual

Mocka

Mocka Sintra Bedside Table User manual

Mocka Jimmy Change Table User manual

Mocka

Mocka Jimmy Change Table User manual

Mocka Tasman User manual

Mocka

Mocka Tasman User manual

Mocka Luna Cube 4 User manual

Mocka

Mocka Luna Cube 4 User manual

Mocka Winnie Chair User manual

Mocka

Mocka Winnie Chair User manual

Mocka Sadie Side User manual

Mocka

Mocka Sadie Side User manual

Mocka Hamptons Side Table User manual

Mocka

Mocka Hamptons Side Table User manual

Mocka Jolt Six Drawer - Wide User manual

Mocka

Mocka Jolt Six Drawer - Wide User manual

Mocka Addi Six Drawer Slim User manual

Mocka

Mocka Addi Six Drawer Slim User manual

Mocka Savannah Side Table User manual

Mocka

Mocka Savannah Side Table User manual

Mocka Hamptons Desk User manual

Mocka

Mocka Hamptons Desk User manual

Mocka Zara User manual

Mocka

Mocka Zara User manual

Mocka Jolt Six Drawer - Slim User manual

Mocka

Mocka Jolt Six Drawer - Slim User manual

Mocka Edmond User manual

Mocka

Mocka Edmond User manual

Mocka Hamptons User manual

Mocka

Mocka Hamptons User manual

Mocka Mischa Buffet User manual

Mocka

Mocka Mischa Buffet User manual

Mocka Maya Bedside Table User manual

Mocka

Mocka Maya Bedside Table User manual

Mocka Watson Four Drawer User manual

Mocka

Mocka Watson Four Drawer User manual

Mocka Sadie User manual

Mocka

Mocka Sadie User manual

Mocka Lewis User manual

Mocka

Mocka Lewis User manual

Mocka Genevieve User manual

Mocka

Mocka Genevieve User manual

Mocka Hamptons User manual

Mocka

Mocka Hamptons User manual
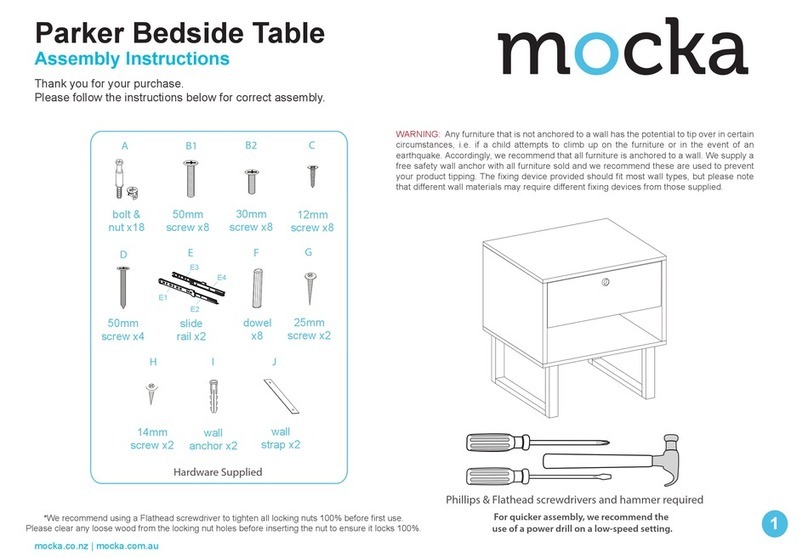
Mocka Aspiring User manual

Mocka

Mocka Aspiring User manual

Popular Indoor Furnishing manuals by other brands

FMD Furniture HARRY 639-001 Assembly instructions

FMD Furniture

FMD Furniture HARRY 639-001 Assembly instructions

AFi HB-MSN Assembly instructions

AFi

AFi HB-MSN Assembly instructions

CORONA 2 DOOR 1 DRAWER WARDROBE Assembly instructions

CORONA

CORONA 2 DOOR 1 DRAWER WARDROBE Assembly instructions

FUFU & GAGA KF250022-03 manual

FUFU & GAGA

FUFU & GAGA KF250022-03 manual

modway MOD-5175 Assembly instructions

modway

modway MOD-5175 Assembly instructions

Pinolino 13 00 13 R Assembly plan

Pinolino

Pinolino 13 00 13 R Assembly plan

Walker Edison BR6DDDR Assembly instructions

Walker Edison

Walker Edison BR6DDDR Assembly instructions

BOPITA lotte Assembly instruction

BOPITA

BOPITA lotte Assembly instruction

diotti EDDARD manual

diotti

diotti EDDARD manual

Kirsch Cellular Shade Getting started

Kirsch

Kirsch Cellular Shade Getting started

JR SWINGLINE PUMA installation guide

JR

JR SWINGLINE PUMA installation guide

SAFAVIEH COUTURE SFV9704B quick start guide

SAFAVIEH COUTURE

SAFAVIEH COUTURE SFV9704B quick start guide

MANCHESTER WOOD Cherry Contemporary Media Stand Assembly instructions

MANCHESTER WOOD

MANCHESTER WOOD Cherry Contemporary Media Stand Assembly instructions

Winners Only T1-VG4296 Assembly instructions

Winners Only

Winners Only T1-VG4296 Assembly instructions

Crate&Barrel Covert Series Assembly manual

Crate&Barrel

Crate&Barrel Covert Series Assembly manual

Jorgenson Lockers Kids Sports Locker Assembly instructions

Jorgenson Lockers

Jorgenson Lockers Kids Sports Locker Assembly instructions

Next BARLOW 501758 Assembly instructions

Next

Next BARLOW 501758 Assembly instructions

BLACK RED WHITE STYLIUS NWIT 2d1s Assembly manual

BLACK RED WHITE

BLACK RED WHITE STYLIUS NWIT 2d1s Assembly manual

manuals.online logo
manuals.online logoBrands
  • About & Mission
  • Contact us
  • Privacy Policy
  • Terms and Conditions

Copyright 2025 Manuals.Online. All Rights Reserved.