manuals.online logo
Brands
  1. Home
  2. •
  3. Brands
  4. •
  5. Mocka
  6. •
  7. Indoor Furnishing
  8. •
  9. Mocka Claremont User manual

Mocka Claremont User manual

mocka.co.nz I mocka.com.au I
ASSEMBLY INSTRUCTIONS
Claremont
Six Drawer - Black
Phillips & Flathead screwdrivers required.
For quicker assembly, we recommend the
use of a power drill on a low-speed setting.
WARNING: Any furniture that is not anchored to a wall has the
potential to tip over in certain circumstances, ie. if a child attempts
to climb on the furniture or in the event of an earthquake.
Accordingly, we recommend that all furniture is anchored to a wall.
We supply a free safety wall anchor with all furniture sold and we
recommend these are used to prevent your product tipping. The
fixing device provided should fit most wall types, but please note
that different wall materials may require different fixing devices from
those supplied.
A
bolt
B
nut
C
dowel
D
3”12 screw3”14 screw
E
x56 x56 x21 x72 x8
G
x41
M
x16
N
x8
H
x10
I
x4
J
x2
K
4”35screw 4”45screw 4”14screw
washer wall plug
x2
P
×1
Q
x4
clip
S
4”25 screw6”50 screwplate6”12 screw
allen key
x1
O
T
spacer
×6 x6
F
bracket
x8
L
wall strap
x2
×1
R
CR DL
CL DR
foot
×6x6
slideslide
slide
x6 ×6
slide
mocka.co.nz I mocka.com.au I
ASSEMBLY INSTRUCTIONS
Claremont
Six Drawer - Black
11
1
6
6
6
6
3
5
4
8
9
9
2
13
10
10
11
11
14
14
14 14
12
12
12
12
17
17
16
16
15
7
18
18
20
20
19
19
X3
X3
mocka.co.nz I mocka.com.au I
ASSEMBLY INSTRUCTIONS
Claremont
Six Drawer - Black
1 2
Attach 6 x bolts (A) to panels [1] as shown. Attach 6x clips (S)
and 6x spacers (T) to panel [6] and [2] and secure with 12 x
screws (D). Tighten with a screwdriver.
Attach 12 x bolts (A) to panels [3] and [5] as shown. Attach 3 x
left rail (CL) and 3 x right rail (CR) to panels [3] and [5] and
secure with 18 x screws (D). Tighten with a screwdriver.
A
A
A
A
A
A
1
AA
AA
A
A
A
A
A
A
CL
CR
CR
CR
CL
CL A
D
D
D
D
D
D
D
D
D
D
D
D
D
D
D
D
D
A
5
3
D
D
D
D
S
T
S
2
T
D
D
T
S
S
1. 2.
6
D
D
T
S
×4
A
3 4
mocka.co.nz I mocka.com.au I
ASSEMBLY INSTRUCTIONS
Claremont
Six Drawer - Black
Attach 3 x left rails (DL), 3 x right rails (CL), 8x bolts (A), 18 x screws
(D) to panels [4] as shown. Tighten with a screwdriver.
Attach panels [6] to panel [4] as shown and secure with 8 x
locking nuts (B). Tighten with a screwdriver.
DL
DL
DL
CL
CL
CL
D
A
A
A
A
A
A
B
B
B
B
B
B
B
B
B
A
A
D
D
D
D
D
D
D
D
D
D
D
D
D
D
D
D
D
4
4
6
6
6
6
4
mocka.co.nz I mocka.com.au I
ASSEMBLY INSTRUCTIONS
Claremont
Six Drawer - Black
5 6
Attach panel [8] to panel [4] as shown and secure with
1 x screw (G) and dowel {C}. Tighten with a screwdriver.
Attach panels [3] as shown and secure with 6 x
locking nuts (B). Tighten with a screwdriver.
6
6
6
6
4
8
GG
C
BB
B
6
6
8
3
B
B
B
B
8
mocka.co.nz I mocka.com.au I
ASSEMBLY INSTRUCTIONS
Claremont
Six Drawer - Black
7
Attach panels [5] as shown and secure with 6 x
locking nuts (B). Tighten with a screwdriver.
Slide panels [9] into position as shown.
B B
B
BB
B
B
6
9
8
5
3
6
8
5
mocka.co.nz I mocka.com.au I
ASSEMBLY INSTRUCTIONS
Claremont
Six Drawer - Black
9 1010
Insert 6 x dowels (C) into panels [5], [4] and [3] as shown. Attach
panel [2] to assembled frame and secure with 6 x screws (G).
Tighten with a screwdriver.
Attach 2 x belts [10] and [11] and {14} as shown secure with 16 x
screws (M), 1 x plates (Q), 1 x foot (R) and 2x screws (G). Tighten with
a screwdriver.
2
5
9
4
3
C
G
G
GM
MM
M
MM
M
M
G
G
G
Q
R
G
G
G
C
CC
CC
11
11
13
10
10
14
14
14
14
12
mocka.co.nz I mocka.com.au I
ASSEMBLY INSTRUCTIONS
Claremont
Six Drawer - Black
11
Attach 4 x legs {12} to assembled belt frame as shown secure with
8x {N} using an allen key {O}.
Attach assmebled base to assembled fram as shown, secure with
8x dowel {C} and 10 x screws {H} and 4 x screws {P}.
Tighten with a screwdriver.
12
12
12
12
N
N
N
NO
N
NN
N
10
10
11
11
2
C
CC
C
C
C
C
C
H
H
H
H
H
H
P
P
P
P
P
P
P
P
O
H
H
H
H
H
Slide panels [9] into position as shown. Attach panel [1] to assembled frame and secure with 8 x locking nuts
(B) and 6 x dowels {C}. Tighten with a screwdriver.
mocka.co.nz I mocka.com.au I
ASSEMBLY INSTRUCTIONS
Claremont
Six Drawer - Black
13 14
3
9
8
4
5
3
4
5
1
9
CC
C
C
C
C
B
B
B
B
B
B
B
Attach 6 x left rail (DL) and 6 x right rail (DR) to panels [16]
and [17] and secure with 24 x screws (D). Tighten with a screwdriver.
Attach 5 x bolts (A) to panel [15] and {7} as shown.
Tighten with a screwdriver.
mocka.co.nz I mocka.com.au I
ASSEMBLY INSTRUCTIONS
Claremont
Six Drawer - Black
15 16
DL
D
D
D
A
A
A
A
A
A
A
A
A
A
A
D
X6
X3
DR
16
17 15
7
Attach panels [16], [17] and [18] to panel [20] and secure with 5 x
screws (G). Tighten with a screwdriver.
Slide panel [19] into position as shown.
mocka.co.nz I mocka.com.au I
ASSEMBLY INSTRUCTIONS
Claremont
Six Drawer - Black
17 18
X6 X6
16
18
17
20
16
18
20
17
19
G
G
G
G
G
Attach panel [15] and {7} to assembled frame and secure with 5 x
locking nuts (C) .
Tighen with a screwdriver.
Slide assembled drawers into position as shown.
mocka.co.nz I mocka.com.au I
ASSEMBLY INSTRUCTIONS
Claremont
Six Drawer - Black
19 20
B
B
7
7
7
19
16
18 17
20 15 20
7
16
17
18
19
20
7
7
7
15
15
15
B
B
B
B
B
B
B
B
B
B
Once assembled lift furniture into place, do not drag.
Attach 2 x wall straps (L) to unit with 2 x screws (J) and 2 x washers
(I). Use a drill to create a small hole lining up with the wall straps (L).
Attach 8 x brackets (F) to furniture and secure with 8 x screws (E).
Tighten with a screwdriver.
mocka.co.nz I mocka.com.au I
ASSEMBLY INSTRUCTIONS
Claremont
Six Drawer - Black
21 22
F
F
F
F
F
FE
X8
F
F
F
I
I
I
L
L
L
J
J
J
Fasten to wall using 2 x wall anchors (K), 2 x wall screws (G) and 2 x
washers (I). Tighten with a screwdriver.
mocka.co.nz I mocka.com.au I
ASSEMBLY INSTRUCTIONS
Claremont
Six Drawer - Black
23
G
G
G
I
I
I
K
K
K

Other Mocka Indoor Furnishing manuals

Mocka Bronte Console Table User manual

Mocka

Mocka Bronte Console Table User manual

Mocka Aspen User manual

Mocka

Mocka Aspen User manual

Mocka Eclipse Eight Drawer User manual

Mocka

Mocka Eclipse Eight Drawer User manual

Mocka Olso Entertainment Unit User manual

Mocka

Mocka Olso Entertainment Unit User manual

Mocka Nava Buffet User manual

Mocka

Mocka Nava Buffet User manual

Mocka Porto User manual

Mocka

Mocka Porto User manual

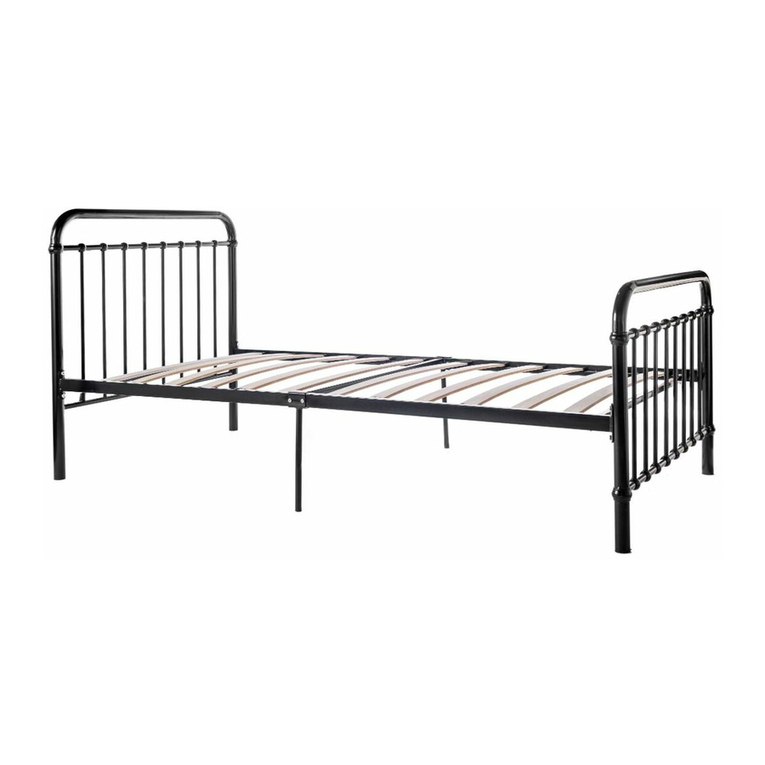
Mocka Finn House Bed - Single User manual

Mocka

Mocka Finn House Bed - Single User manual

Mocka Kirra Bedside Table User manual

Mocka

Mocka Kirra Bedside Table User manual

Mocka Solid Wooden Stool User manual

Mocka

Mocka Solid Wooden Stool User manual

Mocka Blake Series User manual

Mocka

Mocka Blake Series User manual

Mocka Edmond Buffet User manual

Mocka

Mocka Edmond Buffet User manual

Mocka Savannah Entertainment Unit User manual

Mocka

Mocka Savannah Entertainment Unit User manual

Mocka Hamptons User manual

Mocka

Mocka Hamptons User manual

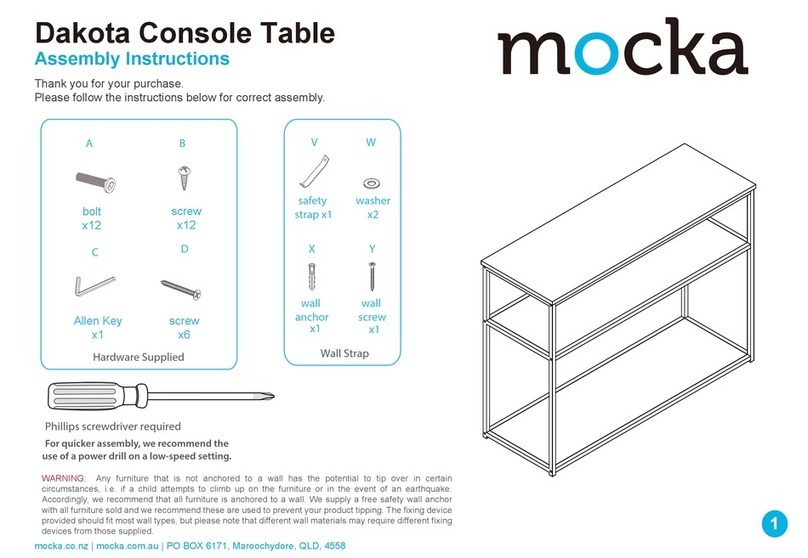
Mocka Dakota Console Table User manual

Mocka

Mocka Dakota Console Table User manual

Mocka Safari Tent User manual

Mocka

Mocka Safari Tent User manual

Mocka Sonata User manual

Mocka

Mocka Sonata User manual

Mocka Georgia Six Drawer User manual

Mocka

Mocka Georgia Six Drawer User manual

Mocka Brooklyn Underbed Storage Box User manual

Mocka

Mocka Brooklyn Underbed Storage Box User manual

Mocka Ida User manual

Mocka

Mocka Ida User manual

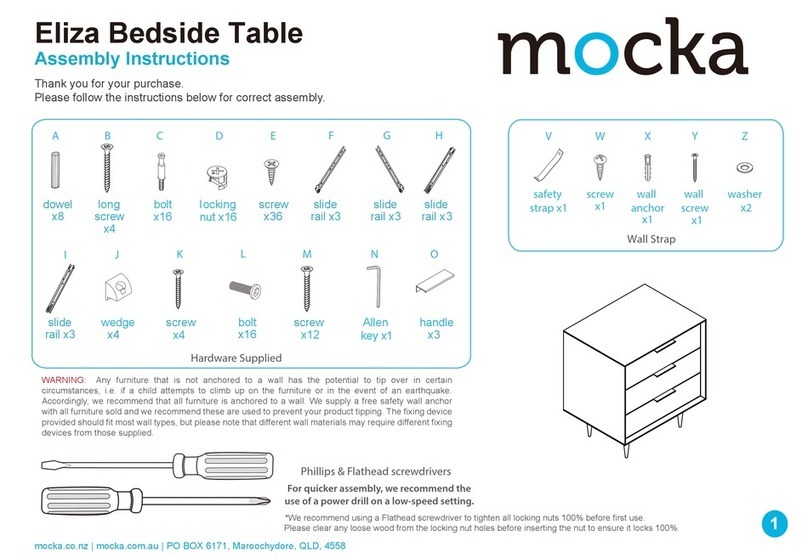
Mocka Eliza Bedside Table User manual

Mocka

Mocka Eliza Bedside Table User manual
Mocka Nava Six Drawer User manual

Mocka

Mocka Nava Six Drawer User manual

Mocka Brixton User manual

Mocka

Mocka Brixton User manual

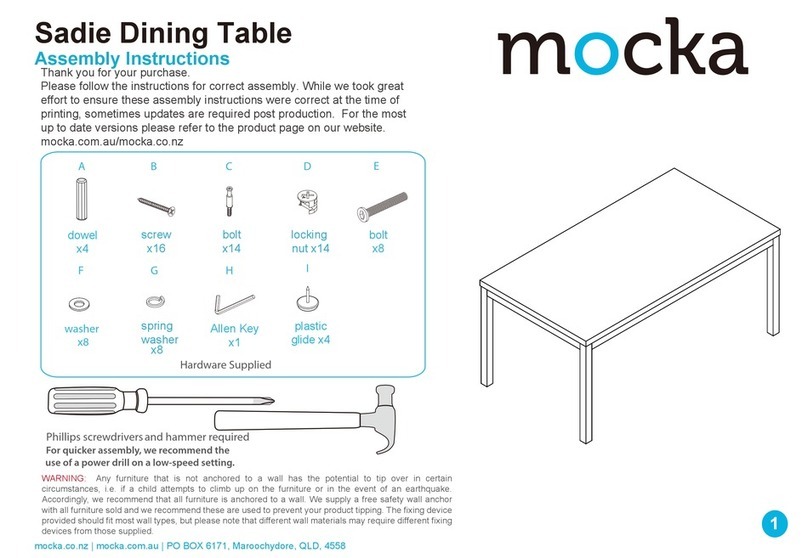
Mocka Sadie User manual

Mocka

Mocka Sadie User manual

Mocka Locka Bedside Table User manual

Mocka

Mocka Locka Bedside Table User manual

Popular Indoor Furnishing manuals by other brands

GFW MARIANNE LAMP TABLE Assembly instructions

GFW

GFW MARIANNE LAMP TABLE Assembly instructions

Better Homes and Gardens Cambridge Place BH15-084-299-05 manual

Better Homes and Gardens

Better Homes and Gardens Cambridge Place BH15-084-299-05 manual

Amart Furniture CHARTREUX 71675 Assembly instruction

Amart Furniture

Amart Furniture CHARTREUX 71675 Assembly instruction

Happy Garden WADE CONV02 Assembly instructions

Happy Garden

Happy Garden WADE CONV02 Assembly instructions

MP GLASS LYON CHIC 40 manual

MP GLASS

MP GLASS LYON CHIC 40 manual

Artopex Take Off installation guide

Artopex

Artopex Take Off installation guide

Bouclair 9399430 Assembly instructions

Bouclair

Bouclair 9399430 Assembly instructions

Forte Tempra T2KR70 Assembling Instruction

Forte

Forte Tempra T2KR70 Assembling Instruction

Lifetime 80172 owner's manual

Lifetime

Lifetime 80172 owner's manual

FYC furniture 237EXE-Synchro 4 quick start guide

FYC furniture

FYC furniture 237EXE-Synchro 4 quick start guide

Furniture of America CM3194T Assembly instructions

Furniture of America

Furniture of America CM3194T Assembly instructions

Furniture of America CM3577T Assembly instructions

Furniture of America

Furniture of America CM3577T Assembly instructions

Riverside Furniture Allegro Home Office 44728 Assembly instructions

Riverside Furniture

Riverside Furniture Allegro Home Office 44728 Assembly instructions

Next LOGAN DOUBLE EXTENDING DINING TABLE Assembly instructions

Next

Next LOGAN DOUBLE EXTENDING DINING TABLE Assembly instructions

Innoci-USA San Clemente 93362512 user guide

Innoci-USA

Innoci-USA San Clemente 93362512 user guide

Steelcase TS380 Springboard manual

Steelcase

Steelcase TS380 Springboard manual

Form Mixxit quick start guide

Form

Form Mixxit quick start guide

Rauch M1829 Assembly instructions

Rauch

Rauch M1829 Assembly instructions

manuals.online logo
manuals.online logoBrands
  • About & Mission
  • Contact us
  • Privacy Policy
  • Terms and Conditions

Copyright 2025 Manuals.Online. All Rights Reserved.