manuals.online logo
Brands
  1. Home
  2. •
  3. Brands
  4. •
  5. Mocka
  6. •
  7. Indoor Furnishing
  8. •
  9. Mocka Aspiring Classic Cot User manual

Mocka Aspiring Classic Cot User manual

Now that I’m here you are only one
flat-pack away from transforming
your home.
Hello,
I’ve arrived!
Make Time
The first step to all seamless
assembly is taking a moment
to carefully read through the
instructions—you are already
on your way to creating a
beautifully functional space!
Tool Check
Layout the instructions, screws
and panels to check you have
everything you need. A blanket
or soft floor rug will help protect
your new favourite item from
scratches and a drill will
speed up the assembly too!
Room Reveal
You did it! Take a step back and
enjoy the moment. Don’t forget
to recycle any packaging
and share a pic of your room
reveal - we love seeing how you
transform your home! Tag us
@mockaaustralia/@mockaanz
Set The Mood
Put on your favourite playlist,
order that pizza and pour
yourself a drink to get in
the mood!
Need help? Our Support Team are available via live chat, email or phone. Visit our website for details.
Here are a few assembly tips before you get started:
Happy flat-packing!
the Moa Team
Thank you for supporting us.
We believe design belongs to everyone. From materials and processes to safety testing, production and delivery,
we are passionate and committed to bringing you the best possible product so you can create beautifully
functional spaces to feel comfortably you.
mocka.co.nz I mocka.com.au I
ASSEMBLY INSTRUCTIONS
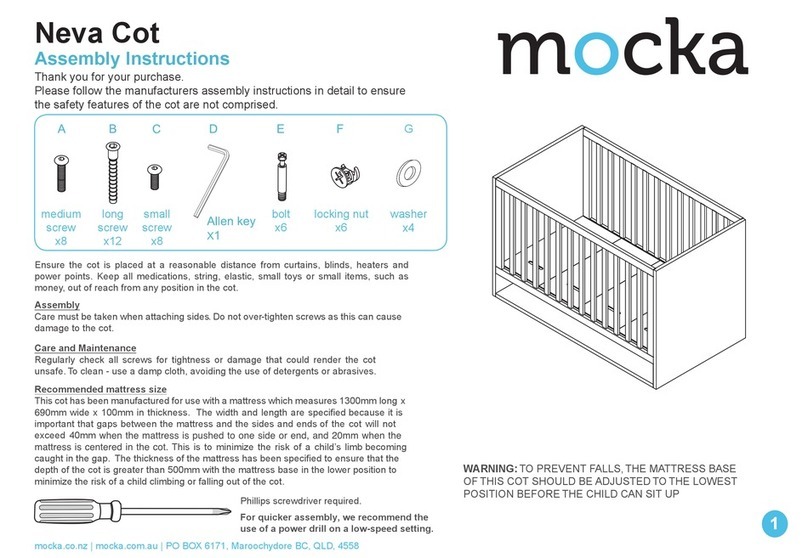
Aspiring Classic Cot
Thank you for your purchase. Please follow the manufacturer’s assembly
instructions in detail to ensure the safety features of the cot are not compromised.
HARDWARE SUPPLIED
x12
screw
x4
screw
x4
nut
x1
allen key
Side Panel
Cot Mattress Base
End Panel
DA B C
Mocka Products Pty Ltd. PO Box 18, Pinkenba, QLD 4008, AU
Mocka Limited, PO Box 29355, Riccarton, Christchurch 8440, NZ.
Ensure the cot is placed at a reasonable distance from curtains, blinds, heaters
and power points. Keep all medications, string, elastic, small toys or small items,
such as money, out of reach from any position in the cot.
ASSEMBLY
Care must be taken when attaching sides. Do not over-tighten screws as this can
cause damage to the cot.
CARE AND MAINTENANCE
Regularly check all screws for tightness or damage that could render the cot
unsafe. To clean - use a damp cloth, avoiding the use of detergents or abrasives.
WARNING: TO PREVENT FALLS, THE
MATTRESS BASE OF THIS COT SHOULD
BE ADJUSTED TO THE LOWEST POSITION
BEFORE THE CHILD CAN SIT UP Mocka Products Pty Ltd. PO Box 18, Pinkenba, QLD 4008, AU
Mocka Limited, PO Box 29355, Riccarton, Christchurch 8440, NZ.
RECOMMENDED MATTRESS SIZE
This cot has been manufactured for use with a mattress which measures
1300mm long x 690mm wide x 100mm in thickness. The width and length are
specified because it is important that gaps between the mattress and the
sides and ends of the cot will not exceed 40mm when the mattress is
pushed to one side or end, and 20mm when the mattress is centred in the
cot. This is to minimize the risk of a child’s limb becoming caught in the gap.
The thickness of the mattress has been specified to ensure that the depth of
the cot is greater than 500mm with the mattress base in the lower position
to minimize the risk of a child climbing or falling out of the cot.
x4
mocka.co.nz I mocka.com.au I
ASSEMBLY INSTRUCTIONS
Aspiring Classic Cot
1 2
Find one of the side panels and attach to both end panels of the cot using
4x screws (A) in the holes as shown.
Attach the cot mattress base at the required level using 4x screws (A) as shown.
Tighten all screws using the allen key (D). Attach 4 x screw (B) to 4 x nut (C).
Tighten with an Allen Key (D).
A
A
A
A
A
A
B
B
BB
C
B
A
x4
C
C
A
A
A
C
B
mocka.co.nz I mocka.com.au I
ASSEMBLY INSTRUCTIONS
Aspiring Classic Cot
3 4
Slide the remaining side panel into place and attach using 4 x screws (A) in the
holes as shown. Tighten all screws using the allen key (D).
All done! Regularly check all screws are suitably tightened. Place the correct
size mattress into the cot before use. To clean use a damp cloth, avoiding
the use of detergents or abrasives. Once assembled lift furniture into place,
do not drag.
x4
A
A
A
AD
A
OPTIONAL/MATTRESS HEIGHT ADJUSTMENT (please keep these instructions
handy for future reference)
To adjust mattress base settings, remove small plastic plugs. This will require a
small amount of force, please note these are not screws and cannot be screwed
out. You will need a screwdriver that fits into the centre hole and possibly a
hammer, or similar, to gently tap the end until the plug pops out.
Repeat steps 2, 3 and 4 by removing the side panel and moving the base to
corresponding holes. Securely attach again in the adjusted position.
mocka.co.nz I mocka.com.au I
ASSEMBLY INSTRUCTIONS
Aspiring Classic Cot
5
A
A
A
A
LIFT THE COT INTO PLACE, DO NOT DRAG,
AS THIS CAN CAUSE DAMAGE

Other Mocka Indoor Furnishing manuals

Mocka Inca Console Table User manual

Mocka

Mocka Inca Console Table User manual

Mocka Easton Buffet User manual

Mocka

Mocka Easton Buffet User manual

Mocka Nava User manual

Mocka

Mocka Nava User manual

Mocka Maya Bedside Table User manual

Mocka

Mocka Maya Bedside Table User manual

Mocka Maya Coffee Table User manual

Mocka

Mocka Maya Coffee Table User manual

Mocka Georgia Entertainment Unit User manual

Mocka

Mocka Georgia Entertainment Unit User manual

Mocka Zander User manual

Mocka

Mocka Zander User manual

Mocka Urban Three Drawer User manual

Mocka

Mocka Urban Three Drawer User manual

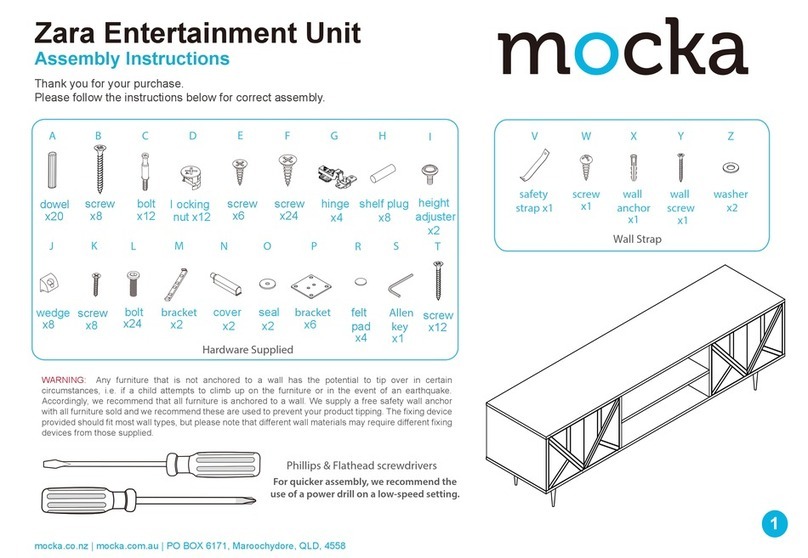
Mocka Zara User manual

Mocka

Mocka Zara User manual

Mocka Mischa Three Drawer User manual

Mocka

Mocka Mischa Three Drawer User manual

Mocka Eros Six Drawer User manual

Mocka

Mocka Eros Six Drawer User manual

Mocka Sadie Buffet User manual

Mocka

Mocka Sadie Buffet User manual

Mocka Vigo Bedside Table User manual

Mocka

Mocka Vigo Bedside Table User manual

Mocka Eden Corner Shelf User manual

Mocka

Mocka Eden Corner Shelf User manual
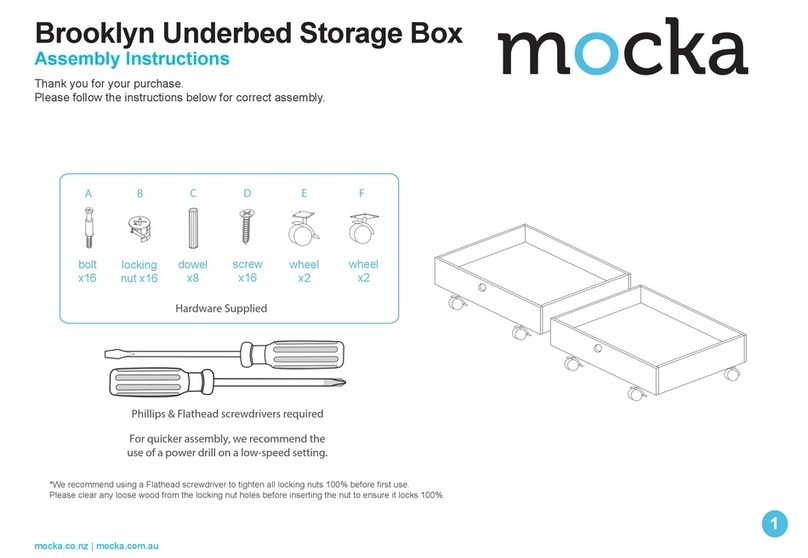
Mocka Tahoe Four Drawer User manual

Mocka

Mocka Tahoe Four Drawer User manual

Mocka Addi Buffet User manual

Mocka

Mocka Addi Buffet User manual

Mocka Rupert User manual

Mocka

Mocka Rupert User manual

Mocka Kids Armchair User manual

Mocka

Mocka Kids Armchair User manual

Mocka Edmond Entertainment Unit User manual

Mocka

Mocka Edmond Entertainment Unit User manual

Mocka Aspen Wardrobe User manual

Mocka

Mocka Aspen Wardrobe User manual

Mocka Leon User manual

Mocka

Mocka Leon User manual

Mocka Sadie Bedside Table User manual

Mocka

Mocka Sadie Bedside Table User manual

Mocka Kirra User manual

Mocka

Mocka Kirra User manual

Mocka Aspen User manual

Mocka

Mocka Aspen User manual

Popular Indoor Furnishing manuals by other brands

BYALEX The A Desk instructions

BYALEX

BYALEX The A Desk instructions

DIR Quartz 3777 instruction manual

DIR

DIR Quartz 3777 instruction manual

BCP SKY5962 instruction manual

BCP

BCP SKY5962 instruction manual

Beacon BSCTAB-750D owner's manual

Beacon

Beacon BSCTAB-750D owner's manual

ipeatech iTable 406 user manual

ipeatech

ipeatech iTable 406 user manual

Woood TOM quick start guide

Woood

Woood TOM quick start guide

DGS Retail NESTING Assembly instructions

DGS Retail

DGS Retail NESTING Assembly instructions

Alice's Garden SIENA LCA004 quick start guide

Alice's Garden

Alice's Garden SIENA LCA004 quick start guide

Levira FALDON 3083 Assembly instructions

Levira

Levira FALDON 3083 Assembly instructions

EKVIP 023993 operating instructions

EKVIP

EKVIP 023993 operating instructions

DS Produkte C85001 instructions

DS Produkte

DS Produkte C85001 instructions

Mooreco DOC Partition 661A Series manual

Mooreco

Mooreco DOC Partition 661A Series manual

Gloster Halifax Deep Seating Swivel Rocker Lounge... quick start guide

Gloster

Gloster Halifax Deep Seating Swivel Rocker Lounge... quick start guide

CorLiving BBT-201-S quick start guide

CorLiving

CorLiving BBT-201-S quick start guide

DURAVIT Vitrium VT 7380 Mounting instructions

DURAVIT

DURAVIT Vitrium VT 7380 Mounting instructions

Next 569477 Assembly instructions

Next

Next 569477 Assembly instructions

Klaxon Salamander Wire-Free Door Holder user guide

Klaxon

Klaxon Salamander Wire-Free Door Holder user guide

Homelegance 5658 Assembly instruction

Homelegance

Homelegance 5658 Assembly instruction

manuals.online logo
manuals.online logoBrands
  • About & Mission
  • Contact us
  • Privacy Policy
  • Terms and Conditions

Copyright 2025 Manuals.Online. All Rights Reserved.