manuals.online logo
Brands
  1. Home
  2. •
  3. Brands
  4. •
  5. Mocka
  6. •
  7. Indoor Furnishing
  8. •
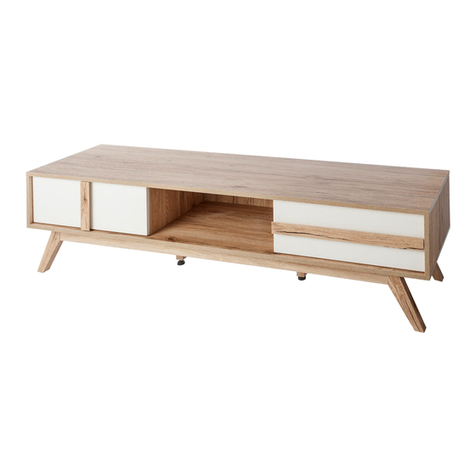
  9. Mocka Sadie User manual

Mocka Sadie User manual

mocka.co.nz I mocka.com.au I PO BOX 18, Pinkenba QLD 4008
ASSEMBLY I N S TRUCTION S
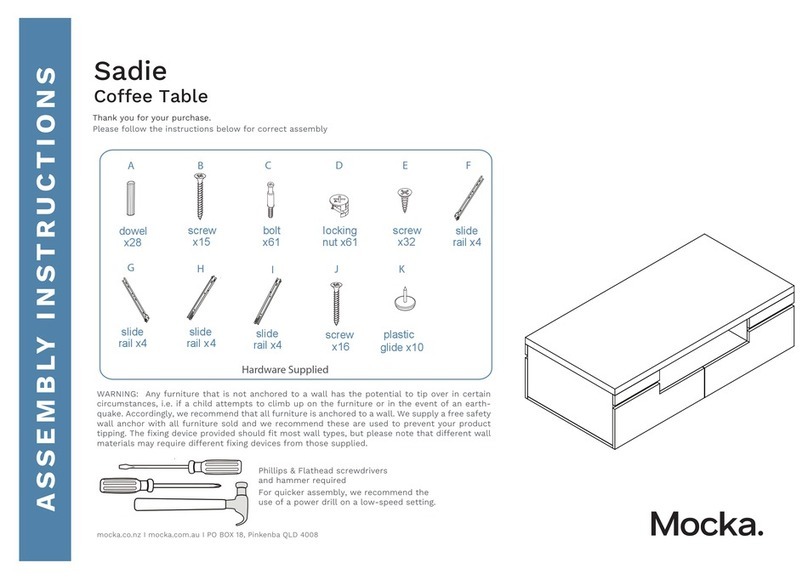
Sadie
Entertainment Unit - Large
Thank you for your purchase.
Please follow the instructions below for correct assembly
WARNING: Any furniture that is not anchored to a wall has the poten-
tial to tip over in certain circumstances, i.e. if a child attempts to climb
up on the furniture or in the event of an earthquake. Accordingly, we
recommend that all furniture is anchored to a wall. We supply a free
safety wall anchor with all furniture sold and we recommend these are
used to prevent your product tipping. The fixing device provided should
fit most wall types, but please note that dierent wall materials may
require dierent fixing devices from those supplied.
Wall Strap
x4
washer
ZY
wall
x2
X
anchor
safety
WV
strap x2 x2
screw wall
x2
screw
bolt
x61
ABCDEF
G H J K
I
Hardware Supplied
small screw
x24
dowelscrew long screw
x30
screw
x20
x 2
x12
locking
x4
nut x61
wedge plastic
glide x10
Phillips & Flathead screwdrivers
and hammer required.
For quicker assembly, we recommend
the use of a power drill on a low-speed setting.
x4
screw slide
rail x3
slide
I1
I2
J1
J2
N
rail x3
Sadie
mocka.co.nz I mocka.com.au I PO BOX 18, Pinkenba QLD 4008
ASSEMBLY I N S TRUCTION S
21
Entertainment Unit - Large
2
Insert 2x bolts (A) into panel [4]. Attach 1x slide rail (I1) to panel [4]
using 3x screws (D). Insert 2x bolts (A) into panel [5]. Attach 1x slide
rail (I2) to panel [5] using 3x screws (D). Tighten with a screwdriver.
Attach 1x slide rail (I1) to one side of panel [9] using 3x screws (D).
Turn it over and attach 1x slide rail (I2) to the other side using 3x
screws (D). Tighten with a screwdriver.
D
D
D
FLIP
I1
D
D
D
D
D
D
D
D
D
D
AA
A
AA
4
5
9
9
D
I2
I1
I2
I1
I2
Sadie
Entertainment Unit - Large
mocka.co.nz I mocka.com.au I PO BOX 18, Pinkenba QLD 4008
ASSEMBLY I N S TRUCTION S
Attach 1x slide rail (I1) to one side of panel [8] using 3x screws (D).
Turn it over and attach 1x slide rail (I2) to the other side using 3x
screws (D). Tighten with a screwdriver.
3 4
Insert 4x bolts (A) into panel [3]. Insert 4x bolts (A) into panel [6]
and panel [7]. Tighten with a screwdriver.
1
AA
FLIP
I1
D
D
D
D
D
D
D
A
A
A
A
AA
8
8
D
I2
I2
3
I1
7
6
mocka.co.nz I mocka.com.au I PO BOX 18, Pinkenba QLD 4008
ASSEMBLY I N S TRUCTION S
Sadie
Entertainment Unit - Large
5 6
Insert 16x bolts (A) to panel [2]. Tighten with a screwdriver. Insert 12x bolts (A) to panel [1]. Attach panels [24] to panel [1] using
4x locking nuts (B). Tighten with a screwdriver.Attach panel [25] to
panel [1] secure with 4x screws (E).Tighten with a screwdriver.
A
A
A
A
A
A
A
A
A
A
AA
A
A
A
A
2
1
1
A
A
A
A
A
A
AA
A
A
AA
B
B
B
B
E
E
E
E
24
25
24
E
B
Sadie
Entertainment Unit - Large
mocka.co.nz I mocka.com.au I PO BOX 18, Pinkenba QLD 4008
ASSEMBLY I N S TRUCTION S
Attach panels [5] and [7] to panel [23] secure with 4x locking nuts (B)
Attach panels [4] and [6] to panel [23] secure with 4x locking nuts (B)
Tighten with a screwdriver.
Attach panels [4] ,[5], [6] and [7] to panel [1] using 8x dowels(C)
and secure with 8x locking nuts (B). Tighten with a screwdriver.
7 8
B
B
B
B
B
C
C
C
CC
C
C
C
B
B
5
7
7
4
23
23
5
4
6
6
B
B
1
Sadie
Entertainment Unit - Large
mocka.co.nz I mocka.com.au I PO BOX 18, Pinkenba QLD 4008
ASSEMBLY I N S TRUCTION S
Attach panel [3] to panels [6] and [7] using 4x dowels(C) and secure
with 4x screws (F). Tighten with a screwdriver.
Attach panel [8] and [9] to panel [3] using 4x dowels(C) and secure
with 4x locking nuts (B). Tighten with a screwdriver.
109
F
F
F
F
C
C
C
B
B
cc
cc
3
6
7
9
8
3
11
Sadie
Entertainment Unit - Large
mocka.co.nz I mocka.com.au I PO BOX 18, Pinkenba QLD 4008
ASSEMBLY I N S TRUCTION S
Attach panel [26] to panel [3] secure with 3x screws (E) and
secure with 2x screws (N) Tighten with a screwdriver.
Slide back panel [12] down along the grooves between panels
[5] and [4].
12
12
4
5
3
9
8
26
E
E
E
N
N
E
N
13
Sadie
Entertainment Unit - Large
mocka.co.nz I mocka.com.au I PO BOX 18, Pinkenba QLD 4008
ASSEMBLY I N S TRUCTION S
Attach panel [2] to panel [4], [5], [8] and [9] using 8x dowels (C) and
secure with 8x screws (F), Tighten with a screwdriver.
Insert 4x bolts (A) into each panel [10],Attach panels [10] to panels [11]
using 8x locking nuts (B). Tighten with a screwdriver.
14
F
F
F
F
F
F
F
F
C
C
C
C
C
A
A
A
A
B
B
B
B
B
B
x2
B
B
2
410
10
11
11
11
11
10
9
8
5
15
Sadie
Entertainment Unit - Large
mocka.co.nz I mocka.com.au I PO BOX 18, Pinkenba QLD 4008
ASSEMBLY I N S TRUCTION S
Attach panels [10] and [11] to panel [2] using 16x locking nuts (B).
Tighten with a screwdriver. Attach 10x plastic glides (K) to the
panels [10] and [11] using a hammer as shown.
Insert 13x bolts (A) into panels [13] [14] and [15]. Tighten with a screwdriver.
16 Drawer x3
k
k
BB
B
B
B
BB
BB
A
A
A
A
A
AA
A
A
AA
AA
k
k
k
k
k
k
k
k
10
10
11
2
13
15
14
B
k
17
Sadie
Entertainment Unit - Large
mocka.co.nz I mocka.com.au I PO BOX 18, Pinkenba QLD 4008
ASSEMBLY I N S TRUCTION S
Attach panels [16] and [17] to panel [19] secure with 4x screws (E).
Tighten with a screwdriver.Attach panels [16] [17] and [18] to panel
[20] secure with 5x screws (E). Tighten with a screwdriver.
[17] and [18] to panel [20] secure with 5x screws (E).
Tighten with a screwdriver.
18
E
E
E
E
16
18
16
17
22
20
16
17
21
E
E
E
E
E
16
19
17
17
19
Sadie
Entertainment Unit - Large
mocka.co.nz I mocka.com.au I PO BOX 18, Pinkenba QLD 4008
ASSEMBLY I N S TRUCTION S
Attach panels [13], [14] and [15] to panels [16], [17] and [20]
secure with 13x locking nuts (B). Tighten with a screwdriver.
Attach slide rail (J1) and slide rail (J2) to the underside of the side panels
as shown. Secure with 12x screws (D) and tighten with a screwdriver.
20
BB
B
B
B
B
B
BB
B
B
B
B
D
D
D
D
D
D
D
D
D
D
D
D
13
17
17
16
16
16
17
15
14
13
14
15
16
16
16
17
17
17
20
J1
J1
J1
J2
J2
J2
Drawer x3Drawer x3
20
Sadie
Entertainment Unit - Large
mocka.co.nz I mocka.com.au I PO BOX 18, Pinkenba QLD 4008
ASSEMBLY I N S TRUCTION S
Insert the assembled drawers into the corresponding compartments
as shown. Ensure the drawers slide easily along the rails.
Attach 4x wedges (G) into the corners of the back of the unit and secure
with 4x screws (H). Tighten with a screwdriver. Attach 2x safety straps (V)
to the top of the back side of the unit as shown using 2x washers (Z) and
2x screws (W). Tighten with a screwdriver.
22
13
15
14
H
H
G
G
H
H
G
G
V
Z
W
V
Z
W
H
G
V
Z
W
23
Sadie
Entertainment Unit - Large
mocka.co.nz I mocka.com.au I PO BOX 18, Pinkenba QLD 4008
ASSEMBLY I N S TRUCTION S
Once assembled lift furniture into place, do not drag. Use a drill to create
a small hole lining up with the top of the safety strap (V). Fasten to the wall
using 2x washers (Z), 2x wall anchors (X) and 2x wall screws (Y). Ensure unit
is balanced and steady before use.
You’re done, enjoy!
24
Y
Z
X
X
Y
Z
anchor
wall
strap
washer

Other manuals for Sadie

23

Other Mocka Indoor Furnishing manuals

Mocka Milton Medium Plant Stand User manual

Mocka

Mocka Milton Medium Plant Stand User manual

Mocka Eva A-Frame User manual

Mocka

Mocka Eva A-Frame User manual

Mocka Avoca User manual

Mocka

Mocka Avoca User manual

Mocka Reese User manual

Mocka

Mocka Reese User manual

Mocka Easton Buffet User manual

Mocka

Mocka Easton Buffet User manual

Mocka Zack User manual

Mocka

Mocka Zack User manual
Mocka Theo User manual

Mocka

Mocka Theo User manual

Mocka Asta Luxe Footstool User manual

Mocka

Mocka Asta Luxe Footstool User manual

Mocka Mischa Bookcase User manual

Mocka

Mocka Mischa Bookcase User manual

Mocka Aspen Classic Cot User manual

Mocka

Mocka Aspen Classic Cot User manual

Mocka Aspen User manual

Mocka

Mocka Aspen User manual

Mocka Livi Bar Seat User manual

Mocka

Mocka Livi Bar Seat User manual

Mocka Nyla Bedside Table User manual

Mocka

Mocka Nyla Bedside Table User manual

Mocka Adele Chair User manual

Mocka

Mocka Adele Chair User manual

Mocka Eclipse User manual

Mocka

Mocka Eclipse User manual

Mocka Dahlia User manual

Mocka

Mocka Dahlia User manual

Mocka Henley Teepee User manual

Mocka

Mocka Henley Teepee User manual

Mocka Addi Buffet User manual

Mocka

Mocka Addi Buffet User manual

Mocka Aspen Classic Cot User manual

Mocka

Mocka Aspen Classic Cot User manual

Mocka Kai User manual

Mocka

Mocka Kai User manual

Mocka Eliza Coffee Table User manual

Mocka

Mocka Eliza Coffee Table User manual

Mocka Addi Tallboy User manual

Mocka

Mocka Addi Tallboy User manual

Mocka Dakota Coffee Table User manual

Mocka

Mocka Dakota Coffee Table User manual

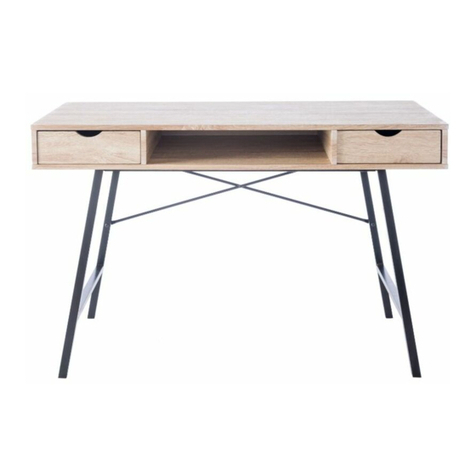
Mocka Sadie Desk User manual

Mocka

Mocka Sadie Desk User manual

Popular Indoor Furnishing manuals by other brands

Balt 42551 Alekto-3 Assembly instructions

Balt

Balt 42551 Alekto-3 Assembly instructions

Tecnos Asia 23656539 Assembly instructions

Tecnos

Tecnos Asia 23656539 Assembly instructions

Next 415954 Assembly instructions

Next

Next 415954 Assembly instructions

Sunnydaze Decor MALACHI GF-307 quick start guide

Sunnydaze Decor

Sunnydaze Decor MALACHI GF-307 quick start guide

drew & jonathan P307DJ230 Assembly instructions

drew & jonathan

drew & jonathan P307DJ230 Assembly instructions

RiverRidge X-FRAME 06-001/16-018 Assembly instructions

RiverRidge

RiverRidge X-FRAME 06-001/16-018 Assembly instructions

Rauch M2590 Assembly instructions

Rauch

Rauch M2590 Assembly instructions

Pinnacle G0S021 manual

Pinnacle

Pinnacle G0S021 manual

Lee & Plumpton InMotion Single Electric 1200 Assembly instructions

Lee & Plumpton

Lee & Plumpton InMotion Single Electric 1200 Assembly instructions

DTY OF-1003 manual

DTY

DTY OF-1003 manual

Costway HW66935 user manual

Costway

Costway HW66935 user manual

Buster+Punch HANGER SHELF instruction manual

Buster+Punch

Buster+Punch HANGER SHELF instruction manual

LDI SAFCO 1706 instructions

LDI

LDI SAFCO 1706 instructions

Whittier Wood 1356AFGAC Assembly instructions

Whittier Wood

Whittier Wood 1356AFGAC Assembly instructions

NEXERa 101203 Assembly instructions

NEXERa

NEXERa 101203 Assembly instructions

Honey Can Do HMP-03770 quick start guide

Honey Can Do

Honey Can Do HMP-03770 quick start guide

HearthPro SP6592 user manual

HearthPro

HearthPro SP6592 user manual

overstock 191B1626GY-1 Assembly instructions

overstock

overstock 191B1626GY-1 Assembly instructions

manuals.online logo
manuals.online logoBrands
  • About & Mission
  • Contact us
  • Privacy Policy
  • Terms and Conditions

Copyright 2025 Manuals.Online. All Rights Reserved.