manuals.online logo
Brands
  1. Home
  2. •
  3. Brands
  4. •
  5. Mocka
  6. •
  7. Indoor Furnishing
  8. •
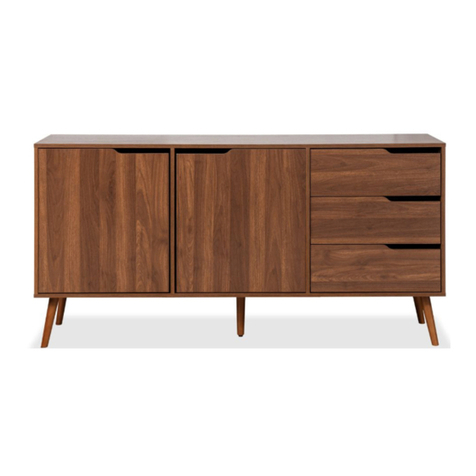
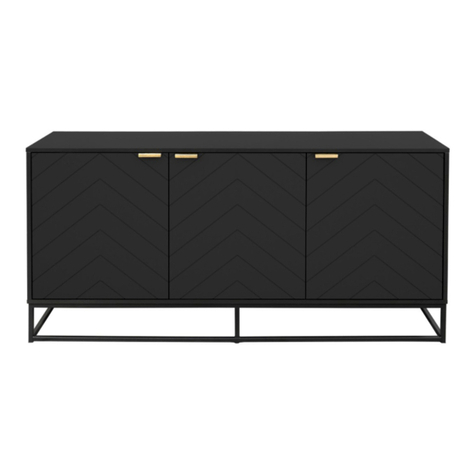
  9. Mocka Hamptons User manual

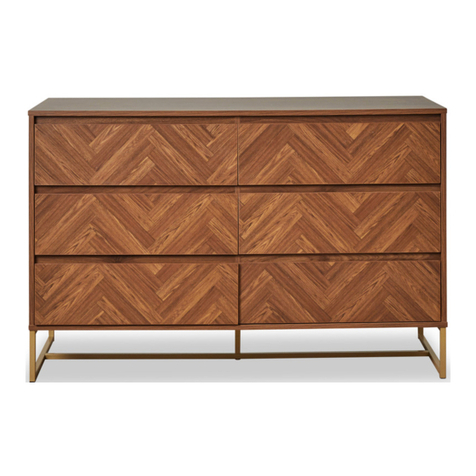
Mocka Hamptons User manual

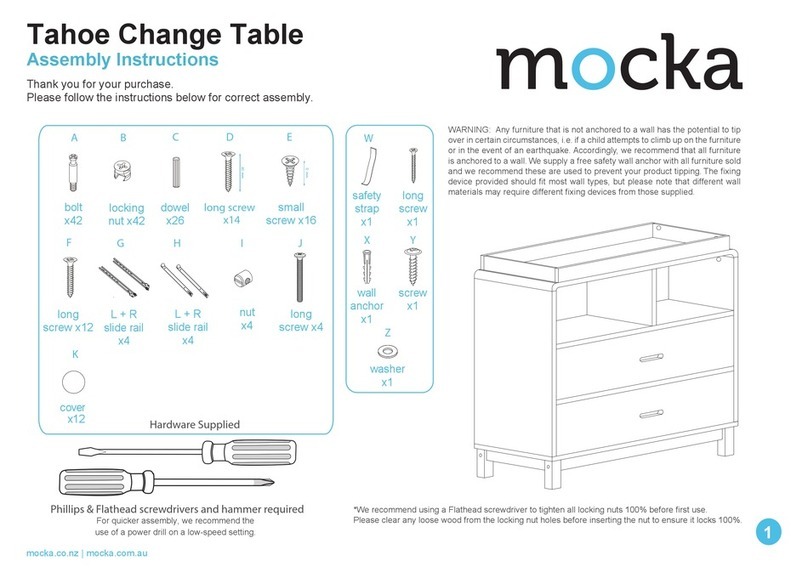
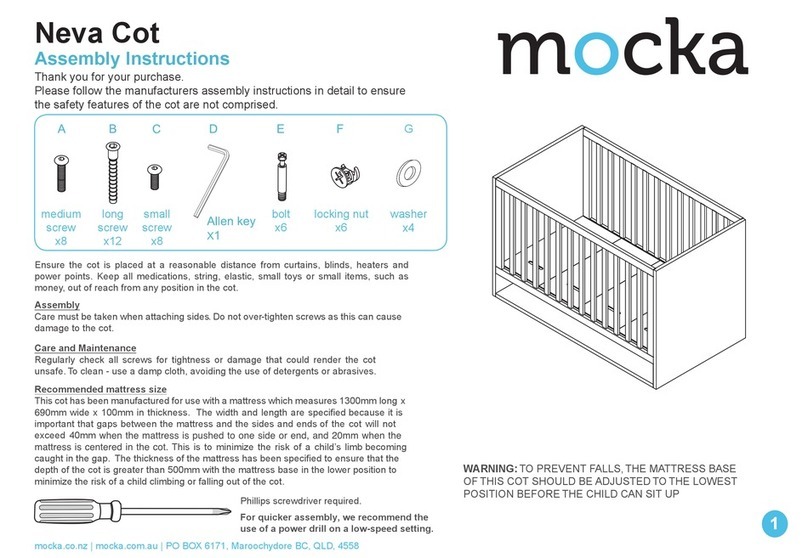
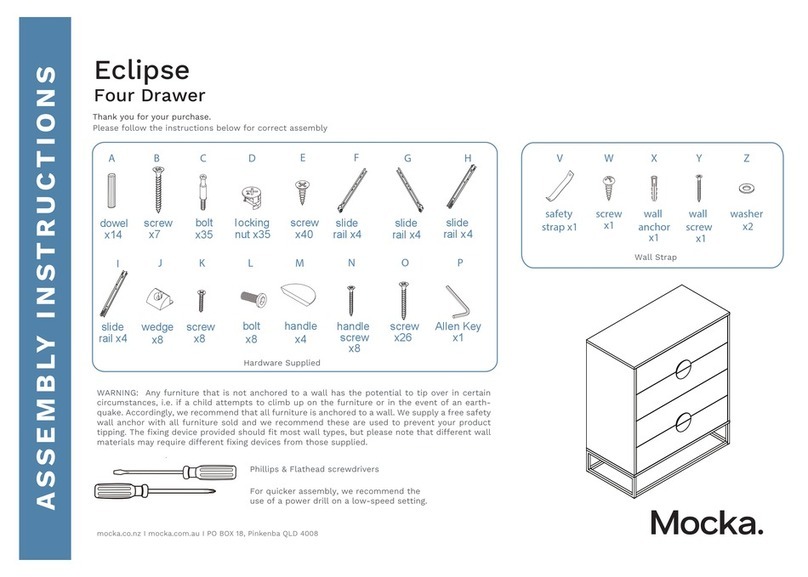
Phillips & Flathead screwdrivers and hammer required
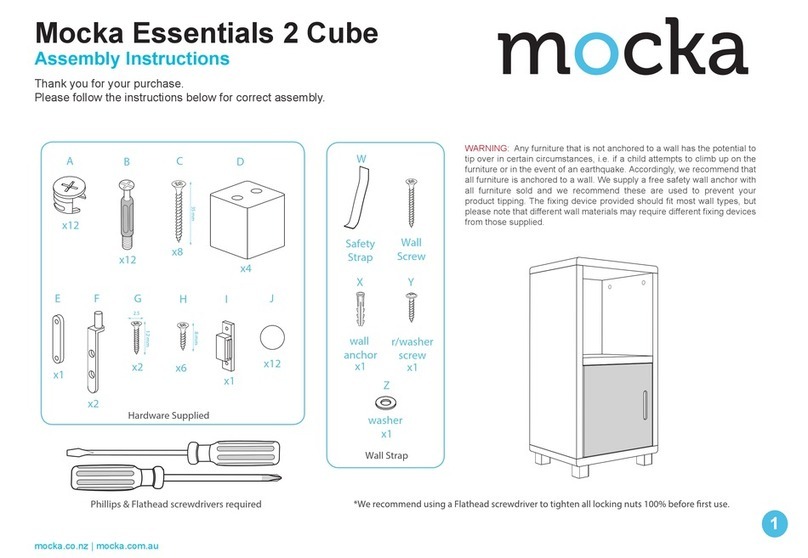
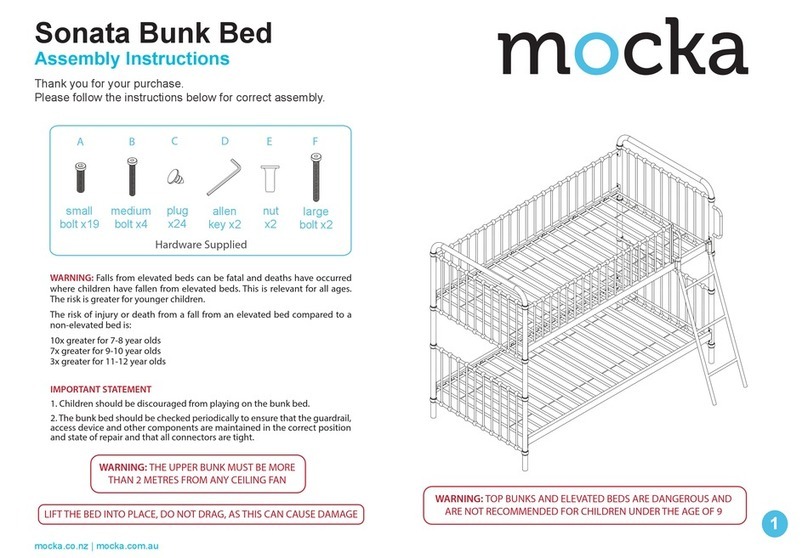
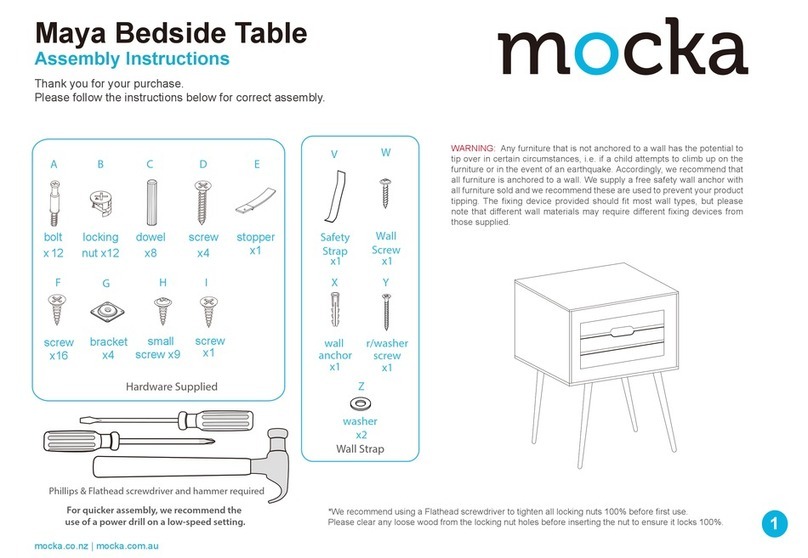
Assembly Instructions
Thank you for your purchase.
Please follow the instructions below for correct assembly.
1
X
Z
Y
W
safety
strap
x1
screw
x1
long
screw
x1
wall
anchor
x1
washer
x1
mocka.co.nz | mocka.com.au
B
ACDE
GH
12 mm
Hardware Supplied
*We recommend using a Flathead screwdriver to tighten all locking nuts 100% before first use.
bolt
x25
locking
nut x 25
dowel
x12
small
screw x24
I
L + R
slide rail
x6
L + R
slide rail
x6
Hamptons Three Drawer
40 mm
long
screw x 6
J
25 mm
small
screw x3
handle
x 3
F
30 mm
long
screw x 15
P1
wedge
x12
WARNING: Any furniture that is not anchored to a wall has the potential to tip
over in certain circumstances, i.e. if a child attempts to climb up on the furniture
or in the event of an earthquake. Accordingly, we recommend that all furniture
is anchored to a wall. We supply a free safety wall anchor with all furniture sold
and we recommend these are used to prevent your product tipping. The fixing
device provided should fit most wall types, but please note that different wall
materials may require different fixing devices from those supplied.
2
12
Hamptons Three Drawer
Assembly Instructions
Thank you for your purchase.
Please follow the instructions below for correct assembly.
mocka.co.nz | mocka.com.au
A
61
GG
A
AA
A
EEEE
EE
E
E
EEEE
G
G
G
G
G
G
34
Attach 3 x left slide rail (G) topanel [3] and secure with 6 x small screw (E).
Tighten with a screwdriver.
Attach 3 x right slide rail (G) to panel [4] and secure with 6 x small screw (E).
Insert 4 x bolt (A) into panel [3] and [4].
Insert 6 x bolt (A) into panels [1] .Attach 3 x screw (J) into panel [6] and[1].
Tighten with a screwdriver.
A
A
A
A
J
J
J
A
3
34
Hamptons Three Drawer
Assembly Instructions
Thank you for your purchase.
Please follow the instructions below for correct assembly.
mocka.co.nz | mocka.com.au
C
3
4
C
B
B
B
B
C
C3
4
2
5
5
Y
Insert 4 x dowel (C) into panel [5]. Attach panel [5] to panels [3] and [4]
and secure with 4 x locking nuts (B). Tighten with a screwdriver.
Insert 4 x dowel (C) into panel [3] and [4] and [2] .
Attach panels [3] and [4] to panel [2] and secure with 6 x long screws(D).
7
W
D
D
D
D
D
D
C
C
Attach 1 x wall strap (W)
to panel [1] using 1x screw(Y).
4
56
Hamptons Three Drawer
Assembly Instructions
Thank you for your purchase.
Please follow the instructions below for correct assembly.
mocka.co.nz | mocka.com.au
3
4
7
1
4
3
B
Slide panel [13] between the grooves on panels [3] and [4] and [7] to form the
back of the unit as shown.
Tighten with a screwdriver. Tighten with a screwdriver.
Insert 4 x dowel (C) into panel [1]. Attach panels [3] to panel [4], [3] and
[4] and [7] and secure with 6 x locking nuts (B).
13
13
BB
B
BB
CC
CC
7
5
78
Hamptons Three Drawer
Assembly Instructions
Thank you for your purchase.
Please follow the instructions below for correct assembly.
mocka.co.nz | mocka.com.au
Drawers (x3) Drawers (x3)
10
8B
A
11
Tighten with a screwdriver.
Insert 12 xbolts (A) into panel [8] .Attach panels [10] and [11] to panel
[8]]secure with 12 xlocking nuts (B).
9
10
11
B
A
A
A
B
B
B
A
Insert 3 x bolts (A) into panel [8] . Slide panels [9] between the
Attach panel [14] to panel [9] and secure with 3 x locking nut (B).
grooves on panels [10] and [11 to form thebase of the drawer as shown.
8
14
6
910
Hamptons Three Drawer
Assembly Instructions
Thank you for your purchase.
Please follow the instructions below for correct assembly.
mocka.co.nz | mocka.com.au
Drawers (x3) Drawers (x3)
9
F
12
E
E
H
H
E
I
Tighten with a screwdriver.
Attach panel [12] to panels and [10] and [11] secure with 15 x
medium screws(F).
10
11
Attach 6 x slide rails (H) to panels [10] and [11] and secure with 12 x small
screw(E). Insert 3 x bolts (I) into panel [8] .
8
10
11
F
F
F
F
7
11 12
Hamptons Three Drawer
Assembly Instructions
Thank you for your purchase.
Please follow the instructions below for correct assembly.
mocka.co.nz | mocka.com.au
X
Z
x1
wall
screw
wall
anchor
wall
screw
Washer
Strap
Once assembled lift furniture into place, do not drag. Use a drill to create
a small hole lining up with the top of the safety strap (W). Fasten to wall
using wall anchor (X), washer (Z) and screw. Ensure the unit is balaced
and steady before use. You’re done, enjoy!
P1
P1
P1
P1
P1
P1
P1
P1
P1
P1
13
13
Attach 12x wedge (P1)to panel [8] and
[13] .
Tighten with a screwdriver.

Other manuals for Hamptons

18

Other Mocka Indoor Furnishing manuals

Mocka Blair User manual

Mocka

Mocka Blair User manual

Mocka Betti Bobbin User manual

Mocka

Mocka Betti Bobbin User manual

Mocka Brooklyn Change Table User manual

Mocka

Mocka Brooklyn Change Table User manual

Mocka Adele Chair User manual

Mocka

Mocka Adele Chair User manual

Mocka Eros Buffet User manual

Mocka

Mocka Eros Buffet User manual

Mocka Bronte Entertainment Unit User manual

Mocka

Mocka Bronte Entertainment Unit User manual

Mocka Jolt Six Drawer - Slim User manual

Mocka

Mocka Jolt Six Drawer - Slim User manual

Mocka Nava Three Drawer User manual

Mocka

Mocka Nava Three Drawer User manual

Mocka Zander Bench Seat User manual

Mocka

Mocka Zander Bench Seat User manual

Mocka Sadie User manual

Mocka

Mocka Sadie User manual

Mocka Milton Tall Plant Stand User manual

Mocka

Mocka Milton Tall Plant Stand User manual

Mocka Porto User manual

Mocka

Mocka Porto User manual

Mocka Tahoe User manual

Mocka

Mocka Tahoe User manual

Mocka Marlow Four Drawer User manual

Mocka

Mocka Marlow Four Drawer User manual

Mocka Jolt Six Drawer - Wide User manual

Mocka

Mocka Jolt Six Drawer - Wide User manual

Mocka Alps Coffee Table User manual

Mocka

Mocka Alps Coffee Table User manual

Mocka Edmond Four Drawer User manual

Mocka

Mocka Edmond Four Drawer User manual

Mocka Zara User manual

Mocka

Mocka Zara User manual

Mocka Hamptons Bedside Table 40 mm User manual

Mocka

Mocka Hamptons Bedside Table 40 mm User manual

Mocka Betti Bobbin Tallboy User manual

Mocka

Mocka Betti Bobbin Tallboy User manual

Mocka Aspen User manual

Mocka

Mocka Aspen User manual

Mocka Eclipse Change Table User manual

Mocka

Mocka Eclipse Change Table User manual

Mocka Dakota Nine Cube Shelf User manual

Mocka

Mocka Dakota Nine Cube Shelf User manual

Mocka Scarborough Tallboy User manual

Mocka

Mocka Scarborough Tallboy User manual

Popular Indoor Furnishing manuals by other brands

HOMCOM 311-043 Assembly instructions

HOMCOM

HOMCOM 311-043 Assembly instructions

Micasa ZAC manual

Micasa

Micasa ZAC manual

Steelcase Solo Sit-to-Stand user guide

Steelcase

Steelcase Solo Sit-to-Stand user guide

Champion Modular Series Use and installation

Champion

Champion Modular Series Use and installation

Furniture of America CM3710PC-2PK Assembly instructions

Furniture of America

Furniture of America CM3710PC-2PK Assembly instructions

Tennsco J1878A-N Assembly Instructions/Parts Manual

Tennsco

Tennsco J1878A-N Assembly Instructions/Parts Manual

Baur NAMUR 100 Assembly instructions

Baur

Baur NAMUR 100 Assembly instructions

Robern VALEG24H3D21T84 quick start guide

Robern

Robern VALEG24H3D21T84 quick start guide

Westward 1MZH8 Operating instructions and parts manual

Westward

Westward 1MZH8 Operating instructions and parts manual

TAKT T01 Cross Chair Tube Building instructions

TAKT

TAKT T01 Cross Chair Tube Building instructions

Eagle Group Poly/Richlite Assembly instructions

Eagle Group

Eagle Group Poly/Richlite Assembly instructions

physa BERLIN WHITE user manual

physa

physa BERLIN WHITE user manual

Zandiara Camille Assembly instructions

Zandiara

Zandiara Camille Assembly instructions

Stengel Minikitchen operating instructions

Stengel

Stengel Minikitchen operating instructions

Songmics LJB81 Assembly instructions

Songmics

Songmics LJB81 Assembly instructions

Whittier Wood 1191RGBa Assembly instructions

Whittier Wood

Whittier Wood 1191RGBa Assembly instructions

READY To ASSEMBLE HEADBOARD Assembly instructions

READY To ASSEMBLE

READY To ASSEMBLE HEADBOARD Assembly instructions

Ameriwood HOME 5741341COM manual

Ameriwood HOME

Ameriwood HOME 5741341COM manual

manuals.online logo
manuals.online logoBrands
  • About & Mission
  • Contact us
  • Privacy Policy
  • Terms and Conditions

Copyright 2025 Manuals.Online. All Rights Reserved.