manuals.online logo
Brands
  1. Home
  2. •
  3. Brands
  4. •
  5. Mocka
  6. •
  7. Indoor Furnishing
  8. •
  9. Mocka Hamptons Hallway Stand User manual

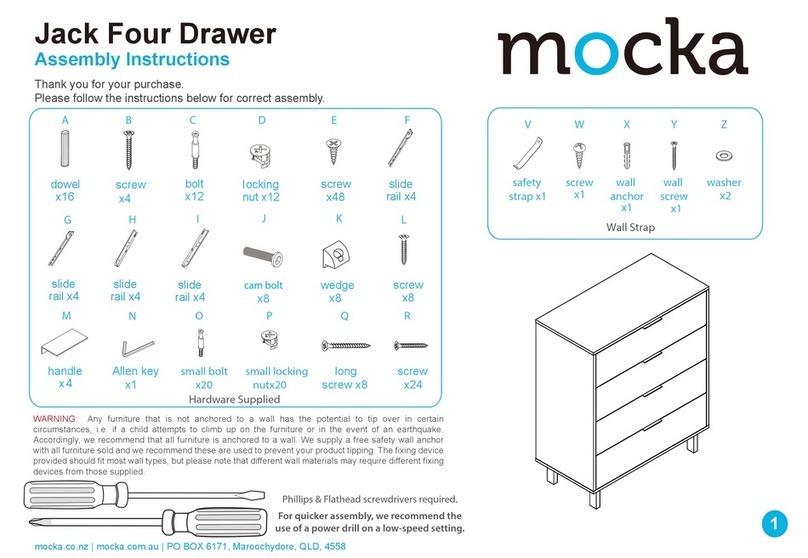
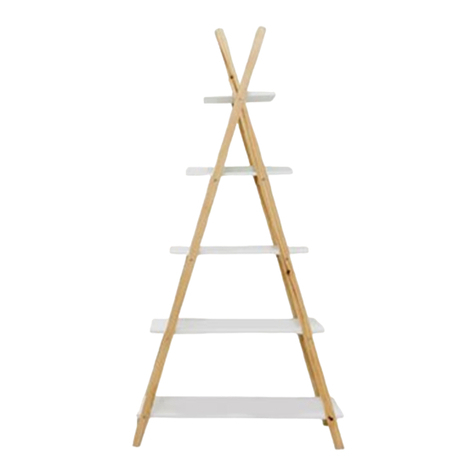
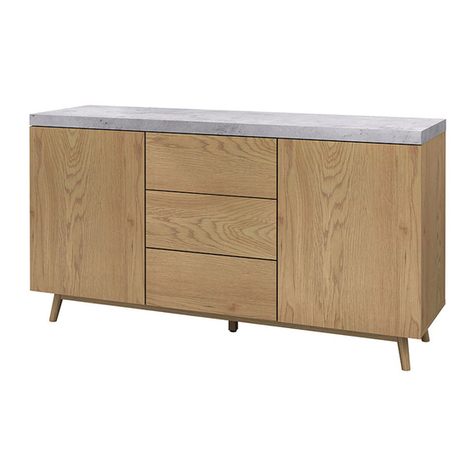
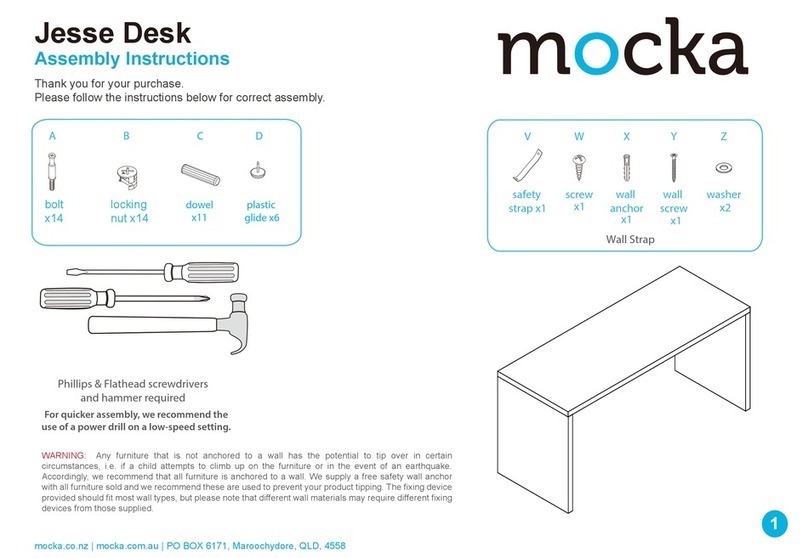
Mocka Hamptons Hallway Stand User manual

Phillips & Flathead screwdrivers and hammer required
Assembly Instructions
Thank you for your purchase.
Please follow the instructions below for correct assembly.
1
X
Z
Y
W
safety
strap
x2
screw
x2
long
screw
x2
wall
anchor
x2
washer
x2
mocka.co.nz | mocka.com.au
B
ACDE
F G H
25 mm
10 mm
Hardware Supplied
*We recommend using a Flathead screwdriver to tighten all locking nuts 100% before first use.
WARNING: Any furniture that is not anchored to a wall has the potential
to tip over in certain circumstances, i.e. if a child attempts to climb up on
the furniture or in the event of an earthquake. Accordingly, we
recommend that all furniture is anchored to a wall. We supply a free
safety wall anchor with all furniture sold and we recommend these are
used to prevent your product tipping. The fixing device provided should
fit most wall types, but please note that different wall materials
may require different fixing devices from those supplied.
WARNING: Never leave a child unattended on the change table.
bolt
x38
locking
nut x 38
dowel
x40
small
screw x 8
I
hook
x 4
long
screw x 8
Hamptons Hallway Stand
40 mm
long
screw x 16
J
12 mm
small
screw x14
shelf
plug x 1
long
screw x 1
K
cover
x 8
Assembly Instructions
Thank you for your purchase.
Please follow the instructions below for correct assembly.
Hamptons Hallway Stand
2
12
mocka.co.nz | mocka.com.au
Insert 13 x bolts(A) into panels [3], [4] and [5]. Tighten with a screwdriver.
Tighten with a screwdriver.
Insert 2 x dowels (C) into panel [5]. Attach panel [5] to panel [6] and
secure with 3 x locking nuts (B).
A
A
A
AAA
A
A
A
AA
3
4
5
A
A
A
6
5
B
B
C
B
C
B
Assembly Instructions
Thank you for your purchase.
Please follow the instructions below for correct assembly.
Hamptons Hallway Stand
3
34
mocka.co.nz | mocka.com.au
3
6
B
B
B
C
C
C
B
B
5
Tighten with a screwdriver.
Insert 3 x dowels (C) into panels [5] and [6]. Attach panels [5] and [6] to
panel [3] and secure with 5 x locking nuts (B).
6
3
5
B
B
B
BB
C
C
C
Tighten with a screwdriver.
Insert 3 x dowels (C) into panels [5] and [6]. Attach panel [4] to panels [5]
and [6] and secure with 5 x locking nuts (B).
4
Assembly Instructions
Thank you for your purchase.
Please follow the instructions below for correct assembly.
Hamptons Hallway Stand
4
56
mocka.co.nz | mocka.com.au
Insert 2 x dowels (C) into panel [1], [3] and [4] . Attach panel [1] to panels [3]
and [4] and secure with 4 x long screws (D). Tighten with a screwdriver.
6
1
4
3
C
D
D
D
D
C
7
1
F
1
Attach panel [7] to panel [1] with 4 x screws (F).
Attach 2 x wall straps (W) to panel [1] using 2 x screws (Y).
Tighten with
WY
WY
F
F
F
a screwdriver.
Assembly Instructions
Thank you for your purchase.
Please follow the instructions below for correct assembly.
Hamptons Hallway Stand
5
78
mocka.co.nz | mocka.com.au
Insert 11 x bolts (A) into panels[2].
screws (F). Tighten with a screwdriver.
Attach 4 x dowels (C) to panels [3] , [4] and [6]. Attach panel [2] to panels [3],
[4] and [6] and ecure with 4 x long screws (D).
2
7
A
A
A
A
A
A
A
A
A
A
AF
F
F
F
2
Attach panel [7] to panel [2] with 4 x
D
D
D
D
C
C
C
C
6
3
4
2
5
Assembly Instructions
Thank you for your purchase.
Please follow the instructions below for correct assembly.
Hamptons Hallway Stand
6
910
mocka.co.nz | mocka.com.au
C
4
2
C
BBC
CB
B
C
C
B
B
B
C
C
8
9
10
10
Attach 8 x dowels (C) to panels [8] , [9] and [10]. Attach panel [2] to panels [8],
[9] and [10] and secure with 8 x locking nuts (B).
8
10
10
9
11
11
11
Slide panels [11] between the grooves on panels [8], [9] and [10]
to form the back of the unit as shown.
I
II
K
B
x8
Cover locking nuts (B) with 8
x covers (K).
B
Assembly Instructions
Thank you for your purchase.
Please follow the instructions below for correct assembly.
Hamptons Hallway Stand
7
11 12
mocka.co.nz | mocka.com.au
Tighten with a screwdriver.Insert 14 xbolts (A) into panels [12] and [13].
13
13
14
14
Attach 4 x dowels (C) to panels [13] and [14]. Insert 4 x locking nuts (B) into
panels [14]. Tighten with a screwdriver.
C
C
C
C
B
B
B
B
A
13
A
A
12
AA
AA
AA
AA
AA
x2
Assembly Instructions
Thank you for your purchase.
Please follow the instructions below for correct assembly.
Hamptons Hallway Stand
8
13 14
mocka.co.nz | mocka.com.au
8
10
10
9
12
C
C
C
C
C
CC
C
D
D
D
D
D
D
D
D
Attach 8 x dowels (C) to panels [8], [9] and [10]. Attach panel [12] to panels [8],
[9] and [10] and ecure with 8 x long screws (D). Attach 1 x long screw (I) to
centre support (J) as shown.
12
C
C
C
C
C
C
B
B
B
B
B
B
B
B
BB
I
IJ
13
13
14
14
Insert 6 x dowels (C) into panels [13] and [14]. Attach panels [13] and [14] to
panel [12] and secure with 10 x locking nuts (B). Tighten with a screwdriver.
Assembly Instructions
Thank you for your purchase.
Please follow the instructions below for correct assembly.
Hamptons Hallway Stand
9
15
mocka.co.nz | mocka.com.au
16
15
6
B
BB
H
Attach panel [15] to Panel [1], [3], [4] and [5]. Secure with 14 small screws (H). Insert
3 x locking nuts (B) into panel [6]. Tighten with a screwdriver.
E x2 E x2 E x2 E x2
GGGG
Attach 4 x hooks (G) to panel [6] using 8 x small screws (E).
6
H
H
H
H
Tighten with a screwdriver.
1
4
Assembly Instructions
Thank you for your purchase.
Please follow the instructions below for correct assembly.
Hamptons Hallway Stand
10
17
mocka.co.nz | mocka.com.au
Once assembled lift furniture into place, do not drag. Use a drill to create
a small hole lining up with the top of the safety strap (W). Fasten to wall
using wall anchor (X), washer (Z) and screw. Ensure the unit is balaced
and steady before use. You’re done, enjoy!
X
Z
wall
screw
x2
wall
anchor
wall
screw
Washer
Strap
X
Z
wall
screw

Other Mocka Indoor Furnishing manuals

Mocka Luka Velvet User manual

Mocka

Mocka Luka Velvet User manual

Mocka Luna Cube 8 User manual

Mocka

Mocka Luna Cube 8 User manual

Mocka Torrance Occasional Chair User manual

Mocka

Mocka Torrance Occasional Chair User manual

Mocka Jolt Bedside User manual

Mocka

Mocka Jolt Bedside User manual

Mocka Porto User manual

Mocka

Mocka Porto User manual

Mocka Hamptons Desk User manual

Mocka

Mocka Hamptons Desk User manual

Mocka Savannah Side Table User manual

Mocka

Mocka Savannah Side Table User manual

Mocka Nixon Three Drawer User manual

Mocka

Mocka Nixon Three Drawer User manual

Mocka Sadie User manual

Mocka

Mocka Sadie User manual
Mocka Eclipse User manual

Mocka

Mocka Eclipse User manual

Mocka Boston Cot User manual

Mocka

Mocka Boston Cot User manual

Mocka Jack Entertainment Unit User manual

Mocka

Mocka Jack Entertainment Unit User manual

Mocka Vibe Coffee Table User manual

Mocka

Mocka Vibe Coffee Table User manual

Mocka Hector User manual

Mocka

Mocka Hector User manual

Mocka Hamptons User manual

Mocka

Mocka Hamptons User manual

Mocka Edmond User manual

Mocka

Mocka Edmond User manual

Mocka Chelsea Four Drawer User manual

Mocka

Mocka Chelsea Four Drawer User manual

Mocka Watson Entertainment Unit User manual

Mocka

Mocka Watson Entertainment Unit User manual

Mocka Livi User manual

Mocka

Mocka Livi User manual

Mocka Ida User manual

Mocka

Mocka Ida User manual

Mocka Jesse Change Table User manual

Mocka

Mocka Jesse Change Table User manual
Mocka Sadie Three Drawers User manual

Mocka

Mocka Sadie Three Drawers User manual

Mocka Darcy User manual

Mocka

Mocka Darcy User manual

Mocka Two Door Storage Locka User manual

Mocka

Mocka Two Door Storage Locka User manual

Popular Indoor Furnishing manuals by other brands

AKANTE BERGAMO CT016 Assembly instructions

AKANTE

AKANTE BERGAMO CT016 Assembly instructions

Otto SANTO 1071/5010/3300 Assembly Instructions Instruction Manual

Otto

Otto SANTO 1071/5010/3300 Assembly Instructions Instruction Manual

Smith & Noble Fusion Hardware Step by step installation instructions

Smith & Noble

Smith & Noble Fusion Hardware Step by step installation instructions

Walker Edison D42LUX Assembly instructions

Walker Edison

Walker Edison D42LUX Assembly instructions

Vivo DESK-KIT-1B5B instruction manual

Vivo

Vivo DESK-KIT-1B5B instruction manual

Kettler Reno Spring Rocker Assembly instructions

Kettler

Kettler Reno Spring Rocker Assembly instructions

sweeek. TOBIAS IKSCANDICS manual

sweeek.

sweeek. TOBIAS IKSCANDICS manual

Inter-Furn CANDY 535 installation instructions

Inter-Furn

Inter-Furn CANDY 535 installation instructions

Safavieh Furniture Dejana FOX8506A manual

Safavieh Furniture

Safavieh Furniture Dejana FOX8506A manual

Julian Bowen Limited RAD201 Assembly instructions

Julian Bowen Limited

Julian Bowen Limited RAD201 Assembly instructions

BTFY 2500509 quick start guide

BTFY

BTFY 2500509 quick start guide

URBAN OUTFITTERS EBBA CONSOLE Assembly instructions

URBAN OUTFITTERS

URBAN OUTFITTERS EBBA CONSOLE Assembly instructions

SIT&MORE Sapporo instruction manual

SIT&MORE

SIT&MORE Sapporo instruction manual

FIVE BROTHERS CM-3001-Q Assembly instructions

FIVE BROTHERS

FIVE BROTHERS CM-3001-Q Assembly instructions

rst brands PAULSON SL-ST-4-BRNBO Assembly instructions

rst brands

rst brands PAULSON SL-ST-4-BRNBO Assembly instructions

RH Secur24 user guide

RH

RH Secur24 user guide

Rev-A-Shelf Wood Classics 447 Series installation instructions

Rev-A-Shelf

Rev-A-Shelf Wood Classics 447 Series installation instructions

Aeris numo task Series manual

Aeris

Aeris numo task Series manual

manuals.online logo
manuals.online logoBrands
  • About & Mission
  • Contact us
  • Privacy Policy
  • Terms and Conditions

Copyright 2025 Manuals.Online. All Rights Reserved.