manuals.online logo
Brands
  1. Home
  2. •
  3. Brands
  4. •
  5. Mocka
  6. •
  7. Indoor Furnishing
  8. •
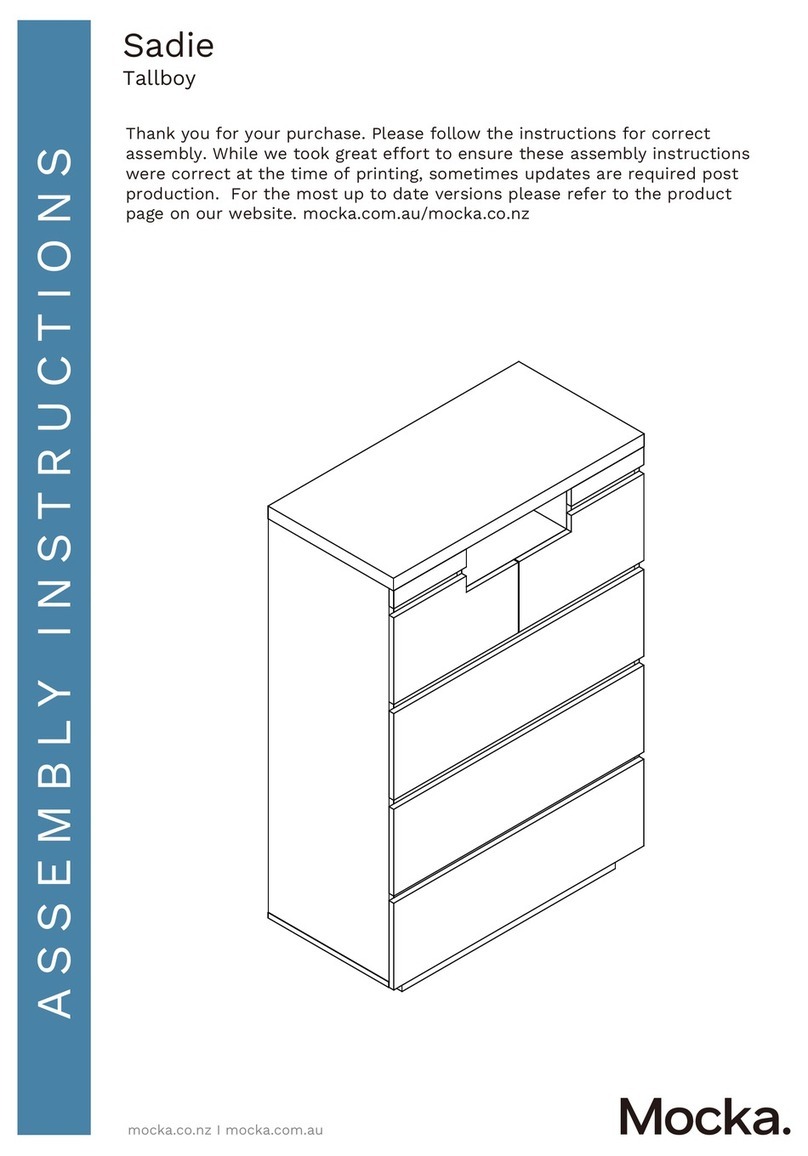
  9. Mocka Sadie Four Drawer User manual

Mocka Sadie Four Drawer User manual

Sadie Four Drawer
Assembly Instructions
Thank you for your purchase.
Please follow the instructions below for correct assembly.
mocka.co.nz | mocka.com.au | PO BOX 6171, Maroochydore, QLD, 4558
1
Wall Strap
x2
washer
Z
Y
wall
anchor
x1
X
safety
strap x1
WV
screw
x1
wall
screw
x1
WARNING: Any furniture that is not anchored to a wall has the potential to tip over in certain
circumstances, i.e. if a child attempts to climb up on the furniture or in the event of an earthquake.
Accordingly, we recommend that all furniture is anchored to a wall. We supply a free safety wall anchor
with all furniture sold and we recommend these are used to prevent your product tipping. The fixing device
provided should fit most wall types, but please note that different wall materials may require different fixing
devices from those supplied.
bolt
x54
x8
ABC D E F G
HJ K
I
Hardware Supplied
dowel
x30
screw
x48
slide
rail x4
slide
rail x4
slide
rail x4
slide
rail x4
locking
nut x54
screw
x8
x8
wedge screw
x16
L
screw
M
key x1
Allen plastic
glide x4
N
For quicker assembly, we recommend the
use of a power drill on a low-speed setting.
Phillips & Flathead screwdrivers
and hammer required
Sadie Four Drawer
Assembly Instructions
mocka.co.nz | mocka.com.au | PO BOX 6171, Maroochydore, QLD, 4558
2
12
Attach 4x slide rails (F) and 4x slide rails (G) to panels [3]
and [4] as shown with 24x screws (E). Tighten with a screwdriver.
Insert 12x bolts (C) into panels [3] and [4]. Tighten with
a screwdriver.
CR
4 4
3
3
G
E
F
F
F
F
G
G
G
G
F
CL
E
E
E
EE
E
EE
E
EE
E
E
E
E
EE
E
EE
E
EE
E
E
C
C
C
C
C
C
C
C
C
C
C
C
Sadie Four Drawer
Assembly Instructions
mocka.co.nz | mocka.com.au | PO BOX 6171, Maroochydore, QLD, 4558
3
3 4
Attach panels [5] and [6] to panel [4] with 5x dowels (A)
and secure with 5x locking nuts (D).Tighten with a screwdriver.
Insert 2x bolts (C) into panels [7] and [8]. Tighten with
a screwdriver.
4
5
5
6
6
6
7
8
D
D
D
D
A
D
DC
C
A
A
A
A
Sadie Four Drawer
Assembly Instructions
mocka.co.nz | mocka.com.au | PO BOX 6171, Maroochydore, QLD, 4558
4
65
Attach panel [9] to panels [7] and [8] with 4x dowels (A) and
secure with 4x screws (B). Tighten with a screwdriver.
Attach panels [10] to panels [7] and [8] with 2x dowels (A) and
secure with 2x locking nuts (D). Tighten with a screwdriver.
7
7
8
8
9
10
10
B
B
A
A
B
B
A
DA
A
D
Sadie Four Drawer
Assembly Instructions
mocka.co.nz | mocka.com.au | PO BOX 6171, Maroochydore, QLD, 4558
5
7 8
Attach 8x dowels (A) to panel [1]. Insert 12x bolts (C) into panel [1].
Tighten with a screwdriver.
4
3
1
10
10
Attach panels [10] to panel [4], then attach panels [5], [6] and [10] to
panel [3] with 7x dowels (A) and secure with 7x locking nuts (D).
Tighten with a screwdriver.
3
5
D
D
A
A
A
D
D
D
D
A
A
C
C
C
CC
C
C
C
C
C
C
C
A
A
A
A
A
A
A
A
3
6
3
6
3
6
3
5
A
A
Sadie Four Drawer
mocka.co.nz | mocka.com.au | PO BOX 6171, Maroochydore, QLD, 4558
6
910
Assembly Instructions
Attach panels [11] to panel [1], secure with 4x locking nuts (D).
Tighten with a screwdriver.
Attach panel [1] to panels [3], [4], [7] and [8], secure with
8x locking nuts (D). Tighten with the Allen Key (M).
D
MD
D
D
D
1
4
3
1
11
11
7
8
Sadie Four Drawer
Assembly Instructions
mocka.co.nz | mocka.com.au | PO BOX 6171, Maroochydore, QLD, 4558
7
1211
Attach panels [12] together with connect sticks [21]. Slide panels [12]
down along the grooves between the panels [3] and [4].
Insert 8x bolts (C) into panel [2]. Tighten with a screwdriver.
C
C
C
C
C
C
C
C
2
12
12
12
21
4
3
Sadie Four Drawer
Assembly Instructions
mocka.co.nz | mocka.com.au | PO BOX 6171, Maroochydore, QLD, 4558
8
13 14
Attach panel [2] to panel [3] and [4] with 4x dowels (A) and secure
with 4x screws (B). Tighten with a screwdriver. Insert 4x bolts (C) into panels [13]. Attach panels [13] and [14] together with
4x locking nuts (D). Tighten with a screwdriver. Attach 4x plastic glide (N)
to panels [13] using a hammer.
B
B
A
A
B
B
AC
C
X2
D
D
D
D
N
N
N
N
4
3
2
3
14
3
14
3
13
3
13
3
13
Sadie Four Drawer
Assembly Instructions
mocka.co.nz | mocka.com.au | PO BOX 6171, Maroochydore, QLD, 4558
9
15 16 Drawers x4
Attach panels [13] and [14] to panel [2] with 8x locking nuts (D).
Tighten with a screwdriver.
Insert 4x bolts (C) into panel [15]. Insert 12x bolts (C) into panels [16]
and tighten with a screwdriver.
CC
C
x3
C
CC
CC
D
D
2
3
14
3
14
3
15
3
16
3
13
3
13
Sadie Four Drawer
Assembly Instructions
mocka.co.nz | mocka.com.au | PO BOX 6171, Maroochydore, QLD, 4558
10
17Drawers x4 18 Drawers x4
Attach panels [17] and [18] to panels [15] and [16], secure
with 16x locking nuts (D) as shown. Tighten with a screwdriver.
Slide panels [19] down along the grooves between the panels [17] and [18].
D
D
D
D
DD
DD
3
17
3
17
3
17
3
17
3
18
3
18
3
18
3
18
3
19
3
19
3
15 3
15
x3
3
16
x3
3
16
Sadie Four Drawer
Assembly Instructions
mocka.co.nz | mocka.com.au | PO BOX 6171, Maroochydore, QLD, 4558
11
19 Drawers x4 20 Drawers x4
Attach slide rails (I) and slide rails (H) to the underside of the side panels as shown.
Secure with 24x screws (E) and tighten with a screwdriver.
LL
LL
Attach panels [17], [18] and [20] as shown using 16x screws (L).
Tighten with a screwdriver.
LL
LL
H
E
E
E
H
E
E
E
E
E
I
E
E
E
I
E
3
20
3
20
3
17
3
17
3
17
3
17
3
18
3
18
3
18
3
18
x3
3
16
x3
3
16
3
15
3
15
Attach panels [12] together with connect sticks [21]. Slide panels [12]
down along the grooves between the panels [3] and [4].
Sadie Four Drawer
Assembly Instructions
mocka.co.nz | mocka.com.au | PO BOX 6171, Maroochydore, QLD, 4558
12
21 22
Insert the assembled drawers into the corresponding compartments as
shown. Ensure the drawers slide easily along the rails.
Attach 8x wedges (J) to the back of the unit as shown, and secure
with 8x screws (K). Now attach 1x safety strap (V) to the back edge
of panels [12] using 1x washer (Z) and 1x screw (W). Tighten with a
screwdriver.
J
J
K
K
K
J
J
K
K
J
screw
strap
washer
12
12
12
3
16
3
16
3
16
3
15
V
Z
W
Sadie Four Drawer
Assembly Instructions
mocka.co.nz | mocka.com.au | PO BOX 6171, Maroochydore, QLD, 4558
13
23 24
You’re done, enjoy!Once assembled lift furniture into place, do not drag. Attach the other
end of the safety straps (V). Fasten to the wall using 1x washer (Z), 1x
wall anchor (X) and 1x screw (Y). Ensure unit is balanced and steady
before use.
X
Y
Z
wall
anchor
screw
strap
washer

Other Mocka Indoor Furnishing manuals

Mocka Georgia Console Table User manual

Mocka

Mocka Georgia Console Table User manual

Mocka Chelsea Bedside Table User manual

Mocka

Mocka Chelsea Bedside Table User manual

Mocka Jack Six Drawer User manual

Mocka

Mocka Jack Six Drawer User manual

Mocka Hamptons User manual

Mocka

Mocka Hamptons User manual

Mocka Sonata Bed User manual

Mocka

Mocka Sonata Bed User manual

Mocka Edmond User manual

Mocka

Mocka Edmond User manual

Mocka Essentials Coffee Table User manual

Mocka

Mocka Essentials Coffee Table User manual

Mocka Watson 8 User manual

Mocka

Mocka Watson 8 User manual

Mocka Savannah Coffee Table User manual

Mocka

Mocka Savannah Coffee Table User manual

Mocka Jesse Changing Tray User manual

Mocka

Mocka Jesse Changing Tray User manual

Mocka Hamptons User manual

Mocka

Mocka Hamptons User manual

Mocka Canyon User manual

Mocka

Mocka Canyon User manual

Mocka Ashford 230920 User manual

Mocka

Mocka Ashford 230920 User manual

Mocka Hobart Four Drawer User manual

Mocka

Mocka Hobart Four Drawer User manual

Mocka Eclipse User manual

Mocka

Mocka Eclipse User manual

Mocka Sadie User manual

Mocka

Mocka Sadie User manual
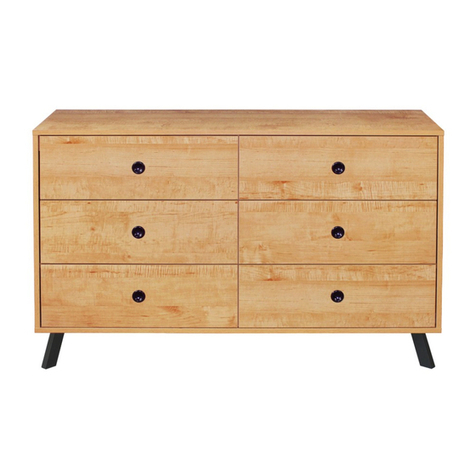
Mocka Eclipse Entertainment Unit User manual

Mocka

Mocka Eclipse Entertainment Unit User manual

Mocka Bronte Console Table User manual

Mocka

Mocka Bronte Console Table User manual

Mocka Kirra User manual

Mocka

Mocka Kirra User manual

Mocka Octavia User manual

Mocka

Mocka Octavia User manual

Mocka Eliza Buffet User manual

Mocka

Mocka Eliza Buffet User manual

Mocka Sadie Coffee Table User manual

Mocka

Mocka Sadie Coffee Table User manual

Mocka Dahlia Six Drawer User manual

Mocka

Mocka Dahlia Six Drawer User manual

Mocka Zander Side Table User manual

Mocka

Mocka Zander Side Table User manual

Popular Indoor Furnishing manuals by other brands

DITALIA CD-1010 Assembly manual

DITALIA

DITALIA CD-1010 Assembly manual

VS Uno-C 22430 Assembly instructions

VS

VS Uno-C 22430 Assembly instructions

Logik L150MDF17 instruction manual

Logik

Logik L150MDF17 instruction manual

Southern Enterprises HZ104700TX Assembly instructions

Southern Enterprises

Southern Enterprises HZ104700TX Assembly instructions

Julian Bowen Limited Luna LUN002 Assembly instructions

Julian Bowen Limited

Julian Bowen Limited Luna LUN002 Assembly instructions

Ingersoll-Rand VR910M installation instructions

Ingersoll-Rand

Ingersoll-Rand VR910M installation instructions

aidapt Malling VG833 Fixing and maintenance instructions

aidapt

aidapt Malling VG833 Fixing and maintenance instructions

Polyteak DLUX-ADI owner's manual

Polyteak

Polyteak DLUX-ADI owner's manual

Lightolier Lighting Systems LSB-12 Specification sheet

Lightolier

Lightolier Lighting Systems LSB-12 Specification sheet

Rauch M2659 Assembly instructions

Rauch

Rauch M2659 Assembly instructions

Dimplex SMP-145-N install guide

Dimplex

Dimplex SMP-145-N install guide

Furniture of America CM7289N Assembly instructions

Furniture of America

Furniture of America CM7289N Assembly instructions

Steelcase Migration SE user guide

Steelcase

Steelcase Migration SE user guide

Allen + Roth WHITTAKER LPWVT6039D Assembly instructions

Allen + Roth

Allen + Roth WHITTAKER LPWVT6039D Assembly instructions

Bell'O KC10567 Assembly guide

Bell'O

Bell'O KC10567 Assembly guide

STRUCTUBE ALMA Assembly instructions

STRUCTUBE

STRUCTUBE ALMA Assembly instructions

Levira FORFUN 10400.04 Assembly instructions

Levira

Levira FORFUN 10400.04 Assembly instructions

Criterion TUSCANY1500 Assembly & instruction manual

Criterion

Criterion TUSCANY1500 Assembly & instruction manual

manuals.online logo
manuals.online logoBrands
  • About & Mission
  • Contact us
  • Privacy Policy
  • Terms and Conditions

Copyright 2025 Manuals.Online. All Rights Reserved.