manuals.online logo
Brands
  1. Home
  2. •
  3. Brands
  4. •
  5. Mocka
  6. •
  7. Indoor Furnishing
  8. •
  9. Mocka Marlow Six Drawer-Wide User manual

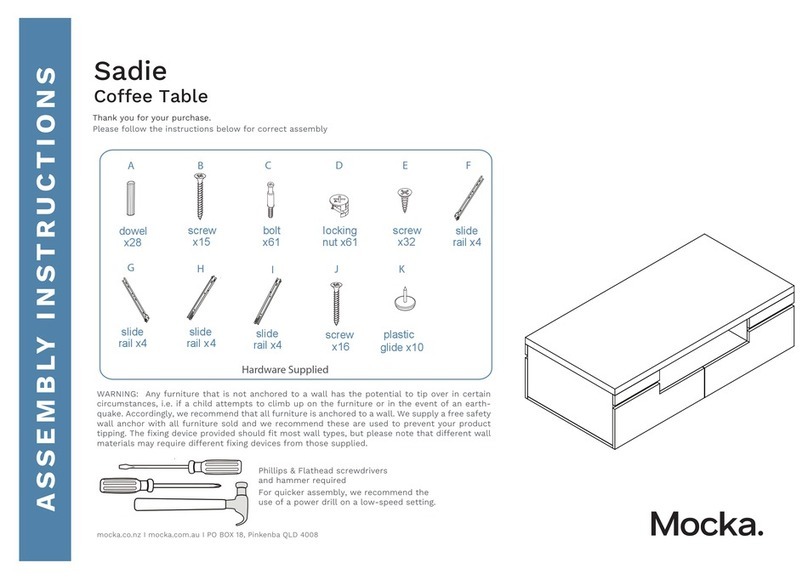
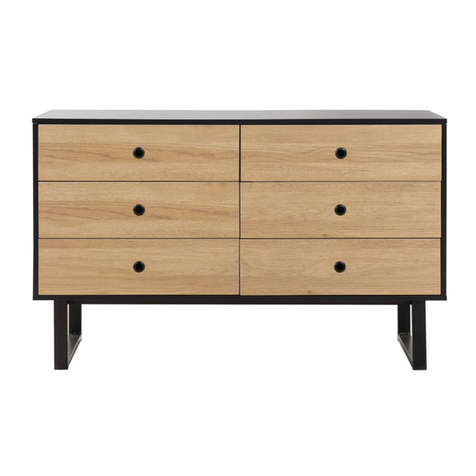
Mocka Marlow Six Drawer-Wide User manual

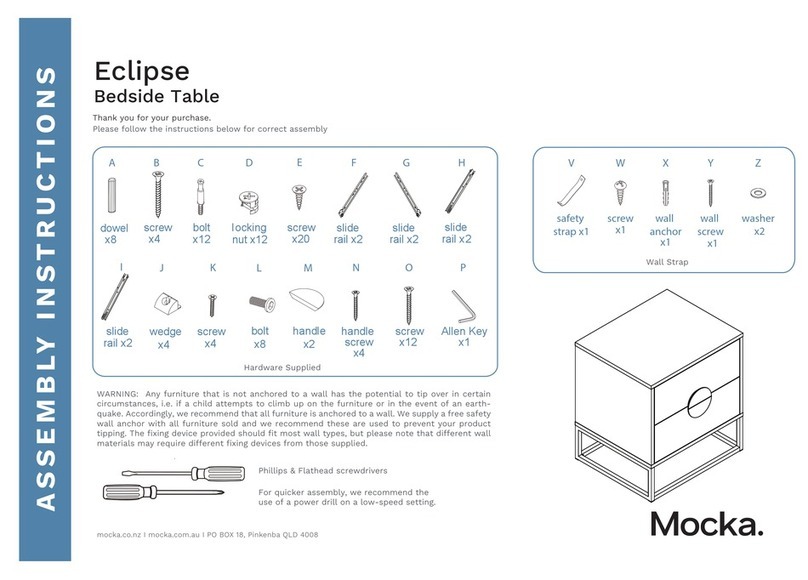
A B C D E F
dowel
x12
bolt
x40
locking
nut x40
small
long
screw
x6
IJ
L + R slide
rail x6
G
screw
x38
wedge
x8
K
bolt
x4
screw
x60
L
nut
x4
H
screw
x8
N
adjuster
x1
M
Marlow Six Drawer-Wide
Assembly Instructions
Thank you for your purchase.
Please follow the instructions below for correct assembly.
mocka.co.nz | mocka.com.au | PO BOX 6171, Maroochydore, QLD, 4558
1
Wall Strap
x4
washer
Z
Y
wall
anchor
x2
X
safety
strap x2
WV
screw
x2
wall
screw
x2
WARNING: Any furniture that is not anchored to a wall has the potential to tip over in certain
circumstances, i.e. if a child attempts to climb up on the furniture or in the event of an earthquake.
Accordingly, we recommend that all furniture is anchored to a wall. We supply a free safety wall anchor
with all furniture sold and we recommend these are used to prevent your product tipping. The fixing device
provided should fit most wall types, but please note that different wall materials may require different fixing
devices from those supplied.
For quicker assembly, we recommend the
use of a power drill on a low-speed setting.
Hardware Supplied
* We recommend using a Flathead screwdriver to tighten all locking nuts 100% before first use.
Please clear any loose wood from the locking nut holes before inserting the nut to ensure it locks 100%.
felt pad
x4
Phillips & Flathead screwdrivers required.
12
Insert 10x bolts (A) into panels [1], [2] and [3].
Tighten with a screwdriver.
Marlow Six Drawer-Wide
2
mocka.co.nz | mocka.com.au | PO BOX 6171, Maroochydore BC, QLD, 4558
Assembly Instructions
Attach 3x slide rails (I) to panel [2] and 3x slide rails (J) to panel [3]
secure with 18x small screws (E). Tighten with a screwdriver.
J
E
E
A
1
A
A3
2
3
E
J
CR
I
2
2
E
I
CL
Attach 3x slide rails (I) to panel [5] and secure with 9x small screws (E).
Flip panels [5] over, attach 3x slide rails (J) to the other side of panel [5],
and secure with 9x small screws (E). Tighten with a screwdriver.
34
Attach panel [6] to panels [2] and [3] and secure with 4x locking nuts (B).
Tighten with a screwdriver.
Marlow Six Drawer-Wide
3
mocka.co.nz | mocka.com.au | PO BOX 6171, Maroochydore BC, QLD, 4558
Assembly Instructions
E
I
CL
E
J
CR
B
B
E
I
5
J
E
5
3
2
6
FLIP
Slide panels [7] down along the grooves between the panels [2],
[3] and [6] to form the back of the unit as shown.
5
Attach panel [1] to the unit with 4x dowels (C) and secure with 4x
locking nuts (B). Tighten with a screwdriver.
Marlow Six Drawer-Wide
Assembly Instructions
4
mocka.co.nz | mocka.com.au | PO BOX 6171, Maroochydore BC, QLD, 4558
6
3
2
6
73
2
B
C
1
C
B
1
5
C
B
B
C
2
3
6
7
5
Attach panel [5] to panel [1] with 2x dowels (C) and secure with 2x
locking nuts (B). Tighten with a screwdriver.
7
Attach panel [6] to panel [5] as shown using 2x screws (F). Tighten with
a screwdriver. Slide panels [7] down along the grooves between the
panels [2], [3] and [6] to form the back of the unit as shown.
Marlow Six Drawer-Wide
Assembly Instructions
5
mocka.co.nz | mocka.com.au | PO BOX 6171, Maroochydore BC, QLD, 4558
8
F
2
3
5
4
Slide the completed drawers into the unit, ensuring they slide smoothly
and easily.
Jolt Wardrobe
9
Attach panel [4] to the unit with 6x dowels (C) and secure with 6x
screws (F). Tighten with a screwdriver. Insert 1x support leg [17]
into panel [4] and turn until firm. Insert the adjuster (N) into the
support leg [17] as shown.
Marlow Six Drawer-Wide
Assembly Instructions
6
mocka.co.nz | mocka.com.au | PO BOX 6171, Maroochydore BC, QLD, 4558
10
Attach panels [9] to panels [8] using 4x bolts (K) and secure with 4x
nuts (L). Tighten with a screwdriver. Apply 4x felt pads (M) to panels
[9] as shown.
9
9
K
L
L8
8
17
N
F
M
C
N
10
A
x4
16 x2
Jolt Wardrobe
mocka.co.nz | mocka.com.au | PO BOX 6171, Maroochydore BC, QLD, 4558
11
Attach panels [8] and [9] to panel [4] and secure with 6x long screws (D).
Tighten with a screwdriver.
Marlow Six Drawer-Wide
Assembly Instructions
7
12
Insert 5x bolts (A) into panels [10]/[16]. Tighten with a screwdriver.
4
9
8
D
Drawers x6
11
12
13
11
12
14
10 x4
16 x2
B
Jolt Wardrobe
mocka.co.nz | mocka.com.au | PO BOX 6171, Maroochydore BC, QLD, 4558
13
Attach panels [11], [12] and [13] to panel [10]/[16] and secure with 5x locking
nuts (B). Tighten with a screwdriver.
Marlow Six Drawer-Wide
Assembly Instructions
8
14
Slide panel [14] along the grooves between the panels [11] and [12] to
form the base of the drawer.
10 x4
16 x2
B
Drawers x6 Drawers x6
12
11
13
15
Jolt Wardrobe
15
Attach panels [11], [12], [13] and [15] as shown using 5x screws (F).
Tighten with a screwdriver.
Marlow Six Drawer-Wide
Assembly Instructions
9
mocka.co.nz | mocka.com.au | PO BOX 6171, Maroochydore BC, QLD, 4558
16
Attach slide rails (I) to panel [11] and slide rails (J) to panel [12] and secure
with 4x small screws (E). Tighten with a screwdriver.
E
E
I
J
11
12
10 x4
16 x2 10 x4
16 x2
F
Drawers x6 Drawers x6
G
H
G
H
V
W
Z
7
7
G
H
1
V
W
Z
Jolt Wardrobe
17
Insert the completed drawers into the main unit as shown, ensuring
they slide easily along the rails.
Marlow Six Drawer-Wide
Assembly Instructions
10
mocka.co.nz | mocka.com.au | PO BOX 6171, Maroochydore BC, QLD, 4558
18
Attach 8x wedges (G) into the corners of the back of the unit as shown,
and secure with 8x screws (H). Attach 2x safety strap (V) to the top of
the back side of the unit as shown using 2x washer (Z) and 2x screw
(W). Tighten with a screwdriver.
V
Z
W
10
10
10
10
16
16
Jolt Wardrobe
19
Once assembled lift furniture into place, do not drag. Use a drill
to create a small hole lining up with the top of the safety strap (V).
Fasten to the wall using 2x washer (Z), 2x wall anchor (X) and 2x
wall screw (Y). Ensure unit is balanced and steady before use.
You’re done, enjoy!
Marlow Six Drawer-Wide
Assembly Instructions
11
mocka.co.nz | mocka.com.au | PO BOX 6171, Maroochydore BC, QLD, 4558
X
Y
Z
X
Y
Z
X
Y
Z

Other Mocka Indoor Furnishing manuals

Mocka Eliza Buffet User manual

Mocka

Mocka Eliza Buffet User manual

Mocka Zack User manual

Mocka

Mocka Zack User manual

Mocka Sonata User manual

Mocka

Mocka Sonata User manual

Mocka Milton Small Plant Stand User manual

Mocka

Mocka Milton Small Plant Stand User manual

Mocka Aspen Six Drawer User manual

Mocka

Mocka Aspen Six Drawer User manual

Mocka Brooklyn Change Table and Drawer Set User manual

Mocka

Mocka Brooklyn Change Table and Drawer Set User manual

Mocka Tahoe User manual

Mocka

Mocka Tahoe User manual

Mocka Sonata Bed User manual

Mocka

Mocka Sonata Bed User manual

Mocka Canyon User manual

Mocka

Mocka Canyon User manual

Mocka Chelsea Six Drawer-Wide User manual

Mocka

Mocka Chelsea Six Drawer-Wide User manual

Mocka Octavia Change Table User manual

Mocka

Mocka Octavia Change Table User manual

Mocka Inca Three Drawer User manual

Mocka

Mocka Inca Three Drawer User manual

Mocka Vigo Tallboy User manual

Mocka

Mocka Vigo Tallboy User manual

Mocka Savannah User manual

Mocka

Mocka Savannah User manual

Mocka Urban Entertainment Unit User manual
Mocka

Mocka Urban Entertainment Unit User manual

Mocka Canyon Buffet User manual

Mocka

Mocka Canyon Buffet User manual

Mocka Leon User manual

Mocka

Mocka Leon User manual

Mocka Peyton User manual

Mocka

Mocka Peyton User manual

Mocka Essentials Coffee Table User manual

Mocka

Mocka Essentials Coffee Table User manual

Mocka Claremont Entertainment Unit User manual

Mocka

Mocka Claremont Entertainment Unit User manual

Mocka Vancouver Cot User manual

Mocka

Mocka Vancouver Cot User manual

Mocka Sadie User manual

Mocka

Mocka Sadie User manual

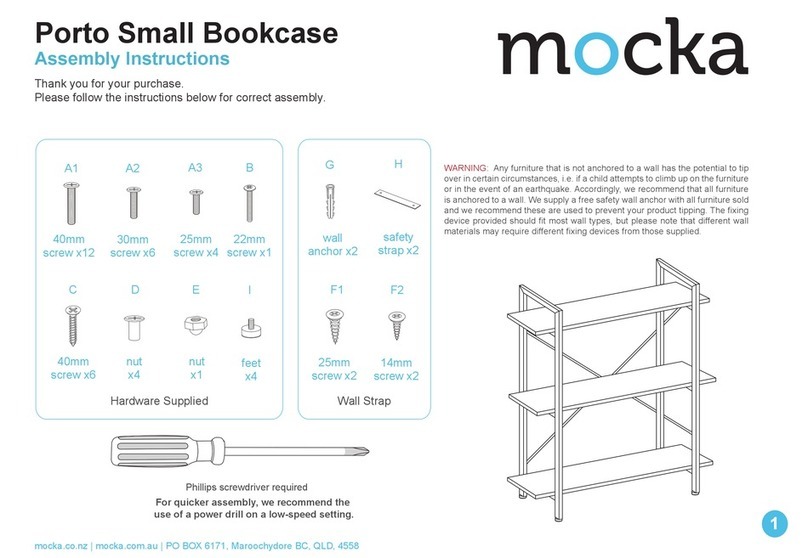
Mocka Porto Bookcase User manual

Mocka

Mocka Porto Bookcase User manual

Mocka Denham Desk User manual

Mocka

Mocka Denham Desk User manual

Popular Indoor Furnishing manuals by other brands

Steve Silver HE500PT manual

Steve Silver

Steve Silver HE500PT manual

Baumax SAMBA / RUMBA 120/150 Assembly instructions

Baumax

Baumax SAMBA / RUMBA 120/150 Assembly instructions

bonaselect JOHN 10 Assembly instructions

bonaselect

bonaselect JOHN 10 Assembly instructions

Next OXFORD 381155 Assembly instructions

Next

Next OXFORD 381155 Assembly instructions

Presidential Billiards VIENNA Assembly instructions

Presidential Billiards

Presidential Billiards VIENNA Assembly instructions

Hillsdale Furniture TAYLOR 791-5213-0406 quick start guide

Hillsdale Furniture

Hillsdale Furniture TAYLOR 791-5213-0406 quick start guide

BOX15 OPLA' FOLDING +39 Assembly instructions

BOX15

BOX15 OPLA' FOLDING +39 Assembly instructions

BCP SKY6513 instruction manual

BCP

BCP SKY6513 instruction manual

bbf A178166E Assembly instructions

bbf

bbf A178166E Assembly instructions

Classic Brands 124-047-1050 Owner's manual & assembly instructions

Classic Brands

Classic Brands 124-047-1050 Owner's manual & assembly instructions

visplay Invisible6P/L Assembly and operating instructions

visplay

visplay Invisible6P/L Assembly and operating instructions

Courtyard Creations RVS941G Assembly instructions

Courtyard Creations

Courtyard Creations RVS941G Assembly instructions

Ergotron LearnFit user guide

Ergotron

Ergotron LearnFit user guide

Modular Closets Vista Short Tower Assembly and installation instructions

Modular Closets

Modular Closets Vista Short Tower Assembly and installation instructions

modway EEI-6281 Assembly instruction

modway

modway EEI-6281 Assembly instruction

Honey Can Do WRD-01898 manual

Honey Can Do

Honey Can Do WRD-01898 manual

FURNITUREBOX MODICA Assembly guide

FURNITUREBOX

FURNITUREBOX MODICA Assembly guide

LC MANGO 08P2 installation instructions

LC

LC MANGO 08P2 installation instructions

manuals.online logo
manuals.online logoBrands
  • About & Mission
  • Contact us
  • Privacy Policy
  • Terms and Conditions

Copyright 2025 Manuals.Online. All Rights Reserved.