AVVERTENZE
GENERALI
INSTALLAZIONE
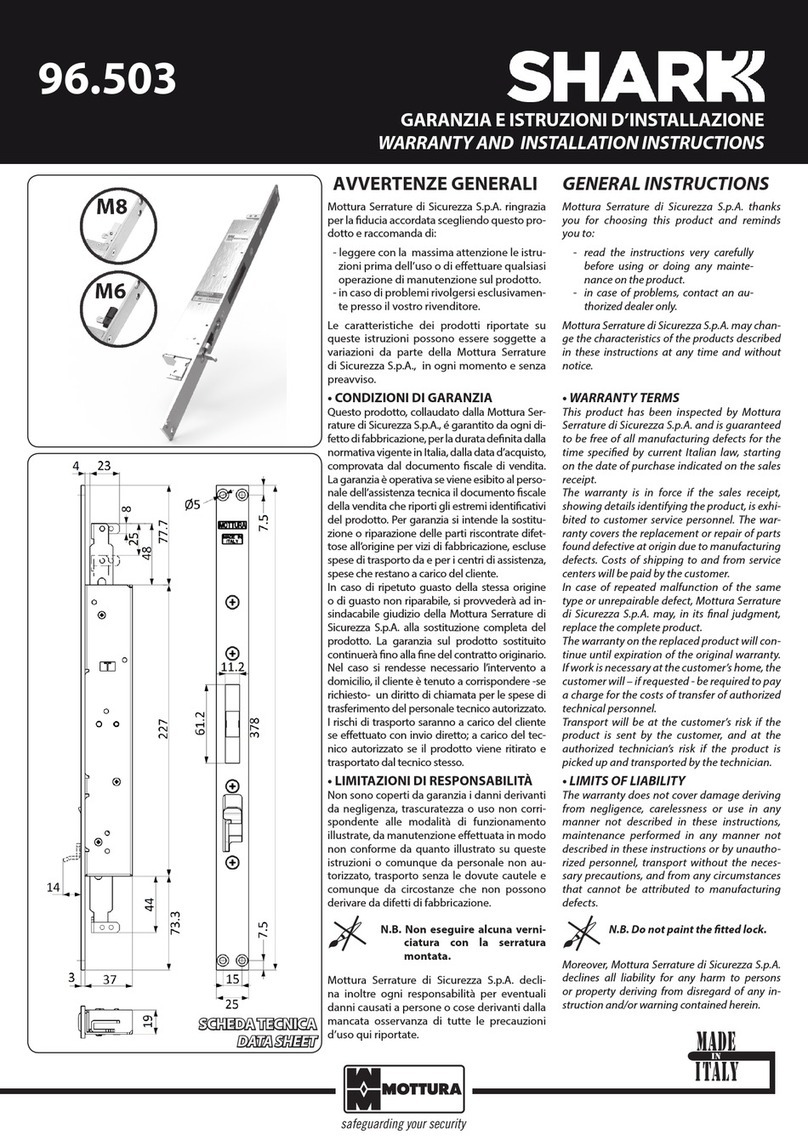
Fissare la serratura alla struttura della porta
utilizzando i fori di fissaggio posti sulla te-
stiera (vedi figura 1).
GENERAL
INSTRUCTIONS
INSTALLATION
Fasten to the door structure using the fixing
holes located on the face plate (shown in the
figure 1).
Mottura Serrature di Sicurezza S.p.A. ringrazia
per la fiducia accordata scegliendo questo
prodotto e raccomanda di:
- leggere con la massima attenzione le istru-
zioni prima dell’uso o di effettuare qualsiasi
operazione di manutenzione sul prodotto.
- in caso di problemi rivolgersi esclusiva-
mente presso il vostro rivenditore.
Le caratteristiche dei prodotti riportate su
queste istruzioni possono essere soggette
a variazioni da parte della Mottura Serrature
di Sicurezza S.p.A., in ogni momento e senza
preavviso.
• CONDIZIONI DI GARANZIA
Questo prodotto, collaudato dalla Mottura
Serrature di Sicurezza S.p.A., é garantito da
ogni difetto di fabbricazione, per la durata
definita dalla normativa vigente in Italia,
dalla data d’acquisto, comprovata dal docu-
mento fiscale di vendita.
La garanzia è operativa se viene esibito al
personale dell’assistenza tecnica il docu-
mento fiscale della vendita che riporti gli
estremi identificativi del prodotto.
Per garanzia si intende la sostituzione o ri-
parazione delle parti riscontrate difettose
all’origine per vizi di fabbricazione, escluse
spese di trasporto da e per i centri di assi-
stenza, spese che restano a carico del cliente.
In caso di ripetuto guasto della stessa origi-
ne o di guasto non riparabile, si provvederà
ad insindacabile giudizio della Mottura Ser-
rature di Sicurezza S.p.A. alla sostituzione
completa del prodotto. La garanzia sul pro-
dotto sostituito continuerà fino alla fine del
contratto originario.
Nel caso si rendesse necessario l’intervento a
domicilio, il cliente è tenuto a corrispondere
- se richiesto - un diritto di chiamata per le
spese di trasferimento del personale tecnico
autorizzato.
I rischi di trasporto saranno a carico del clien-
te se effettuato con invio diretto; a carico del
tecnico autorizzato se il prodotto viene riti-
rato e trasportato dal tecnico stesso.
• LIMITAZIONI DI RESPONSABILITÀ
Non sono coperti da garanzia i danni de-
rivanti da negligenza, trascuratezza o uso
non corrispondente alle modalità di fun-
zionamento illustrate, da manutenzione ef-
fettuata in modo non conforme da quanto
illustrato su queste istruzioni o comunque
da personale non autorizzato, trasporto sen-
za le dovute cautele e comunque da circo-
stanze che non possono derivare da difetti
di fabbricazione.
Mottura Serrature di Sicurezza S.p.A. decli-
na inoltre ogni responsabilità per eventuali
danni causati a persone o cose derivanti dal-
la mancata osservanza di tutte le precauzio-
ni d’uso qui riportate.
Mottura Serrature di Sicurezza S.p.A. thanks
you for choosing this product and reminds
you:
- to read the instructions very carefully befo-
re using or doing any maintenance on the
product.
- if you have any problems, to contact your
dealer only.
Mottura Serrature di Sicurezza S.p.A. has the
right to change the characteristics of the pro-
ducts described in these instructions at any
time and without notice.
• WARRANTY TERMS
This product has been factory tested by Mot-
tura Serrature di Sicurezza S.p.A. and is gua-
ranteed free of all manufacturing defects for
the period specified under Italian law, starting
on the date of purchase shown on the sales
receipt.
The warranty is in force if the sales receipt sta-
ting the product identification data is presen-
ted to our technical service personnel.
The warranty covers the replacement or repair
of parts revealed to be defective when new due
to manufacturing defects, and excludes ship-
ping costs to and from service centers, which
are to be paid by the customer.
In case of repeated malfunction of the same
type, or of unrepairable defect, Mottura Serra-
ture di Sicurezza S.p.A. may decide, in its final
judgment, to replace the product completely.
The warranty on the replaced product will con-
tinue until expiration of the warranty on the
original product.
If a service call is required, the customer will
have to pay – if requested– a charge for tran-
sfer of the authorized technician.
Shipping is at the customer’s risk if the product
is sent directly, and at the authorized techni-
cian’s risk if the product is removed and tran-
sported by the technician.
• LIMITS OF LIABILITY
The warranty does not cover damage deriving
from: negligence, carelessness or any use other
than as described; maintenance not perfor-
med as per these instructions or by unauthori-
zed personnel; shipping without due care, and
any other circumstances that cannot derive
from manufacturing defects.
Moreover, Mottura Serrature di Sicurezza S.p.A.
declines all liability for any harm to persons or
property deriving from disregard of any in-
struction and/or warning contained herein.
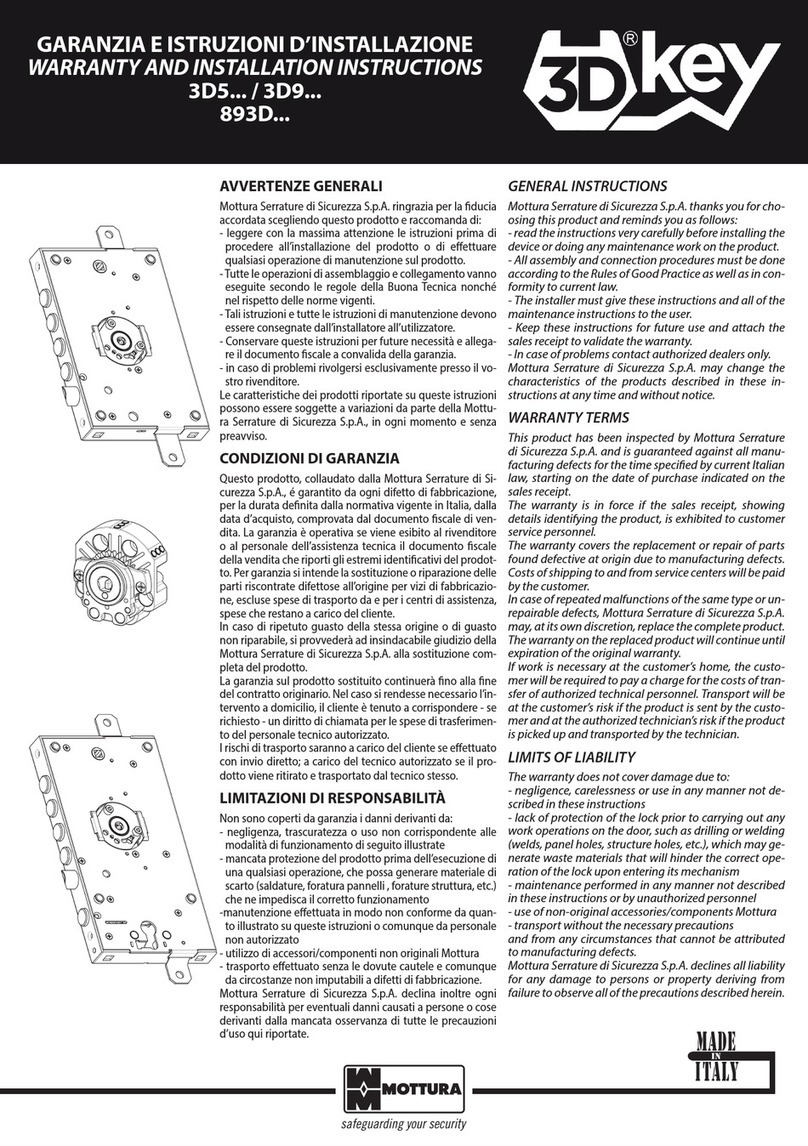
Prima di installare la serratura
sull’infisso verificare la corretta
posizione del mezzo giro e del
pressore elettrico a secondo
della mano di apertura (dx/sx).
La serratura è equipaggiata di
serie con il 1/2 giro e il pressore
elettrico reversibili.
Per la reversibilità, se necessaria,
procedere seguendo lo schema
riportato di seguito:
Before lock installation, verify the
correct position of the latchbolt
and pressure actuator according
to door opening side (right/left
version). This lock is equipped
with reversible latchbolt and
electric pressure.
To reversibility it if necessary,
follow the instructions shown
below :
Introdurre un caccia-
vite o un attrezzo ap-
puntito dal lato poste-
riore della serratura e
premere il perno del
mezzo giro. mezzo giro
latchbolt
pressore elettrico
pressure actuator
Per poterlo ruotare, è
sufficiente che il mez-
zo giro fuoriesca con
tutta la sua lunghezza
oltre la superficie del-
la testiera.
Please enter a screwdri-
ver or pointed tool and
press the pin of the
latchbolt through the
hole positioned on the
back of the lock.
To rotate the latchbolt,
just let it out in all its
length beyond the sur-
face of the face plate.
REVERSIBILITA’
1/2 GIRO
E PRESSORE ELETTRICO
REVERSIBLITY LATCHBOLT
AND PRESSURE ACTUATOR
Orientare il mezzo
giro nella posizione
desiderata.
Allineare il mezzo giro
alla sua sede, quindi
retrarre il cacciavite.
Verificare che non ci
siano interferenze.
Ripetere nell’ordine
le stesse operazioni
anche per il pressore
elettrico.
Turn the latchbolt into
the needed position.
Align the latchbolt to
his home, and then re-
tract the screwdriver.
Verify that there are no
interference.
Repeat the same ope-
rations for the pressure
actuator, as well.
pressore elettrico
pressure actuator
mezzo giro
latchbolt
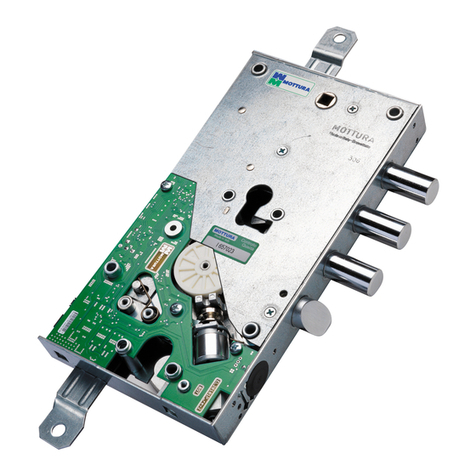
Dopo l’installazione verificare, a porta aper-
ta e poi a porta chiusa, il corretto funziona-
mento della serratura.
After installation check, the correct functioning
of the lock, both with open and closed door.
Fig. 1
spessore
spacer
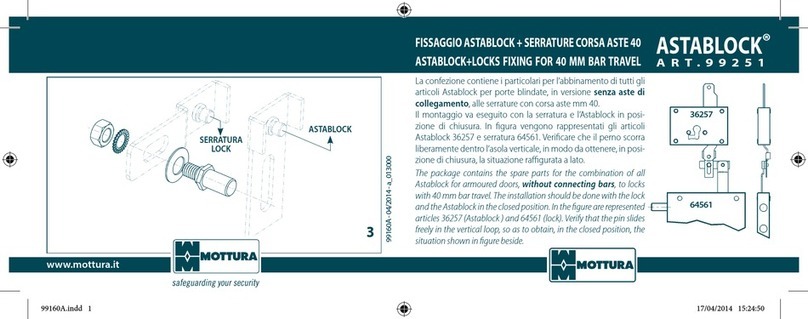
La serratura dopo il montag-
gio deve prevedere, per il suo
corretto funzionamento, una
luce di max. 5 mm. fra testiera e
ferrogliera (se necessario usare
la piastra di spessoramento da
2mm art. 94.370 non in dotazio-
ne - vedi figura a lato - da posi-
zionare sotto la ferrogliera).
After assembly, the lock must
provide, for correct functioning,
a gap of max. 5 mm. between
the face plate and strike-plate (if
necessary, use the plate thickness
2 mm art. 94.370 not included
- see picture on side - to be placed
under the strike-plate).
