manuals.online logo
Brands
  1. Home
  2. •
  3. Brands
  4. •
  5. Mottura
  6. •
  7. Lock
  8. •
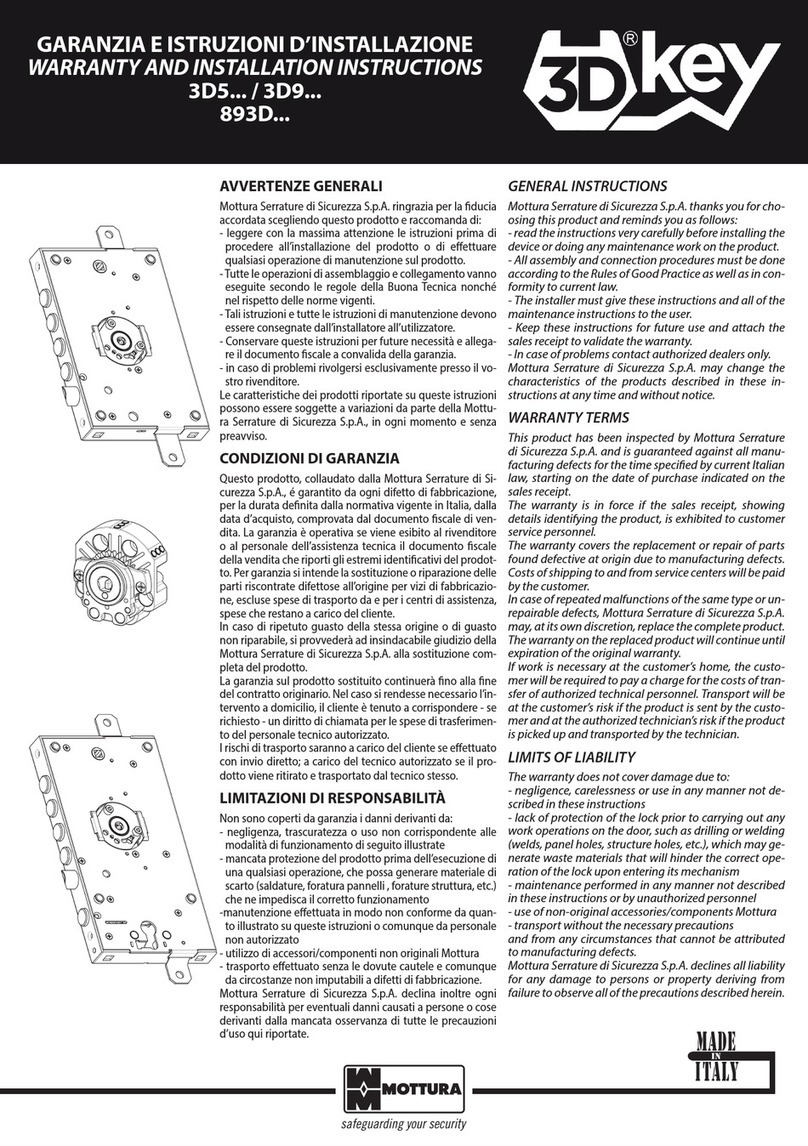
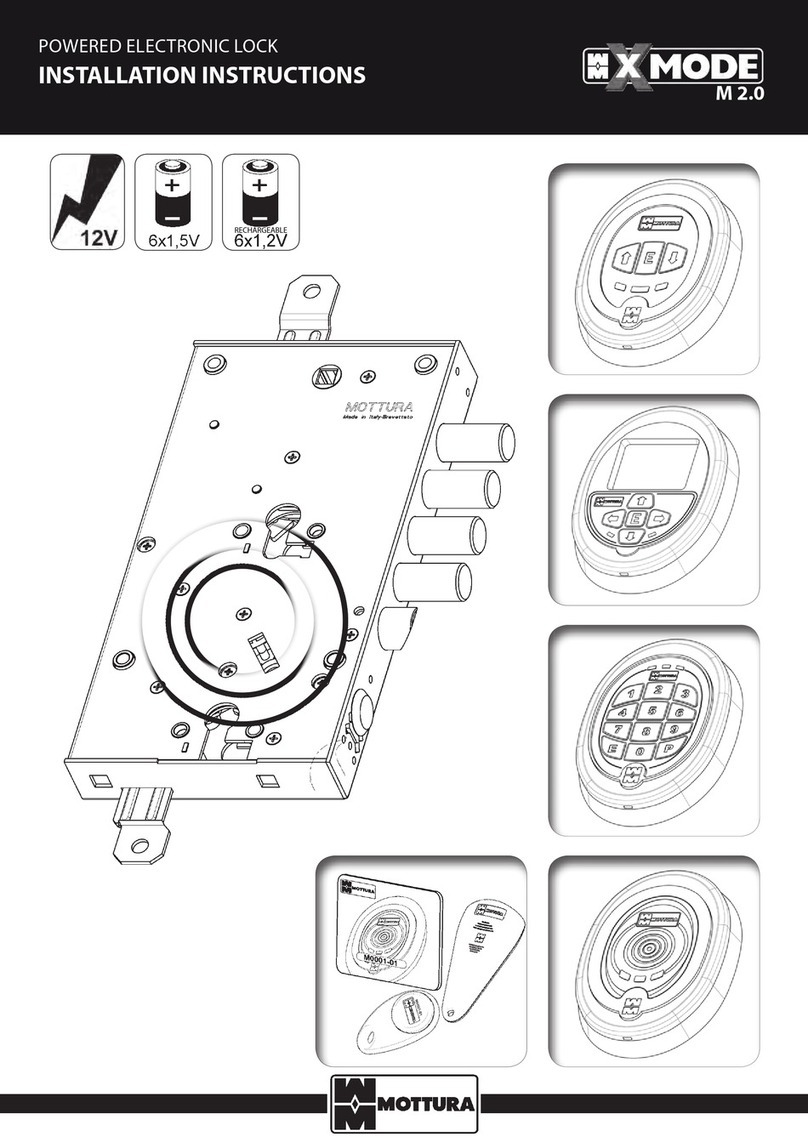
  9. Mottura 20 Series User manual

Mottura 20 Series User manual

SERRATURE AD 1/3/5
PUNTI DI CHIUSURA
ISTRUZIONI DI MONTAGGIO/ NOTICE DE POSE /
ASSEMBLY INSTRUCTIONS
1PUNTO DI CHIUSURA / SERRURES 1 POINT / 1-POINT LOCKING
3PUNTI DI CHIUSURA / SERRURES 3 POINTS / 3-POINT LOCKING
SERIE
20/30/34
Art. 30.401 Art. 20511
Art. 30.436 Art. 20.537
1 - Praticare sulla porta il foro per il passaggio della
pompa cilindro o del canotto guida chiave.
2 - Fissare la serratura sulla porta mediante le viti in
dotazione e controllare che funzioni senza attriti.
3 - Fissarela mostrina esterna in dotazione.
4 - Fissare la ferrogliera, controllando che i fori siano
perfettamente allineati ai catenacci della serratura.
Attenzione: Verificare che la serratura funzioni
correttamenteesenza attriti prima di usarla
dall’esterno.
1 - Pratiquer sur la porte un trou pour le passage de la
pompe-cylindre ou de la goupille de guidage.
2 - Fixer la serrure sur la porte au moyen des écrous en
dotation et contrôler qu’elle fonctionne sans
frottement.
5 - Fissare alla serratura l’asta superiore con relativo
passanteeregolarne la lunghezza.
6 - Fissareil cavallottosuperiore al telaio della porta;
chiuderela serratura (catenacci fuori) e regolare il
distanziale tramiteil bullone e il dado,in modo tale
che l’asta abbia circa 2 mm di gioco e possa scorrere
liberamente.
7 - Fissare l’asta inferiore, praticando sul pavimento il
foroper inserire l’apposita boccola.
Attenzione: verificare che la serratura funzioni
correttamente e senza attriti prima di usarla
dall’esterno.
3 - Fixer la plaque extérieure de dotation.
4 - Fixer la gâche, et contrôler que les trous soient
parfaitement en ligne avec les pênes de la serrure.
Attention : Vérifier que la serrure fonctionne
convenablement sans frottement avant de l’utiliser
de l’extérieur.
1 - Make on the door the hole for fitting the pump-
cylinder or the key guide.
2 - Fix the lock on the door by means of the screws
supplied in the packing.
3 - Fix the external keylhole cover supplied in the
packing.
4 - Fix the striker plate, and check that the holes are
perfectly aligned to the bolts.
Caution: Verify carefully that the lock works properly
without frictions beforeusing it from outside.
Queste istruzioni sono valide per le serrature serie 20-30-34. I disegni degli articoli riportati sotto ogni paragrafo
sono rappresentativi delle serrature ad 1/3/5 punti di chiusura, pertanto possono non corrispondere alla
serratura contenuta nella confezione. La sequenza di montaggio, anche per le serrature a 3 e 5 punti di chiusura,
inizia sempre dal paragrafo “1 PUNTO DI CHIUSURA”.
Ces instructions sont valides pour les serrures sèrie 20-30-34. Les dessins indiqués sous chaque paragraphe sont
seulement représentatifs des serrures avec 1/3/5 points de fermeture, donc il est possible qu’ils ne correspondent
pas à l’article contenu dans l’emballage. Aussi pour les serrures 3 et 5 points, la séquence d’installation
commence toujours par le paragraphe “1 POINT DE FERMETURE”.
These instructions are valid for all the locks series 20-30-34. The drawings under each paragraph are only
representative of locks with 1/3/5 points locking, so they could not correspond to the article in the packing. Also
for the 3- and 5-point locks, the installation sequence begins always from the paragraph “1 LOCKING POINT ”.
www.mottura.it
GARANZIA
Questa serratura è garantita per la sua efficienza e funzionalità
secondo la normativa vigente italiana. Non sono coperti da
garanzia eventuali inconvenienti di funzionalità dovuti all’uso
improprio o ad una installazione non convenzionale.
NON LUBRIFICARE IL MECCANISMO INTERNO
Per assicurare una migliore qualità, le chiavi vengono cifrate
(sagomate) dopo aver subitoil trattamento di nichelatura. Pertanto il
metallo a vista (giallo), nelle parti tagliate, è assolutamente normale.
GARANTIE
L’efficacitéet le fonctionnement de la présente serrure
sont garantis conformément à la législation italienne en
vigueur. Sont excluses de cette garantie les irrégularités
de fonctionnement dues à l’utilisation impropre ou a une
installation non conventionelle.
NE PAS LUBRIFIER.
WARRANTY
This lock is guaranteed efficient and in good working
order according to the italian current laws.
No liability will be accepted for inefficient operation due
to misuse or unconventional istallation.
DO NOT LUBRICATE.
5PUNTI DI CHIUSURA / SERRURES 5 POINTS / 5-POINT LOCKING
Art.20.550 Art.30.650
5 - Fixer la barre du haut à la serrure avec le correspondent
passe-barre er régler la longueur.
6- Fixer le chevalet supérieur sur la huisserie; fermer la
serrure (pênes dehors) et régler l’entretoise au moyen
du boulon et l’écrou, de façon que la barre ait environ 2
mmde jou et puisse coulisser librement.
7 - Fixer la barre du bas, en pratiquant un trou sur le sol
pour insérer la gâche à placher correspondante.
Attention : Vérifier que la serrure fonctionne
convenablement sans frottement avant de l’utiliser de
l’extérieur.
8 - Sistemare il deviatore in modo che l’asta di rimando sia
orizzontale, segnare i fori e fissarlo.
9 - Montare le aste superiori e inferiori come nelle
serrature a 3 punti di chiusura.
Attenzione: verificare che la serratura funzioni
correttamenteesenza attriti prima di usarla
dall’esterno.
8 - Présenter le déviateur latéral de manière à ce que la barre
de renvoi soit horizontale, pointer les trous et le fixer.
9 - Procéder au montage des barres du haut et du bas
comme pour les modèles 3-points.
Attention: Vérifier que la serrure fonctionne
convenablement sans frottement avant de l’utiliser de
l’extérieur.
8 - Place the switchbox so that the returning bar is
horizontal, point the holes and fix it
9 - Mount the upper and lower bars like 3-point locks
Caution: Verify carefully that the lock works properly
without frictions before using it from outside.
5 - Fix the upper bar to the lock by means of the
correspondent bar collar and adjust its length.
6 - Fix the upper bar clasp to the door frame; close the lock
(bolts extended) and adjust the spacer by means of the
bolt and nut, so that the bar has 2 mm play and can
work freely.
7 - Fix the lower bar and fit the floor stiker plate.
Caution: Verify carefully that the lock works properly
without frictions before using it from outside.
www.mottura.it
ATTACCO ASTE (solo serie 30 / 2 mandate)
Per il corretto funzionamento, le aste devono essere inserite fino al fondo dell’apposita sede
ed essere bloccate con rondella e dado in dotazione.
FIXATION DES BARRES (sèrie 30 / 2 tours seulement)
Pour un bon fonctionnement, les barres doivent etre introduites jusqu’au fond du siège
prévu dans la serrure. Ensuite il faut les bloquer en se servant de la rondelle et l’écrou fournis.
BAR FITTING (only series 30 / 2 turns)
In order to operate correctly, bars must be inserted right to the bottom of their housing. Then secure them in place using
the washer and nut provided.
RACCOMANDAZIONE IMPORTANTE: Le serrature con finitura dorata e cromata devono essere pulite soltanto con un panno
umido.Non usare prodotti abrasivi. RECOMMANDATION IMPORTANTE: Les serrures dorées et chromées doivent être
nettoyées à l’aide d’un linge humide. Ne pas utiliser de produits abrasifs. IMPORTANT ADVICE: The gold and chrome
plated locks must be cleaned with a damp cloth. Don’t use any abrasive product.
99091 - 04/09
ANTISTRAPPO
(solo serie 30-34)
Per il corretto funzionamento
della serratura l’antistrappo
deveruotareliberamente
senza esserebloccato.
ANTI-PERÇAGE
(sèrie 30-34 seulement)
Pour le bon fonctionnement
de la serrurele dispositif anti-perçage doit tourner
librement, sans être bloqué.
ANTI-DRILLING
(only series 30-34)
For correct operation of the lock the anti-drilling device
must turnfreely, and not be jammed in place.
This manual suits for next models

8

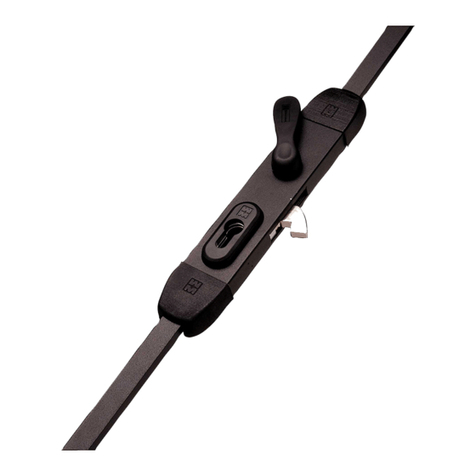
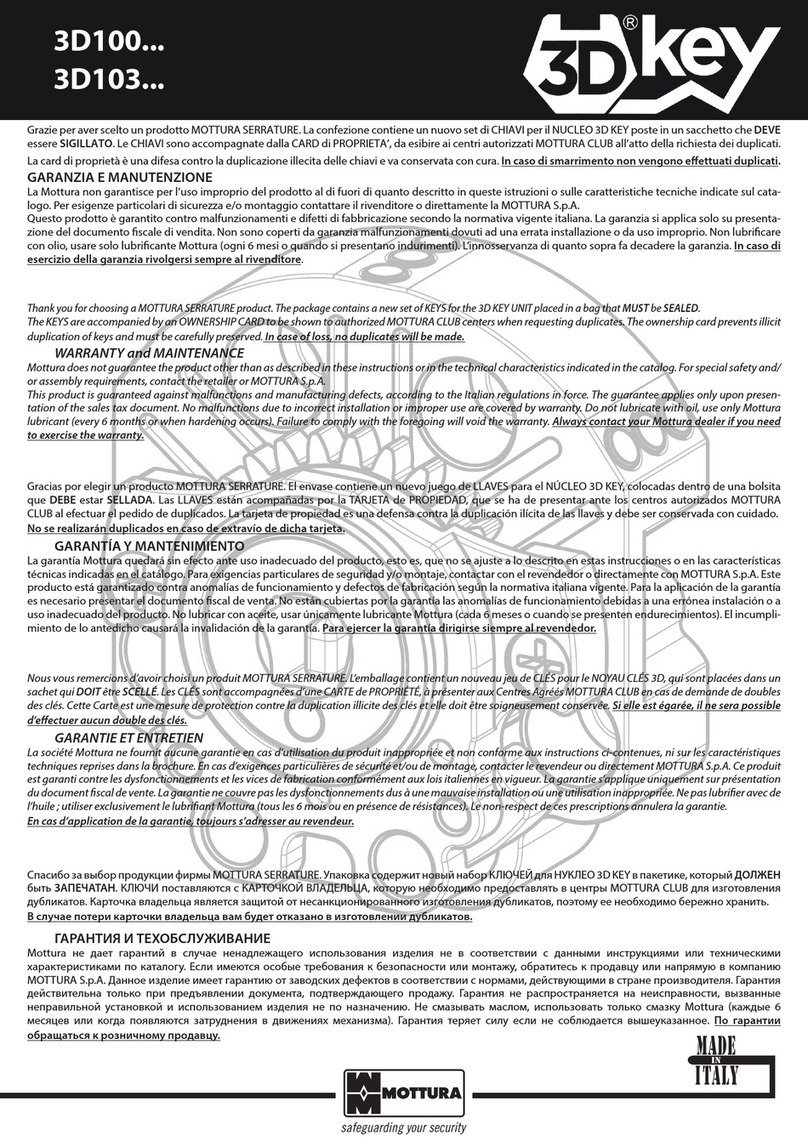
Other Mottura Lock manuals

Mottura 72.14ELE User manual

Mottura

Mottura 72.14ELE User manual

Mottura 87 Series User manual

Mottura

Mottura 87 Series User manual

Mottura Shark 96.503 User manual

Mottura

Mottura Shark 96.503 User manual

Mottura Forza 7 37 Series User manual

Mottura

Mottura Forza 7 37 Series User manual

Mottura 35 Series User manual

Mottura

Mottura 35 Series User manual

Mottura ASTABLOCK 99251 User manual

Mottura

Mottura ASTABLOCK 99251 User manual

Mottura XFREE 49 P24 Series User manual

Mottura

Mottura XFREE 49 P24 Series User manual

Mottura Gorilla Automatic 86.410D/ST Quick start guide

Mottura

Mottura Gorilla Automatic 86.410D/ST Quick start guide

Mottura XNOVA Series User manual

Mottura

Mottura XNOVA Series User manual

Mottura CHAMPIONS User manual

Mottura

Mottura CHAMPIONS User manual

Mottura X MODE M2.0 User manual

Mottura

Mottura X MODE M2.0 User manual

Mottura ASTABLOCK 36 Series User manual

Mottura

Mottura ASTABLOCK 36 Series User manual

Mottura Xmode M 2.0 User manual

Mottura

Mottura Xmode M 2.0 User manual

Mottura 3D5 Series User manual

Mottura

Mottura 3D5 Series User manual

Mottura 3D Key 3D100 Series User manual

Mottura

Mottura 3D Key 3D100 Series User manual

Mottura XMoto XMP01 Series User manual

Mottura

Mottura XMoto XMP01 Series User manual

Mottura POWER 541 Instructions for use

Mottura

Mottura POWER 541 Instructions for use

Mottura Gorilla Automatic 86510D/SA Quick start guide

Mottura

Mottura Gorilla Automatic 86510D/SA Quick start guide

Popular Lock manuals by other brands

BURG-WACHTER PointSafe operating instructions

BURG-WACHTER

BURG-WACHTER PointSafe operating instructions

Yale Real Living YAYRL220ZWx Installation and programming instructions

Yale

Yale Real Living YAYRL220ZWx Installation and programming instructions

Simons Voss Technologies SmartRelais 3 Leser quick guide

Simons Voss Technologies

Simons Voss Technologies SmartRelais 3 Leser quick guide

Access One DL1000 quick reference

Access One

Access One DL1000 quick reference

LaGrand COMBOGARD Pro Lock instructions

LaGrand

LaGrand COMBOGARD Pro Lock instructions

Schlage Sentronic LCN 4040-SE instruction sheet

Schlage

Schlage Sentronic LCN 4040-SE instruction sheet

Cansec VIA installation manual

Cansec

Cansec VIA installation manual

Schlage B360 installation instructions

Schlage

Schlage B360 installation instructions

Gate House G27D01 installation guide

Gate House

Gate House G27D01 installation guide

Squire SS50 COMBI Recoding Instructions

Squire

Squire SS50 COMBI Recoding Instructions

Salsbury Industries 90000 Series Assembly instructions

Salsbury Industries

Salsbury Industries 90000 Series Assembly instructions

JNF IN.05.204 quick start guide

JNF

JNF IN.05.204 quick start guide

COMPX C8137 Dimensional drawing

COMPX

COMPX C8137 Dimensional drawing

Kaba E-PLEX 2000 Operation manual

Kaba

Kaba E-PLEX 2000 Operation manual

Kwikset 275 Installation and user guide

Kwikset

Kwikset 275 Installation and user guide

ZKTeco DL30B user manual

ZKTeco

ZKTeco DL30B user manual

SICK i15 Lock operating instructions

SICK

SICK i15 Lock operating instructions

Intelligent Biometric Controls 1TouchIQ2 Series user guide

Intelligent Biometric Controls

Intelligent Biometric Controls 1TouchIQ2 Series user guide

manuals.online logo
manuals.online logoBrands
  • About & Mission
  • Contact us
  • Privacy Policy
  • Terms and Conditions

Copyright 2025 Manuals.Online. All Rights Reserved.