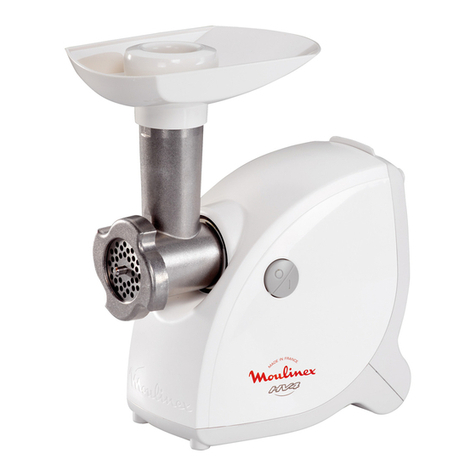
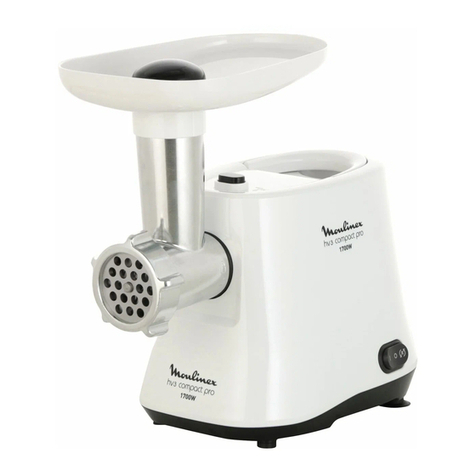
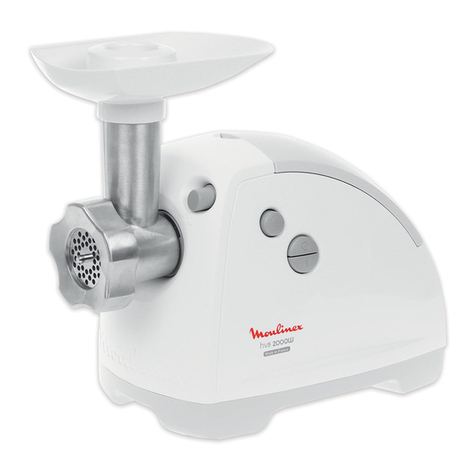
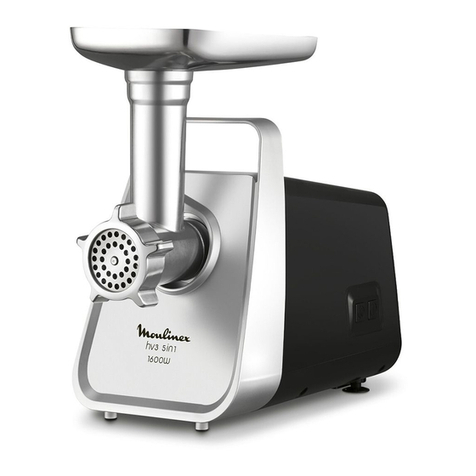
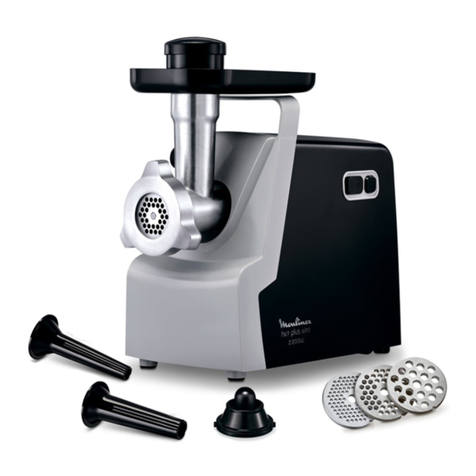
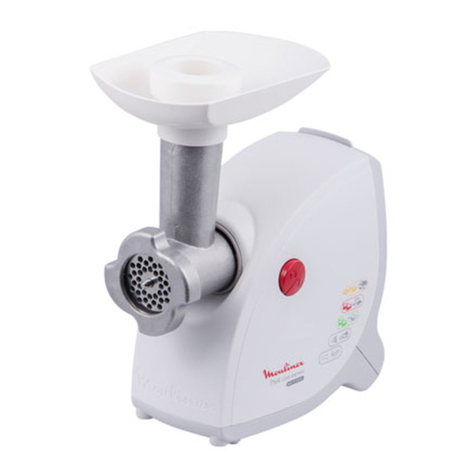
Moulinex hv4 User manual

F
NL
GB
D
E
I
P
FIN
HV4 NOTICE 4 17/08/06 15:13 Page A1

H
L
A
A5 A4b
A4a A4c
A2
A3
H2
H4
H3 H5
H1
L3a
L3b
L3d
L3e
L2
G1
G2
I2
I1 J1 J2
K
G3
L1
L3c
C
D
A1
F
E
B
HV4 NOTICE 4 17/08/06 15:13 Page A2

1
7
8
2
3
4
6
5
A
C
D
B
A
C
D
B
1
1
2
2
3
3
HV4 NOTICE 4 17/08/06 15:13 Page A3

15
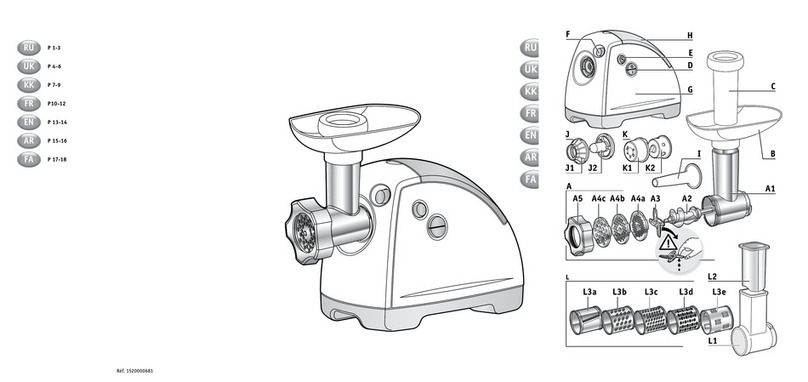
DESCRIPTION
Thank you for having chosen an appliance from the Moulinex range.
A Removable mincing head
A1 Aluminium body see diagram
A2 Screw
A3 Self-sharpening stainless steel
blade
A4 Discs according to model
A4a Small hole disc (3 mm)
very fine mincing
A4b Medium hole disc
(4.7 mm) fine mincing
A4c Large hole disc (7.5 mm)
coarse mincing
A5 Aluminium nut
BRemovable tray
CMeat pusher
DStorage drawer
E On / off button
FMotor unit
GCitrus press
(according to model)
see diagram
G1 Filtering dome
G2 Citrus press drive
G3 Container
H Steak Moulding System (SMS)
(according to model)
H1 Mould support
H2 Fish mould
H3 Steak mould
H4 Nuggets mould
H5 Juice container
I KEBBE Accessory
(according to model)see diagram
I1 Nozzle tip
I2 Ring
JBiscuit nozzle (according to model)
see diagram
J1 Support
J2 Mould
KSausage stuffer
(according to model) see diagram
L Vegetable cutter
(according to model)
L1 Funnel
L2 Pusher
L3 Drums (according to model)
L3a Slicing drum
L3b Coarse grating drum
L3c Fine grating drum
L3d Parmesan drum
L3e Ice drum
SAFETY RECOMMENDATIONS
- Read the instructions for use carefully before
using your appliance for the first time
- Do not leave the appliance within reach of
children.
- Check that the power voltage of your
appliance corresponds to that of your mains
installation.
- Any connection error renders the guarantee
invalid.
- Your appliance is intended solely for
domestic, culinary, indoor use under
supervision.
- This product has been designed for
domestic use only. Any commercial use,
inappropriate use or failure to comply with
the instructions, the manufacturer accepts
no responsibility and the guarantee will not
apply.
- Your appliance should be used on a flat,
stable clean and dry surface.
- Never let long hair, scarves, ties, etc. hang
over the accessories when in operation.
- Unplug your appliance as soon as you have
finished using it, when you are cleaning it or
when fitting or removing accessories.
- Do not use your appliance if it is not working
correctly or if it has been damaged. In this
event, contact a Moulinex approved
service centre (see list in the service booklet)
- Any interventions other than standard
cleaning and maintenance by the customer
must be carried out by a Moulinex approved
centre.
- Do not use the appliance if the power cord
is damaged. So as to avoid any danger,
have it replaced by a Moulinex approved
service centre (see list in the service
booklet).
- Do not place the appliance, the power
cord or the plug in water or any other
liquid.
- Do not leave the power cord within reach
of children.
- The power cord should never be near or in
contact with the hot parts of the appliance,
near a heat source or over a sharp corner.
- For your safety, only use Moulinex
accessories and spare parts that correspond
to your appliance.
GB
HV4 NOTICE 4 17/08/06 15:13 Page 15

16
BEFORE USING FOR THE FIRST TIME
Wash all of the accessories and dry them carefully immediately.
USING YOUR APPLIANCE
Mincing head (A):
Assembling the mincing head (diagram 1)
Take the body (A1) by the feeder tube,
placing the widest opening facing upwards.
Then introduce the screw A2 (long axis first)
into the body A1;
Fit the stainless steel blade A3 onto the short
axis that protrudes from the screw A2, placing
the sharp edges towards the outside. Place
the disc of your choice onto the blade A3,
lining up the 2 lugs with the 2 notches on the
body A1.
Screw home (without locking) the nut A5.
Fitting the mincing head to the appliance
(diagram 2):
Place the mincing head, with the feeder tube
angled to the right, opposite the unplugged
motor unit F,
Line up the 2 bayonets of the mincing head
with the 2 notches on the motor unit.
Engage the mincing head fully into the motor
unit Fand then turn the feeder tube to the left
until it reaches a stop (the feeder tube should
be vertical at this point)
Engage the removable tray Bonto the lugs of
the mincing head feeder tube.
Plug in your appliance; it is ready for use.
Use:
Prepare all of the food to be chopped and
remove the bones, cartilage and gristle. Cut
the meat into pieces (2 cm x 2 cm
approximately).
Place a container under the mincing head.
Press position 1 of button Eto operate the
appliance, place the pieces onto the tray
and slide them one by one into the feeder
tube using the pusher C.
Never push food into the feeder tube with
your fingers or another utensil.
Do not use your appliance for more than
14 minutes at a time.
When you wish to chop very finely (with disc
A4a), it is imperative that you have
prechopped the meat beforehand using disc
A4c. If you do not follow this rule, you risk
damaging your appliance.
Tip: at the end of the operation, you can pass
a few pieces of bread through in order to
remove all of the mince.
Recipe:
NB: For recipes that require a high power
(500W approximately), the user time should
not exceed 20 seconds.
Example recipe (with 4.7 mm fine mincing
disc A4b):
Lamb or Mutton with split peas: 150 g lamb
(shoulder or leg) or mutton, 45 g split peas
(soaked overnight and boiled for at least 10
minutes – see packet for instructions) , 30 g
plain flour, 15 ml cold water, 1 medium onion,
2 cloves of garlic, salt and pepper.
Mix the split peas and the flour in a container
and then gradually add the water until you
obtain an even mixture. Place the pusher C
into the feeder tube and start the appliance.
Gradually pour the mixture onto the tray,
while gently guiding the preparation into the
feeder tube with the pusher.
Chop the onion, garlic and meat into small 2
cm pieces and incorporate them into the mix.
Place 800 ml of water or vegetable stock into
a saucepan, season with salt and pepper
and add the preparation.
Simmer over a gentle heat for 1 hour, skim
and cover.
KEBBE Accessory (I)
(according to model):
This accessory is for making “kebbe balls” a
type of Lebanese meat ball. The outside is
usually a bulgar wheat mixture on its own or
minced bulgar wheat and meat together.
The inside is often filled with vegetables or
minced meat. The cooked bulgar wheat
paste is squeezed out into a hollow tube
shape using the Kebbe accessory and cut
into lengths about 8 cm (3”) . One end of the
tube is squeezed tightly to seal it, some
minced meat or vegetable filling placed
inside each tube and sealed, the balls are
then fried in hot oil.
Assembly (diagram 3):
Put the screw A2 into the body A1 of the
mincing head.
Position the nozzle tip I1, lining up the lugs with
the notches on the body A1.
Position the ring I2 onto the nozzle tip and
then screw the nut A5 home.
Place the head assembled in this way onto
the motor unit as shown in diagram 2.
NB: this accessory is used without a disc or
blade.

HV4 NOTICE 4 17/08/06 15:13 Page 16

17
Biscuit nozzle (J) (according to model):
Assembly (diagram 4):
Put the screw A2 into the body A1 of the
mincing head.
Place the mould J2 into the support J1 and
place the unit on the mincing head, lining up
the lugs with the notches on the body A1 and
screw the nut A5 home.
Place the head assembled in this way onto
the motor unit Fas shown in diagram 2.
NB: this accessory is used without a disc or
blade.
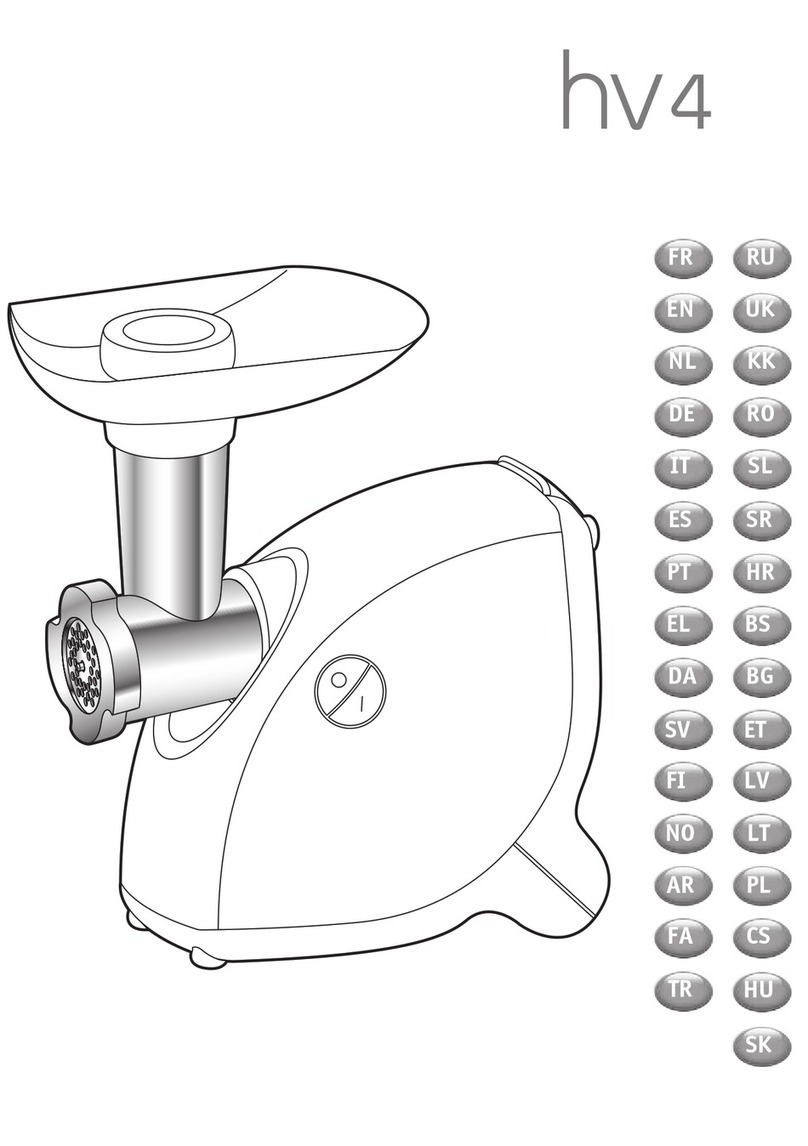
Use:
- Prepare the dough (you will obtain better
results with slightly soft dough).
- Choose the design, lining up the arrow with
the chosen shape.
- Start the appliance and feed in the dough.
Sausage stuffer (K) (according to model):
This accessory, which fits onto the mincing
head, will allow you to make all kinds of
sausages that you can season according to
your personal taste.
Assembly:
Put the screw A2 in place in the body A1 of
the mincing head A. Position the stuffer K,
then the nut A5 and screw home. Place the
head assembled in this way onto the motor
unit Fas shown in diagram 2.
NB: this accessory is used without a disc or
blade.
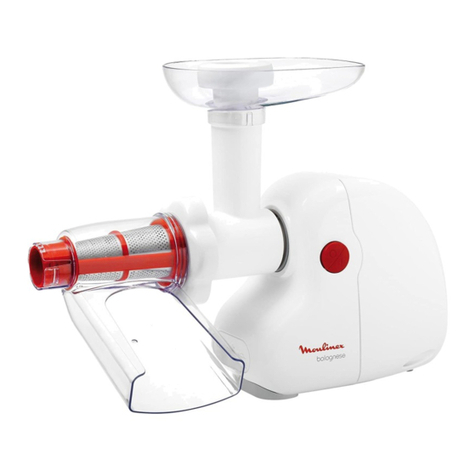
Use:
Important: this accessory is only used after
having chopped the meat, added the
seasoning and mixed the preparation well.
After having left the casing to steep in
lukewarm water to recover its elasticity, slip it
onto the stuffer K, letting it hang over by 5 cm
(that you will seal by making a knot with
string). Start the appliance, feed the mincer
with the minced meat and move the casing
along as it fills up.
NB: this task will be much easier with two
people, one looking after supplying the
minced meat and the other filling the casing.
Give the sausages the desired length by
pinching and twisting the casing.
So as to make quality sausages, take care to
avoid trapping air during the filling operation
and make the sausages 10 to 15 cm long
(separate the sausages by positioning a string
and making a knot with this).
Sausage casings (information for UK only)
If your local butcher is unable to sell you
sausage casings, we suggest contacting the
following suppliers:
Ascott Smallholding Supplies Ltd
Dudleston Heath,
ELLESMERE,
Shropshire SY12 9LJ
United Kingdom
Tel: 0845 130 6285
Fax: 0870 774 0140
www.ascott-shop.co.uk
Scobie & Junor (Estd. 1919) Ltd,
10 Carron Place,
East Kilbride,
Scotland, G75 0QB
Tel: 01355 237041 Fax: 01355 263585
Email: [email protected]
www.scobiesdirect.com
www.sausagemaking.org
An internet site sausage casings online to the
UK.
Vegetable cutter (L)
(according to model):
Assembly (diagram 6):
Place the funnel L1, angled to the right,
opposite the unplugged motor unit, and line
up the ears of the funnel with the
openings in the motor unit F. Insert the rod
that protrudes from the funnel L1 into the axis
of the motor unit F. Turn the feeder tube of
the funnel L1 to the left until it comes to a
stop. Take the chosen drum L3, and put it into
the funnel L1, turning it slightly so that it
engages correctly at the bottom of the
housing.
Use:
Prepare the foodstuffs (washed and cut if
necessary so that they fit into the feeder
tube).
Plug in and start the appliance. Place the
foodstuffs into the feeder tube of the funnel
L1 and press down using the pusher L2;
provide a regular supply.
Never push with your fingers or any other
utensil.
Do not put your fingers into the drums during
operation.
HV4 NOTICE 4 17/08/06 15:13 Page 17

18
Citrus press (G) (according to model):
In order to use the citrus press, pivot the motor
unit as shown in diagram 7.
Assembly (diagram 7):
First of all, place the container G3 onto the
motor unit F, lining up the ears of the
container with the notches on the motor unit
and turn until it comes to a stop.
Put the drive G2 in position, inserting the axis
of the drive into the axis of the motor unit F.
Place the filtering dome G1 onto the drive G2.
Cut the citrus fruit in 2. Place a container
under the lip of the container G3 to collect
the juice. Start the appliance, take the halves
in your hand and press down on the dome to
extract the juice
Steak Moulding System (H)
(according to model):
Assembly:
Assembly of the mincing head (diagram 1):
Fit your mincer in the mincing version
(diagram 1) with the disc of your choice.
Assembly of the SMS (diagram 8):
Place the mould support H1 onto the mincer
head A, sliding it on.
To open the window of the mould support H1,
lift the tab and the unit will tip.
Insert the mould of your choice (H2 or H3 or
H4).
Close over the unit, and position it tight
against the support H1.
Place the container for the juice under the
support window H1.
Plug in and start the appliance. Feed in the
meat to be chopped
(previously diced into 2 cm by 2 cm cubes)
via the tray. When you see that the mould
cavity is full, stop the appliance. If your mould
is too full, the window of the mould support H1
will open automatically to warn you and
avoid any risk of it breaking.
To remove your steak, lift the tab and the unit
will tip towards you; take the mould by these
ears.
Place the filled mould onto a dish and
separate the two ears to turn it out.
Replace the mould into the mould support to
make another steak.
CLEANING
Unplug the appliance before carrying out any
cleaning.
Turn the mincer head Ato the right and pull
towards you to detach it from the motor unit F.
To dismantle the mincer head A, remove the
pusher Cand the tray B, unscrew the nut A5,
remove the disc A4, the blade A3 and the
screw A2.
Handle the sharp parts with care.
Wash all of the parts in hot soapy water, rinse
and dry thoroughly.
Never let moisture into the motor unit F. Simply
wipe with a slightly damp cloth.
Do not put the mincer head Ainto the
dishwasher (that is, the body A1, screw A2,
nut A5, blade A3,and discs A4).
For the UK only: After mincing meat or
sausage making, to avoid any cross
contamination from raw ingredients we
advise cleaning all parts with a sterilising
solutions such as Milton.
IF YOUR APPLIANCE DOES NOT WORK
Check the connection.
If your appliance still does not work, for help and advice contact our Helpline (see list in the
service booklet).
0845 602 1454 - UK
(01) 461 0390 – Ireland
or consult our website – www.moulinex.co.uk
HV4 NOTICE 4 17/08/06 15:13 Page 18

19
ACCESSORIES
You can customise your appliance and purchase the following accessories from a Moulinex
approved service centre:
Citrus press
Steak Moulding System
KEBBE Accessory
Biscuit nozzle
Sausage stuffer
Vegetable cutter
Slicing drum
Coarse grating drum
Fine grating drum
Parmesan drum
Ice drum
Small hole disc (3 mm)
Medium hole disc (4.7 mm)
Large hole disc (7.5 mm)
ELECTRIC OR ELECTRONIC PRODUCTS THAT HAVE
REACHED THE END OF LIFE
Environment protection first !
Your appliance contains valuable materials which can be recovered or
recycled.
Leave it at a local civic waste collection point.
HV4 NOTICE 4 17/08/06 15:13 Page 19

20
RECIPES
BRIOUATS (Moroccean puff pastry
parcels filled with
minced beef)
4 Portions – Preparation: 40 min.
Cooking: 35 min.
Ingredients:
250 g puff pastry
350 g beef steak (rump)
1 onion
2 eggs, beaten
paprika, cinnamon & ginger powder
fresh herbs - parsley, coriander and chervil
sugar
60 g butter
olive oil
1) Fit the A4b fine minicing disc onto the
mincer. Cut the onion into 8, then put it
through the mincer. Heat 4 tablespoons of
olive oil in a deep sided frying pan and then
add the onion. Sweat it over a gentle heat
without letting it brown. Set to the side.
2) Mince the beef. Brown it over a gentle heat
with the onion for 10 minutes. Put to the side.
3) Put the herbs through the mincer. Then add
them to the frying pan with salt and pepper,
half a teaspoon of paprika, a pinch of ginger
and a small spoonful of cinnamon.
4) Then incorporate the herbs and beaten
eggs with the meat and mix together. Do not
cook any more.
5)Roll out the puff pastry quite thinly. Cut it
into 10-cm squares. Butter the edges.
6) Garnish each square with a small spoonful
of stuffing. Then roll them up, sealing the ends.
7) Fry the briouats in hot vegetable oil. Once
they have been fried, leave them to sit for a
few moments on kitchen roll.
Sprinkle them with cinnamon. Serve very hot.
Variation: Fit the A4b fine mincing disc onto
the mincer. Cut the onion into 8. Mince a little
meat and put the onion through the mincer.
Next introduce a little more meat, then the
herbs, and finally the rest of the meat.
Beat the eggs, incorporate them into the
stuffing with salt and pepper, half a teaspoon
of paprika, a pinch of ginger and a small
spoonful of cinnamon. Mix everything
together. Follow steps 5 to 7.
LAHMA BI AJEEN
(Stuffed Meat Focaccia)
4 Portions – Preparation: 20 min. + 1 hr
Cooking: 45 min.
Ingredients:
300 g pizza dough mix
300 g beef or lamb
4 ripe tomatoes, peeled and chopped
1 onion
1 dry red chilli, finely chopped
fresh tarragon, mint and thyme
juice of 1 lemon
sugar
milk
olive oil
1) Make pizza dough according to packet
instructions but add a teaspoonful of oil and
half a glass of milk. Mix to form a ball. Cover
and leave to rise for 1 hour.
2) Fit the A4b fine mincing disc onto the
mincer. Cut the onion into 8. Mince a little
meat and then put the onion through the
mincer. Next introduce a little more meat,
then the herbs, and finally the rest of the
meat.
3) Gently heat 3 tablespoons of olive oil in a
frying pan and then add the mixture.
Incorporate the chopped tomatoes, salt and
pepper, and a teaspoon of sugar. Leave to
cook for 10 minutes.
4) Mixing everything together, then add a
small glass of water plus the lemon juice to the
mixture.
5) Add the chilli. Cover and cook over a
gentle heat for 20 minutes. Remove the lid
and leave to reduce for a moment. Stop the
cooking and leave it to cool.
6) Preheat the oven to 220°C, th.6/7),
(UK gas mark 7).
7) Form 4 circles from the dough. Fill with
stuffing and fold over the focaccia.
8) Cook for 10 minutes in the oven. Serve
immediately.
Variation: use a tomato coulis instead of fresh
tomatoes
HV4 NOTICE 4 17/08/06 15:13 Page 20

21
KIBBE BI LABAN
(Kebbe balls with yoghurt)
Serves 6 – Preparation 1 hr – Refrigeration:
1 hr
Preparation of the kebbe mixture:
400 g lean meat (lamb or beef)
1 glass (180 g) of bulghar wheat (crushed
wheat), salt
Preparation of the sauce:
1 kg of natural yoghurt
1 bunch of coriander
4 cloves of garlic
3 tablespoons of corn flour
salt, pepper
1) Cut the meat into 2cm pieces. Fit the A4b
fine mincing disc onto your mincer. Mince the
meat while incorporating the bulghur wheat.
Add salt then let the mixture sit in the
refrigerator for 1 hour.
2) To form the kebbe balls: fit the kebbe
accessory onto the mincer. Put the mixture
though the mincer again and close the ball
by sealing the ends with a little water.
3) To prepare the sauce: wash the bunch of
coriander, blot with kitchen roll and remove
the leaves. Peel and crush the garlic. Brown
the garlic and the coriander in a frying pan
for 1 to 2 minutes over a gentle heat. Put to
the side.
4) Beat the yoghurt and the cornflour
together, and then add salt and pepper.
Pour everything into a saucepan through a
fine sieve. Bring the mixture to the boil over a
gentle heat. Keep an eye on the cooking
and keep stirring so that the yoghurt does not
stick.
5) Add the garlic and the coriander.
6) Poach the kebbe balls for 10 minutes in
boiling water.
Variation: you can stuff the balls (with a
mixture of onion and minced meat, previous-
ly browned in a little oil with a few pine nuts).
PIROJKI (Fish pasties)
Serves 4 – Preparation 25 min. – Cooking: 10
to 15 min.
Ingredients:
250 g puff pastry
300 g cooked fish or smoked salmon
2 hard-boiled eggs, chopped
1 bunch of dill
2 onions
100 g of finely diced salted butter
oil
1) Fit the A4b fine mincing disc onto the
mincer. Cut the onions into 8, and pass them
through the mincer. Brown them over a gentle
heat in a skillet with a little oil. Put to the side.
2) Mince a little of the fish, then introduce the
cooked onion, butter, dill and finally pass
through the rest of the fish. Mix in the
chopped hard boiled eggs.
3) Roll out the puff pastry quite thinly, and cut
it into circles with a glass or a bowl (bigger or
smaller).
4) Preheat the oven to 210°C, th.6 (UK gas
mark 6)
5) Fill each circle with a little stuffing and fold
over the pastry, sealing the edges.
6) Cook in the oven for about 10 to 15
minutes until golden.
HV4 NOTICE 4 17/08/06 15:13 Page 21
Other manuals for hv4
2
Table of contents
Other Moulinex Meat Grinder manuals

Moulinex
Moulinex HV8 User manual

Moulinex
Moulinex hv4 User manual

Moulinex
Moulinex ME4581 User manual

Moulinex
Moulinex LS-123456 User manual

Moulinex
Moulinex LS-123456 User manual

Moulinex
Moulinex ME41513E User manual

Moulinex
Moulinex ME6051 User manual

Moulinex
Moulinex MB810560 User manual

Moulinex
Moulinex LS-123456 User manual

Moulinex
Moulinex HV7 PLUS User manual