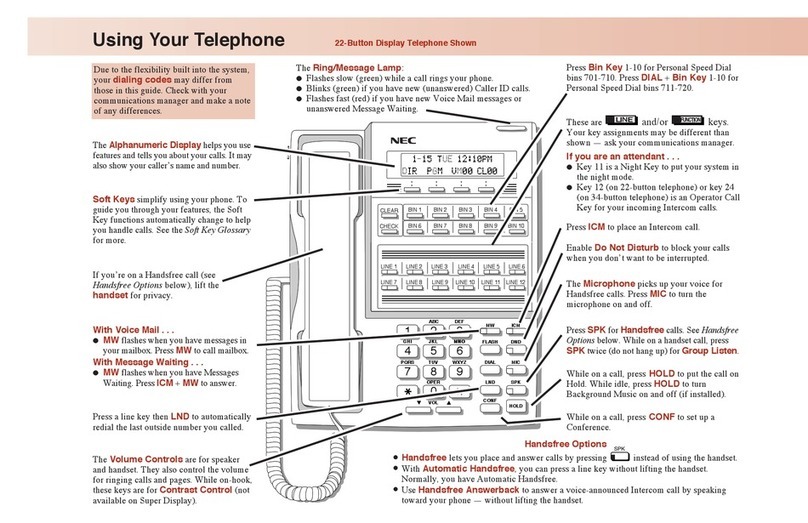
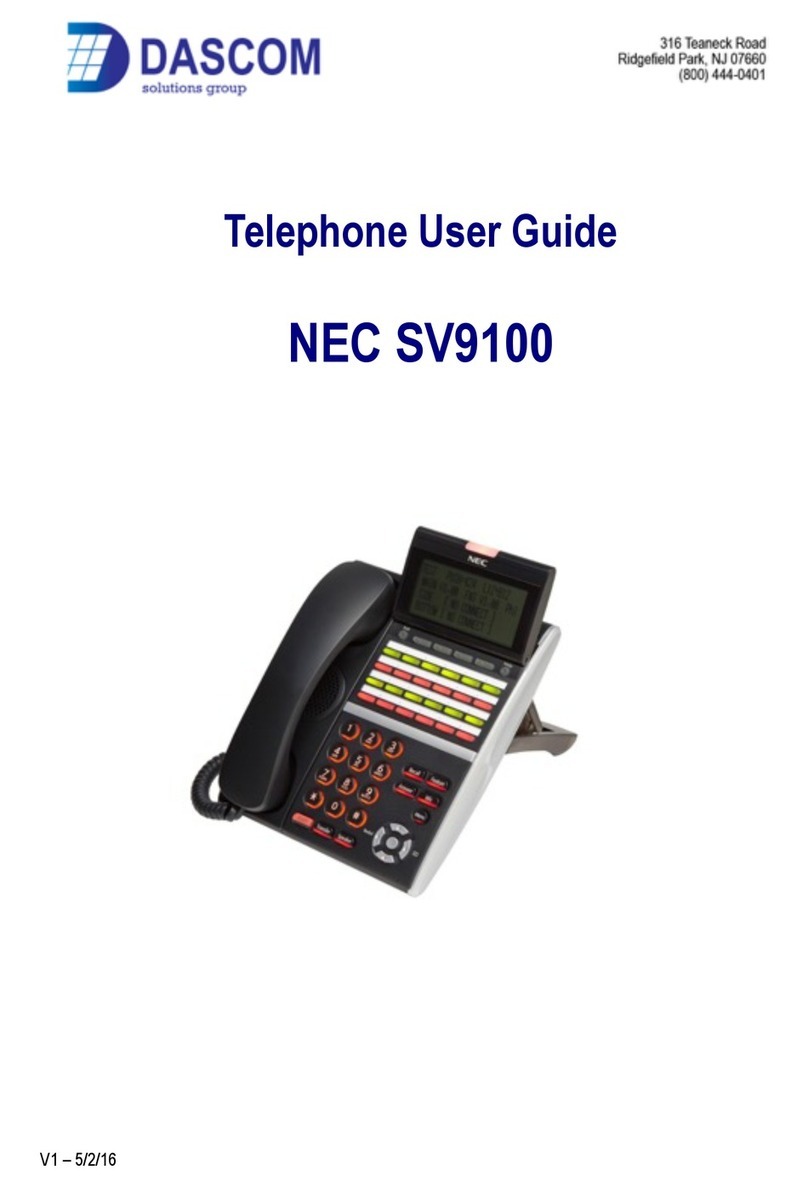
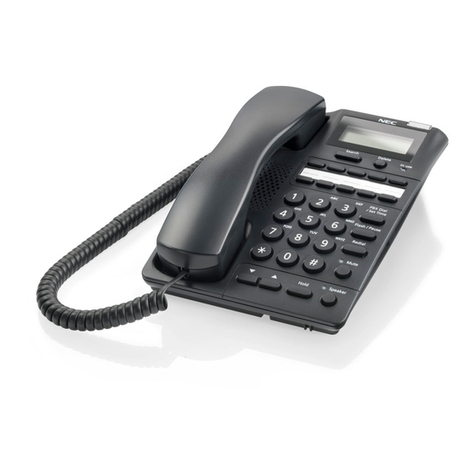
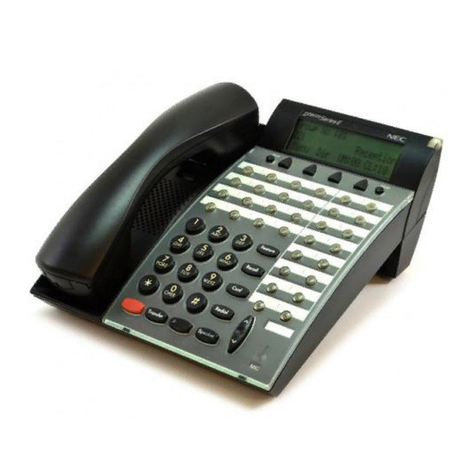
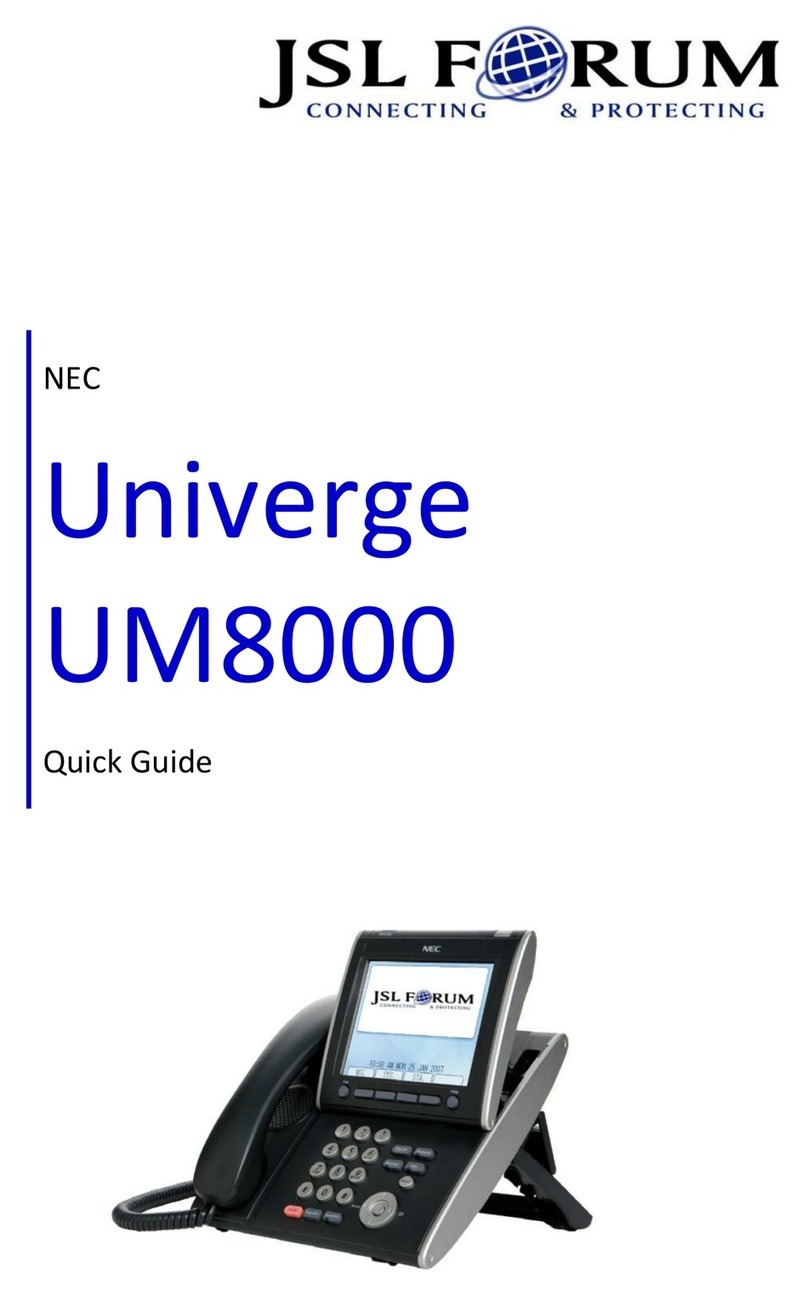
NEC AspireX User manual

Basic Operation Guide

2008-2010 NEC Corporation
No part of this manual shall be reproduced or altered without any written permission of NEC Corporation.
C

1
Preface
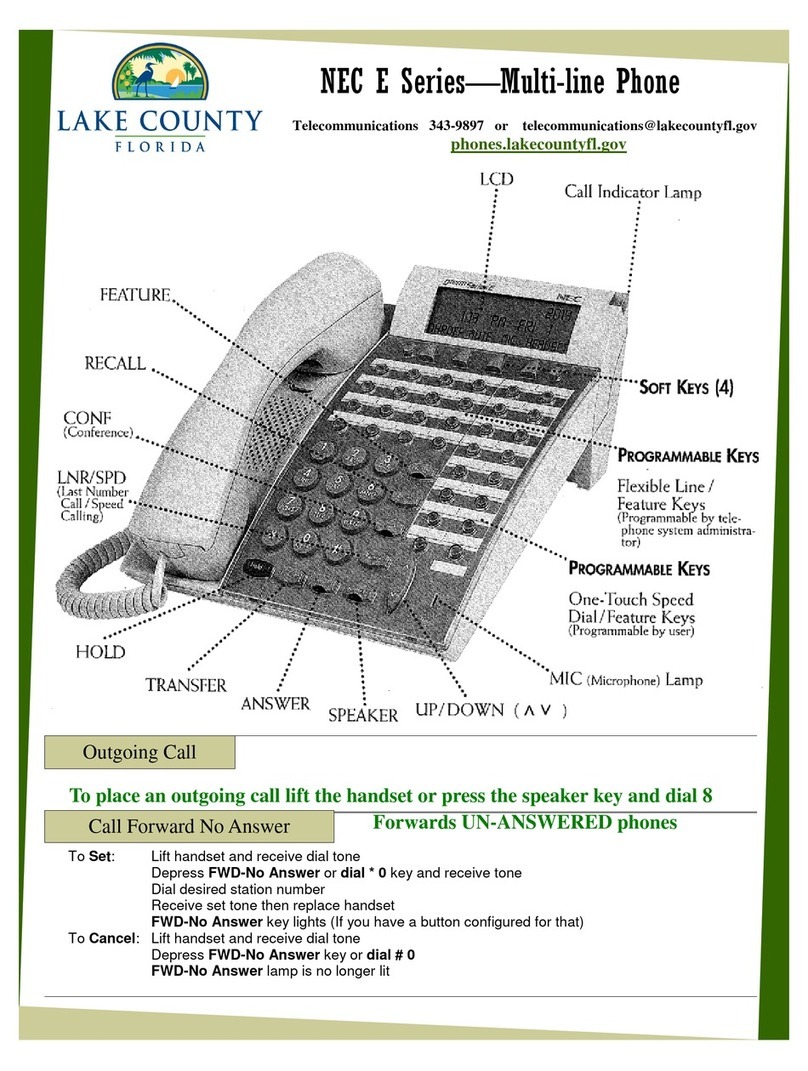
This manual explains the
basic operation on your
NEC telephone.

2
"
#
%
&
!
$
%
! "
<Trunk Call >
#$ "
<Intercom Call >
% !
%
&' (
& )"
<Hold >
"
<Transfer >

3
"
#
$
&
!
!!
!&
!'
!
"# $
%
&'
' &$
(
)*
$ )
%* *
( ' &*
<Repeat Dial >
<Pulse to Tone Conversion >
<Last Number Redial >
<Preset Dial >
<Hands-free Call >
<Speed Dial >
<Conference >
<Single-Line Telep one >
"Conf"

4
The following lists the precautions that you must observe to ensure the correct use of this product, and to prevent damage
to property or injury to yourself and bystanders.
Cleaning the telephone
Wipe the telephone with a soft dry cloth.
If the dirt is difficult to remove, wipe it off with a soft cloth moistened with diluted neutral dishwashing detergent and
squeezed tightly. Never use alcohol, benzine, thinner, or other chemicals or chemical cloths.
WARNING CAUTION
Do not put any object containing liquid, such as a vase
or flowerpot, or any small metallic object on or near
this product. The entry of
liquid or a foreign object into this product could result
in fire, electric shock, or failure.
Persons other than installation or maintenance person-
nel should never open the cover of the main unit.
Touching the inside of the unit
presents a serious risk of electric shock or injury.
NOTES
• Avoid using your telephone near a TV, radio, or in a strong magnetic field. Doing so could damage the unit.
• Avoid using your telephone near a device that generates high-frequency noise such as a high-
frequency sewing machine or electric welding machine. Doing so could damage the unit.
Indicates that ignoring this warning could result in serious injury or
even death.
WARNING :
Indicates that ignoring this caution could lead to injury or damage to
property.
CAUTION :
Safety Precautions for Using the System
- Read All of the Following Precautions -

5
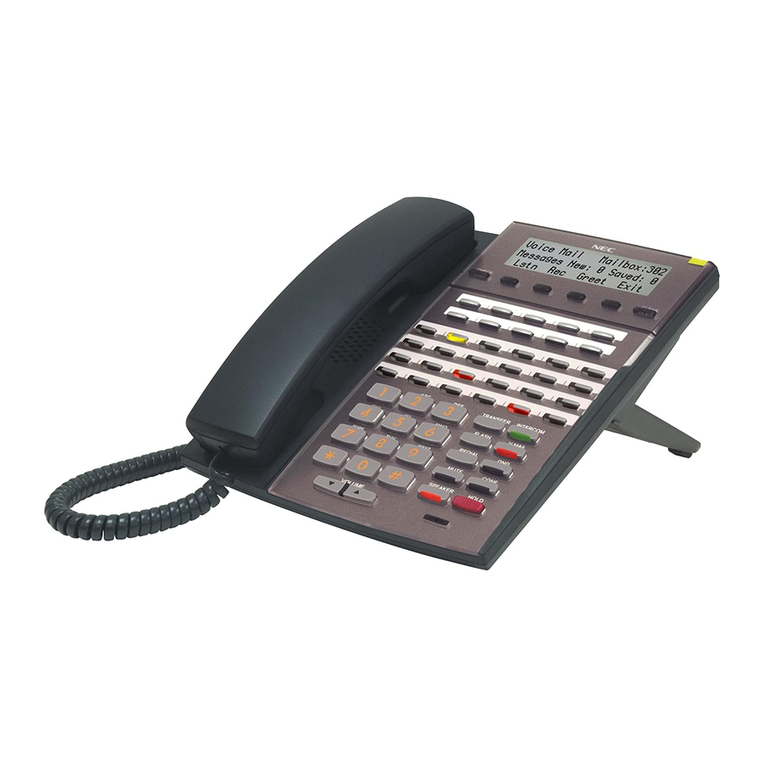
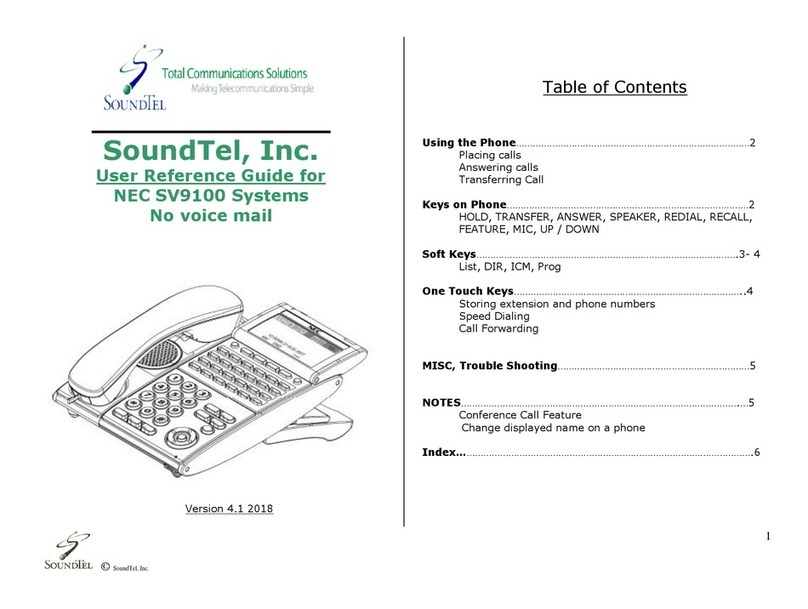
Here, explanations are given by taking an IP multi-line telephone with 24 keys as an example.
Using Each keys
Call
Answer
12
ABC
3
DEF
5
JKL
4
GHI
6
MNO
8
TUV
7
PQRS
9
WXYZ
0
Recall
Clear Menu
Transfer
Hold
Feature
Speaker
Exit Help
Redial
Clear Menu
Exit
Use the Exit key to interrupt the soft key operation.
Use the soft keys for operations such as selecting an item on the display when checking
the call history, finding a destination registered with its speed dial number, or setting func-
tions.
Use the Help key to display the function you have registered for a function key.
Use a function key to call a trunk line. You can also register a Telephone number or extension num-
ber to a function key so that you can call that number with one-touch operation. Similarly, you can
assign a function to a key, allowing you to perform that function with one-touch operation.
(with a lamp)
(with a lamp)
(with lamps)
Help
This lamp flashes when a trunk or intercom call is received. If new message is received for your
voice mail box when the optional Voice Mail feature is activated, the lamp also flashes.
See the next page.
(Provided only with IP multi-
line telephones)
Use the Security key to
control key operations by
locking the telephone.
Use the microphone
when using the unit for
making a hands-free
call, without lifting the
handset.
Press the Hold key to hold a call.
!"
(with a lamp)
(with a lamp)
Press the Answer key to answer a trunk call.
The Answer lamp flashes when an incoming call is received
from outside.
Press the Call key to seize a trunk line.
Press the Feature key to set functions.
Press the Transfer key to transfer a call to
another person.
Use the Clear key while operating the
menu when you want to return to the
previous state by one.
Use the Menu key to display the local
menu of the telephone.
Press the Recall key to disconnect a
trunk call without replacing the handset
or to use the Call Waiting Service.
Press the Speaker key to make a hands-
free call without lifting the handset.
< Up/Down keys (volume) >
Use the volume keys to control the volume of
the person with whom you are talking, as well
as the ringing volume. These keys are also
used to control the display contrast.
< Right key (Directory the telephone book) >
Use the Right key to display the screen of
the center telephone book, speed dial -
common, speed dial - group or directory
the extension.
Use the Enter key to display the short-cut
menu and determine the selected item in
the menu.
< Left key (Redial) >
Press the Left key to redial the last number
dialed, to search for a number in the redial
history or incomming call history, or to
place a call using the speed dial function.
This lamp remains on while the microphone is active.
MIC
Redial
Keys and Display Indication on the Telephone
6
Keys and Display Indication on the Telephone
The information that appears on the display differs depending on the operation being performed with the telephone, as
follows.
Display
The Information displayed initially appears in Japanese.
The following examples show that they will appear so after the display is changed to English version.
Note that the initial display will change depending on the settings made when the telephone is installed.
The display indication displays of the following is an example of Digital multi-line telephone.
NOTE
Idle
Placing a trunk call
Trunk call in progress

7
You can adjust the telephone to an easy-to-use angle. To
do so, adjust the tilt leg on the bottom of the telephone.
Pulling the tilt leg
Pushing the tilt leg
Controlling the volume
Redial
Redial
!
"
#
$
#
Controlling the contrast
Redial
Redial
Adjusting the angle of the telephone
Controlling the Volume and Display Contrast

8
1Slightly insert a pointed stick or
something into the gap on the right
side of the panel.
2Lift the panel slightly.
3Remove the designation sheet.
1Place the designation sheet on the
telephone so that the keys pass
through the holes in the sheet.
2Fit the panel on the telephone in
accordance with the keys on the
telephone and press down the four
corners of the panel until it clicks.
1Insert the holder into the slot on
the back of the telephone.
2Mount the speed dial number card
on the holder.
If the panel appears scratched
Depending on how light strikes the panel, you may
notice scratch-like streaks around the holes in the
panel. These streaks are formed in the plastic
molding process and have no effect on the structure
or function of the panel. You can continue to use the
panel normally.
What is the designation sheet?
The designation sheet is provided to allow you to
write the likes of the name of a function assigned to
a key, name of a destination telephone number, and
other information to make the telephone easy to
use.
For details, contact your distributor.
Removing the panel
)
,
8
1
+
-
Mounting the panel
Mount the panel carefully.
If the panel is misaligned, a key on the panel may
be held down, resulting in a malfunction.
NOTE
Mounting the speed dial number
card (separately available)
A Guide to Use the Panel

Placing and
Answering a Call
Placing a Trunk Call
<
Trunk Call
>
Placing an Extension
<
Intercom Call
>
Answering a Trunk Call
Answering an Intercom Call
!
9
Placing and Answering a Call

10
Press a Line key or the Call key without lifting the
handset. You will hear a dial tone. You can then dial the
destination telephone number to place a trunk call.
The dialed number is displayed, so that you can confirm
that you have dialed correctly. You can also place a trunk
call by lifting the handset and then pressing a Line key.
1Press .
The Call lamp goes on in green and you hear a
dial tone from the speaker.
2Dial the destination telephone
number.
3Lift the handset.
Wait for the outside party to answer.
1Press .
A Line key lamp goes on in green and you hear
the dial tone from the speaker.
2Dial the destination telephone
number.
3Lift the handset.
Wait for the outside party to answer.
What this function does
What you can do with this function
Pressing the Call key and
placing a call
Pressing a Line key and
placing a call
123
456
789
0
123
456
789
0
Placing a Trunk Call
Trunk Call

11
You can talk to a user on another extension from your
extension. Intercom Call does not incur any telephone
charges.
You can place an intercom call by lifting the handset and
then dialing the desired extension number. There is no
need to press the Speaker key.
1Press .
The Speaker lamp goes on in red and you hear
the dial tone.
2Dial the destination extension
number.
3Lift the handset.
Wait for the called person to answer.
beep!
beep!
peep!
peep!
Reception
What this function does
What you can do with this function
Operation
123
456
789
0
Placing an Extension
Intercom Call

12
Upon receiving an incoming call from outside, you can
answer by either pressing the flashing Line key or the
Answer key.
You can also answer an incoming call by lifting the
handset and then pressing the Answer or Line key.
1A trunk call is received.
You hear the trunk call ringing tone, and both
the large lamp and Answer lamp flash red.
2Press .
3Lift the handset.
Talk to the person who is calling you.
1A trunk call is received.
You hear the trunk call ringing tone, and both
the large lamp and a Line key lamp flash red.
2Press .
3Lift the handset.
Talk to the person who is calling you.
What this function does
What you can do with this function
Answering a trunk call by
pressing the Answer key
Answering a trunk call by
pressing the Line key
Answering a Trunk Call

13
When the large lamp flashes red and you hear the intercom
call ringing tone, the telephone is receiving an intercom
call. Lift the handset and talk to the person who is calling
you.
The extension name of the person calling you is displayed
as you hear the ringing tone. You can check which user is
placing the call before answering.
1An intercom call is received.
You hear the intercom call ringing tone and the
large lamp flashes red.
2Lift the handset.
Talk to the person who is calling you.
A call
from the
manager.
beep!
beep!
What this function does
What you can do with this function
Answering a call
Answering an Intercom Call

14

Holding and
Transferring a Call
Having the Person Calling
You Hold the Line
<
Hold
>
Transferring a Call
<
Transfer
>
$
%
15
Holding and Transferring a Call

16
If you want to have the person who has called you hold the
line, you can have the telephone hold the call while
playing a melody to the person who is waiting. While the
music on hold tone is being played, the person who has
called you cannot hear you. If a call is held for 90 seconds
(initial setting), the telephone emits the long-hold attention
tone to remind you that a call is still being held.
This function is also useful when you transfer a call to
another person. Transferring a call See the next page.
1You are on the conversation.
2Press .
The person on the other end hears the music on
hold tone and a Line key lamp flashes green. In
the case of an intercom call, the Feature key
lamp flashes green.
3Replace the handset.
The call is now held.
1Lift the handset.
2Press (flashing green).
In the case of an intercom call being held, press
the Feature key.
Talk to the person who is calling you.
What this function does
What you can do with this function
Holding a call
Resuming a call
) *
Having the Person Calling You Hold the Line
Hold

17
You can hold an incoming call and transfer it to another
extension.
When the person wanted on the telephone is physically
close to you, tell him or her directly and have them pick up
the call.
If the person wanted on the telephone is elsewhere in the
building, call him or her on their extension, tell them that
they have an incoming call, and have them pick up the
call.
Example:
transfers a trunk call to
after directly giving him or her a
message.
1is on the conversation.
2Press .
The Line key lamp flashes green. The person
making the call hears the music on hold tone
and the call is held.
3Replace the handset.
4Tell the number of the trunk
line on hold.
5lifts the handset.
6Press (flashing red).
B presses the key as instructed by A.
The Line key lamp changes to green.
talks to the person making the
call.
Hold
What this function does
What you can do with this function
Transferring a call to a
person close to you
)
*
)
*
*
*
)
Transferring a Call
Transfer

18
Transferring a Call
<
Transfer
>
Example:
transfers a trunk call to
using an extension
1is on the conversation.
2Press .
The Line key lamp flashes green.
The person making the call hears the music on
hold tone and the call is held.
3Dial the extension number of .
4Give a message with an
intercom call.
A gives C a message.
C holds the line.
5presses .
The call on hold is automatically transferred to
C’s line.
talks to the person making the
call.
To transfer a call without pressing the
Transfer key
You can set up the telephone during installation so
that a call is transferred when you replace the
handset, eliminating the need to press the transfer
key.
Transferring a call to a person
in another part of the building
)
+
)
+
+
)
+
)
,
8
1
+
-
)
123
456
789
0
Other manuals for AspireX
1
Table of contents
Other NEC Telephone manuals

NEC
NEC Univerge SV9100 Instruction manual

NEC
NEC XN120 Vision User manual

NEC
NEC Univerge SV8100 Setup guide

NEC
NEC DT310 User manual

NEC
NEC i-Series User manual

NEC
NEC UNIVERGE SL2100 User manual

NEC
NEC ESERIES User manual

NEC
NEC Univerge SV9100 User manual

NEC
NEC Xen Topaz User manual

NEC
NEC SL1100 User manual