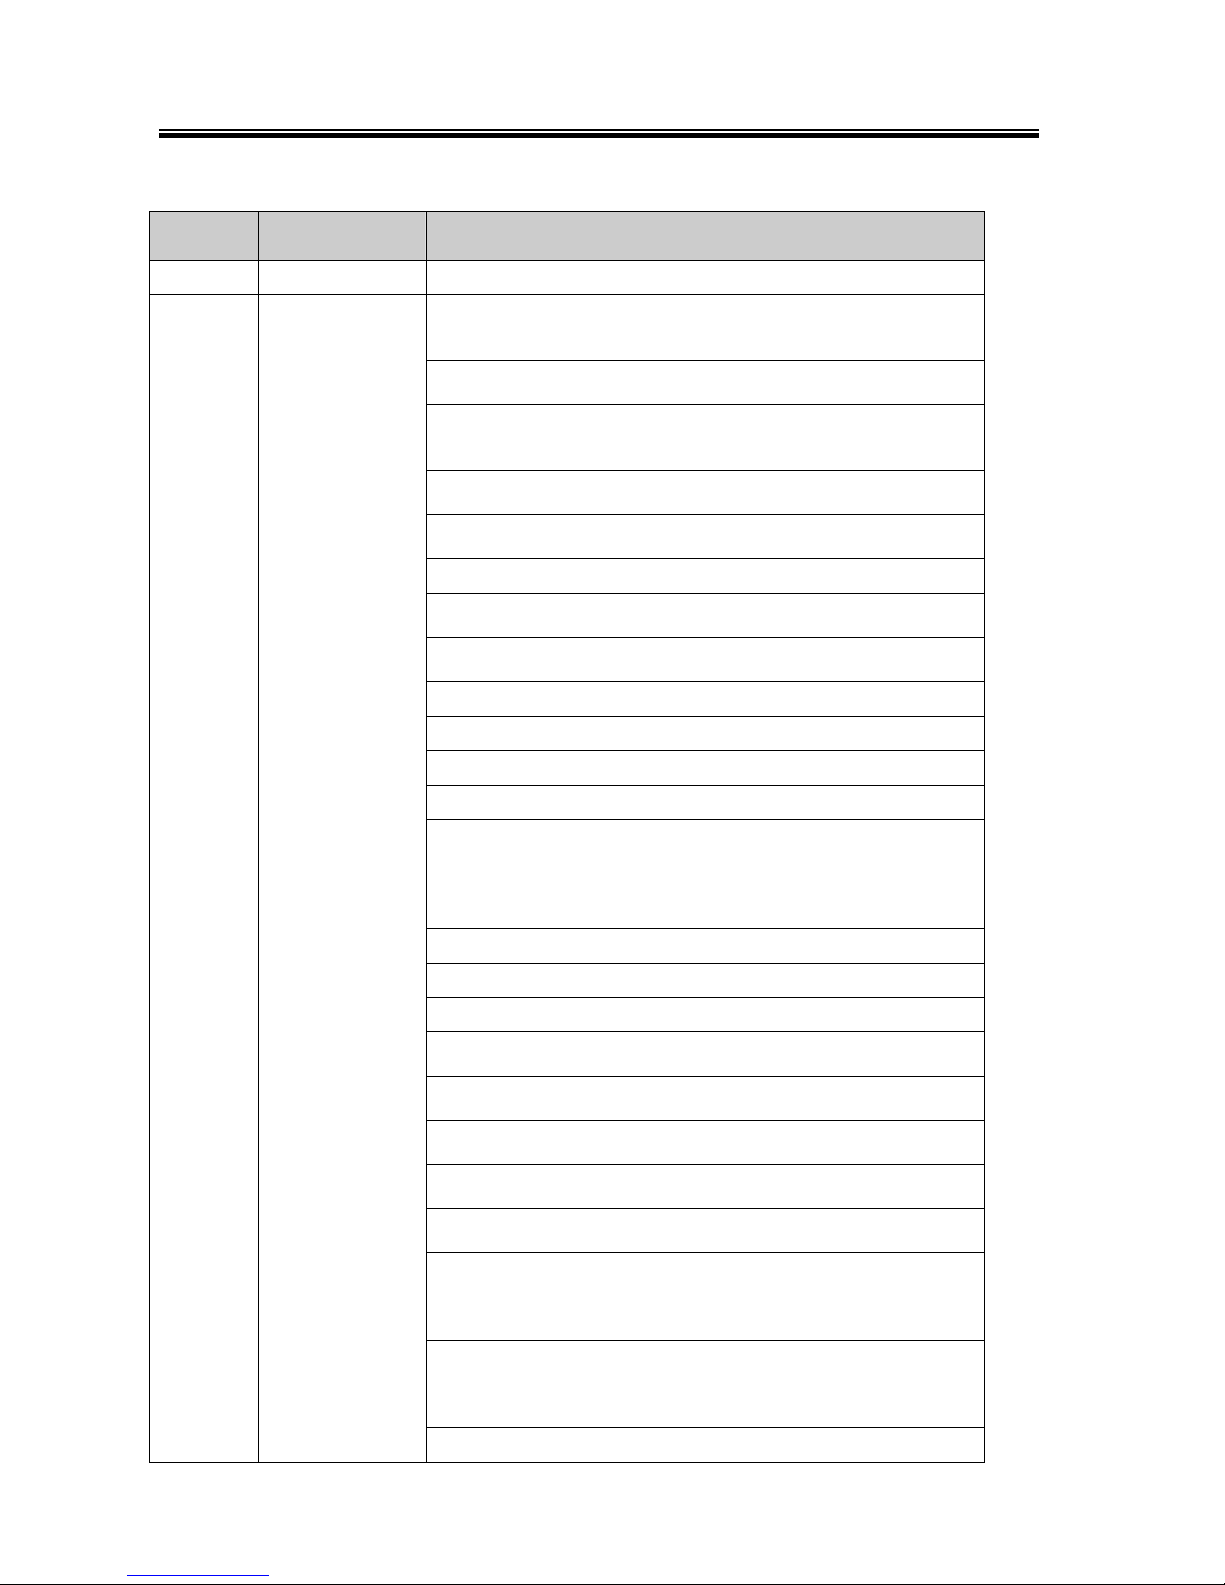
NEC XN120 Vision Owner's manual

Features Manual
Issue : 1.2
Date : April 2005
991434-5

Revision History
Issue
No. Date Reason of Change
1.0 January 2005
Based on NEC AP 1st Release Manual
1.1 February 2005
Abbreviated Dialing
Add Extension Abbreviated Dialing
Add the operation of Common and Group Abbreviated dialing
Remove references to Super Display telephones
(Alphanumeric Display, Volume Controls)
Attendant Call Queuing
Add calls to IRG queue automatically.
Add DDI calls to queue total.
Central Office Calls, Answering
Delete the option to listen/change the ring tones
Caller ID
Add type (FSK/DTMF), Abb dial alpha tagging and SLT caller ID
Add Caller ID Sending
Conference
Remove reference to ADA for conversation recording
Conference/Privacy Release
Remove reference to ADA for conversation recording
Add Cost Centre Codes
Add Department Group options
Add DDI
Add DISA dial in mode and password
DSS Console
Remove Alternate answer option
Remove the statement “there is no limit to the number of 64
button console per extension”
Revise operation to XN120 method
Headset - Add headset type limitations
LCR Least Cost Routing – add additional operation detail
Add Line Reversal
Loop Keys - Add a note that each phone has a loop key on key
10
Message Waiting -Remove ring reminder and VRS
announcement for message waiting indication
Music on hold - Add the exmoh socket on the main unit.
Add additional info for MOH per DDI etc
Name Storing - Add the truncation of names greater than 8
characters.
Paging, Internal – remove codes 00-32 as only 0-6 are available
on the XN120
Park – Remove the Enhanced Dial Buffering as this is not an
option.
Remove Split feature as this requires 2 CALL keys, the XN120
only has 1 CALL key so split does not work.
Programmable Function keys
Add list of function codes
Add diagrams to shows the key layout of the phone
Add 24 button add on console
Add Reason of Transfer Display

Issue
No. Date Reason of Change
1.1 February 2005
Single Line telephone – Add specifications
SMDR – Add correct output examples and options from the
EXIFU guide.
Add Trunk to Trunk Forwarding
Add Trunk to Trunk Transfer
1.2 April 2005
Message Waiting
Message Waiting has references to VRS indication. This has
been removed as it is not available.
Alphanumeric Display
Add the multi language options.
Central Office Calls – Answering
Add Program 20-09-06 to select the display when an ISDN trunk
call is ringing.
Class of Service
Add Program 20-09-06 to select the display when an ISDN trunk
call is ringing.
Direct Dial In
Add Program 20-09-06 to select the display when an ISDN
trunk call is ringing.
Nothing contained in this manual shall be deemed to be, and this manual does not constitute, a warranty of, or
representation with respect to, any of the equipment covered. This manual is subject to change without notice and
NEC Infrontia Ltd has no obligation to provide any updates or corrections to this manual. Further, NEC Infrontia
Ltd also reserves the right, without prior notice, to make changes in equipment design or components as it deems
appropriate. No representation is made that this manual is complete or accurate in all respects and NEC Infrontia Ltd
shall not be liable for any errors or omissions. In no event shall NEC Infrontia Ltd be liable for any incidental or
consequential damages in connection with the use of this manual. This document contains proprietary information
that is protected by copyright. All rights are reserved. No part of this document may be photocopied or reproduced
without prior written consent of NEC Infrontia Ltd.
Copyright © 2004 by NEC Infrontia Ltd
All Rights Reserved.

Location of Controls
Features Manual
1
Location of Controls
XN120 System Telephone
1. XN120 System Telephone
Functions 12TXH 12TH 6TXD 6TD
Programmable Keys 12 12 6 6
Additional Prg. Keys 10 10 10 10
Display Yes No Yes No
CHECK/CLEAR Keys Yes No Yes No
Handsfree Yes No (Talkback) Yes No (Talkback)
Accept DLS Console Yes No Yes No
Wall Mount Kit Yes (Built-in) Yes (Built-in) Yes (Built-in) Yes (Built-in)
The BLF (Busy Lamp Field) on Additional Programmable Keys are not available on the
standard type Key Telephones (12TD / 6TD).
Alphanumeric Display Indicator
DC (Dial Control) Key
LND (Last Number Dial) Key
Programmable Function Keys
CHECK Key
CLEAR Key
OPAC (Operation Access) Key
CALL Key
FLASH Key
TRFR (Transfer) Key
DND/CONF Key
(Do Not Disturb / Conference)
HOLD Key
MIC (Microphone) Key
VOL (Volume Control) Key
Microphone
Dial Keys
Handset
Speaker
SPK (Speaker) Key

Location of Controls
Features Manual 2
64 Button DSS Console
2. 64 Button DSS (Direct Station Selection) Console
Function Keys
Indication Function Name
IZ1 ~ IZ4 Internal Paging (Zone 1 ~ 4)
EZ1 ~ EZ2 External Paging (Zone 1 and 2)
EAZ External All Paging
AC External / Internal All Call
DOOR1 ~ DOOR2 Doorphone Call (Doorphone 1 and 2)
NT Night Mode Switching
M/W Message Waiting
SG/VC Intercom Call Mode Switching (Signal / Voice)
TRFR Transfer
64 DSS Keys
IZ1
1 72 834 65
9 1510 1611 12 1413
17 2318 2419 20 2221
25 3126 3227 28 3029
33 3934 4035 36 3837
41 4742 4843 44 4645
49 5550 5651 52 5453
57 6358 6459 60 6261
IZ2 IZ3 IZ4 EZ1 EZ2 EAZ AC
ALARM DOOR1 DOOR2 NT MW SG/VC TRFR
Function Keys

Location of Controls
Features Manual
3
24 Button Add On Console
3. 24 ButtonAdd On Console
24 Keys

Features
Features Manual
5
Abbreviated Dialling
n Description
Abbreviated Dialling gives an extension user quick access to frequently called numbers. This saves
time, for example, when calling a client with whom they deal often. Instead of dialling a long
telephone number, the extension user just dials the Abbreviated Dialling code.
There are three types of Abbreviated Dialling: Common, Group and Personal. All co-workers can share
the Common Abbreviated Dialling numbers. All co-workers in the same Abbreviated Dialling Group
can share their Group’s Abbreviated Dialling numbers. Personal Abbreviated Dialling numbers are
available only at a user’s own extension. The system has 2000 Abbreviated Dialling bins that you can
allocate between Common and Group Abbreviated Dialling. Each telephone has 20 Personal
Abbreviated Dialling bins that are independent of the 2000 system bins.
Each Abbreviated Dialling bin can store a number up to 36 digits long.
When placing an Abbreviated Dialling call, the system normally routes the call through Trunk Group
Routing or ARS (whichever is enabled). Or, the user can pre-select a specific trunk for the call. In
addition, the system can optionally force Common Abbreviated Dialling numbers to route over a
specific Trunk Group. User pre-selection always overrides the system routing.
Common Abbreviated Dialling
At default the system has 900 Common Abbreviated Dials set by Program 13-01-03. Although there
are 2000 abbreviated dialling bins available we do not recommend that you increase the quantity of
Common Abbreviated Dial bins (since the Personal Abbreviated bins are also accessed with bin
numbers 900-919 by the user).
The entries of the Common Abbreviated bins can be set either with Program 13-04-01 or with Service
Code 853. They can be dialled by pressing the DC key or Service Code 813 followed by the bin
number.
Group Abbreviated Dialling
At default there are no groups assigned in Program 13-02-01. There are up to 32 groups available. You
can set the quantity of bins available for each group; the quantity must be in multiples of 10. The bins
used for each group cannot overlap any other group or the Common Abbreviated bins.
The entries of the Group Abbreviated bins can be set either with Program 13-04-01 or with Service
Code 854. They can be dialled by Service Code 814 followed by the bin number.
When using Service Codes 854 and 814 the bin number starts at 000 for each group regardless of the
actual start bin number defined in Program 13-02-01.
Personal Abbreviated Dialling
There are 20 Personal bins available for each extension.
The entries of the Personal Abbreviated bins can be set with Service Code 853 at each telephone. They
can be dialled by Service Code 814 followed by the bin number 900-919.
DSS Console Chaining
DSS Console chaining allows an extension user with a DSS Console to chain to an Abbreviated
Dialling number stored under a DSS Console key. The stored number dials out (chains) to the initial
call. This can, for example, simplify dialling when calling a company with an Automated Attendant.
You can program the bin for the company number under one DSS Console key and the client’s
extension number under the other DSS Console key. The DSS Console user presses the first key to call
the company, waits for the Automated Attendant to answer, then presses the second key to call the
client extension. See Programming below for additional details.
The DSS Console user can also chain to an Abbreviated Dialling number dialled manually, from a
Programmable Function Key or a One-Touch Key.

Features
Features Manual 6
Storing a Flash
To enhance compatibility with connected PBX lines, an Abbreviated Dialling bin can have a stored
Flash command. For example, storing 9 Flash 926 5400 will cause the system to dial 9, flash the line
and then dial 926 5400. The Flash can be stored by the user from their telephone or by the system
administrator during system programming.
Using a Programmable Function Key
To streamline frequently called numbers, an Abbreviated Dialling Programmable Function Key can
also store an Abbreviated Dialling bin number. When the extension user presses the key, the phone
automatically dials out the stored number. This provides true one-touch calling via a phone’s function
keys.
Conditions
None
Default Setting
Available. There are no Group Abbreviated Dialling bins assigned.
n Programming
Ø 13-01-03 : Abbreviated Dialling Function Setup - Common Abbreviated Dialling Bins
Ø 13-02-01 : Group Abbreviated Dialling Bins
Ø 13-03-01 : Abbreviated Dialling Groups Assignment for Extensions
Ø 13-04-01 : Abbreviated Dialling Number and Name
Ø 13-05-01 : Abbreviated Dialling Trunk Group
Ø 14-02-06 : Analogue Trunk Data Setup - Pause Time
Ø 15-07-01 : Programming Function Keys
Ø 20-06-01 : Class of Service for Extensions
Ø 20-07-04 : COS Options - Storing Abbreviated Dialling Entries
Ø 20-08-03 : COS Options (Outgoing Call Service) - Common Abbreviated Dialling
Ø 20-08-04 : COS Options (Outgoing Call Service) - Group Abbreviated Dialling
Ø 30-03-01 : DSS Console Key Assignment
n Related Features
Ø Account Codes
Ø Automatic Route Selection
Ø Central Office Calls, Placing
Ø Dial Tone Detection
Ø PBX Compatibility
Ø Programmable Function Keys
Ø Single Line Telephones
Ø Toll Restriction
Ø Trunk Group Routing

Features
Features Manual
7
n Operation
To store an Abbreviated Dialling number (display phones only):
1. Press a SPK key.
2. Dial 853 (for common or personal) or 854 (for group).
3. Dial common or group storage code (000 - 1999), 900-919 are Personal Abbreviated bins.
Initially, there are 900 Common Abbreviated Dialling codes. There are Group Abbreviated Dialling codes only if you
define them in programming.
4. Dial telephone number you want to store (up to 36 digits).
Valid entries are 0-9, # and *. To enter a pause, press MIC. To store a Flash, press FLASH.
5. Press HOLD.
6. Enter the name associated with the Abbreviated Dialling number.
When entering the name in the procedures below, refer to this chart. Names can be up to 12 digits long.
Use this keypad digit … When you want to …
1 Enter characters:
1 @ [ ¥ ] ^ _ ‘ { | }
2 Enter characters A-C, a-c, 2.
3 Enter characters D-F, a-f, 3.
4 Enter characters G-I, g-i, 4.
5 Enter characters J-L, j-l, 5.
6 Enter characters M-O, m-o, 6.
7 Enter characters P-S, p-s, 7.
8 Enter characters T-V, t-v, 8.
9 Enter characters W-Z, w-z, 9.
0 Enter characters:
0 ! “ # $ % & ‘ ( )
* Enter characters:
* + , - . / : ; < = > ?
# # = Accepts an entry (only required if two letters on
the same key are needed - ex: STA).
DND/CONF Clear the character entry one character at a time.
CLEAR Clear all the entries from the point of the flashing
cursor and to the right.
7. Press HOLD.
8. Press SPK to hang up.
To dial a Common or Personal Abbreviated Dialling number:
1. At system phone, press a SPK key.
OR
At single line set, lift handset.
2. Dial 813.
OR
Press DC key.
OR
Press Common Abbreviated Dialling key (PGM 15-07 or SC 851: 27).
To preselect, press a line key in step 1 (instead of CALL) before pressing the DC or
Abbreviated Dialling key)
3. Dial Common Abbreviated Dialling storage code (000-999), 900-919 are Personal Abbreviated bins.
The stored number dials out.
Unless you preselect, Trunk Group Routing selects the trunk for the call. The system may optionally select a specific
Trunk Group for the call.
If you have a DSS Console, you may be able to press a DSS Console key to chain to a stored number.

Features
Features Manual 8
To dial a Group Abbreviated Dialling number:
1. At system phone, press a SPK key.
OR
At single line set, lift handset.
2. Dial 814.
OR
Press DC key.
OR
Press Group Abbreviated Dialling key (PGM 15-07 or SC 851: 28).
To pre-select, press a line key in step 1 (instead of CALL) before pressing the DC or Abbreviated Dialling key)
3. Dial the Group Abbreviated Dialling code (000-999).
The stored number dials out.
Unless you pre-select, Trunk Group Routing selects the trunk for the call.
If you have a DSS Console, you may be able to press a DSS Console key to chain to a stored number.
To check your stored Abbreviated Dialling numbers (display phone only):
1. Press CHECK.
2. For Common Abbreviated Dialling, press DC key.
Dial the Abbreviated Dialling Code (e.g., common code 001).
If the entire stored number is too long for your phone’s display, press * to see the rest of it.
OR
For Group Abbreviated Dialling, press the Group Abbreviated Dialling key.
OR
For Common Abbreviated Dialling key, press the Common Abbreviated Dialling key.
3. Press CLEAR.
To display additional numbers, repeat from step 1.

Features
Features Manual
9
Account Codes
n Description
Account Codes are user-dialled codes that help the system administrator categorize and/or restrict
trunk calls. The system has three types of Account Codes:
Ø Optional Account Codes
Optional Account Codes allow a user to enter an Account Code while placing a trunk call or
anytime while on a call. This type of Account Code is optional; the system does not require the
user to enter it.
Ø Forced Account Codes
Forced Account Codes require an extension user to enter an Account Code every time they place a
trunk call. If the user doesn’t enter the code, the system prevents the call. As with Optional
Account Codes, the extension user can elect to enter an Account Code for an incoming call.
However, the system does not require it. Forced Account Codes does not block emergency
assistance calls.
Once set up in system programming, you can enable Forced Account Codes on a trunk-by-trunk
basis. In addition, Forced Account Codes can apply to all outside calls or just long distance calls.
Ø Verified Account Codes
With Verified Account Codes, the system compares the Account Code the user dials to a list of up
to 1000 pre-programmed codes. If the Account Code is in the list, the call goes through. If the
code dialled is not in the list, the system prevents the call. Verified Account Codes can be from
3-16 digits long using the characters 0-9 and #. During programming, you can use “wild cards” to
streamline entering codes into system memory. For example, the entry 123W lets users dial
Verified Account Codes from 1230 through 1239.
Operator Notification
To prevent Account Code abuse, the system can notify the operator each time an Account Code
violation occurs. This can happen if the user fails to enter an Account Code (if Forced) or enters a
Verified Account Code that is not in the list. The notification is an automatic Intercom call to the
attendant and a “RESTRICT” message in the operator’s display. (If the attendant fails to enter a
valid Account Code, the system drops the call.)
Account Codes for Incoming Calls
The system can control the ability of extension users to enter Account Codes for incoming calls.
When this option is enabled, a user can dial * while on an incoming call, enter an Account Code,
and then dial * to return to their caller. If the option is disabled, any digits the user dials after
answering an incoming call outdial on the connected trunk.
Hiding Account Codes
Account Codes can be optionally hidden from a telephone’s display. This would prevent, for
example, an unauthorized co-worker from obtaining a Verified Account Code by watching the
display and making note of the digits that dial out. When hidden, the Account Code digits show as
the character “ * ” on the telephone’s display.
Account Code Capacity
Account Codes print along with the other call data on the SMDR record after the call completes.
Account Codes can be 1-16 digits in length using 0-9 and #. Verified Account Codes can be from
3-16 digits long.

Features
Features Manual 10
Redialled Numbers Do Not Contain Account Codes
When using the Last Number Redial, Save or Repeat Dial features, the system will not retain
Account Code information. Any number redialled with these features, the user will need to
re-enter an Account Code.
Note:
If a user enters *12345*203 926 5400*67890*, if the Last Number Redial feature is used, the system dials the number as
203 926 5400*67890*. The *67890* is not treated as an Account Code.
Conditions
Account Codes are user-dialled codes that help the system administrator categorize and/or restrict
trunk calls. The system has three types of Account Codes:
A) If a user enters a code that exceeds the 16 digit limit, the system ignores the Account Code
entry.
B) If the system has Account Codes disabled, the digits dialled (e.g., *1234*) appear on the
SMDR report as part of the number dialled.
C) Do not use an asterisk within a PBX access code when using Account Codes. Otherwise, after
the *, the trunk will stop sending digits to the central office.
Default Setting
Account Codes are disabled.
n Programming
Ø 14-01-11 : Basic Trunk Data Setup - Account Code
Ø 15-07-01 : Programming Function Keys
Ø 20-06-01 : Class of Service for Extensions
Ø 21-04-01 : Toll Restriction Class for Extensions
Ø 35-05-01 : Account Code Setup - Account Code Mode
Ø 35-05-02 : Account Code Setup - Forced Account Code Toll Call Setup
Ø 35-05-03 : Account Code Setup - Account Codes for Incoming Calls
Ø 35-05-04 : Account Code Setup - Hiding Account Codes
Ø 35-06-01 : Verified Account Code Table
n Related Features
Ø Abbreviated Dialling
Ø Automatic Route Selection
Ø PBX Compatibility
Ø Station Message Detail Recording

Features
Features Manual
11
n Operation
To enter an Account Code any time while on a trunk call:
The outside caller cannot hear the Account Code digits you enter. You can use this procedure if your system has
Optional Account Codes enabled. You may also be able to use this procedure for incoming calls. This procedure is not
available at SLTs.
1. Dial *.
OR
Press your Account Code key (PGM 15-07 or SC 851: code 50).
2. Dial your Account Code (1-16 digits, using 0-9 and #).
If Account Codes are hidden, each digit you dial will show an “ * “ character on the telephone’s display.
3. Dial *.
OR
Press your Account Code key (PGM 15-07 or SC 851: code 50).
To enter an Account Code before dialling the outside number:
If your system has Forced Account Codes, you must use this procedure. If it has Verified Account Codes, you can use
this procedure instead of letting the system prompt you for your Account Code. You may also use this procedure if
your system has Optional Account Codes. If your system has Verified Account Codes enabled, be sure to choose a
code programmed into your Verified Account Code list.
1. Access trunk for outside call.
You can access a trunk by pressing a line key or dialling a code (except 9). Refer to Central Office Calls, Placing for
more information.
2. Dial *.
OR
Press your Account Code key (PGM 15-07 or SC 851: code 50)
3. Dial your Account Code (1-16 digits, using 0-9 and #).
If you make an incorrect entry, your system may automatically alert the operator. If Account Codes are hidden, each
digit you dial will show an “ * “ character on the telephone’s display.
4. Dial *.
OR
Press your Account Code key (PGM 15-07 or SC 851: code 50)
5. Dial the number you want to call.
If you hear “stutter dial tone after dialling the number, ARS is requesting that you enter an ARS Authorization Code.
Refer to Automatic Route Selection (F-Route) for more information.
To dial an outside No. and let your system tell you when an Account Code is required:
1. Access a trunk and dial the number you want to call.
If you hear “stutter dial tone after dialling the number, ARS is requesting that you enter an ARS Authorization Code.
Refer to Automatic Route Selection (F-Route) for more information.
2. Wait for your call to go through.
OR
If you hear “Please enter an Account Code,” and your display shows ENTER ACCOUNT:
· Dial *.
OR
Press your Account Code key (PGM 15-07 or SC 851: code 50)
· Dial your Account Code (1-16 digits, using 0-9 and #).
If Account Codes are hidden, each digit you dial will show an “ * “ character on the telephone’s display.
· Dial *.
OR
Press your Account Code key (PGM 15-07 or SC 851: code 50)
To enter an Account Code for an incoming call:
This procedure is not available at SLTs.
1. Answer incoming call.
If Account Codes for Incoming Calls is disabled, the following steps will dial digits out onto the connected trunk.
2. Dial *.
3. Enter the Account Code.
You can enter any code of the proper length. Incoming Account Codes cannot be Forced or Verified.
4. Dial *.

Features
Features Manual 12
To enter an Account Code while placing a trunk call:
If your system has Forced Account Codes, you must follow this procedure.
1. Access trunk for outside call.
You can access a trunk by pressing a line key or dialling a code. Refer to Central Office Calls, Placing for more
information.
With Forced Account Codes, you hear, “Please enter an Account Code.” Your display shows: ENTER ACCOUNT.
2. Dial *.
3. Dial your Account Code (1-16 digits, using 0-9 and #).
4. Dial *.
If the system has Forced Account Codes and you don’t enter a code, your call cannot go through. You can, however,
dial ** to bypass Forced Account Code entry.
5. Dial number you want to call.
If you hear “stutter” dial tone after dialling the number, ARS is requesting you to enter an ARS Authorization Code.
Refer to the Automatic Route Selection feature for more information on ARS Authorization Codes.
To enter an Account Code at a single line set:
1. Access trunk for outside call.
You can access a trunk by dialling a code. Refer to Central Office Calls, Placing for more information.
With Forced Account Codes, you hear, “Please enter an Account Code.” Your display shows: ENTER ACCOUNT.
2. Dial *.
3. Enter Account Code (1-16 digits).
4. Dial *.
5. Dial number you want to call.
If you hear “stutter” dial tone after dialling the number, ARS is requesting you to enter an ARS Authorization Code.
Refer to the Automatic Route Selection feature for more information on ARS Authorization Codes.

Features
Features Manual
13
Alarm
n Description
Alarm lets a system phone extension work like an Alarm clock. An extension user can have Alarm
remind them of a meeting or an appointment. There are two types of Alarms:
· Alarm 1 (sounds only once at the preset time)
· Alarm 2 (sounds every day at the preset time)
Conditions
Single line sets will ring and Music on Hold will be heard when the alarm sounds.
Default Setting
Alarm is enabled.
n Programming
Ø 20-01-06 : System Options - Alarm Duration
n Related Features
None

Features
Features Manual 14
n Operation
To set the alarm:
1. At system phone, press a SPK key.
OR
At single line set, lift handset.
2. Dial 827.
3. Dial alarm type (1 or 2).
Alarm 1 sounds only once. Alarm 2 sounds each day at the preset time.
4. Dial the alarm time (24-hour clock).
For example, for 1:15 PM dial 1315.
A confirmation tone will be heard if the alarm has been set. If the alarm was not set, an error tone will be heard
instead.
5. At system phone, press SPK to hang up.
OR
At single line set, hang up.
To silence an alarm:
1. At system phone, press CLEAR.
OR
At single line set, lift handset.
The single line set user will hear Music on Hold when the handset is lifted.
To check the programmed alarm time:
1. Press CHECK.
2. Dial 827.
3. Dial alarm type (1 or 2).
The programmed time displays.
4. Press CLEAR.
To cancel an alarm:
1. At system phone, press a SPK key.
OR
At single line set, lift handset.
2. Dial 827.
3. Dial alarm type (1 or 2).
4. Dial 9999.
5. At system phone, press SPK to hang up.
OR
At single line set, hang up.

Features
Features Manual
15
Alphanumeric Display
n Description
System display telephones have a 2-line, 16 character per line alphanumeric display that provides
various feature status messages. These messages help the display telephone user process calls, identify
callers and customize features.
The contrast can be adjusted with the Volume keys when the phone is idle.
With V1.30 software there are the following display languages available:
English, Spanish and Portuguese.
With software V1.32 there are the following display languages available:
English, French, Italian, Dutch, Norwegian, German, Portuguese, Spanish and Danish.
Conditions
The contrast is not adjustable when the telephone has background music enabled.
The day of week is only available in English, regardless of the language setting of the telephone.
Default Setting
Enabled for all display telephones.
n Programming
Ø 15-02-01 : Display Language
Ø 20-06-01 : Class of Service for Extensions
Ø 20-11-08 : Class of Service Options (Hold/Transfer Service) - Transfer Information Display
n Related Features
Caller ID Display.
Direct Dial In
Name Storing
Reason of Transfer Display
Selectable Display Messaging
n Operation
The language can be selected at each XN120 display phone.
To select the display language:
1. Press a SPK key.
2. Dial 778.
3. Enter the digit that corresponds to the language:
1 = English
2 = German (Deutsch)
3 = French (Francais)
4 = Italian (Italiano)
5 = Spanish (Espaøol)
6 = Dutch (Nederlands)
7 = Portuguese (Portugues)
8 = Norwegian (Norsk)
9 = Danish (Dansk)
3. Press SPK to hang up.

Features
Features Manual 16
Attendant Call Queuing
n Description
Attendant extensions can have up to 32 internal incoming calls queued before additional callers hear
busy tone. This helps minimize call congestion in systems that use the attendant as the overflow
destination for unanswered calls. For example, you can program Direct Inward Lines and Voice Mail
calls to route to the attendant when their primary destination is busy. With Attendant Call Queuing,
these unanswered calls would normally “stack up” for the attendant until they can be processed.
Attendant Call Queuing is a permanent, non-programmable system feature for each telephone assigned in
Program 20-17-01.
Attendant call queuing is automatic for incoming exchange line calls to a Ring Group (Program 22-04-01
to place phones into ring groups).
The 32 call queue total include Intercom, DISA, DID, DDI, DIL and transferred calls.
Conditions
None
Default Setting
Enabled.
n Programming
Ø 20-17-01 : Operator’s Extension Number
Ø 24-02-01 : System Options for Transfer - Busy Transfer
n Related Features
Ø Call Forwarding / Personal Greeting
n Operation
None

Features
Features Manual
17
Automatic Route Selection (F-Route)
n Description
Automatic Route Selection (ARS) provides call routing and digit translation based on the digits a user
dials. ARS consists of look up tables that compare the dialled digits and decide which translation table
should be used. The decision can optionally be dependant on time and day of the week. The translation
table will then delete and/or add digits select the trunk group and seize the outgoing trunk.
Conditions
Line keys, outgoing loop keys, outgoing trunk group keys, dialling 804+trunk group, dialling
805+trunk number, and abbreviated dial numbers assigned to a certain trunk group can all be used
to by-pass ARS.
Default Setting
ARS is not programmed.
n Programming
Ø 11-09-01 : Trunk Access Code
Ø 14-05-01 : Trunk Groups
Ø 14-07-01 : Trunk Access Map Setup
Ø 15-06-01 : Trunk Access Map for Extensions
Ø 44-01-01 : System Options for ARS/F-Route
Ø 44-02-01 : Dial Analysis Table for ARS/F-Route Access - Dial
Ø 44-02-02 : Dial Analysis Table for ARS/F-Route Access - Service Type
Ø 44-02-03 : Dial Analysis Table for ARS/F-Route Access - Additional Data
Ø 44-02-04 : Dial Analysis Table for ARS/F-Route Access - Dial Tone Simulation
Ø 44-03-01 : Dial Analysis Extension Table - Dial
Ø 44-03-02 : Dial Analysis Extension Table - Table Number
Ø 44-03-03 : Dial Analysis Extension Table - Table Number (251)
Ø 44-03-04 : Dial Analysis Extension Table - Next Table Number
Ø 44-04-01 : ARS/F-Route Selection for Time Schedule
Ø 44-05-02 : ARS/F-Route Table - Delete Digits
Ø 44-05-03 : ARS/F-Route Table - Additional Dial Number
Ø 44-05-04 : ARS/F-Route Table - Beep Tone
Ø 44-05-05 : ARS/F-Route Table - Gain Table Number for Internal Call
Ø 44-05-06 : ARS/F-Route Table - Gain Table Number for Tandem Connections
Ø 44-05-07 : ARS/F-Route Table - ARS Class of Service
Ø 44-05-08 : ARS/F-Route Table - Dial Treatment
Ø 44-06-01 : Additional Dial Table
Ø 44-07-01 : Gain Table for ARS/F-Route Access - Incoming Transmit
Ø 44-07-02 : Gain Table for ARS/F-Route Access - Incoming Receive
Ø 44-07-03 : Gain Table for ARS/F-Route Access - Outgoing Transmit
Ø 44-07-04 : Gain Table for ARS/F-Route Access - Outgoing Receive
Ø 44-08-01 : Time Schedule for ARS/F-Route
Ø 44-09-01 : Weekly Schedule for ARS/F-Route
Ø 44-10-01 : Holiday Schedule for ARS/F-Route

Features
Features Manual 18
n Related Features
Ø Abbreviated Dialling
Ø Central Office Calls, Placing
Ø Dial Tone Detection
Ø Toll Restriction
Ø Trunk Group Routing
Ø Trunk Queuing/Camp On
n Operation
Automatic when it is programmed.
Other manuals for XN120 Vision
15
Table of contents
Other NEC Telephone manuals

NEC
NEC Univerge SV9100 Owner's manual

NEC
NEC AccuSync 120 User manual

NEC
NEC i-Series User manual

NEC
NEC Aspire User manual

NEC
NEC Univerge DT820 User manual

NEC
NEC XN120 Vision User manual

NEC
NEC DS1000 User manual

NEC
NEC Univerge SV8100 User guide

NEC
NEC UNIVERGE SL2100 Owner's manual

NEC
NEC DT930 Series Setup guide