Setting Up Your Speed Dial Bin Keys
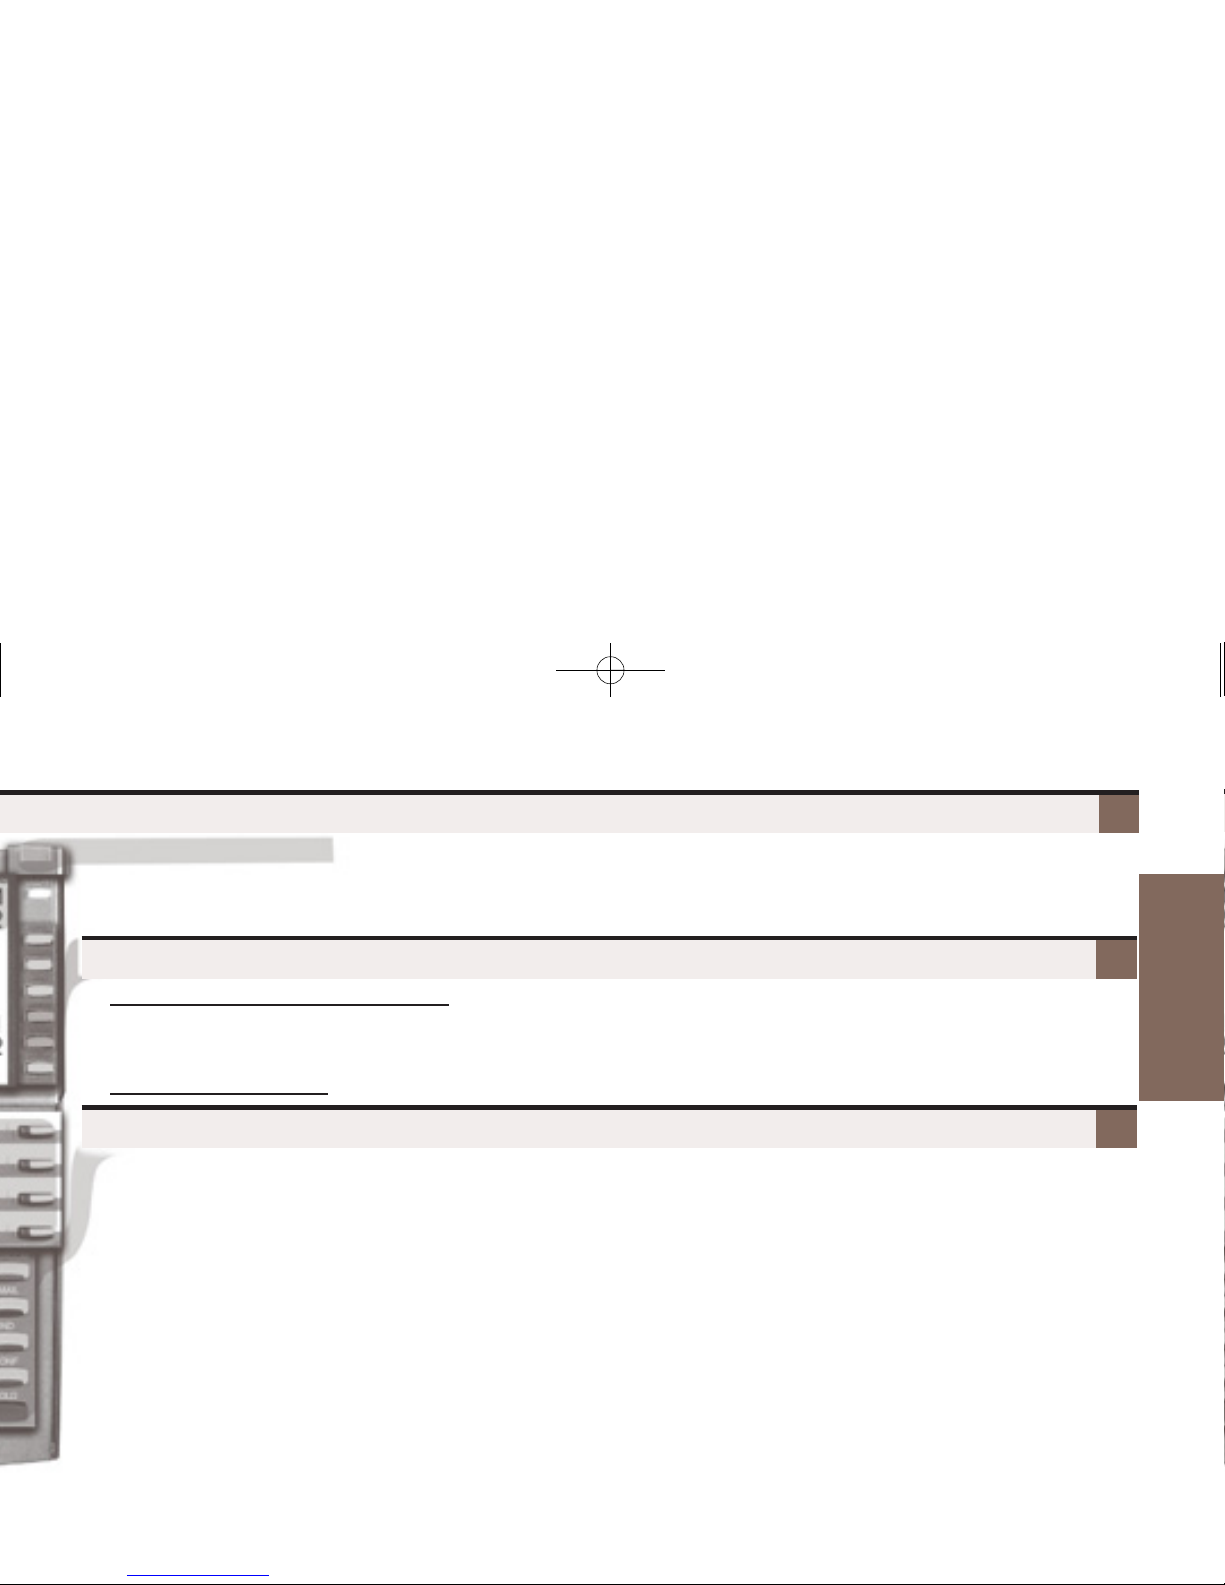
Using the Fixed Function Keys
Understanding the Ring/Message Lamp
5
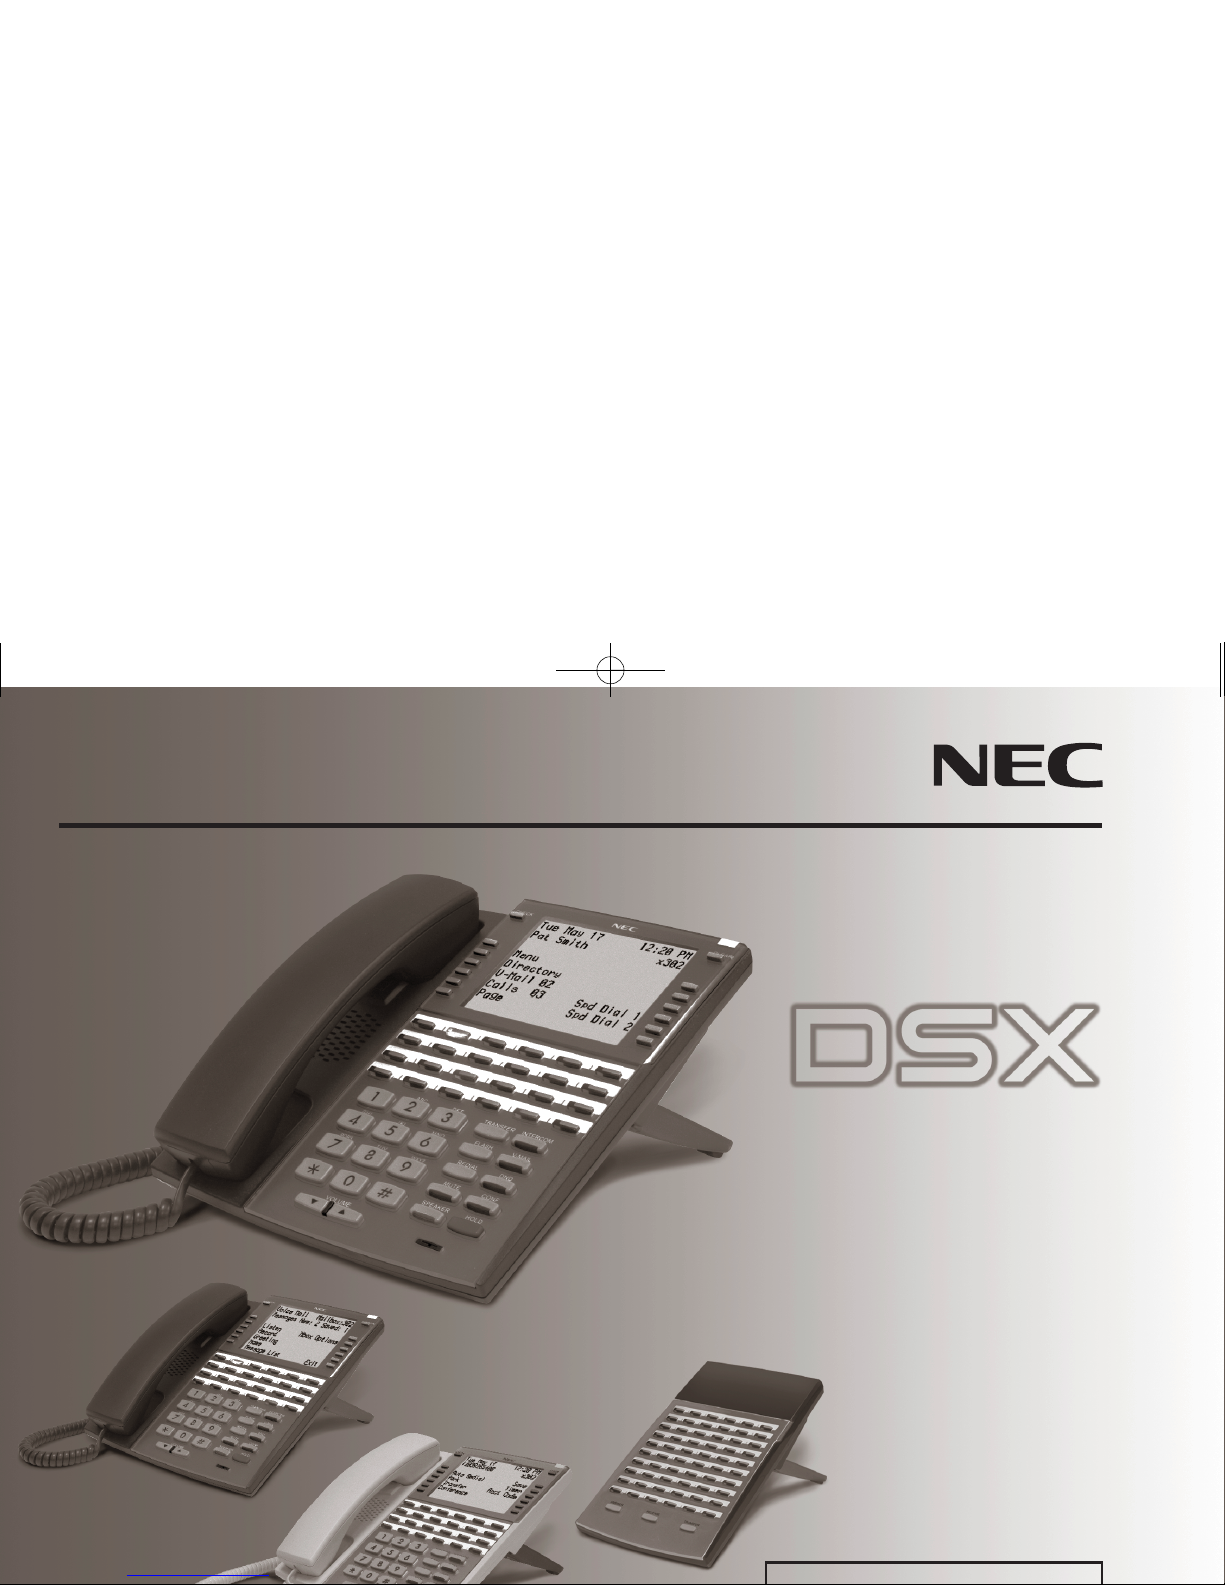
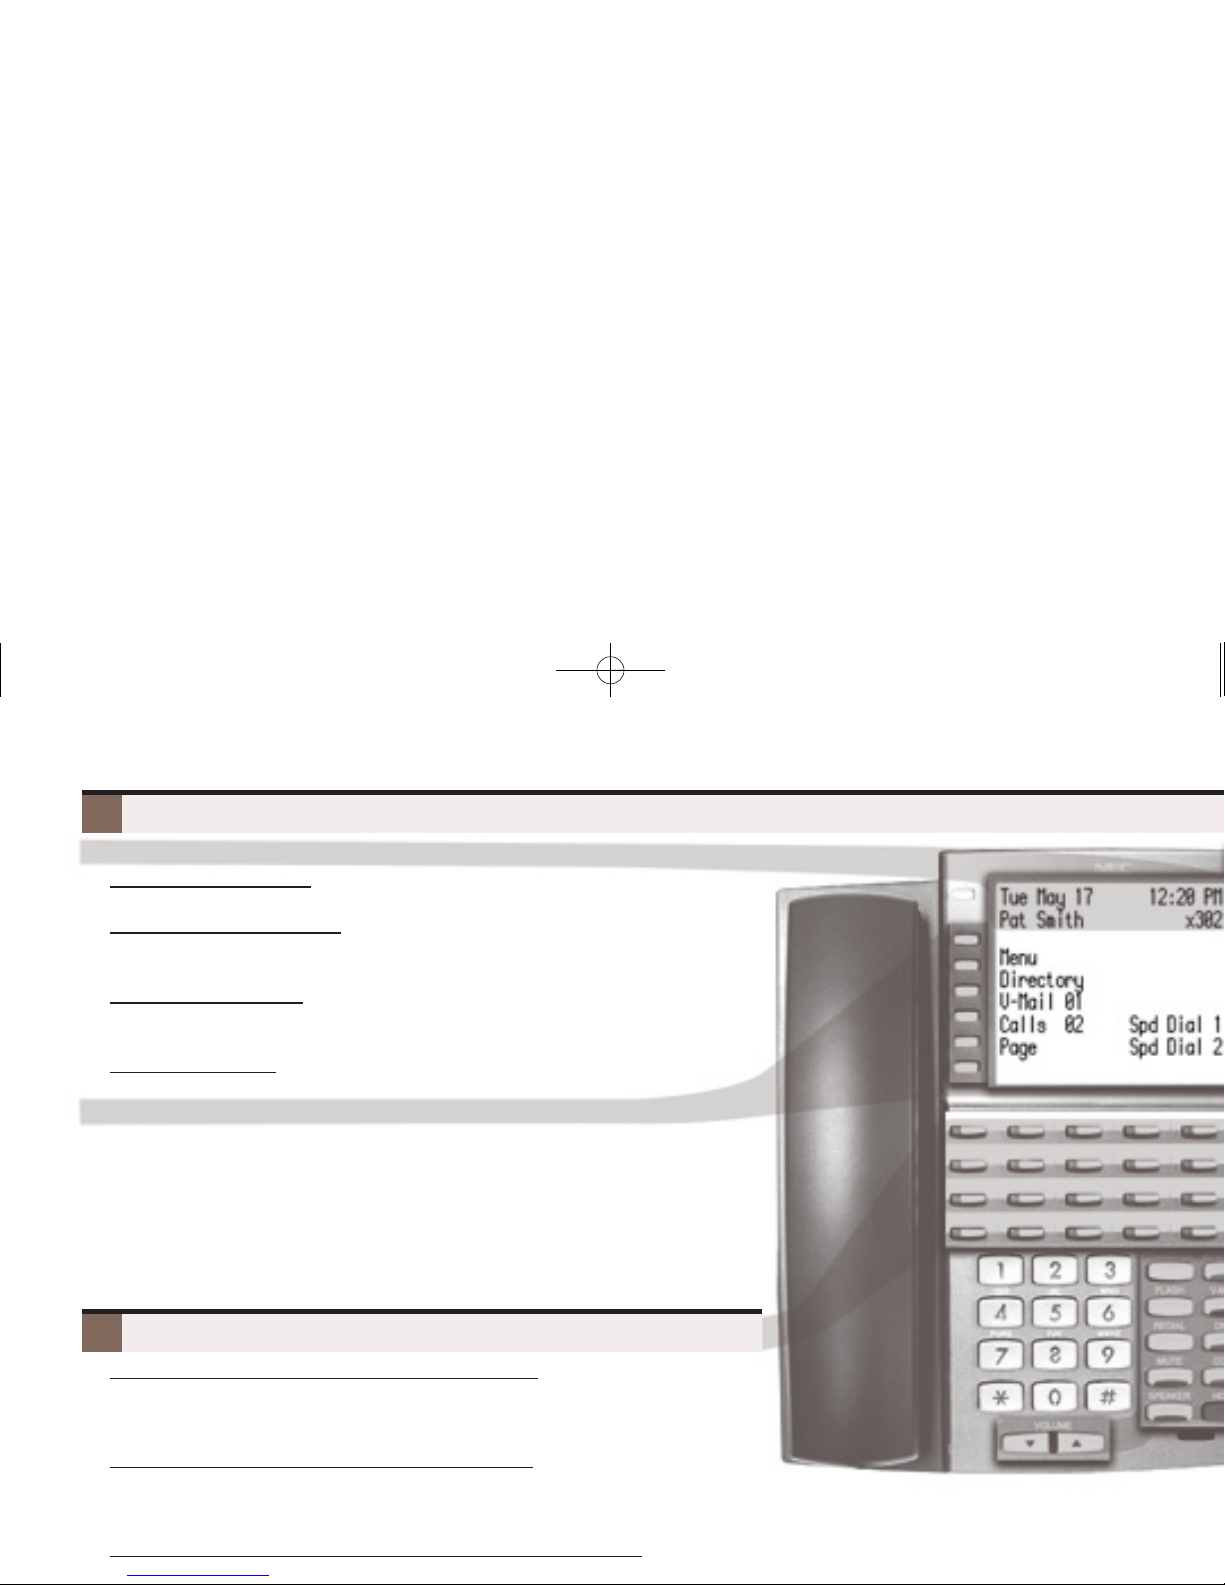
A Quick Tour of
Your Telephone
GGTRANSFER
– Press + Dial co-worker’s extension to Transfer your call.
– Press + Dial co-worker’s extension + press V-MAIL to
transfer call to their mailbox.
GGFLASH
– Lets you access features of your outside lines, such as call
waiting (if provided).
GGREDIAL
– To redial your last outside call, press REDIAL.
– To select one of your last 5 calls to redial, press
REDIAL + Soft key for the call.
GGMUTE
– While on a call, MUTE turns off your handset or
Handsfree microphone.
GGSPEAKER
– Press to use Handsfree. Lift the handset for privacy.
– While on a handset call, press twice for Group Listen.
GGVOLUME
– Adjusts display contrast while idle, ring volume while
ringing, or music volume if Background Music is on.
– While on a call, adjusts the call volume.
GGINTERCOM
– Press and dial a co-worker’s extension number.
– On (green) while talking to voice mail or a co-worker.
– Flashes (green) during a Transfer or while an Intercom
call is on Hold.
GGV-MAIL
– Calls your voice mailbox.
– On (green) while you call your mailbox.
– Flashes (red) during Call Screening broadcast.
GGDND
– Enables Do Not Disturb (when you don’t want to be
interrupted). Soft key selects mode.
– On (red) when Do Not Disturb is enabled.
GGCONF
– While on a call, press to set up a Conference.
– On (green) while on a Conference.
– Flashes (green) if you put Conference call on Hold.
GGHOLD
– Puts your call on Hold.
– While idle, turns Background Music on and off.
The Ring/Message Lamp
– Two quick flashes (green): You have new (unreviewed) calls in your Caller ID log.
– Slow flash (green): A call is ringing your phone.
– Fast flash (red): There are new voice mail messages in your mailbox.
G
To store a Personal Speed Dial number:
–Push Menu + Speed Dial + Select Personal or Company + Choose 01-20 (Personal) or 001-999 (Company) +
Select + Choose type + Line or group (if required) + Next + Enter number to call + Next + Enter name (see page 13)
+ Save + Exit to exit.
G
To call the stored number:
– Push Speed Dial x then soft key. (See the
Telephone Feature Handbook
for more.)