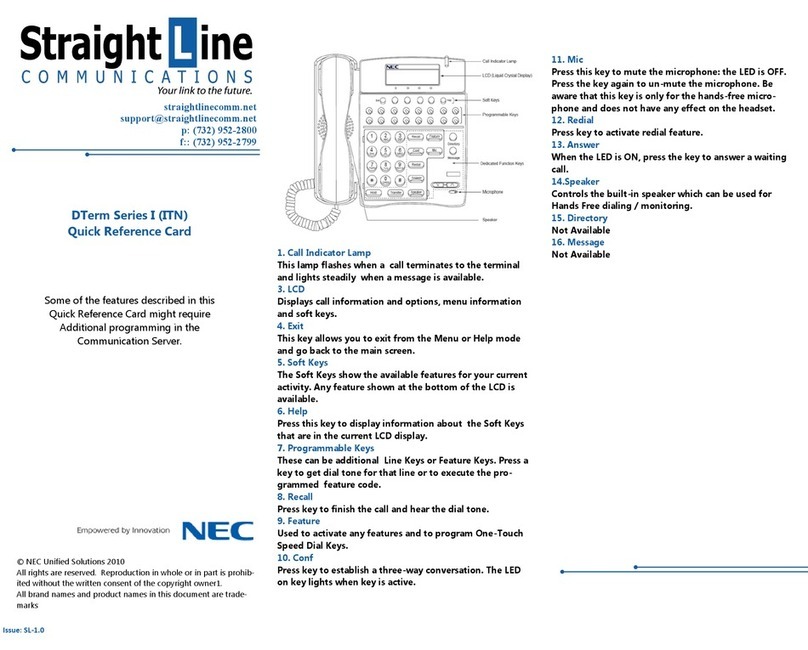
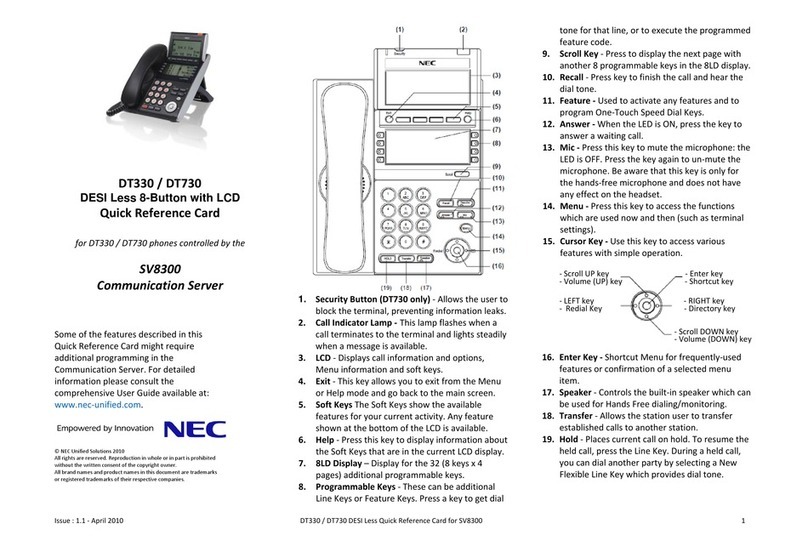
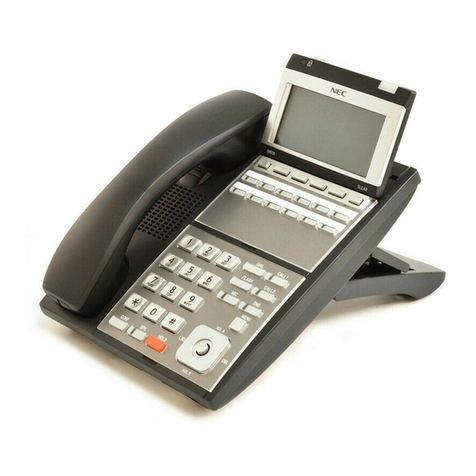
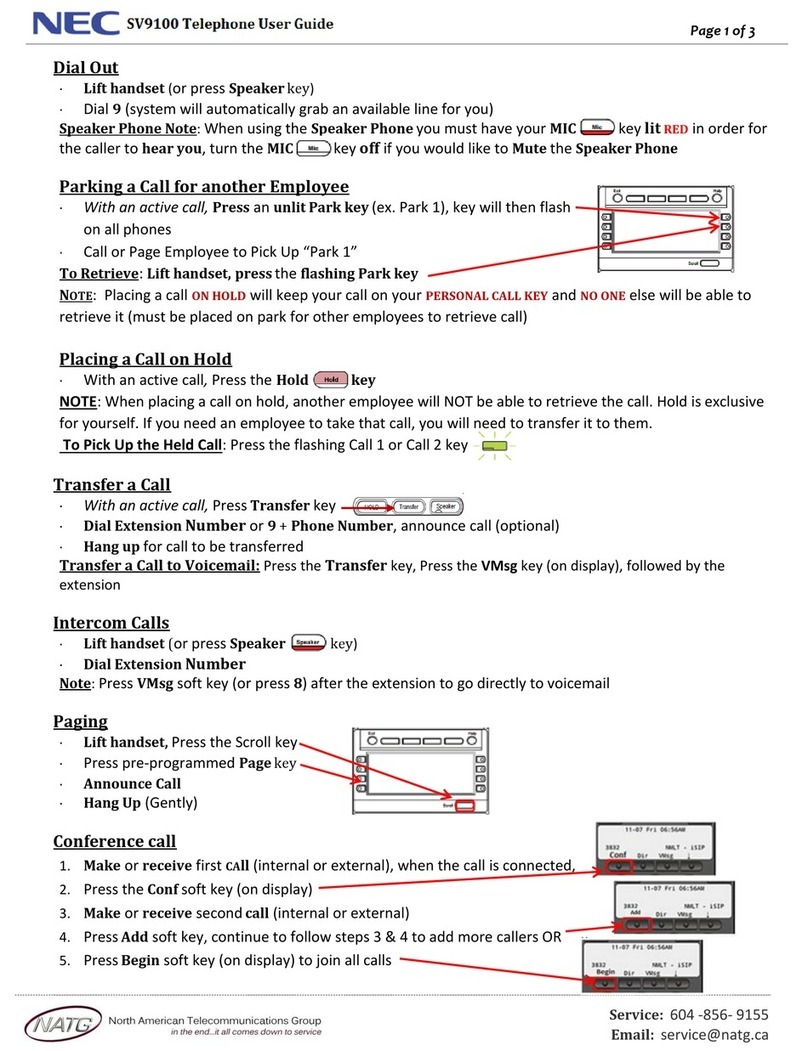
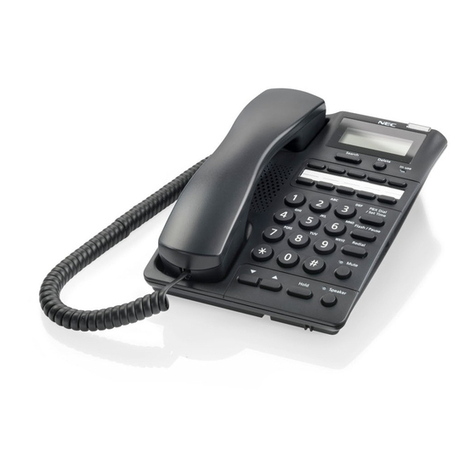
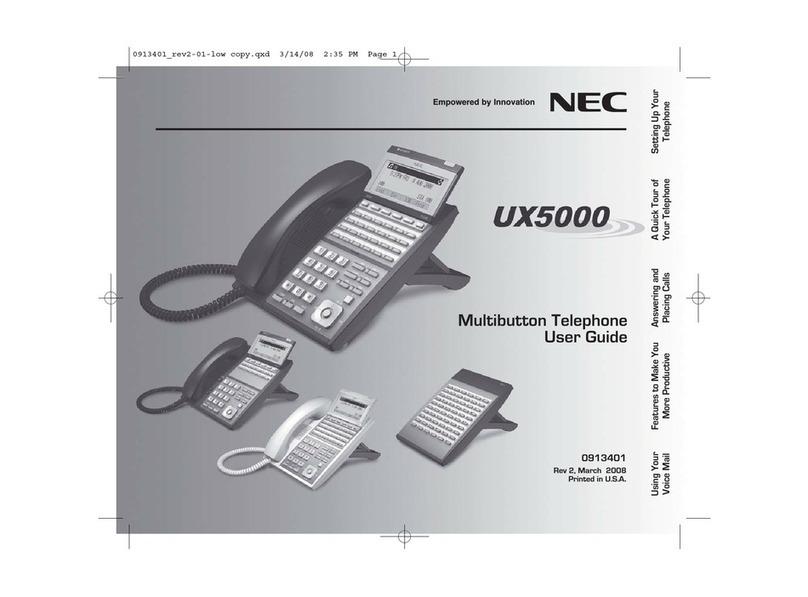
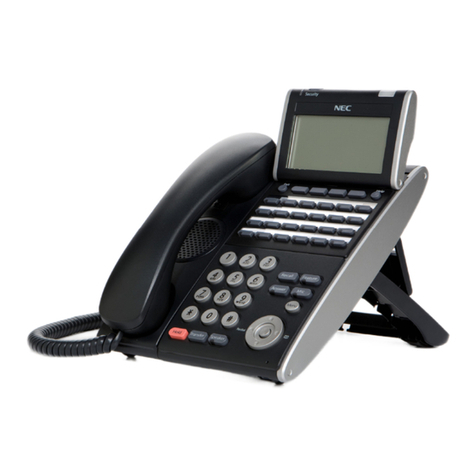
NEC Univerge SV9100 User manual

DT820
NDA-31729
ISSUE 2.0
USER GUIDE
SV9100
®


NEC Corporation of America reserves the right to change the specifications, functions, or
features at any time without notice.
NEC Corporation of America has prepared this document for use by its employees and
customers. The information contained herein is the property of NEC Corporation of
America and shall not be reproduced without prior written approval of NEC Corporation
of America.
Dterm, NEAX and UNIVERGE are registered trademarks of NEC Corporation. Windows
is a registered trademark of Microsoft Corporation.
Copyright 2016
NEC Corporation of America
3929 W. John Carpenter Freeway
Irving, TX 75063-9406
Communications Technology Group


i
TABLE OF CONTENTS
1. INTRODUCTION
General ............................................................................................... 1
Face Layout ........................................................................................ 2
Keys And Parts ................................................................................... 3
Menu List ............................................................................................ 9
Simple Operation by Menu Key and Cursor Key ................................ 9
2. TERMINAL SETUP
Terminal Setup With the Up/Down Key .............................................. 11
Terminal Setup With the Feature Key................................................. 12
3. BASIC OPERATION
Login ................................................................................................... 15
Logout ................................................................................................. 15
4. FEATURE OPERATION
Answering Calls .................................................................................. 17
Placing Calls ....................................................................................... 18
Microphone Control............................................................................. 21
Speakerphone Calls............................................................................ 21
Group Listen ....................................................................................... 21
Holding Calls....................................................................................... 22
Transferring Calls................................................................................ 22
Conference ......................................................................................... 23
Call Park – System ............................................................................. 23
Station Busy/No Answer Options........................................................ 24
CO/PBX Dialing Options ..................................................................... 27
ii
TABLE OF CONTENTS
Call Pickup .......................................................................................... 30
Paging................................................................................................. 31
Background Music .............................................................................. 33
Call Forwarding................................................................................... 33
Selectable Display Messaging ............................................................ 35
Station Relocation............................................................................... 36
Code Restriction, Dial Block ............................................................... 36
Account Code Entry ............................................................................ 37
Automatic Call Distribution (ACD) ....................................................... 38
5. DIRECTORY OPERATION
Add New Data..................................................................................... 48
Find Registered Data .......................................................................... 49
Make a Call From Directory ................................................................ 50
Delete All Directory Data..................................................................... 50
Delete Specific Directory Data ............................................................ 51
6. CALL HISTORY OPERATION
View Call History................................................................................. 54
Make a Call From Call History ............................................................ 54
Store Call History Data to Speed Dial................................................. 55
Delete Call History Data...................................................................... 55

1
1.
1. INTRODUCTION
General
This guide explains how to operate DT Series (DT820)
under the following headings.
CHAPTER 1 INTRODUCTION
Explains the configuration of this guide and
contains the following information.
• Face layout of DT Series
• Keys and Parts of DT Series
• Icon Display
• Menu List
CHAPTER 2 TERMINAL SETUP
Explains the operating procedures for terminal
settings of the DT Series.
CHAPTER 3 BASIC OPERATION
Explains the basic operation of DT Series.
CHAPTER 4 FEATURE OPERATION
Explains operating procedures for various
Telephony Server features.
CHAPTER 5 DIRECTORY OPERATION
Explains operating procedures for Directory
function.
CHAPTER 6 CALL HISTORY OPERATION
Explains operating procedures for Call History.
DT820 Terminals

2
1.
Face Layout
ITY-6D-1 (6-Button with LCD) ITY-8LDX-1 (DESI-Less 8-Button)

3
1.
Keys And Parts
ITY-6D-1
(6-Button with LCD)
(1) Call Indicator Lamp
On the SV9100, this lamp flashes fast when a call
terminates to the terminal and flashes slower
when a message has been left.
(2) LCD (Note 1)
LCD (Liquid Crystal Display) provides DT Series
activity information plus data, time and Softkey
Operation.
The LCD on the ITY-6D-1 has a 28-character,
3-line capability.
(3) Exit
The user can exit from a screen mode by pressing
this key.
(4) Softkeys
Any feature shown at the bottom of the LCD is
available. The appropriate feature key is displayed
on the screen according to the call handling
process.
(5) Help
The user can press this key followed by a
programmable key to check what Line or
Programmable Feature is programmed on the key.
(6) Programmable Keys
These keys can be programmed as Flexible Line
key/Programmable Feature Key by the Telephony
Server Administrator. For the SV9100, the
programmable keys can be set by WebPro/PCPro/
Handset Pro and the user can also set them.
(1)
(2)
(3)
(4)
(5)
(6)
(7)
(8)
(9)
(10)
(11)
(12)
(13)
(14)
(15)
(16)
(17)
List Dir VMsg
101 STA101
28 APR MON 8:45AM

4
1.
(7) Recall
Press key to finish an outside call and hear the dial
tone. With Centrex trunks press the recall key to
hook flash the line.
(8) Feature
Used to activate any features as terminal setup
functions.
(9) Answer
When LED on this key is flashing, press key to
answer a waiting call.
(10) Mic
Press the key to Mute/Un-Mute the speaker and/or
handset.
(11) Menu
From this key, the user can access to the functions
not normally used (such as terminal settings,
downloads and access to XML applications)
easily.
(12) Cursor
By using this Key, DT Series user can access
various features with simple operation.
Two lines of menu items can be displayed at a
time. Use "Up" or "Down" key to scroll to the item.
(13) Enter
Note: DT820 Series does not support the Shortcut
Menu.
(14) Redial/CID Scroll
(Last Number Call, Speed Calling-Station/Group)
Press key once to activate redial feature. Press
redial and scroll through numbers that have been
dialed.
When the desired number is displayed, press the #
key to activate dialing.
Press key twice to activate the CID scroll feature.
Press key twice and scroll through numbers that
have been received.
When the desired number is displayed go off hook
to activate dialing.
Menu of ITY-6D-1

5
1.
(15) Speaker
Controls the built-in speaker which can be used for
Hands Free dialing/monitoring.
LED on key lights when key is active.
DT820 supports half/full duplex handsfree.
(16) Transfer
Allows the station user to transfer established calls
to another station, without attendant assistance.
(17) Hold
Press this key to place an internal or external call
on hold.
ITY-8LDX-1
(DESI-Less 8-Button with LCD)
(1) Call Indicator Lamp
On the SV9100, this lamp flashes fast when a call
terminates to the terminal and flashes slower
when a message has been left.
(1)
(4)
(3)
(7)
(8)
(5)
(6)
(10)
(9)
(12)
(11)
(13)
(2)
(14)
(15)
(16)
(17)
(18)
(19)

6
1.
(2) ITY-8LDX-1 Display
32 (8 keys x 4 pages) additional programmable
keys are provided. They can be programmed as
Flexible Line/Programmable feature key by
Telephony Server Administrator. For the SV9100,
the programmable keys can be set by WebPro/
PCPro/Handset Pro and the user can also set
them.
Note: Maximum 11 characters (including icon)
Maximum 13 characters (excluding icon)
(a) Icon
Status of the Line key such as Call Ringing, Call
Hold or Busy, and setting on the Feature key are
shown as Icons.
User’s Status Icon Flashing
Pattern
•Idle
•I-HOLD
Blink
Note
• Others Hold
• Recall
Blink
Note
• Incoming Ringing
• During Conversation (Individual
Use)
• Call Transfer
• Conference
• During Conversation (Other
Party Use)
• Active Feature (Under a setting
of feature key like a “Call
Forwarding”)
• Others
Steady Lit
• Key is busy (example, if
programmed as a virtual
extension and the virtual
extension is busy).

7
1.
(b) Feature Key Information
Feature Key Information displays the followings.
Note: Maximum 11 characters (including icon)
Maximum 13 characters (excluding icon)
(3) LCD (Note 1)
LCD (Liquid Crystal Display) provides DT Series
activity information plus data, time and Softkey
Operation.
The LCD on the ITY-8LDX-1 has a 28-character,
3-line capability.
(4) Programmable Keys
These keys can be programmed as Flexible Line
key/Programmable Feature Key by Web/PCPro.
(5) Exit
The user can exit from a screen mode by pressing
this key.
(6) Softkeys
Any feature shown at the bottom of the LCD is
available. The appropriate feature key is displayed
on the screen according to the call handling
process.
(7) Scroll Key
This key is used to turn over the page of 8LD
display.
(8) Help
The user can press this key followed by a
programmable key to Check what Line or
Programmable Feature is programmed on the key.
(9) Recall
Press key to finish an outside call and hear the dial
tone. With Centrex trunks press the recall key to
hook flash the line.
(10) Feature
Used to activate any features as terminal setup
functions.
(11) Answer
When LED on this key is flashing, press key to
answer a waiting call.
(12) Mic
Press the key to Mute/Un-Mute the speaker and/or
handset.
Key Description
Maximum
digits to be
displayed
Line Key - Name and Number
information
Refer to
note*
Feature Key - Feature Name Refer to
note*
One-Touch
Speed Dial Key
- Speed Dial Name
Information
- Number Information
Refer to
note*
101 STA101
List Dir VMsg
28 APR MON 8:45AM

8
1.
(13) Menu
From this key, the user can access to the functions
not normally used (such as terminal settings,
downloads and access to XML applications)
easily.
(14) Cursor
By using this Key, DT Series user can access to
various features with simple operation.
For the ITY-8LDX-1, three lines of menu items can
be displayed at a time.
The following figure shows the menu screen for
the ITY-8LDX-1. Use "Up" or "Down" key to scroll
to the item.
(15) Enter
Note: DT820 Series does not support the Shortcut
Menu.
(16) Redial/CID Scroll
(Last Number Call, Speed Calling-Station/Group)
Press key once to activate redial feature. Press
redial and scroll through numbers that have been
dialed.
When the desired number is displayed, press the #
key to activate dialing.
Press key twice to activate the CID scroll feature.
Press key twice and scroll through numbers that
have been received.
When the desired number is displayed go off hook
to activate dialing.
(17) Speaker
Controls the built-in speaker which can be used for
Hands Free dialing/monitoring.
LED on key lights when key is active.
DT820 supports half/full duplex handsfree.
(18) Transfer
Allows the station user to transfer established calls
to another station, without attendant assistance.
(19) Hold
Press this key to place an internal or external call
on hold.
Menu of ITY-8LDX-1

9
1.
Menu List
From the Menu List, the user can use various
application features.
To Display Menu List
Press Key. The Menu List is displayed in
LCD. Use Cursor Key to select desired Menu Item.
Simple Operation by Menu Key and
Cursor Key
By using Menu Key and Cursor Key, DT Series user
can have access to terminal settings with simple
operation.
As an example, the following shows the operations how
to access the menu.
No. Menu Item Description
1Setting
To set up the terminal such as ringing
volume control, LCD display setting
and download of Music on Hold.
0Terminal
Config
This item is used for Configuration
setting of DT820 Series.
Menu

10
1.
This page is for your notes.

11
2. TERMINAL SETUP
This chapter describes operating procedures for
terminal settings by the UP/DOWN key and Feature
keys.
Various terminal settings such as display, sounds,
password, and language are also available from Menu
key. For detailed information on terminal settings from
Menu key, see IP Peripheral Equipment Guide.
Terminal Setup With the Up/Down
Key
To Adjust Handset Receiver Volume
Press the Up/Down key in the off-hook status or during
the call.
To Adjust Speaker Volume
Press the Up/Down key during speakerphone
operation or during the call.
To Adjust Ringer Tone
Press the Up/Down key during ringing.
To Adjust LCD Contrast
Press the Up/Down key in the on-hook status.
Press an idle Programmable Outside Line key.
HANDSET
SPEAKER
RING
LCD

12
Terminal Setup With the Feature
Key
Microphone On/Off
LED on Mic key shows the status of the built-in
microphone.
1. Press Mic.
To Select Ringer Tone
DT Series has 8 kinds of ringer tones that you can
select.
To Change your Extension Incoming Ring Tone
1. Press Speaker and dial 720.
2. Dial 1 to set Intercom ring; Dial 2 to set Trunk ring.
3. Dial code for the desired ring pattern (1~8).
Display below shows when INT is selected.
4. Press Speaker to hang up.
To listen to the Incoming ring choices:
1. Press Speaker and Dial 711.
2. Dial 1 to listen to Intercom ring; Dial 2 to listen to
Trunk ring.
3. For Intercom Ring:
Dial the code for the ring pattern you want to hear
(1-8).
1: INT 2: EXT
SET INCOM RING
INCOM RING 1-8:?
SET INT INCOM RING
TONE No. Tone Range
1High
2Mid Range
3Low
4Ring Tone 1
5Ring Tone 2
6Ring Tone 3
7Ring Tone 4
8Ring Tone 5

13
-OR-
For Trunk Ring:
Dial code for the ring pattern you want to hear
(Ring1-3, Melody 4-8). If you select Ring 1-3, a second
screen prompts for the tone pattern (1-8).
4. Press Speaker to hang up.
TONE No. Tone Range
1Ring Tone 1
2Ring Tone 2
3Ring Tone 3
4Melody 4
5Melody 5
6Melody 6
7Melody 7
8Melody 8

14
This page is for your notes.
Other manuals for Univerge SV9100
59
This manual suits for next models
1
Table of contents
Other NEC Telephone manuals

NEC
NEC DXE Series User manual

NEC
NEC polycom VVX 1500 Instruction manual

NEC
NEC UNIVERGE SL2100 Setup guide

NEC
NEC NEAXMail AD-64 User manual

NEC
NEC Xen IPK II User manual

NEC
NEC AspireX User manual

NEC
NEC DS1000 Technical specifications

NEC
NEC Xen Topaz User manual

NEC
NEC IPK II User manual

NEC
NEC SL100 Owner's manual