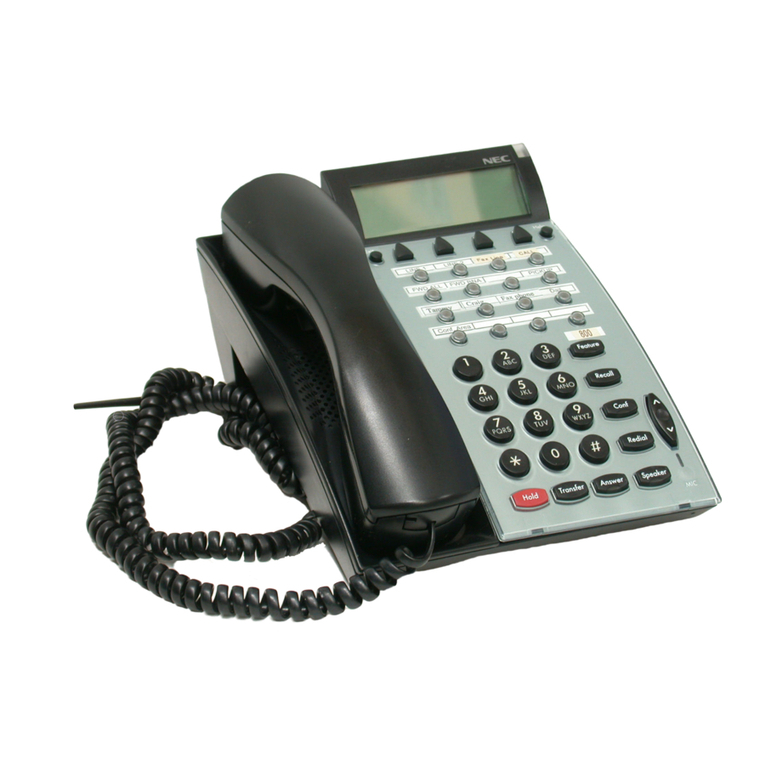
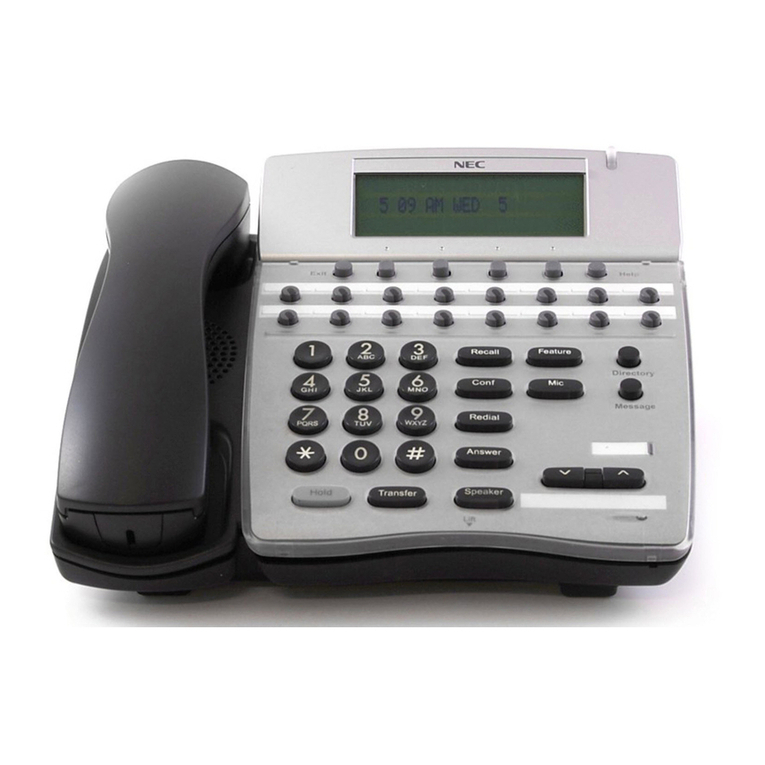
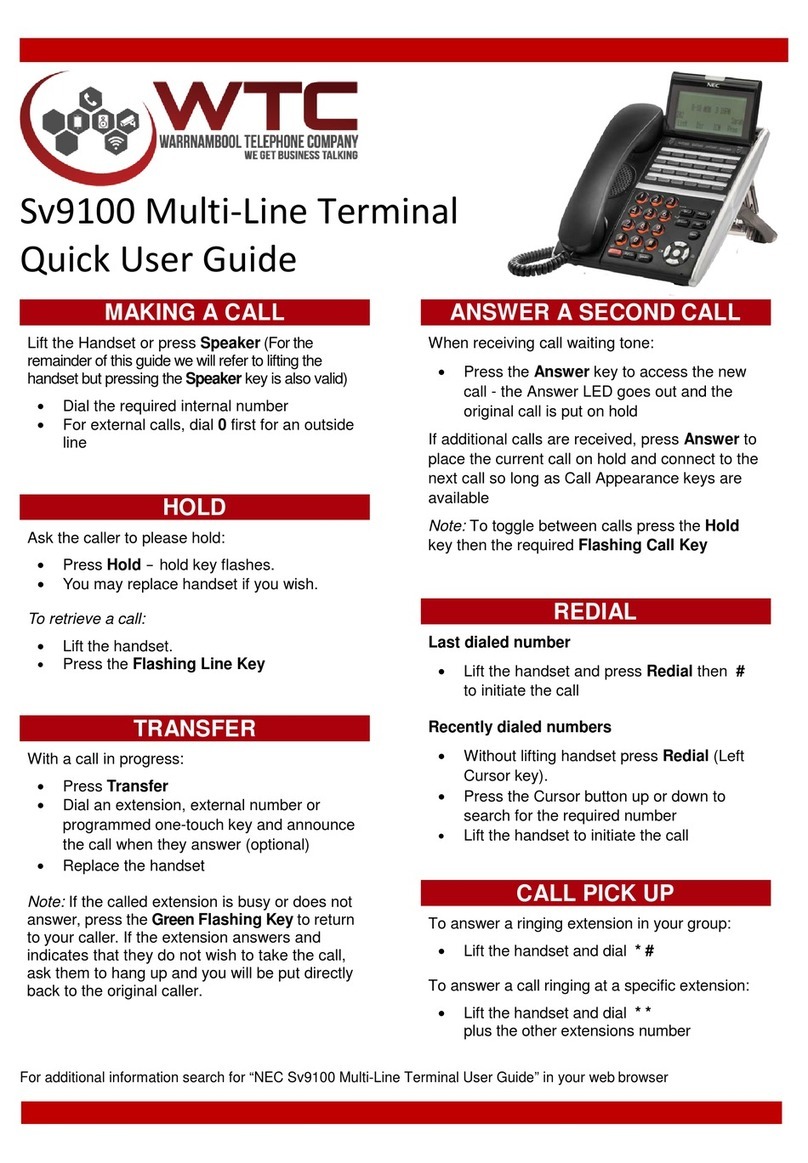
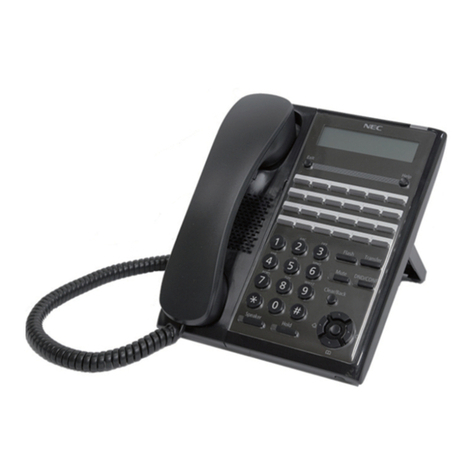
NEC ElectraElite IPK User manual

Notice
Note that when converting this document from its original format to a .pdf file,
some minor font and format changes may occur causing slight variations from the
original printed document. When viewing and printing this document, we cannot
guarantee that your specific PC or printer will support all of the fonts or graphics.
Therefore, when you view the document, fonts may be substituted and your
individual printer may not have the capability to print the document correctly.

Multiline Telephone
User Guide

1
ELITE IPK TELEPHONES
1 Speaker 6 Large LED 11 Softkeys
2 Line Keys/Feature
Access Keys 7 Alphanumeric
Display 12 Directory Key
(DIR)
3 Dialpad/Dedicated
Function Keys 8 One Touch
Keys 13 Message Key
(MSG)
4 Microphone 9 Hookswitch 14 MIC Key
5 Volume Control 10 Built-in Head-
set Jack
8 Button Display
16 Button Display
8 Button Non Display
10 11
4
8
5
10
1
9
6
2
1
3
5
9
34
1
10
76
11
2
5
4
3
6
12
13
14
14
14
12
13
12
13
97

2
1 Speaker 6 Large LED 11 Softkeys
2 LineKeys/Feature
Access Keys 7 Alphanumeric
Display 12 Directory Key
(DIR)
3 Dialpad/Dedi-
cated Function
Keys
8 One Touch
Keys 13 Message Key
(MSG)
4 Microphone 9 Hookswitch 14 MIC Key
5 Volume Control 10 Built-in Head-
set Jack
32 Button Display
with 16 DSS/BLF
One Touch Keys
16 Button Multiline
Liquid Display
11
5
45
7
10
1
6
2/8
1
3
6
10 8 (both rows)
9
34
12
13
14
14
12
13
9
7
11
2 (both rows)

3
GENERAL INFORMATION
The following should be considered when reviewing this User Guide:
• All operational instructions assume Prime Line Pickup is assigned to
intercom dial tone, Ringing Line Preference is assigned to all telephones,
a Line and Second Incoming Extension key has been assigned to all
multiline telephones and only a single tenant has been assigned in the
system.
• All access codes listed are standard; some may vary based on system
assignment.
• Access to many features is based on system assignments. Not all
features may be available from your telephone.
• Telephones equipped with displays will provide useful call processing
information such as digits dialed, recall indications, feature confirmation,
etc.

4
LED INDICATIONS
Function Lamp Status
CO LINE KEYS:
Incoming Call
Held Call - Your Telephone
Held Call - Other Telephone
Call in Progress
Your Telephone
Other Telephone
Hold Recall
Rapid Flashing Red
Slow Flashing Green
Slow Flashing Red
Steady Green
Steady Red
Intermittent Flashing Green
LARGE LED:
Incoming CO/PBX, CIT, or ANA
Call
Incoming Intercom, TIE Line, or
DID Call
Message for Attendant
Voice Mail Message
Rapid Flashing Green
Rapid Flashing Red
Slow Flashing Green
Slow Flashing Red
FEATURE KEY:
DND Set
Call Forward Set
Callback Request
Intermittent Flashing Red
Slow Flashing Red
ICM LED:
Incoming Call
Call in Progress
Held Call
Flashing Red
Steady Red
Flashing Red Conf LED

5
ANSWERING CALLS
Ringing Calls
1. Lift the handset.
2. Converse.
Note: When assigned the Delayed Ringing feature, incoming calls will
first ring at a primary station. If the call is unanswered after a
preprogrammed time interval, calls will also ring at the assigned
secondary station.
Ringing Calls To A Second Incoming Extension Key
1. Lift the handset.
2. Converse.
Note 1: A Second Incoming Extension key must be assign to appear
and right.
Note 2: A Line key must be available to answer an incoming outside
call.
Voice Announce Calls
1. Ensure the MIC LED is lit.
2. Adjust the Speaker volume (
or
) as needed.
3. Respond handsfree.
Note: The handset may be used at any time during the conversation.

6
Camp-on (Call Waiting)
Receive camp-on tone while on another call:
1. Replace the handset to disconnect present call.
OR
Press Hold and press the Hookswitch to converse with the
second party.
Call Alert Notification
With a call in progress:
1. Receive a Call Alert Notification.
1. Press the Hold key, then converse with the second party.
Note 1: The second call may be placed on Hold if a Line appearance is
assigned.
Note 2: Press the flashing Line key or Conf key to return to the first
call.
PLACING CALLS
Internal Calls
1. Lift the handset.
2. Dial a station number of 0for the attendant.
OR
Press the Feature Access key or One Touch key programmed
for Direct Station Select.
3. Voice announce after the tone burst or wait for the ringing call to
be answered.

7
Note 1: When calling a multiline telephone, dialing 1after the station
number will change ringing to voice or voice to ringing.
Note 2: To directly access a person voice mailbox, dial7after dialing
the station number.
Outside Calls
1. Lift the handset.
2. Dial the trunk access code, i.e. 9.
OR
Press an idle Outside Line key.
3. Dial the telephone number.
4. Converse.
Trunk Queuing
After dialing the trunk access code or pressing a busy Line key and
receiving the trunk busy indication:
1. Dial the Trunk
2. Queue set code 78.
3. Replace the handset.
Note: When a line is available, your telephone will ring; lift the
handset and place the call.
Last CO/PBX Number Redial
1. Lift the handset.
2. Press the Redial key.
3. Dial the Last Number Redial code *.
4. Converse.

8
Station/System Speed Dial
1. Lift the handset.
2. Press the Redial key and dial the Speed Dial Memory location:
• Station Speed Dial 80~99.
• System Speed Dial 00~79.
OR
Press the Feature Access key or One Touch key programmed
for the Station Speed Dial.
3. Converse.
Scrolling Speed Dial Directories
1. Press the Speed Dial Softkey.
• SYS System Speed Dial
• STA Station Speed Dial
2. Press the UP/DOWN Softkeys to scroll through all the entries.
OR
Use the dial pad to enter the first letter of the desired entry then
dial *.
Press the UP/DOWN Softkeys to scroll.
Lift the handset or press the Speaker key or press an idle
Outside Line key to place a call to the displayed entry.
OR
Press Feature or Exit or wait 10 seconds to cancel
Note: For example, when using the dial pad to search the directory
for the “Ann”, dial the number 2on the dial pad followed by the
*. To search for “Bob”, dial the number 2twice and then the *.
To search for “Carol”, dial the number2three times and then
the *. To search for “Dan”, dial the number 3followed by the *.

9
MICROPHONE CONTROL
1. Press the MIC key.
2. A lit MIC LED indicates that the MIC is on.
SPEAKERPHONE CALLS
1. Press the Speaker key and the LED lights.
2. Ensure that the MIC LED is lit.
3. Place internal or outside call.
4. Converse.
5. Press the Speaker key to disconnect call.
Note: The handset may be used at any time during the conversation.
To resume handsfree operation or to monitor a call, press the
Speaker key (the LED lights) and replace the handset.
GROUP LISTENING
With a call in progress via the handset/headset:
1. Press the Speaker key, then the LED lights.
2. Converse. Conversation is heard over the speaker and the
handset/headset. One the handset/headset may be used to
respond.
3. Press Speaker to cancel the Group Listening mode.
Note: When switching from Group Listening mode to the
Speakerphone mode, it is recommended that the Microphone
be turned off.

10
HOLDING CALLS
Note 1: To retrieve a held call, press the flashing Line key or Conf key
(internal calls).
Note 2: Calls on One-Exclusive Hold can be retried from any multiline
telephone with the held line appearance.
Note 3: After a preprogrammed time, the held call will recall to the
originating station. Once in a recall condition, Exclusively Held
calls can be retrieved from any station with the held line
appearance.
TRANSFERRING CALLS
Note 1: If the called station is busy, replace the handset to initiate a
camp-on. Unanswered camp-ons and unscreened transfers will
recall to the attendant telephone. After answering the recall,
pressing the Feature key and then 86 will transfer the call to the
personal voice mailbox of the station number dialed.
Non-Exclusive Hold Exclusive Hold
With a call in progress:
1. Press Hold.With a call in progress:
1. Press Feature.
2. Press Hold.
Using Manual Dial Using Direct Station Selection
(DSS)
With a call in progress:
1. Press the Transfer key.
2. Dial the station number.
3. Announce the call
(optional).
4. Replace the handset.
With a call in progress:
1. Press the Transfer key.
2. Press the programmed
DSS.
3. Announce the call
(optional).
4. Replace the handset.

11
Note 2: To return to the original party, press the flashing Line key or Conf
key.
Note 3: A Feature Access key or One Touch key may be assigned for
DSS.
Note 4: To transfer a call directly to a personal voice mailbox, dial 7 after
dialing the station number.
CONFERENCE
With a call in progress:
1. Press the Conf key.
2. Place the second call (internal or external).
3. Announce the conference.
4. Press the Conf key to establish the conference.
Note 1: Repeat the above procedure to add an additional party
(Maximum of 2 for outside calls or 3 or inside calls).
Note 2: An unsupervised conference may be established by press the
Conf key again, after the conference has be established. The
parties may continue to converse in private. Press the flashing
Conf key to return to the conversation. This feature is available
if programmed in your system by your system administrator.
CONFERENCE BRIDGE
To make a call using a Conference Bridge:
1. Call a Conference Bridge extension.
2. When the voice prompt is heard, enter the password and press#.
3. Start the conference call.

12
Start a conference call from an incoming CO call using an Automated
Attendant:
1. Call an outside line that is answered by an Automated Attendant.
2. Dial the extension of the Conference Bridge.
3. When the voice prompt is heard, enter the password press #.
4. Start the conference call.
Start a conference call from an off premise location:
1. Call a line that is directed to the Conference Bridge.
2. When the voice prompt is heard, enter the password press #.
3. Start the conference call.
Start a conference call from an incoming CO call using an Attendant:
1. Call the Attendant and ask to be transferred to a Conference
Bridge extension.
2. Wait until the transfer is complete.
3. When the voice prompt is heard, enter the password press #.
4. Start the conference call.
Note: Default passwords: Conference #1= 0001
Conference #2= 0002

13
CALL PARK - SYSTEM
Note: If the dialed Call Park location is busy, dial another Call Park
location 0~9.
STATION BUSY/NO ANSWER OPTIONS
Automatic CallBack
Set Retrieve
With a call in progress:
1. Press the Transfer key.
2. Dial Call Park Set code
4 *.
3. Dial Call Park location
0~9.
4. Replace the handset.
From any station:
1. Lift the handset.
2. Dial Call Park Set code
4 *.
3. Dial Call Park location
0~9.
4. Converse.
Set Answer
When calling a busy multiline
telephone:
1. Dial the Automatic Call-
back code 0.
2. Replace the handset.
When both telephones are idle
originating telephone rings:
1. Lift the handset.
2. Call is placed automati-
cally.

14
Callback Request
Note: Callback messages are automatically canceled once the
origination station is called.
Tone Override
* If handsfree, a visual indication only ( * ) will be provided on the
telephone display.
Note: An Override Tone will be sent each * is pressed.
Step Call
When calling a busy telephone:
1. Dial 2to advance to the next station number in the 10’s group.
Set Answer
When calling a busy or
unanswered multiline telephone:
1. Dial the Callback Request
code #.
2. Replace the handset.
Receive a display and/or
Feature LED message
indication:
1. Lift the handset.
2. Dial #: the requested origi-
nator is automatically
called.
Set Answer
When calling a busy multiline
telephone:
1. Dial the Tone Override
code * to send the tone.
2. Wait for a signaled party
to answer.
When a call is in progress:
1. Receive a tone override
signal.*
2. Press the Hold key.
3. Converse the second
party.

15
Voice Over
Note: The Whisper Page Access Code may be assigned to a Feature
Access key or a One Touch key.
CO/PBX DIALING OPTIONS
Save & Repeat
Originate Whisper Page
When calling a busy telephone:
1. Dial the Voice Over code
6.
2. Announce the message.
Answer
With a call in progress:
1. Receive the Voice Over
announcement.
2. Press the Hold key.
3. Converse with the Voice
Over originator.
4. Press the Answer key to
alternate between parties.
With a call in progress:
1. Receive the Voice Over
announcement.
2. Press the Feature key.
3. Dial 65.
4. Converse with the Voice
Over originator while
monitoring the first call.
5. Press the Feature key
again.
6. Dial 65 again.
7. Converse with the first
caller while monitoring the
Voice Over originator.
Save Repeat
With an originating outside call
in progress:
1. Press the Feature key.
2. Dial 9and the called num-
ber is stored.
3. Replace the handset.
1. Lift the handset.
2. Press the Redial key.
3. Dial #and the call is
placed.

16
Store & Repeat
Note: Store & Repeat and Save & Repeat features cannot be used
simultaneously.
Automatic Redial
After originating a busy or unanswered outside call:
1. Press the Speaker key or replace the handset.
2. Press the Feature key.
3. Press the Redial key.
4. The call is repeatedly dialed until answered, canceled, or the
maximum number of redial attempts is reached.
5. Lift the handset when the called party answers.
Note 1: Press the Speaker key to cancel the Automatic Redial.
Note 2: System programming determines the waiting time and the
number of redial attempts.
Store Repeat
With an outside call in progress:
1. Press the Feature key.
2. Dial 7
3. Dial the number to be
stored.
4. Complete the conversa-
tion and replace the hand-
set.
1. Lift the handset.
2. Press the Redial key.
3. Dial #and the call is
placed.

17
Caller ID
Note 1: Caller ID will be displayed even when the station is busy or in
DND mode, allowing the user to identify the incoming call.
Note 2: On a per station basis, the last 50 calls answered with Caller ID
information are stored and are accessible with the Scroll key.
Note 3: Press the lit Line key to review the calling party’s name or number
while the call is in progress.
CALL PICKUP
Answer Place Call ID Calls
Receive incoming ringing or
transferred outside call:
1. Review the telephone dis-
play for the calling party’s
name or number.
2. Answer the call accord-
ingly.
1. Press DIR repeatedlyuntil
the desired number is dis-
played.
2. Lift the handset to auto-
matically dial the dis-
played number.
3. Converse.
Call Pickup System Call Pickup Direct
Upon hearing ringing at another
telephone:
1. Lift the handset.
2. Dial the Call Pickup code:
• All Calls 68
• CO/PBX Line 6 *
• Night Call Pickup 69
1. Converse.
Upon hearing ringing or voice
announcement at another
telephone:
1. Lift the handset.
2. Dial the Call Pickup Direct
code 67.
3. Dial the station number of
the telephone to be
answered.
4. Converse.

18
PAGING
1. Lift the handset.
2. Dial the Paging code: Internal External
All Zones 51 All int. & ext. 59
Zone A 52 All Zones 55
Zone B 53 Zone A 56
Zone C 54 Zone B 57
Zone C 58
3. Page.
4. Wait for the Meet-Me Answer for replace the handset.
Meet-Me Answer
1. Lift the handset set.
2. Dial the Meet-Me Answer code:
Internal Page 5 *
External page 5 #
3. Converse.
BACKGROUND MUSIC
Set/Cancel
1. Press the Feature key.
2. Dial BGM On/Off code 26.
Note: A BGM key may be assigned in system programming to set/
cancel the Background Music feature.
Other manuals for ElectraElite IPK
11
This manual suits for next models
1
Table of contents
Other NEC Telephone manuals

NEC
NEC Xen Master User manual

NEC
NEC Portrait 308 Owner's manual

NEC
NEC DDXXEE SSeerriieess User manual

NEC
NEC Univerge SV9100 User manual

NEC
NEC XN120 Vision User manual

NEC
NEC Univerge SV8100 User manual

NEC
NEC Baseline Pro CLI User manual

NEC
NEC Univerge SV8100 User guide

NEC
NEC Univerge SV9100 User manual

NEC
NEC UX5000 Guide