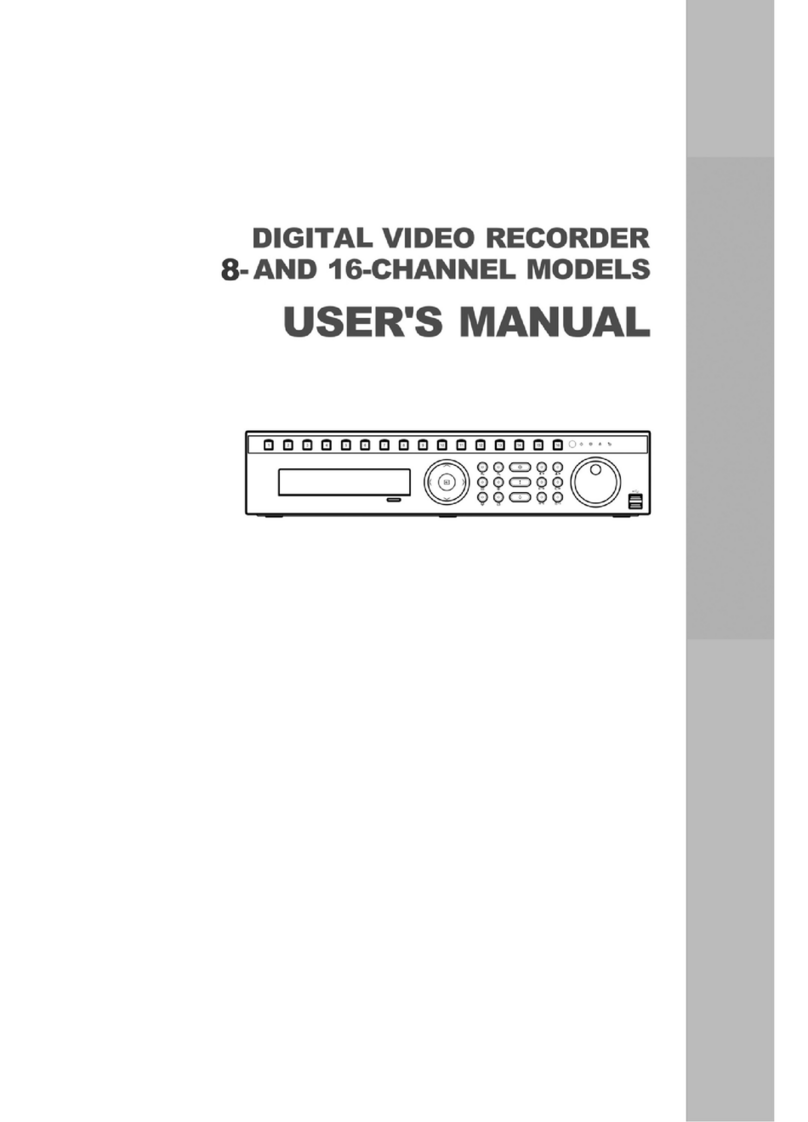
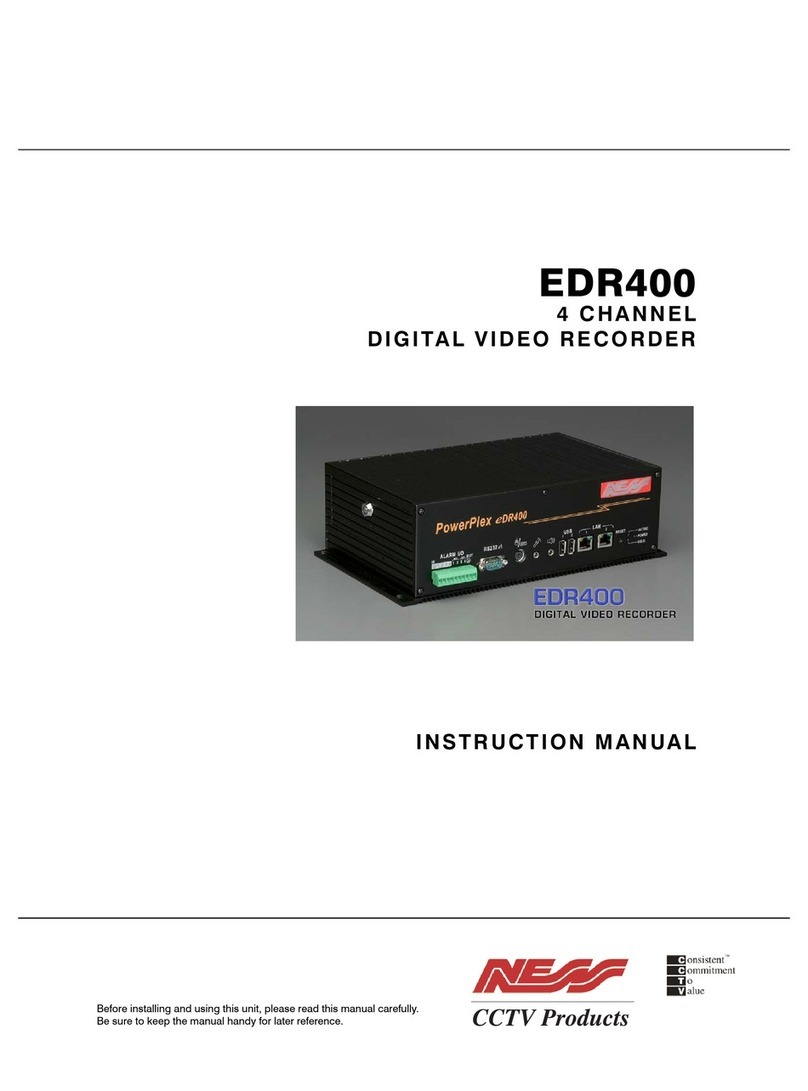
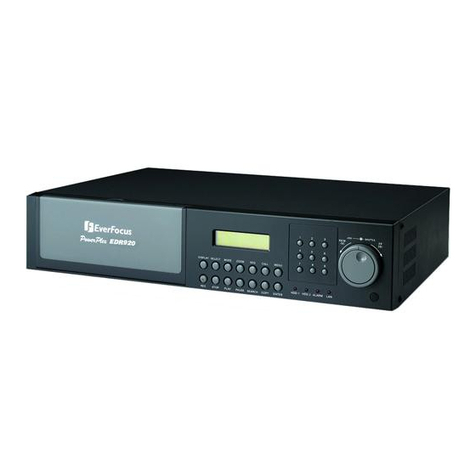
Ness 104-005 User manual

NESS-NET 16ch & 32ch NVRs / DVRs
USER’S MANUAL
104-005
104-295, 104-296
With a comprehensive IP CAMERA LIST showing compatibility
with IP cameras from most major manufacturers.
See pages 53+

2
3
8
1.3 Features
Recording Modes
Continuous Recording / Smart Recording / Motion Recording / Audio Recording /
Alarm Recording / Manual Recording
i
All modes can be triggered by schedule
De-interlace
Options Optimize for dynamic or static camera scenes
Motion Detection Detecting any kind of movements within the camera focus
Privacy Protection
Editable shield preventing private areas from monitoring and recording
Operation via front
panel (SA6000E
Pro only)
PTZ control / channel select / split select / playback control / mode select
EMAP Function Show the positions of cameras, sensors, relays and triggered status
Attention Please Enable dialogs to trace if operator pays attention to security monitor
Powerful Search By date, time, camera, area, event, vision, and log file
Bookmark Easily save links to particular locations of recorded data and play them directly from
the saved links
POS Integration
Compatible with most commonly used POS system
Easy to add POS protocol
Confidential Word Filter
Change location of POS text on camera display image
Advanced Event
Log Viewer
Details complete event logs according to your selection on event, operation, POS,
system and network events.
Alarm Triggered
Mode Single event or multiple events as alarm trigger conditions
Smart Alert
Functions
Launch EMAP / Cam display / Warning sound / Email / Make a phone call / Send files
to FTP / SMS and MMS / PTZ preset point tracking / Alarm SOP wizard / Start
recording / Enlarge camera view
Remote Access
Webcam via regular IE browser
Remote Console
CM3000 Central Management System
Web Cam / Remote
Manager
Multiple DVR and IP cameras on your IE browser
Record 16 cameras on remote side
Dispatch Server Share transmission loading; enable more clients at remote access & high-speed data
transmission.
PDAViewer 4-cam view, full screen and live audio
DDNS Allow remote clients to search dynamic servers without enquiring for server’s IP
address
iStable Fix shaking and jolts impact on video with just one click
iEnhance Enhance video quality such as Brightness, Contrast, Hue, Saturation, Sharpness,
Noise Reduction, De-interlace and Gray Scale of recorded data

2
3
10
1.4.3 Front Panel of SA6000E RACK/6032E RACK
(1) (2) (3) (4) (5)
(6)
Name Function
(1) Locker To lock the front cover
(2) USB port x 2 To connect external USB devices
(3) Power switch To on/off the system unit
(4) Removable HDD drawer It can be installed SATA hard disk
(5) Removable HDD drawer
power switch To on/off the removable hard disk
(6) DVD-RW To backup recorded file on DVD-R/RW disk
1.4.4 Front Panel of SA6000E/9000E Pro
(1) (12)
(2)
(3) (4) (7)
(6)
(10) (11)
(9)
(8)(5) (13) (15) (16)
(14)
Name Function
(1) Slim DVD-RW Internal slim DVD-RW for read and write DVD/CD
(2) Removable hard disk tray Removable hard disk tray for installing one 3.5” hard disk
(3) Temperature display LED Display system temperature
(4) USB 2.0 port To connect external USB devices
(5) Confirm or make a selection
(6) Cancel a selection
(7) System power button

4
5
11
Name Function
(8) To reset alarm status
(9) To enable/ disable recording video
(10) To enable/ disable network connection
(11)
A functional key for multiple system control
-Press to enable multiple function modes and the button will
turn to blue light.
-To exit multiple function modes, press again.
+
1
: Switch to single screen display mode
+
2
: Switch to QUAD display mode
+
3
: Switch to 9 spilt screen display mode
+
4
: Switch to 16 spilt screen display mode
+
5
: Switch to one single and 8 spilt screen display mode
+
6
: Switch to one single and 13 spilt screen display mode
+
7
: To enable auto scan function
(11)
+
8
: Switch to full screen display mode
+
9
: To freeze the live preview video screen. To unfreeze press
9
again. User can snapshot the freeze screen
while freezing.
+
10
: To quick backup recorded video file (see Chapter 4.6.2)
+
11
: Set up a A-B point segment(see Using AB Repeat
Function)
+
12
: To lock all function buttons of panel and remote controler.
To unlock, press
12
and the system will require user to enter the
password(default system password is admin/admin)

4
5
12
Name Function
:To move PTZ camera lens to left, right, up and down
: To zoom in view of PTZ camera lens
: To zoom out view of PTZ camera lens
: To focus in PTZ camera lens
: To focus out PTZ camera lens
: To speed up movement of PTZ camera lens
: To speed down movement of PTZ camera lens
: To enable/ disable auto pan function
: To move the PTZ camera to the preset poison. Press + number
button (
1
~
16
).
i
-Please setup the preset poison before using button function. To
setup the preset poison, please refer to Chapter 4.9.8.
-Without setup preset poison, the preset button ( ) will be no functional
when user presses.
(12) PTZ control button
1
~
16
-As a number key for entering password in
playback and preview mode
-Channel camera selection number in
playback and preview mode
-As a preset poison with in PTZ control
mode
(13) Number button
1
~
12
-With button can switch to different
screen display modes and enable auto scan
function
-To call out 1~ 8 map figures in E-map mode
Playback control button in playback mode
REV FWD
:
Speed shuttle for adjusting rewind and forward (2x, 4x, 8x, 16x or
32x) speed during playback. Turn left is reversed and turn right is
forwarded.
:
To move to next or previous frame during playback. Turning left is
to go back to one previous frame and turning right is to go
forward next one frame..
(14) Playback button
: Switch to playback mode, preview mode or E-map mode
: To rewind the recorded video
: To pause playing
: To play the recorded video

6
7
13
Name Function
(15) Status LEDs
system status indicators:
: System power indicator. Indicate running state of system. Lights when the
system is running.
: Hard disk/ DOM indicator. Indicate running state of the hard disk/ DOM. Lights
when the HDD/ DOM is reading or writing
: Recording status indicator. Lights when the system is recording.
: Network status indicator. Lights when the system network connection is
enabled.
(16) Touch Pad
Work as a computer mouse. Using to control cursor on the screen.
To open and close touch pad, please follow the steps below:
Push the touch pad to open the touch pad
The touch pad will open to 15 degree
To close the touch pad, look for a button which
under the touch pad bottom (as figure shown).
And then, press the button and push back the
touch pad at the same time

6
7
14
1.4.4.1 Using AB Repeat Function
AB Repeat function allow user to set a video segment from A to B point and play on the surveillance screen
until user stop.
1. Switch to Playback mode
2. Press to enter multiple function mode
3. During the playback, press
11
to set the A point of video segment. User will see a triangle mark
on play progress bar.
4. And then, press
11
again to set the B point of video segment. User will see another triangle mark
on play progress bar. To cancel AB repeat segment, press
11
again.
5. The AB point segment can be saved by click Output button on Playback GUI
6. In the Save As dialog box, locate on where you want to save the file, type the filename, and select the
video format.

8
9
28
2.3 Familiarizing the Remote Control Buttons of SA6000E/9000E
Pro
Name Function
(1) Switch to playback mode, preview mode or E-map mode
(2) To reset alarm status
(3) To select the time and date of playback file
Fast play the video playback at the speed of 2x, 4x, 8x, 16x or 32x
(4)
Decrease the video playback at the speed of 1/2x, 1/4x, 1/8x
(5) To pause playing
(6) To rewind the recorded video
(7) To play the recorded video
To zoom out view of PTZ camera
(8)
To zoom in view of PTZ camera
To speed up movement of PTZ camera lens
(9)
To speed down movement of PTZ camera lens
To focus in PTZ camera lens
(10) To focus out PTZ camera lens
(11) To move the PTZ camera to the preset poison. Press + number button (
~)
(12) To enable/ disable network connection

8
9
29
Name Function
To move PTZ camera to left
To move PTZ camera to right
To move PTZ camera to up
To move PTZ camera to down
(13)
Confirm or make a selection
(14) Cancel a selection
(15)
~
-As a number key for entering password in playback and preview mode
-Channel camera selection number in playback and preview mode
-As a preset position with in PTZ control mode
~
-With button can switch to different screen display modes and enable
auto scan and full screen function (also see Chapter 1.6 #16)
-To call out 1~ 8 map figures in E-map
(16) ~
A functional key for multiple system control
-Press and function button to enable functions
+ :Switch to single screen display mode
+ : Switch to QUAD display mode
+ : Switch to 9 spilt screen display mode
+ : Switch to 16 spilt screen display mode
+ : Switch to one single and 7 spilt screen display mode
+ : Switch to one single and 12 spilt screen display mode
+ : To enable/ disable auto scan function
+ : To switch full screen display mode
+ : To freeze the live play video screen. User can snapshot the freeze
screen view while freezing. Press again to unfreeze.

10
11
30
Name Function
(16) + : To quick backup the recorded video file (See Chapter 4.6.2)
+ : To setup a A-B point video segment for playing(See Chapter
1.4.4.1)
+ : To lock all buttons function of the panel and remote controller. To
unlock, press and user will be required to enter the system
password (default is admin/admin)
(17) To enable/ disable recorded video
(18) To enable/ disable auto pan function
2.3.1 The Remote Controller Buttons in Guest Mode
When user uses Guest account to operate DVR server, the front panel control buttons of DVR are limited to
preview and playback function only. The following table lists the control buttons that are available while in
Guest mode.
i
In the Guest mode, user only can use remote controller and front panel control buttons to operate DVR
server.
Name Function
Switch to playback mode, preview mode or E-map mode
To select the time and date of playback file
+ ~ Press and function button to enable functions
+ :Switch to single screen display mode
+ : Switch to QUAD display mode
+ : Switch to 9 spilt screen display mode
+ : Switch to 16 spilt screen display mode
+ : Switch to one single and 7 spilt screen display mode
+ : Switch to one single and 12 spilt screen display mode
+ : To enable/ disable auto scan function
+ : To switch full screen display mode
+ : To freeze the live play video screen. User can snapshot the freeze
screen view while freezing. Press again to unfreeze.

10
11
33
Chapter 3 Using the DVR Software
3.1 Running the Unit for the First Time
When the unit is turned on for the first time, the system will prompt you to enter the CD-Key. The CD Key is a
label on rear of the unit.
3.2 Function buttons in Advanced/Preview Mode
Name Function
(1) Exit Call up the Logout dialog box.
In the logout dialog box, you may do the following:
- Click Exit to close the DVR program.
- Click Login to sign-in in different account.
- Click Compact to switch to compact mode
- Click Guest to switch to the guest mode. In guest mode, user only can control DVR by
using the remote controller (see also Chapter 2.1.3.1) and the control panel of DVR
(see also Chapter 1.4.4). The functions are limited to preview and playback function
only. For complete functions of DVR, please login as an administrator.
- Click Cancel to exit Logout dialog box
- Click About to update patch or find about the software info.
(2) Volume Adjust the audio volume to a proper volume.

12
13
34
Name Function
(3) Split Screen Mode It provides 7 kinds of split display modes for your selection. You can select one of the
split display modes by clicking the following icon.
1-Cam display
4-Cam split display
9-Cam split display
16-Cam split display
8-Cam split display
13-Cam split display
32-Cam split display
i
- If there are only 4 cameras, you won’t be able to switch to 9, 16, 13, and 32 split screen mode.
- The DVR system will save the current operating mode (split screen mode, auto scan, full screen, and
compact mode status) when shutdown DVR application and apply the mode for next login.
- When you are in single screen mode, Right click and Drag a square on the area you want to enlarge.
-When you are in multiple-screen mode, Right click the video screen of the camera and Drag on where
you want to relocate it. To only display one of the video in the multiple-screen mode, Left click on the
video screen you only want to display.
(4) Record Click to start recording. The button turns violet when it is recording. Click it again
to stop
(5) E-Map Click to load up to 8 desired E-Maps in BMP or JPG image format, and locate
cameras, sensors, and relays to desired positions.
(6) Network Click to allow inbound connections. When this function is enabled, the button
turns violet. Click it again to disable all inbound connections.
(7) Setup When setting up the system for the first time, type the word “admin” in the Password
text box to access.
Click button to configure settings for cameras, recording, network, scheduler,
backup, sensors, relays, alarms and user authentication.
(8) PTZ Click to pop-up a PTZ setup dialog to configure an appointed PTZ camera.
(9) Preview Switch to Preview/Advanced mode. This allows you to view live camera display. Press
ctrl + F can freeze the live preview video screen. And then, click Snapshot can save
the freeze video screen.
(10) Playback Switch to Playback mode. This allows you to view the recorded video file. (see Chapter
3.3)
(11) Status Bar It shows the current time, and the hard disk’s free space.
(12) Camera ID Click a desired icon to play the desired channel. After you click the icon, it turns yellow.
If you assign a split display mode and appoint a camera number, the icon group of the
cameras will turn yellow altogether.

12
13
35
Name Function
(13) iPOSLive To view the real time iPOS data of channels. Click the iPOSLive to call out the real time
iPOS data windows.
90
User can move the each channel of iPOS windows apart to proper position. If user
didn’t enable the multi-channel of iPOSLive( see aslo iPOS Pro Setting in System
Setting), and then, user should only can view one channel each time.
To switch to different channel, click Select Camera drop down list to select the channel.
To tempore stop iPOS data coming, click Freeze. To un-freeze, click Transcation.
(14) Snapshot Catch a static recording image and save it as a BMP or a JPG file.
(15) Event log Click it to pop-up the Event Log Viewer dialog to check Event, Operation, POS (Point of
Sales), System and Network logs. You can select a desired date and a log item to show
all logs data in the table.
(16) AutoScan Click it to start Auto Scan.0

14
15
36
Name Function
(17) Full screen Use the entire area of the screen to only display the video. To return, press the right
button of the mouse or ESC on the keyboard or click the arrow icon.
When you switch to full screen in multiple-screen mode, Left click to toggle to only
display one of the video in the multiple-screen mode or all.
(18) Alarm Click to view the status or advanced alarm information.
(19) On Screen
Keyboard If the keyboard is not available, you may use the Virtual Keyboard.

14
15
37
3.2.1 Using Event Log Viewer
Show the record of activities that take place in the system.
1. Click the Event Log button on DVR system main interface. The Event log viewer window will show up.
2. Select the Date to view or search certain event log by key word. Enter the key word in Find Text column
and click Search button.
3. To filter the records, select and click the select button to display Event, System, Operation, Network or
All.
4. The events list which display on the screen can be saved as text file format. To save the events list, click
Save button.
5. To view POS event log, click POS Viewer bar to call out the POS event log window.
(1)
(2)
(3)
(4)
(5)
(6)
Name Function
(1) POSDB Path The storage path for POS event log. Click to change the storage path.
(2) Before/After Set a time period before and after of POS event log.
(3) Channel Select the POS event log of channel
(4) Search String Enter specific key word or word string to search the POS event log. Mark the “Match whole
word exactly” box if wants to find exactly key word or word string of POS event log.
(5) Full Reception Display the POS event log detail that user selected from Search Result window. Click to
save the POS event log. Click to print out the POS event log.
(6) Search Result Display the POS event log of search result. Click to save the search result. Click to
print out the search result.

16
17
38
3.2.2 Using the Object Viewer
Click Object Viewer bar to view and search FaceFinder event log.
Name Function
(1) Close Click to close Object Log Viewer windows
(2) Search Mode Switch to face object log search mode.
In search mode UI, select the camera to search the
object.
(3) Select Camera Select the camera to view or select all to view all
cameras
(4) Clear To clear all object log in Object Log list
(5) Close up Click to close up the Object Log List
(6) Object Log List Display the face object logs. It can display 32 object
logs and when the list is full, the first row of object
log will be replaced.
(1)
(2)
(3)
(4)
(5)
(6)

16
17
39
3.3 Function Buttons in Playback Mode
To switch in Playback mode, click Playback button at the lower right corner of Advanced/Preview mode user
interface
Name Function
(1) Split Screen Mode Select from 6 kinds of split screen type to playback the recorded video file of all the
camera, or one camera over the other or alongside on a single screen.
To view 32 channels, click 16 split screen button to switch channel display.
i
If there are only 4 cameras, you won’t be able to switch to 9, 13, and 16 split screen mode.
To zoom in an area on the screen, Right click and Drag a square on the area you want to enlarge.
(2) Progress bar Show the progress of the file being played. You may move the bar to seek at any
location of the track.
(3) Hour Buttons Select and click to playback the recorded video file on the specific time frame.
i
The Hour buttons represent the time in 24-hour clock. The blue bar on top of the hour button indicates
that there is a recorded video file on that period of time. While the red bar indicates that you are currently
viewing the recorded video file.
(4) Playback Control
Buttons
Begin: Move at the beginning of the recorded video file.
Previous: Go back to the previous frame.
Slower: Play the recorded video file at the speed of 1/2x, 1/4x, or 1/8x.
Rewind: Wind back the recorded video file.
Pause: Briefly stop playing the recorded video file.
Play: Play the recorded video file.
Faster: Play the recorded video file at the speed of 2x, 4x, 8x,16x or 32x.
Next: Go to the next frame.
End: Go to the end of the recorded video file.

18
19
40
Name Function
(5) Date Select the date on the calendar and the time from 00 to 23 to where to start playing the
recorded video file.
i
The numbers from 00 to 23 represent the time in 24-hour clock. The numbers from 01 to 16 represent the
camera ID. The blue colored column indicates that there is a recorded video file on that period of time.
While the red colored column indicates on where to start playing the recorded video file.
(6) Preview Switch to Preview/Playback mode.
(7) Playback Switch to Playback mode. This allows you to view the recorded video file.
(8) Status bar Display the recorded date, time and play speed.
(9) Camera ID Show the number of cameras that are being viewed. When you are in single screen
mode, click the camera ID number to switch and view other camera.
(10)iPOS Serach To find iPOS event by keyword or period.
POSOB Path: where the iPOS data located.
Start Time: select the search start time and date
End Time: select the search end time and date
Select Camera: select the camera for iPOS events search
Keyword: enter a keyword to search iPOS event
-Match whole words exactly: the iPOS event must 100% match the
keyword that user has entered.
The search result will display in Search Result windows. User can click specific iPOS
event to view and the iPOS detail will display in Search Receipt.
To save the search result, click Save button. Click Print button to print the search
result.
To save the selected iPOS search receipt, click Save. Click Print to print the selected
iPOS event’s detail.

18
19
41
Name Function
(11) Export Export includes Snapshot, Print, Output Video Clip, and Backup function.
Snapshot: Capture and save the screen shot either in *.jpg or *.bmp format.
Print: Print the screen shot.
Output Video Clip: Save the segmented file in *.mpg, *.avi, or *.dvr format (see also
Chapter 3.7).
Backup: Save the playback file to USB device or DVD-ROM disk (see also Chapter
4.6 Backup Setting).
(12) Segment Keep a portion of the recorded video (see also Chapter 3.7).
(13) Full screen Use the entire area of the screen to only display the video. To return, press the right
button of the mouse or ESC on the keyboard or click the arrow icon.
When you switch to full screen in multiple-screen mode, Left click to toggle to only
display one of the video in the multiple-screen mode or all.
i
When there are dual monitors with 32 channels, the full screen mode will split into 16 channels on each
monitor.
(14) Event log Show the record of activities that take place in the system. To filter the records, select
and click the option button to only display Event, System, Operation, Network or POS.
(15) Bookmark Mark a reference point when previewing the recorded video file to which you may return
for later reference. You may also set it to protect the file. (See also Chapter 3.8)
(16) Visual Search Search from a specific camera by Date, Hour, Minute, 10 Seconds and Second. (See
also Chapter 3.9)
(17) Find Next Search for the next event or changes in the motion detector frame. You can use this
when you are using Intelligent Search or Event Search function.
(18) Event Search Search from the recorded activities that take place in the system (i.e., Sensor, Motion ,
Video Loss, POS) . (See also Chapter 3.10)
(19) Intelligent Search Search the changes in the motion detector frame (See also Chapter 3.11).
(20) De-interlace To enhance the video quality. Set the de-interlace mode to #1, if you are capturing
motionless picture and #2, if it captures lots of movement.

20
21
42
3.3.1 Watermark Verification
Now, SA DVR supports watermark-checking to identify the authenticity of playback video. SA DVR program
can only verify when a single channel in full screen playback mode.
To verify the playback video doesn’t been modified. Click to verify the playback video. Watermark
verification windows will show up as following:
This manual suits for next models
2
Other Ness DVR manuals

Ness
Ness Premium H.264 DVR User guide
Ness
Ness IQ-MDVR-8 User manual
Ness
Ness IQ-MDVR-4 User manual

Ness
Ness IQ-MDVR-4 User manual
Ness
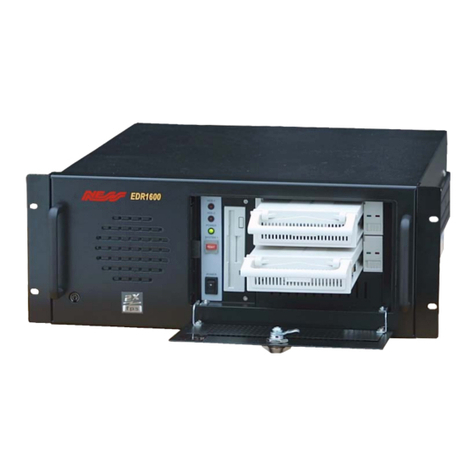
Ness EDR1600 User manual
Ness
Ness Pro 4/1 User manual
Ness
Ness Ultimate Series User manual

Ness
Ness IQ-MDVR User manual
Ness
Ness H.264 HD-SDI User manual

Ness
Ness Ultimate Premium H.264 User manual

Ness
Ness Ultimate Premium H.264 User manual

Ness
Ness 104-460 Auto-IP NVS User manual

Ness
Ness HD-960H User manual

Ness
Ness 104-440 User manual

Ness
Ness 104-305 User manual

Ness
Ness Pro series User manual
Ness
Ness IQ-SDI-4 User manual
Ness
Ness 104-424 Nano Use and care manual

Ness
Ness EDSR400M User manual
Ness
Ness IQ User manual
