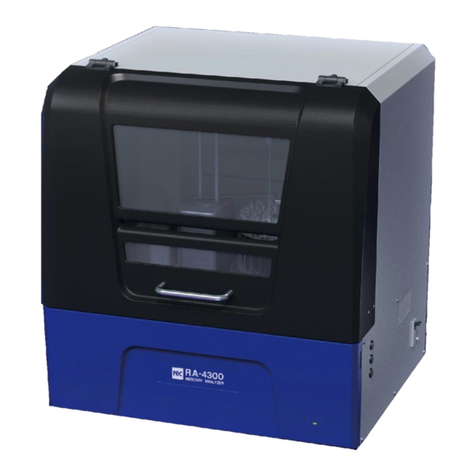
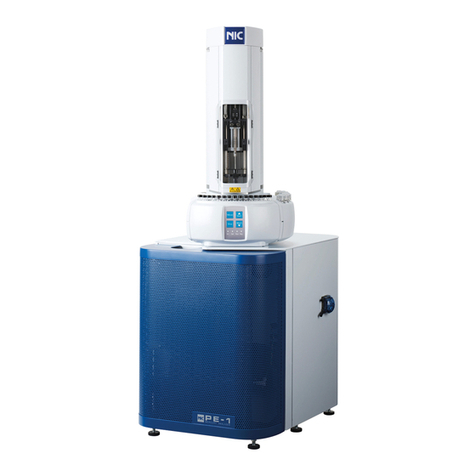
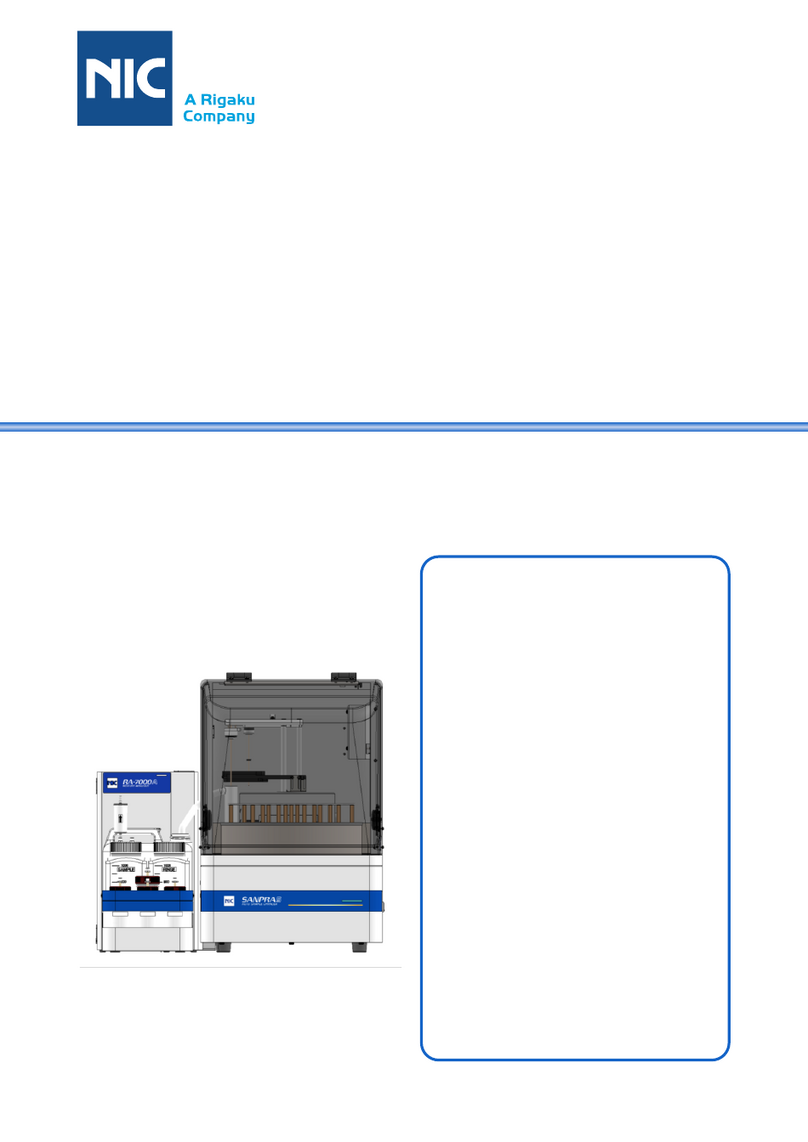
Nic Mercury RA-4500 User manual

NIC-704-2005-01
SERVICE MANUAL
Reducing Vaporization Mercury Analyzer
Mercury RA-4500
Service Manual
Nippon Instruments Corporation

Table of contents
Reducing Vaporization Mercury Analyzer Mercury RA-4500
i
NIC-704-2005-01
Reducing Vaporization Mercury Analyzer Mercury RA-4500
Service Manual
Table of contents
1. INTRODUCTION..............................................................................................................2
1.1. Safety precautions .....................................................................................................2
1.1.1. Meanings and descriptions of symbols................................................................2
1.1.2. Cautions concerning work ...................................................................................2
1.2. Application..................................................................................................................2
2. FIRMWARE UPDATE.......................................................................................................3
2.1. Procedure for updating firmware................................................................................3
2.1.1. File reading..........................................................................................................4
2.1.2. Writing .................................................................................................................5
2.1.3. Validation.............................................................................................................6
2.2. Measures against unsuccessful firmware update.......................................................7
3. REPLACEMENT OF COMPONENTS..............................................................................8
3.1. Replacement of mainboard........................................................................................8
3.2. Replacement of reagent pump...................................................................................9
3.3. Replacement of lamp...............................................................................................11
3.4. Replacement of heater.............................................................................................12
3.4.1. Procedure for removing turntable ......................................................................12
3.4.2. Procedure for removing right side panel............................................................13
3.5. Replacement of arm.................................................................................................17
4. MAINTENANCE .............................................................................................................24
4.1. Daily inspection........................................................................................................24
5. MEASURES AGAINST ABNORMALITY .......................................................................25
5.1. Abnormal blank value...............................................................................................25
5.2. Cleaning procedure..................................................................................................26
5.2.1. Cleaning of reagent tube ...................................................................................26
5.2.2. Cleaning of cap, bubbler, light absorption cell and dehumidifier tube................26
5.3. Poor sensitivity.........................................................................................................26
5.3.1. Recovery from poor sensitivity...........................................................................27
5.4. Checking of and recovery from leak.........................................................................28
6. CONTACT ......................................................................................................................29

1. Introduction
Reducing Vaporization Mercury Analyzer Mercury RA-4500
2
NIC-704-2005-01
1. Introduction
1.1. Safety precautions
1.1.1. Meanings and descriptions of symbols
In the case of mishandling, a user may be killed or suffer a serious injury.
In the case of mishandling, a user may suffer a slight or medium injury or
material damage alone is expected.
1.1.2. Cautions concerning work
- Cut off the power supply before removing any cover of the instrument, otherwise
an electric shock or damage to the instrument may result.
- Before updating the firmware, make sure that it is compatible with the version of
the personal computer software.
- Remove from the instrument chemicals such as sample containers and reagent
bottles on the turntable before starting work because they may be spilled by
mistake at the time of work.
1.2. Application
This manual describes work that can be carried out only by qualified persons who have
received service education at Nippon Instruments Corporation. When carrying out work,
observe safety precautions.
Warning
Caution
Warning
Caution

2. Firmware update
Reducing Vaporization Mercury Analyzer Mercury RA-4500
3
NIC-704-2005-01
2. Firmware update
- Before updating the firmware, make sure that it is compatible with the version of
the personal computer software.
2.1. Procedure for updating firmware
Since RA4Win and the firmware have a rewriting function for the firmware, it can be updated
easily.
Click “System” and “Firmware Update” of RA-4win.
The screen shown above appears. This screen will be used to update the firmware.
Follow the procedure described below:
(1) Make a firmware file read into the personal computer.
(2) Write the read data to the flash memory on the mainboard of the RA4.
(3) Turn off and on the main unit to enable the update.
Warning

2. Firmware update
Reducing Vaporization Mercury Analyzer Mercury RA-4500
4
NIC-704-2005-01
2.1.1. File reading
Click the “Open” button to read the firmware file.
Ordinarily, the file name is “RA4.mot”.
When the reading is completed normally, “File load success.” is displayed and the
“Program” button becomes valid, as shown below. When the read file is not normal, “File
loading fail” is displayed and the “Program” button does not become valid.

2. Firmware update
Reducing Vaporization Mercury Analyzer Mercury RA-4500
5
NIC-704-2005-01
2.1.2. Writing
Click the “Program” button to write the read data to the flash memory of the RA4 main
unit.
Erasing, writing and verification are carried out in that order in the writing procedure.
* Do not turn off the power during the writing procedure. If the power is turned off,
rewriting will be impossible.
The verification can be skipped by erasing the check mark even during execution.
- Writing screen -
- Verification screen -

2. Firmware update
Reducing Vaporization Mercury Analyzer Mercury RA-4500
6
NIC-704-2005-01
2.1.3. Validation
When the writing is completed, the window shown below appears. Click “OK” to terminate
the process.
Turn off the RA4 main unit and turn it on again.
When the power is turned on again, the new program becomes valid.

2. Firmware update
Reducing Vaporization Mercury Analyzer Mercury RA-4500
7
NIC-704-2005-01
2.2. Measures against unsuccessful firmware update
If the power is turned off during the firmware update, the system will not start up when it
is turned on again because the program has not been written normally.
If the system does not start up, it is impossible to rewrite the program.
In such a case, start a boot mode, which is exclusively for firmware rewriting, and rewrite
the firmware.
(1) Turn off the power, open the rear cover of the main unit, and set the SW1 on the
CPU board to the boot mode.
(2) Make sure that the personal computer and the RA4 main unit have been connected
with the Ethernet cable, and then turn on the power.
(3) Start RA4Win.
(4) Carry out writing in the same procedure as “2.1.Procedure for updating firmware”.
(5) When the writing is completed, turn off the power, return the SW1 on the CPU board
to the normal mode as before, and turn on the power again. Now the procedure is
completed.
Normal mode Boot mode
Normal mode
Boot mode

3. Replacement of components
Reducing Vaporization Mercury Analyzer Mercury RA-4500
8
NIC-704-2005-01
3. Replacement of components
- Cut off the power supply before removing any cover of the instrument, otherwise
an electric shock or damage to the instrument may result.
- Remove from the instrument chemicals such as sample containers and reagent
bottles on the turntable before starting work because they may be spilled by
mistake at the time of work.
3.1. Replacement of mainboard
(1) Remove the six screws from the rear of the instrument.
(2) Disconnect the connectors connected to the mainboard and remove the six screws.
(3) Attach a new mainboard in the procedure reverse to that for the removal.
Warning
Caution

3. Replacement of components
Reducing Vaporization Mercury Analyzer Mercury RA-4500
9
NIC-704-2005-01
3.2. Replacement of reagent pump
(1) To remove the pump mount, remove the screw of the side panel.
(2) Remove the screw of the pump mount.
(3) Push the pump mount inside.

3. Replacement of components
Reducing Vaporization Mercury Analyzer Mercury RA-4500
10
NIC-704-2005-01
(4) Remove the screws of the pump from the inside of the pump mount, and replace the
pump.

3. Replacement of components
Reducing Vaporization Mercury Analyzer Mercury RA-4500
11
NIC-704-2005-01
3.3. Replacement of lamp
External appearance of optical system
Remove the screws of the optical system
box shown above, and remove the
intermediate plate.
Then disconnect the connectors of the
constant temperature cap and lamp.
Loosen the screws fixing the constant
temperature cap, and remove it.

3. Replacement of components
Reducing Vaporization Mercury Analyzer Mercury RA-4500
12
NIC-704-2005-01
Remove the screws of the plate fixing the
lamp to the constant temperature cap.
The front of the lamp is shown on the left.
Fix the lamp such that the front of the lamp
is aligned with the direction of the hole in
the constant temperature cap.
Attach the lamp in the procedure reverse to
that for the removal.
After attaching the optical system as
before, carry out “OpticalAdjust” to adjust
the voltage of the optical system in the
maintenance mode on the screen shown
on the left.
* Adjust the optical system 20 minutes or
more after turning on the instrument.
* After the replacement, be sure to reset the count in the maintenance mode.
3.4. Replacement of heater
(Before the replacement, disconnect the power cable.)
3.4.1. Procedure for removing turntable
(1) Turn manually the knob in the center of the turntable, and remove it.

3. Replacement of components
Reducing Vaporization Mercury Analyzer Mercury RA-4500
13
NIC-704-2005-01
(2) Pull the turntable right upward to remove it.
3.4.2. Procedure for removing right side panel
(1) Remove the screw shown below from the inside of the instrument.

3. Replacement of components
Reducing Vaporization Mercury Analyzer Mercury RA-4500
14
NIC-704-2005-01
(2) Remove the six screws on the right side.
(3) Since the right side panel has been hung on screws, it can be removed by applying
force to it.

3. Replacement of components
Reducing Vaporization Mercury Analyzer Mercury RA-4500
15
NIC-704-2005-01
(4) Remove the four screws fixing the heater.
(5) Pull out the pins connected to the terminal block on the right side, connect the pins of a
new heater and assemble the terminal block.

3. Replacement of components
Reducing Vaporization Mercury Analyzer Mercury RA-4500
16
NIC-704-2005-01
(6) Attach the heater such that the slant metal plate comes to the inside.

Service manual
Reducing Vaporization Mercury Analyzer Mercury RA-4500
17
3.5. Replacement of arm
(1) View before replacement. (Ordinarily, the
covers have been attached.)
(2) Remove the hexagon socket head cap
screws of the cap mounting plate.
(3) Disconnect the pump tube and effluent tube from the inlet and outlet.
(4) Remove the screws fixing the pump unit case.

Service manual
Reducing Vaporization Mercury Analyzer Mercury RA-4500
18
(5) Remove the pump unit from the cabinet.
(6) When the removal is difficult, disconnect
the air pump and reagent pump
connectors.
(7) Disconnect the “COLOR” connector.
(8) Remove the screws fixing the dispensing
case.
(9) Remove the connectors for the
dispensing unit.
(10) Remove the dispensing case.

Service manual
Reducing Vaporization Mercury Analyzer Mercury RA-4500
19
(11) A new unit is shown below. Replace
the unit.
(12) The flange in the trapezoidal thread of
the new unit has been changed from
resin to brass, and the vertical torque
has been tripled.
(13) Prevent the shafts from loosening with
screw locking. (14) Fix the components using a ball point
driver so that they do not loosen.
(15) Attach both shafts and make sure of a
right angle.
(16) If it is impossible to obtain a right
angle, make a fine adjustment by
inserting foil.
Table of contents
Other Nic Measuring Instrument manuals
