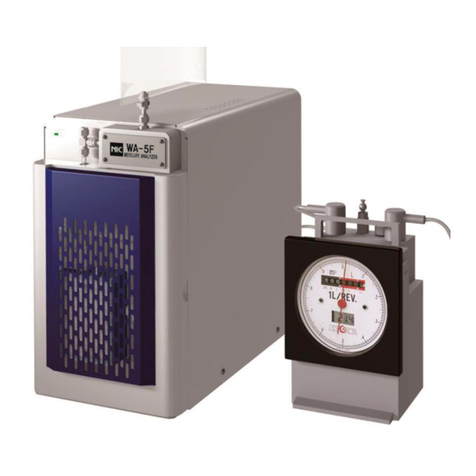
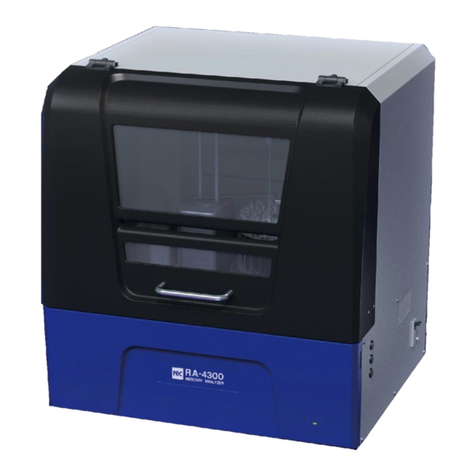
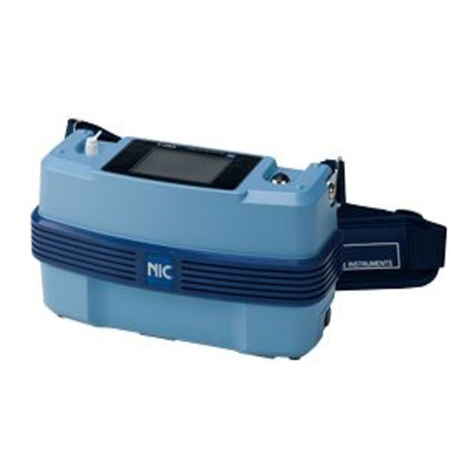
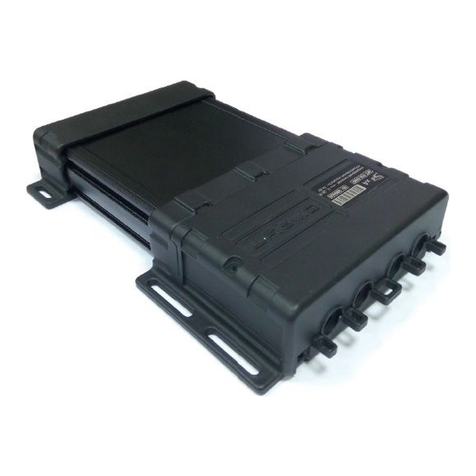
Nic WA-5A User manual

WA-5A
Simplified Operation manual
NIC-600-2238-05
Nippon Instruments Corporation

WA5Win NIC-600-2238-05
1
1 System startup
1.1 WA-5A startup
Turn ON the main switch on the back panel and the sub switch
on the front panel.
1.2 Startup of control software
Click the short cut on desk top or select “NIC”-“WA5Win”-“WA5Win” in “All Programs” from “Start
Menu”.
1.3 System check
The system check is displayed when the software is started up. The system check consists of 7 items.
①Flow rate check
If the flow rate deviates from the range of 0.29 - 0.31L/min, the screen
displays “Please adjust the flow rate to 0.3L/min”. Adjust the flow rate to
0.3L/min with the needle valve. The screen displays “Please adjust the flow
rate to 0.5L/min” if the flow rate is stable for 5 seconds or longer after
adjusted. Adjust the flow rate to 0.5L/min with the needle valve again. If the
flow rate is stable for 5 seconds or longer after adjusted, the system check
proceeds to the next step automatically.
②Heater temperature rise check(Automatic)
③Gas washing solution filling
(1). Open the roller clamp of the gas washing bottle. And then fill the gas
washing bottle with the standard buffer solution (pH=6.869) and
distilled water in a ratio of 1:1.
(2). The level of the gas washing solution should be maintained at the
level about 20 mm higher than the tip of the air blowout port.
(3). Close the roller clamp.
④Leak check When the screen displays “Plug the port with your finger
until “PASS” appears”,remove the STD gas port and plug
the upper end of the tube with your finger.
The system check automatically proceeds to the next step if
the flow rate reduces to 0.03L/min or less.
When the flow rate does not drops to zero, there must be
loose connection. Check the roller clamps and other joints.
⑤Drift check(Automatic)
⑥Blank check(Automatic)
The blank of the system is performed automatically. Purge measurement is repeated until the
measured value becomes equilibrium. If the final value exceeds the set threshold value, that is
reported as an error.
⑦Voltage check(Automatic)
20mm

WA5Win NIC-600-2238-05
2
2 Condition setting
2.1 Setup of measurement method
Click icon to display “Measurement Condition". Select the measurement method.
2.2 Setup of table conditions
Click icon to display the setting screen of table condition and select the type of sample and the unit.
The data set using this function can be changed after the measurement.
Set the other items such as Unit, according to the target to be measured.
Peak
Usually AREA is used.
Should use HEIGHT if
the peak is small and
large variation is
resulted when AREA
is selected.
Calibration Curve
Normal y=ax+b is selected. It is
recommended to select y=ax+blank
for the measurement of a sample in
the vicinity of a blank.
Drift correction
Usually set to ON.
STD
Standard properties
and the unit are set.
SMP
Select Sample type
and unit
Direct Sampling
This can be selected when “GAS METER”
is set in “System Setup” – “Option”.

WA5Win NIC-600-2238-05
3
3 Creation of calibration curve
(1) Set up the standard sample on the table screen.
Click the tab of the standard sample.
Put a check mark on “MEAS”.
Enter the temperature of the standard gas box.
Enter the e amount of gas extracted in the syringe.
[STD] is automatically calculated.
* it is possible to enter the [STD] directly.
* The blank should be measured at first.
Carry out the measurement with the amount of sample made to zero.
* When more than one check mark is put, the next measurement is performed successively.
Put more than one check only when you want to decrease the blank of the collector tube after the
measurement.
(2) Click
icon to start the measurement.
A screen for setting the name of file in which data is saved is displayed at first. Specify the file name.
The measurement starts when Save is pressed.
Then the result of the measurement is automatically
saved to the specified file every time the measurement is
completed.
(3) Next, extract the gas in the piston specified above from the standard gas box with a syringe.
Move the plunger of the syringe up and down a couple of times to
ensure smooth movement, and then collect the gas in the amount as
required.
(4) Inject the sample gas through a septum with one stroke, after pressing start.
* If the gas is injected before the measurement is started, the
measurement result will be inaccurate.
①
①
②
②
③
③
④
④
⑤
⑤

WA5Win NIC-600-2238-05
4
(5) The calibration curve is automatically updated after every measurement.
It is possible to exclude poor data to create the calibration curve, by putting a mark “X” in the “OX”
column.
* As shown in the figure, characters on the graph of calibration curve may
be displayed in red and “WARNING” may appear.
This indicates that the calibration curve deviates from the expected
range. Make sure that the entered mercury data is correct and the system
functions correctly.
Return to (2) and repeat the measurements if necessary.

WA5Win NIC-600-2238-05
5
Crating a calibration curve with reducing vaporization:
Set the quartz tube on the collector tube heating furnace and connect the impinger and WA-5A
with the dedicated tube.
Remove the standard gas filling port and attach the quartz tube
(empty collector tube).
Connect both the tube on the left side of the name plate and the
tube on the upper section (I of impinger to the φ4 joint.
Connect the tube from the side of the impinger (outlet) to the
quartz tube to the reducing joint.
* Be sure to use a quartz tube which contains no collecting agent.
Otherwise, mercury is absorbed by the collecting agent and
cannot be detected.
Input on the table screen. Enter the concentration and volume of the standard
solution, C.VOL and D.VOL.
C.VOL: The constant total volume to which solution
is diluted after pretreatment.
D.VOL: The volume of solution in the reducing
vessel, which is diluted to the constant volume.
Example) Add 0 to 1mL of 0.01 ppm standard solution to a sample and dilute it to a volume of
20mL total, and measure the total volume of 20mL.
Set the STD.
Put an appropriate amount of the standard solution
into the impinger.
* The standard solution prepared with L-cysteine
solution should be equal to or less than one tenth
of the total amount.
Dilute the solution with distilled water to about 20mL
total.
Add 1 mL of sulfuric acid (1+1).
Drop 1 mL of 10% tin chloride solution.
Set the inner tube of the impinger immediately and
start the measurement.
20mL
H2SO4
1mL
Standard solution
Appropriate volume (0 to 1mL)
SnCl2
1mL

WA5Win NIC-600-2238-05
6
Creating a calibration curve with gas in a Tedlar® bag
Select “Direct Sampling” in Measurement Condition.
Standard gas preparation
Disconnect the exhaust tube at the outlet of the gas meter and connect tubes in the
order of the mercury removal filter (mercury collector tube), the joint with septum
and Tedlar® bag.
Select “RUN” menu – “STD gas preparation”
1. Enter "STD-GAS Temp [degC]," "STD-GAS Volume
[mL]," "Pump operating time [sec]" in the red box.
* There is a risk that the bag may burst. Set the pump
operation time so as to keep the amount of diluted
gas half of the bag’s capacity or less.
2. Click START.
3. Sample the set amount of saturated mercury gas from
the standard gas box with a syringe and inject it to the septum.
The result of preparation is output when sampling is completed.
Input sampling time on STD Table
Enter the sampling time and the concentration of
the standard gas.
* The values of temperature and sample volume
output from the dry gas meter are automatically
entered, from which the standard values are
calculated.
Set the STD gas It is possible to change the sampling time stepwise and create a
calibration curve using low concentration standard gas.
Make low concentration standard gas, attach a Tedlar® bag as
shown in the figure below, and start the measurement.

WA5Win NIC-600-2238-05
7
4 Measurement of unknown sample
(1) Switch Table to Unknown sample. Click the tab of “SMP.”
(2) Put a check mark on the column of “MEAS”.
(3) Enter the name of sample in “NAME.”
Travel Blank: Can be used to subtract the travel blank. Treat the travel blank tube same as
sampling.
Operation Blank: Can be used to subtract for the operation blank. The operation blank tube is one
of tubes which are blank-treated with the same way.
Check STD:This is a function that checks the recovery rate of STD, to stop the measuring
at the time of abnormality.(TC-WAselected only)
(4) Enter the volume of sample to [SVOL].
When reference temperature is corrected, select a unit such as ng/m3N and enter the
atmospheric pressure and the temperature for sampling.
(5) Put the mercury collector tube to be measured into WA-5A from the top so that the part with the
dimple in the tube is on the downstream side, and insert the tube into the joint.
(6) Connect a joint with septum to the top of the mercury collector tube.
(7) Select “Menu” - “Run” - “Start” or click
icon to start the measurement.
* It is also possible to start the measurement by pressing F5 on the keyboard.
(8) After the measurement is complete, remove the joint with septum from the mercury collector tube
and the pull out the tube from WA-5A. Return to (1) and repeat the above procedure when the
measurement needs to be continued.
2 Dimples
Gas flow
3 Dimples

WA5Win NIC-600-2238-05
8
Measurement of unknown sample (Liquid)
(1) Switch Table to Unknown sample. Click the tab of “SMP.”
(2) Put a check mark on the column of “MEAS”.
(3) Enter the name of sample in “NAME.” Otherwise, select “Travel Blank” or “Operation Blank.”
R.blank:
Should use R.Blank if the pretreatment method was different
between the calibrations to the measurement of unknown sample.
The measurement result (an amount of mercury, concentration) of
an unknown sample is corrected it .Measure distilled water using
the same pretreatment as the unknown sample.
(4) Enter S.VOL, C.VOL, and D.VOL.
S.VOL: The volume of a sample taken when the pretreatment is performed.
C.VOL: The volume of a solution after the pretreatment
D.VOL: The volume of a solution to be measured with WA
(Example) If 100mL of wastewater is decomposed, then diluted to 250mL total, and 20mL of
it is measured.
(5) Put an appropriate amount of sample into the impinger.
(6) Dilute the sample with distilled water to about 20mL total.
(7) Drop 1 mL of tin chloride solution and set the inner tube of the
impinger.
(8) Immediately click “Run”- “Start” in the menu or
icon to
start the measurement.
* It is also possible to start the measurement by pressing
“F5” key on the keyboard.
(9) When the measurement is completed, pull out the inner tube of the impinger and dispose of the
measurement effluent. If the measurement is to be continued, rinse the impinger well with water, put
another sample into it, and repeat the above procedure for the measurement.
* Start the measurement immediately after a sample is put into the impinger. If not measure
immediately, mercury would be evaporated due to tin remaining in the impinger.
20mL
SnCl2
1mL
Pretreated sample
Approximate amount
(Usually 20mL)

WA5Win NIC-600-2238-05
9
Measurement of unknown sample (Direct Sampling)
(1) Select “Direct sampling” in the measurement condition setting.
(2) Set the table condition.
(3) Enter a check mark in the “MEAS”. If more than one check mark is entered, the measurement
is repeated.
(4) Enter a sample name in “NAME” and, if the sampling time is to be changed, enter the number
of seconds.
(5) The output values of the dry gas meters are entered automatically into S.VOL (sample volume)
and TEMP (temperature), and 101.3kPa into “ATM (atmospheric pressure).
(6) Attach the Tedlar® bag and start the measurement by clicking “Run”-“Start” in the menu or
icon.
* It is also possible to start the measurement by pressing “F5” key on the keyboard.
Sampling time is defaulted, but can
be change on the table.
If this is set to Enable, the sample of
which measurement value is lower
than the threshold value is
re-measured for the sampling time
period which is automatically set.

WA5Win NIC-600-2238-05
10
5 Printing a report
5.1 Printing a report
To print the measurement results, select [File] –[Print] from the menu, or click the icon.
①Select an item and confirm it by preview.
②The title and the name of a measurer can be entered by selecting Table - Memo setting (M).
③The scale of print profile synchronizes with the profile scale of the analysis screen. Set the
HIGH/LOW range scale and the number of profiles for both the standard solution and unknown
solution.
④The width of each column synchronizes with the width set in the table screen. Adjust the width of
column on the table screen if the column seems too narrow when printed. A column is not printed if
its width is set to 0.
5.2 Suspension of measurement
If you want to suspend the measurement, select Menu - “Run” - “Stop” or click icon.
Then the measurement stops after the current measurement is completed.
Furthermore, when Menu -“Run” - “Emergency” is selected or icon is clicked in this state, the
system immediately goes into cooling sequence, and when cooling is completed, returns to the state of
Ready.
5.3 Finish measurement
(1) Open the roller clamps of the gas washing bottle and the dehumidifying bottle and discharge the gas
washing solution.
(2) Pour distilled water into the gas washing bottle once or twice to rinse the bottle.
(3) Save the measured data.
(4) Turn OFF the power of WA-5A.
Low range
scale
adjustment
Number of
profiles per line
High range
scale
adjustment
Nippon Instruments Corporation
URL http://www.hg-nic.com
Technical Center
14-8 Akaoji-cho, Takatsuki-shi, Osaka, 569-1146 Japan
Phone: +81-72-693-6820 Fax: +81-72-694-0663
Table of contents
Other Nic Measuring Instrument manuals
