6
ENG
MEASUREMENT PROCEDURE
IMPORTANT! The device has touch-sensitive buttons that
are pressed by slight touching. Moisture, dirt and extraneous
objects between the nger and the device panel can aect
the ability of buttons to respond to touching.
1. Insert the Air Tube Plug into the Cu Jack.
Before measurement, take a few breaths and relax. During the
measurement, do not talk and do not move.
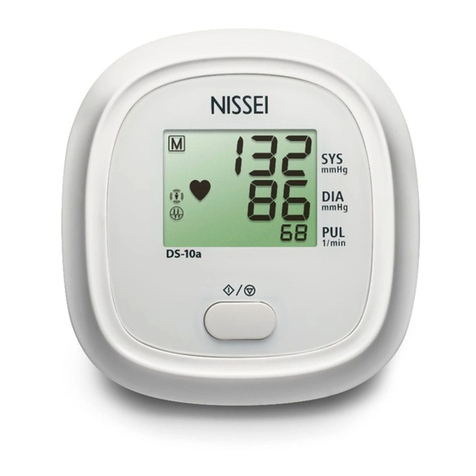
2. Press the START/STOP button. The deating symbol « » will
ash on the display, and the device will release the remaining air
from the cu (Fig. 12).
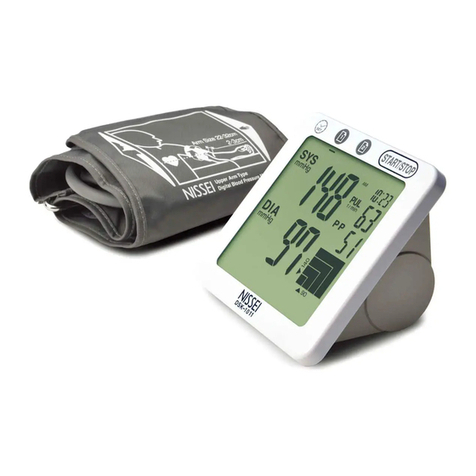
3. Beep will be heard, and air will be pumped into the cu.
The symbol « » will ash, and the displayed value will
increase (Fig. 13). Ination will stop at optimum level owing
to the Fuzzy Ination algorithm.
4. The symbol « » will disappear, and the measurement will
start. The cu pressure will decrease slowly.
Noise Interference Detection
This device detects the presence of extraneous sounds or noises that can af-
fect the measurement results. When such interference is detected, the symbol « ».
appears on the display. In this case, it is recommended to repeat the measurement to
eliminate the interference.
Control of Correct Fixing the Cu
The symbol « » indicates that the cu is applied
correctly, the symbol « » indicates that the cu is fastened
too tight or too loose. In this case, it is recommended to repeat
the measurement after proper xing the cu.
Press the START/STOP button to stop forcedly the measure-
ment: the device will stop ination and quickly release the air.
Automatic Additional Ination.
If on starting the measurement, the operating pressure appears to be insucient due to
hand movements or due to excessive tension in a hand, the cu will be lled with air again
to the level of about 30 mm Hg higher than the original level. Automatic additional ination
will be repeated until the measurement is completed successfully. This is not a malfunction.
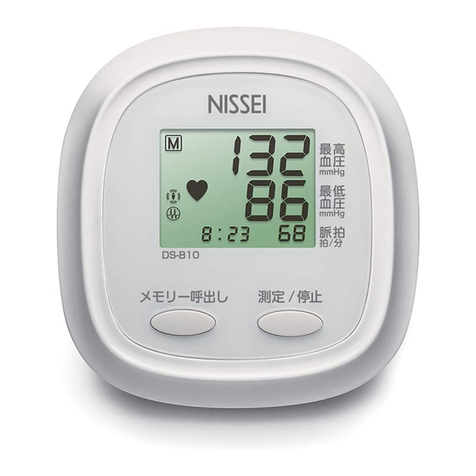
5. The symbol «» will start ashing synchro-
nously with a sound signal, as soon as the
sensor catches the pulse pressure (Fig. 14).
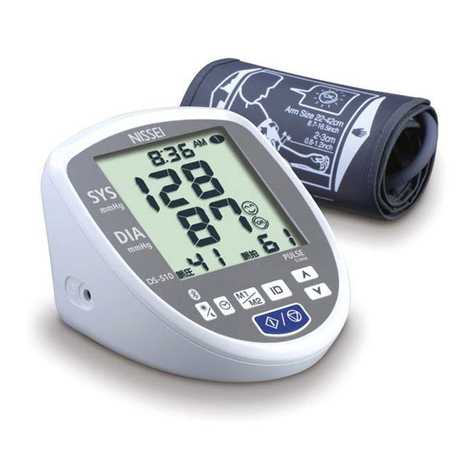
6. When the measurement is completed, the
display will show the values of blood pressure,
pulse pressure, WHO scale and heart rate (Fig.
15). The device will automatically release the
air from the cu.
7. Press the button or button and the result
will remain in the selected memory unit
.
8. Press the START/STOP button to turn o
the device.
If you forget to turn o the device, it will do so automatically after 3 minutes.
Indication of Reliability
Important aspects in measuring the blood pressure imply the correct
application of the cu and proper posture during the measurement. These aspects
may inuence the measurement result. The device displays the symbol « », when
the measurement procedure is carried out properly. If this symbol is not displayed,
it is recommended to repeat the measurement observing the guidelines for proper
measurement described in this manual.
Do not perform several measurements in a row.
This will cause numbing the hand and can aect the measurement result. Give your
hand a break for at least 5 minutes.
Pulse, stroke/min.
The Cuff Symbol
The Reliability Symbol
Systolic pressure,
mmHg
Diastolic pressure,
mmHg
Puls pressure, mmHg
Fig.15
Fig.14
Fig.12
Fig.13


